Introduction
Sending an email has become an integral part of our daily communication. Whether you want to reach out to a colleague, connect with a potential client, or simply stay in touch with friends and family, knowing how to send an email effectively is essential. While the process may seem straightforward, there are a few key steps to keep in mind that can make all the difference in ensuring your message is clear, professional, and well-received.
In this article, we will guide you through the process of sending an email to someone. From composing the email to entering the recipient’s email address, writing the subject line, crafting the email body, attaching files, and clicking that send button, we’ve got you covered. So, whether you’re a seasoned email pro or a newbie just starting out, let’s dive in and master the art of sending emails!
Sending an email is a versatile and efficient way to communicate. From professional correspondence to personal connections, emails allow us to convey information, express our thoughts and feelings, and maintain relationships. Whether you’re writing a quick note or a lengthy message, following these steps will ensure your email is clear, concise, and professional.
Step 1: Compose a new email
Before you start typing away, it’s important to open your email client or webmail platform and begin composing a new email. Look for the “Compose” or “New Email” button to get started.
Once you click on the button, a blank email template will appear. This is where you can start crafting your message from scratch. Take a moment to familiarize yourself with the various sections of the email template, such as the “To” field, subject line, and the body of the email.
Before you proceed, think about the purpose of your email. Are you reaching out to someone for business purposes, or is it a personal email? Knowing your objective will help you tailor your message accordingly.
When composing a new email, it’s crucial to keep your tone appropriate for the recipient and the context of the email. If it’s a professional email, maintain a formal and professional tone. If it’s a personal email to a friend or family member, feel free to adopt a more casual and relaxed tone.
Remember to always consider the recipient’s preferences and the relationship you share with them. This will help you strike the right balance in your tone and language.
Additionally, it’s a good practice to personalize your emails whenever possible. Address the recipient by their name to make the email feel more personal and engaging. This simple step can go a long way in establishing a connection with the recipient.
Lastly, before you begin typing, it’s worth checking if you have a pre-saved email signature. An email signature typically includes your name, contact information, and any additional details you may want to include, such as your job title or company name. If you have a signature set up, it will automatically be added to your email, saving you time and effort.
Once you have composed a new email and considered all these aspects, you’re ready to move on to the next step: entering the recipient’s email address.
Step 2: Enter the recipient’s email address
Now that you have composed your email, it’s time to enter the recipient’s email address. The “To” field is where you specify who will receive your message.
First, ensure that you have the correct email address of the recipient. Double-check the spelling and ensure there are no typos. Sending an email to the wrong address can lead to miscommunication or even privacy concerns.
To enter the recipient’s email address, simply click or tap on the “To” field within the email template. You can then start typing the email address of the person or people you want to send the email to. If you are sending the email to multiple recipients, separate their email addresses with a comma.
If you have the email address saved in your contacts or address book, you can also start typing their name or email address, and your email client will suggest matching options for you to select from. This can save time and ensure accuracy.
Make sure you have the correct email address for each recipient. Sending an email to the wrong person can lead to misunderstandings or unintended consequences.
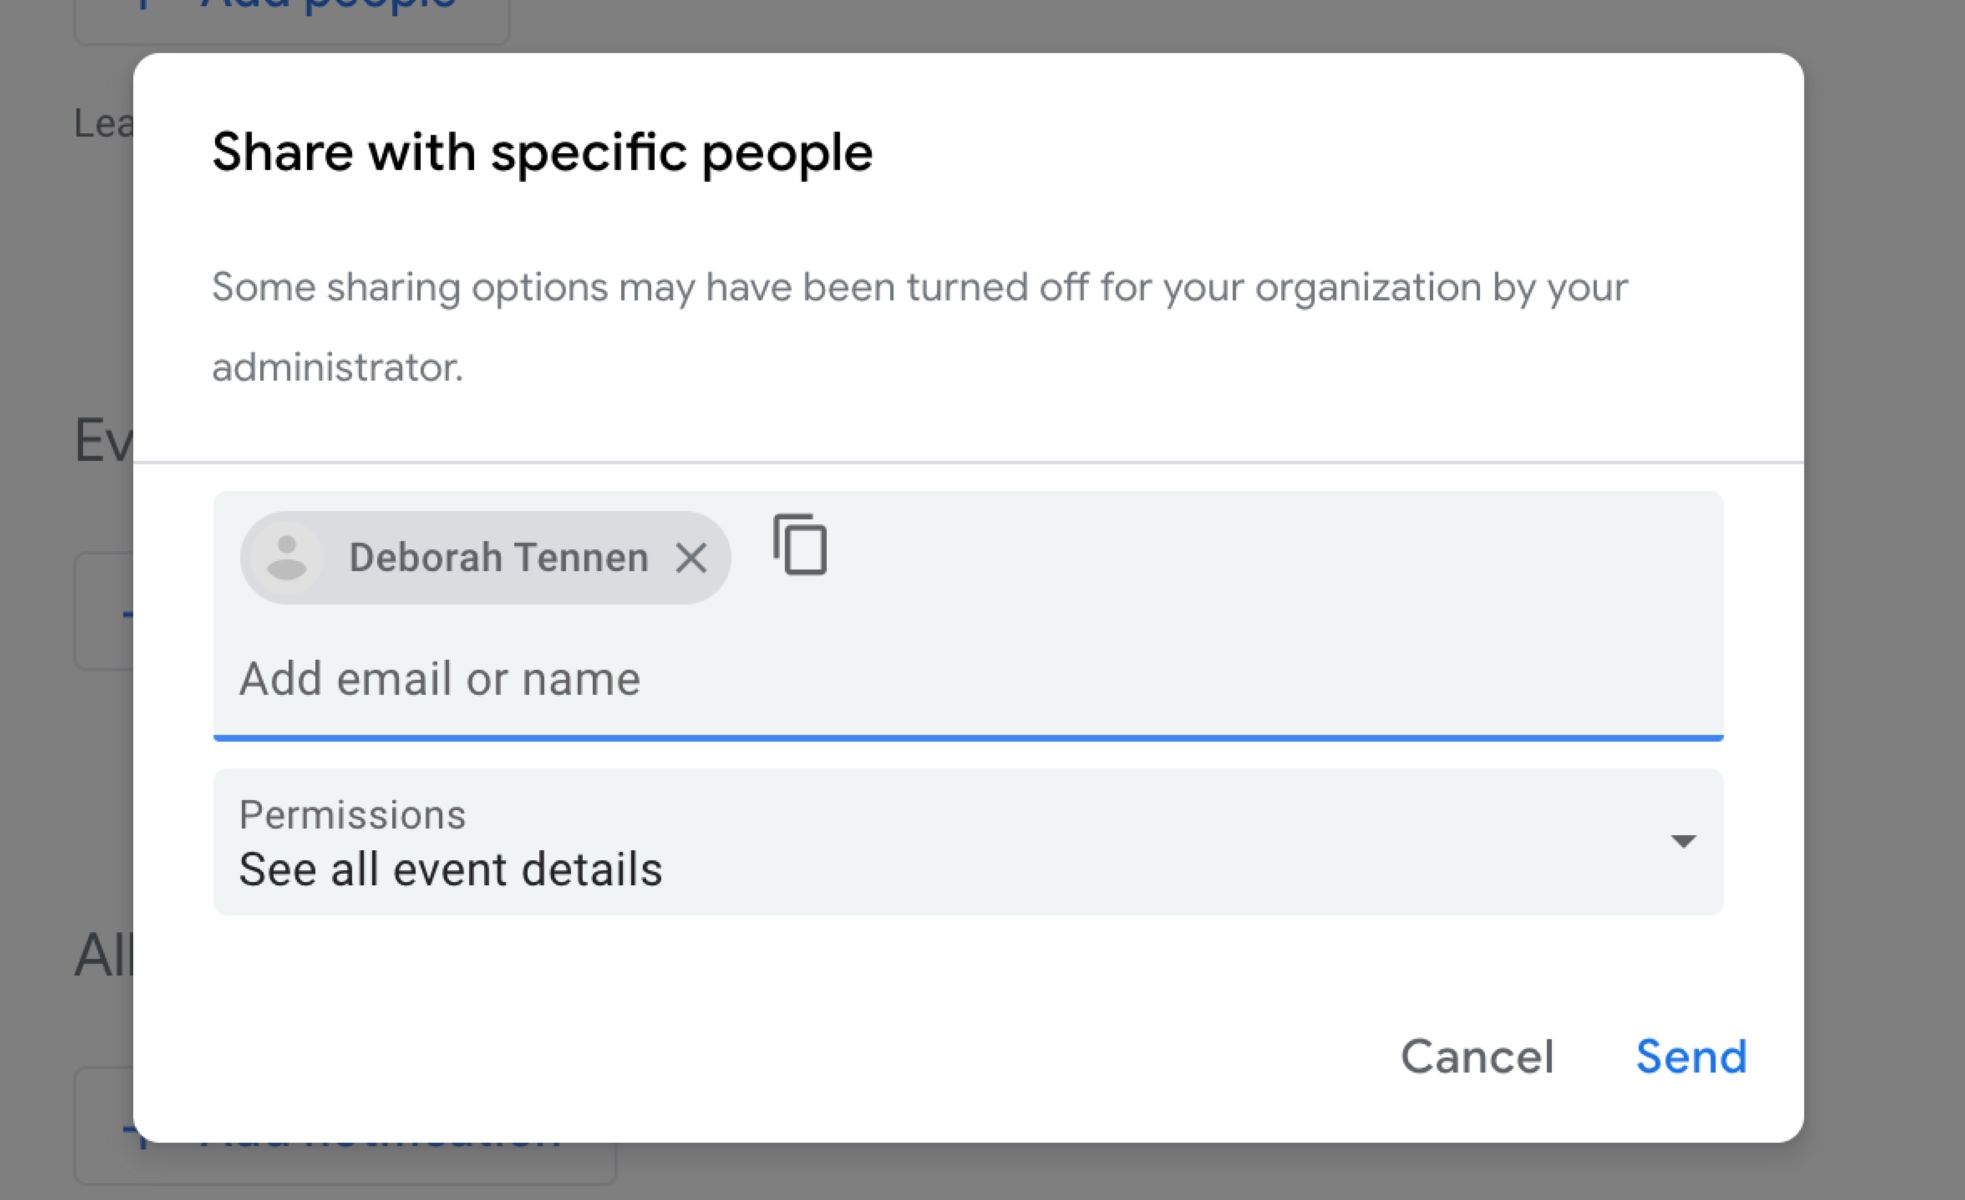
When entering the email address, it’s also a good idea to consider the CC (carbon copy) and BCC (blind carbon copy) fields. These fields allow you to include additional recipients in the email.
The CC field is used when you want to include someone as a visible recipient, but they are not the main recipient of the email. This is useful when you want to keep others informed or involve them in the conversation without explicitly addressing the email to them.
The BCC field, on the other hand, is used when you want to include someone as a recipient, but you do not want the other recipients to know that they are receiving a copy. This is often used for privacy reasons or when sending mass emails.
Once you have entered the recipient’s email address in the “To” field, move on to the next step: writing the subject line.
Step 3: Write the subject line
The subject line is a crucial component of your email as it provides a brief summary of the content and purpose of your message. It helps the recipient understand what the email is about before they even open it, making it more likely that they will prioritize and read your email.
When writing the subject line, aim to be concise and clear. Keep it informative and relevant to the email’s content. Avoid using vague or generic subject lines that could easily be mistaken for spam or overlooked.
If your email is related to a specific topic or project, consider including a keyword or two in the subject line. This can help the recipient quickly identify and categorize your email, making it easier for them to find and reference it later.
Additionally, it’s essential to be mindful of the recipient’s perspective. Put yourself in their shoes and think about what would make them want to open and engage with your email. Consider using action-oriented words or adding a sense of urgency if appropriate.
However, be careful not to cross the line into clickbait territory. Misleading or deceptive subject lines can damage your credibility and undermine the trust of the recipient.
Another important point to keep in mind is to avoid using all capital letters in the subject line. Typing in all caps is considered shouting online and can come across as aggressive or unprofessional.
Lastly, it’s worth noting that if you are replying to an existing email thread, your email client may automatically populate the subject line based on the previous message’s subject. In this case, make sure to review and modify the subject line if necessary to accurately reflect the current content and purpose of your email.
Once you have crafted a clear and compelling subject line, you’re ready to move on to the next step: crafting the email body.
Step 4: Craft the email body
Now that you have set the stage with the recipient’s email address and a compelling subject line, it’s time to dive into the main part of your email: the body. The email body is where you communicate your message, provide information, or engage in a conversation.
When crafting the email body, it’s important to be clear, concise, and organized. Start by greeting the recipient with a friendly and appropriate salutation, such as “Hi [Recipient’s Name]” or “Dear [Recipient’s Name].” Use their proper name to create a personal touch.
Avoid long blocks of text, as they can be overwhelming to read. Instead, break up your content into paragraphs or bullet points to make it easier to digest. Utilize headings and subheadings to structure your email if applicable.
If you are replying to a previous email, it can be helpful to briefly reference the previous conversation to provide context. This helps the recipient understand the connection between your current email and the ongoing discussion.
When writing the email body, make sure to express your thoughts clearly and concisely. Use appropriate language and tone, adapting it to the nature of your relationship with the recipient. Proofread your email to catch any spelling or grammatical errors. Remember, an error-free email showcases your professionalism and attention to detail.
If you need to convey important information or instructions, it’s helpful to highlight them or break them down into bullet points or numbered lists. This makes it easier for the recipient to understand and follow your message.
Keep in mind that the overall length of your email should be appropriate for the content. While it’s important to provide enough information, try to avoid unnecessary details or lengthy explanations that may cause the recipient to lose interest.
If you are referencing any documents or files, mention them in the email body and inform the recipient if they are attached or if they need to be accessed separately.
In closing your email, use an appropriate sign-off, such as “Sincerely,” “Best regards,” or “Thank you.” Include your name and any contact information necessary.
With the email body crafted, you’re one step closer to sending your message. The next step is to proofread and edit your email before finalizing it.
Step 5: Proofread and edit
Before you hit that send button, it’s crucial to take a moment to proofread and edit your email. Proofreading ensures that your message is free of grammatical errors, spelling mistakes, and typos. The last thing you want is for your email to be riddled with errors, which can detract from your professionalism and credibility.
Start by reading through your email carefully, focusing on each sentence and paragraph. Pay attention to grammar, punctuation, and spelling. Use spell-check tools provided by your email client or copy the text into a separate document for a more comprehensive proofreading.
While proofreading, keep an eye out for common mistakes like homophones (words that sound the same but have different meanings and spellings), capitalization errors, and incorrect word usage. It’s also helpful to read your email out loud to catch any awkward phrasing or unclear sentences.
Aside from grammar and spelling, also consider the overall tone and message of your email. Make sure it sounds professional, polite, and conveys the intended meaning. If necessary, revise sentences or rephrase your ideas to ensure clarity and coherence.
During the proofreading process, it’s a good idea to put yourself in the recipient’s shoes. Imagine how they might perceive your email and anticipate any questions or concerns they might have. Address them proactively to avoid any misunderstandings.
If your email contains sensitive or important information, double-check that the facts are accurate before sending. Errors in dates, numbers, or important details can lead to confusion or even costly mistakes.
Moreover, pay close attention to the email’s formatting. Ensure that your paragraphs are properly aligned, headings and subheadings are consistent, and any bullet points or numbered lists are formatted correctly. A well-formatted email not only looks more professional but also enhances readability.
Lastly, take a moment to review the email’s tone and ensure that it is appropriate for the intended recipient and the purpose of the message. Make sure your email is respectful and free of any unintended language that may be misinterpreted.
Once you are confident that your email is error-free and conveys your intended message effectively, it’s time for the next step: attaching any necessary files.
Step 6: Attach any necessary files
Attaching files to your email can provide additional information or support your message. Whether you need to send documents, images, or other types of files, the process is relatively simple.
To attach files to your email, look for the “Attach” or “Attach Files” button in your email client. Clicking on this button will open a file explorer window where you can locate and select the files you want to attach.
When selecting files to attach, ensure that they are relevant to the content of your email and necessary for the recipient’s understanding or action.
It’s important to note that some email clients have file size limitations for attachments. If a file exceeds the maximum allowed size, you may need to compress it or find an alternative method to share the file, such as using cloud storage services or sharing links to download files.
While attaching files, be mindful of the recipient’s ability to access and open them. Consider using widely compatible file formats to minimize compatibility issues. If you are unsure, you can always ask the recipient if they are able to open the attached files before sending the email.
If you want to attach multiple files, you can do so by selecting and attaching them one by one or by compressing them into a single archive file (e.g., .zip or .rar) before attaching.
Once you have attached the necessary files, it may be worthwhile to mention them in the email body. This can provide clarity to the recipient and increase the chances of them noticing and accessing the attachments.
Double-check the attached files to ensure they are the correct versions and that they have been successfully added to your email. This helps avoid any confusion or the need for subsequent follow-up emails.
With the necessary files attached, you’re almost ready to send your email. However, before you click that send button, it’s crucial to review the entire email once more to ensure perfection.
Step 7: Send the email
After composing, proofreading, and attaching any necessary files, it’s time for the final step: sending the email. Before you hit that send button, take a moment to go over a few key points to ensure a successful email delivery.
Firstly, review the recipient’s email address in the “To” field to confirm that it is correct. Check for any typos or errors that might cause the email to be sent to the wrong recipient.
Next, double-check the subject line to ensure it accurately reflects the content and purpose of your email and is free of any errors or misleading information.
Take a final look at the email body to verify that your message is clear, concise, and free of any grammatical or spelling mistakes. Ensure that the tone is appropriate, and the email aligns with the purpose of your communication.
If you have attached any files, confirm that they are the correct files and are successfully attached. Verify that the files are relevant to the email and that the recipient will be able to access and open them.
Once you are satisfied with all the elements of your email, it’s time to click that send button. Take a moment to breathe, then confidently press send.
After sending the email, it’s a good practice to follow up if necessary. Depending on the urgency or importance of your message, you may want to track email responses or schedule a follow-up reminder if you do not receive a reply within a reasonable amount of time.
Keep in mind that emails may not always be delivered instantly, especially if the recipient’s email server or internet connection is experiencing delays or issues. Be patient and allow time for the email to reach the recipient’s inbox.
Remember, once the email is sent, you may not be able to recall or delete it depending on the recipient’s email settings. Therefore, it is essential to make sure your email is accurate, professional, and appropriate before clicking that send button.
Congratulations! You have successfully sent your email, and now it’s up to the recipient to read, respond, and take the appropriate actions as needed.
Conclusion
Sending an email may seem like a routine task, but it requires careful attention to detail to ensure effective communication. By following the steps outlined in this article, you can compose and send emails that are clear, concise, and professional.
Starting with composing a new email and entering the recipient’s email address, you establish the basic framework of your message. Craft a subject line that grabs the recipient’s attention and accurately represents the email’s content. When writing the email body, be clear, concise, and organized, paying attention to tone and formatting.
After proofreading and editing your email, attach any necessary files, making sure they are relevant and accessible to the recipient. Once everything is in order, click the send button with confidence. Remember, before sending, double-check all aspects of the email to minimize errors and ensure a successful delivery.
While the steps provided here form a general guide, it’s important to adapt them to your specific context and audience. Consider the nature of the email, the relationship with the recipient, and any additional etiquette or guidelines that may apply.
Effective email communication is essential in both personal and professional settings. By mastering the art of sending emails, you can build stronger relationships, convey information clearly, and achieve your communication goals.
So next time you find yourself composing an email, remember these steps and the tips provided to make your message stand out and leave a lasting impression. With practice, sending effective and impactful emails will become second nature to you.
Now go forth and communicate with confidence, knowing that you have the skills to send an email that is informative, engaging, and professional!