Introduction
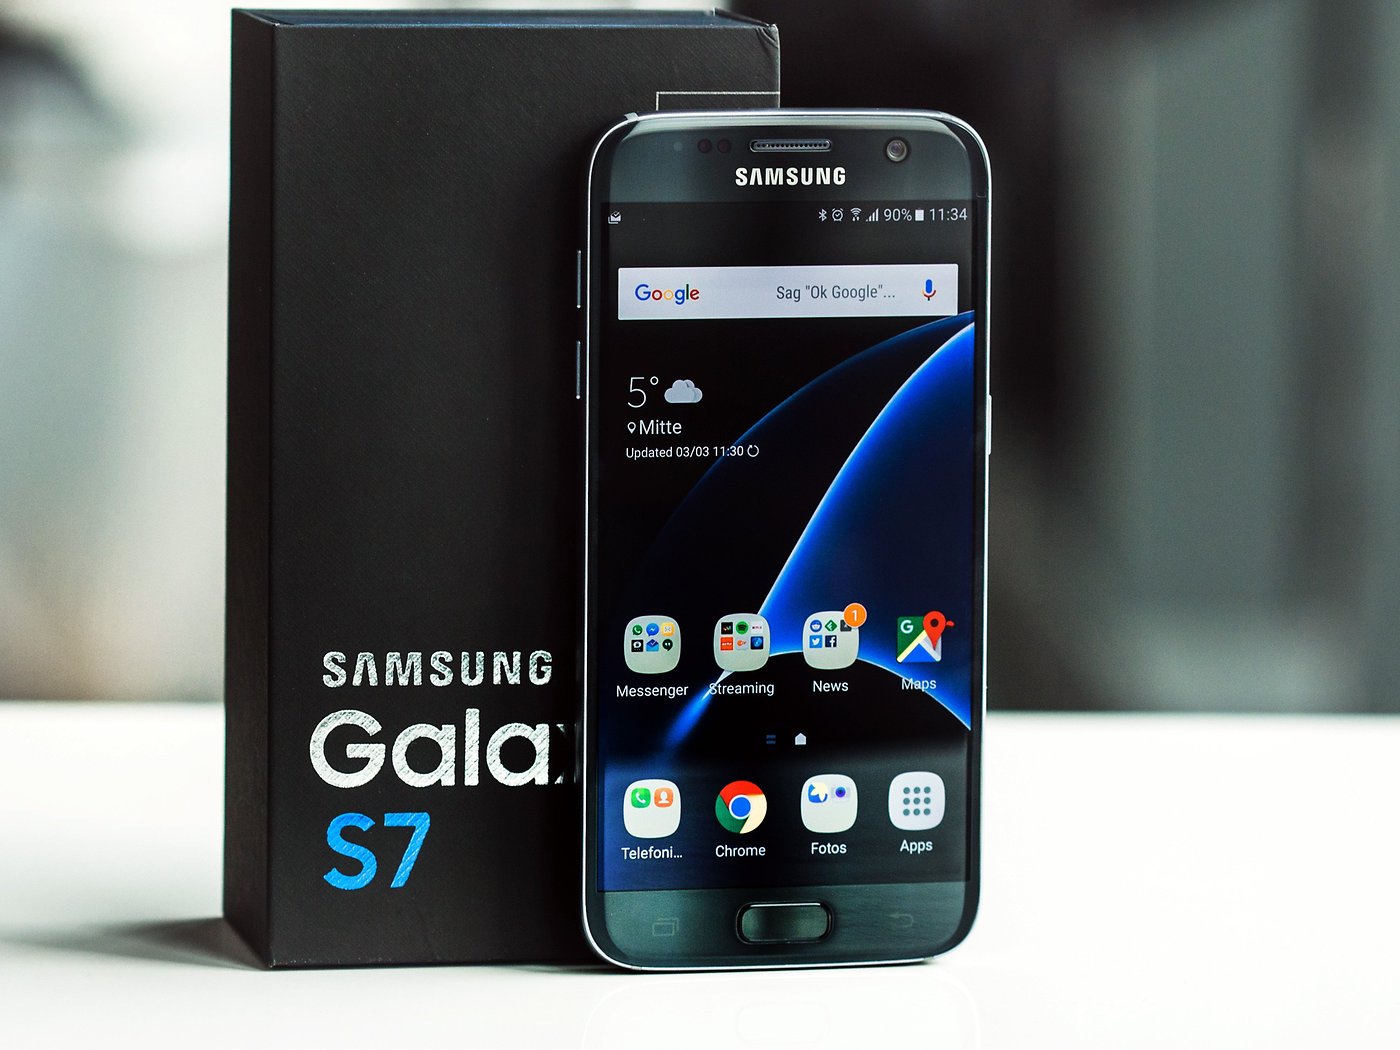
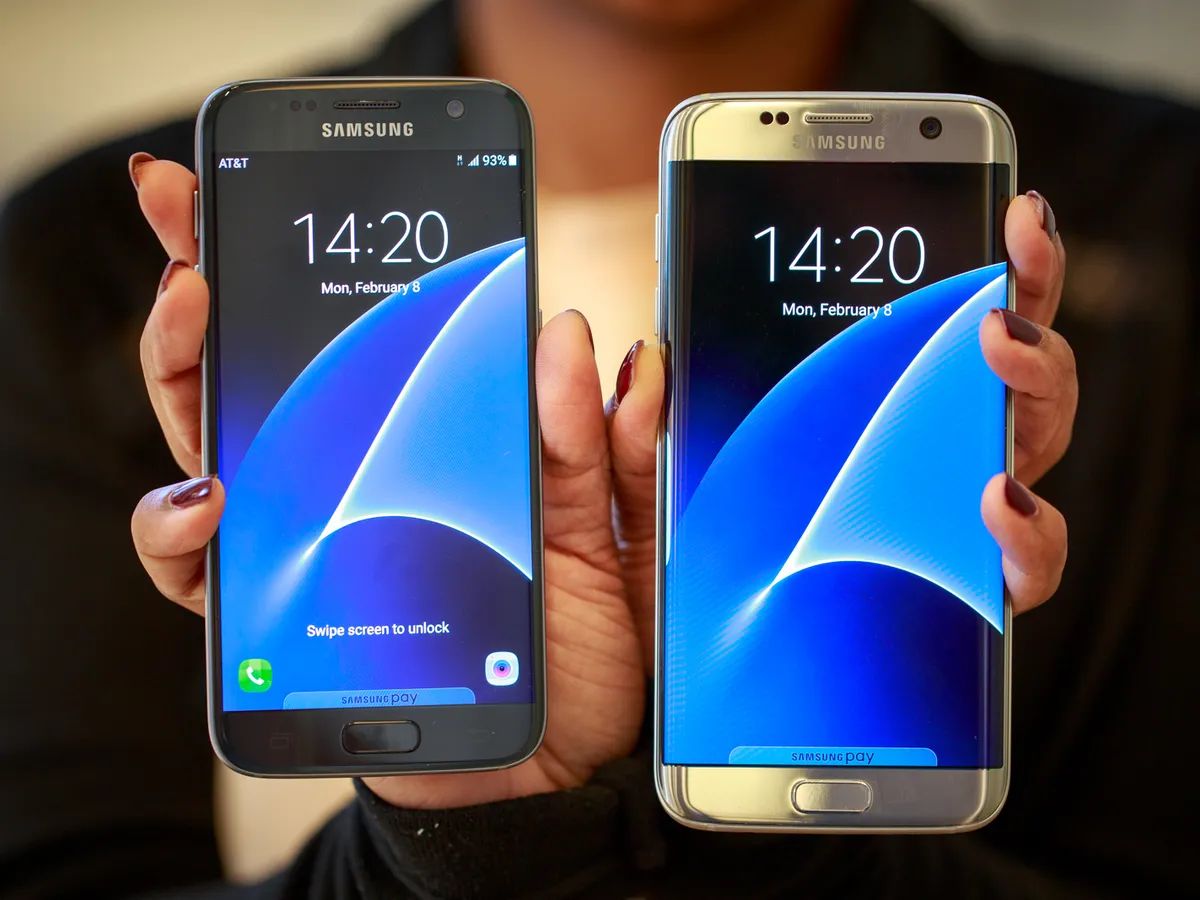
The Samsung Galaxy S7 is a popular Android smartphone known for its powerful features and exceptional camera capabilities. Whether you want to capture a funny conversation, save important information, or share a memorable moment, knowing how to take a screenshot on your Galaxy S7 can come in handy. In this article, we will explore five different methods for taking screenshots on the Samsung Galaxy S7.
Taking a screenshot is a simple yet effective way to capture and save the contents displayed on your phone’s screen. From sharing interesting articles and conversations to documenting software issues or capturing in-game moments, screenshots have become an integral part of our digital communication.
While the process of taking screenshots may vary slightly on different devices, the Samsung Galaxy S7 offers several convenient methods for capturing your screen. Whether you prefer using physical buttons, gestures, or even the S Pen, we will cover all the options available to you.
Additionally, for those who like to explore third-party apps, we will also discuss a few popular screenshot apps that offer advanced editing and sharing features beyond the basic screenshot capabilities.
Before we dive into the different methods, it’s important to note that the instructions provided in this article are specifically for the Samsung Galaxy S7. If you have a different Samsung device or another Android phone, the methods might slightly vary. However, the concepts discussed here should give you a good understanding of how to take screenshots on most Android devices.
Now, let’s explore the various methods for taking screenshots on your Samsung Galaxy S7.
Method 1: Using the Physical Buttons
The most common and straightforward method for taking a screenshot on the Samsung Galaxy S7 is by using the physical buttons on the device. Here are the steps to follow:
- Locate the Volume Down and Power buttons on your Galaxy S7. The Volume Down button is usually on the left side of the device, and the Power button is generally on the right side.
- Navigate to the screen you want to capture and make sure everything is properly aligned.
- Press and hold the Volume Down and Power buttons simultaneously.
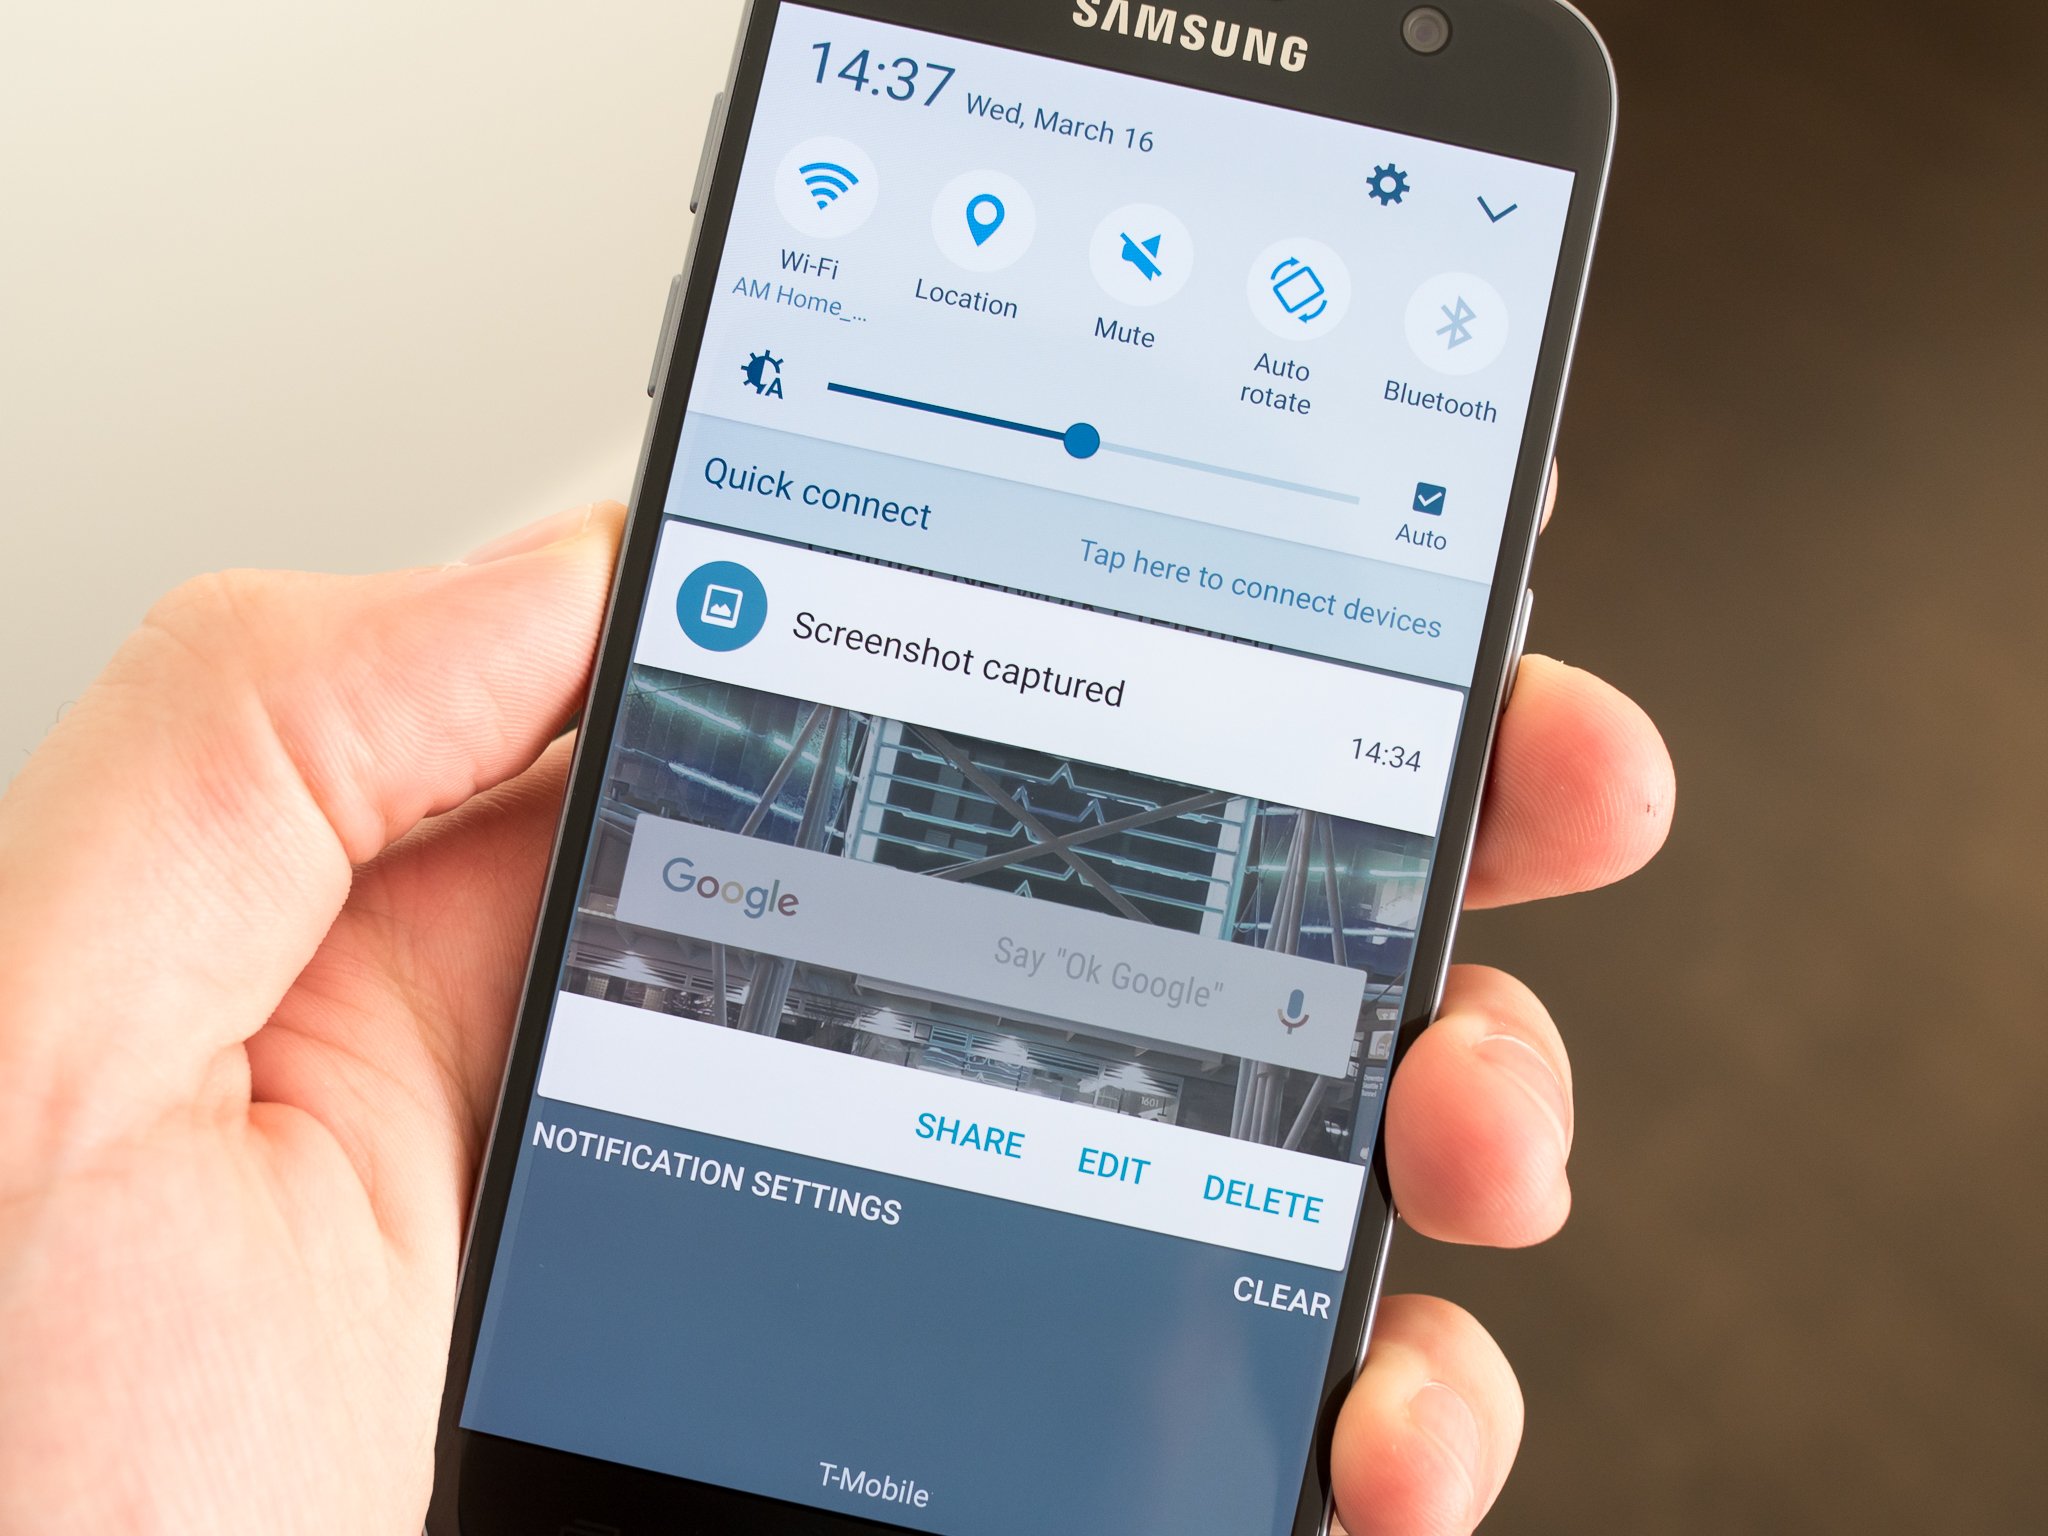
- After a moment, you will hear a shutter sound and see a quick animation on the screen, indicating that the screenshot has been successfully captured.
- You can now find the screenshot in the “Screenshots” folder of your phone’s gallery app. Alternatively, you can access it through the notification that appears after taking the screenshot.
This method is simple and reliable, making it the go-to option for many Samsung Galaxy S7 users. However, it may require some finger dexterity to press both buttons simultaneously without accidentally triggering other functions.
One thing to note is that with this method, you need to be cautious not to press the Volume Up button instead of the Volume Down button. Pressing the Volume Up button along with the Power button activates the “Screenshot+Capture” feature, which allows you to take scrolling screenshots or capture animated content on certain apps.
By default, the captured screenshot is saved as an image file in the PNG format, which provides high-quality images with a transparent background. However, if you prefer a different format or have specific requirements, you can always change the default settings in your phone’s camera settings.
Now that you’ve learned the first method, let’s move on to another method for taking screenshots on your Samsung Galaxy S7!
Method 2: Using Palm Swipe Gesture
The Samsung Galaxy S7 offers a convenient gesture-based method for capturing screenshots called the Palm Swipe Gesture. This method allows you to capture a screenshot by swiping your hand across the screen. Here’s how to use this feature:
- Open the Settings app on your Galaxy S7 and scroll down to find the “Advanced features” section.
- Tap on “Motions and gestures” and then select “Palm swipe to capture”.
- Toggle the switch to enable the Palm swipe gesture feature.
- Now, go to the screen you want to capture.
- Place the side of your hand vertically on the edge of the screen, making sure that your hand fully touches the screen.
- Swipe your hand horizontally across the screen in either direction. You may need to practice the gesture a few times to get it right.
- If successful, you will see a quick animation and hear a shutter sound, indicating that the screenshot has been captured.
The Palm swipe gesture can be a handy method for capturing screenshots, especially if you find it more convenient than using the physical buttons. However, keep in mind that this method may not work in certain situations if the screen is not responsive or if your hand placement is not accurate.
Similar to the previous method, the captured screenshot will be saved in the “Screenshots” folder of your phone’s gallery app. You can also access it through the notification that appears after taking the screenshot.
It’s worth noting that the Palm swipe gesture feature may not be enabled by default on your Galaxy S7. So, if you don’t see the option in your phone’s settings, you may need to enable it manually.
Now that you’re familiar with the Palm swipe gesture method, let’s explore another method for taking screenshots on your Samsung Galaxy S7!
Method 3: Using the Power Menu
The Samsung Galaxy S7 offers a convenient alternative method for taking screenshots by utilizing the Power menu. This method allows you to capture a screenshot directly from the Power menu without the need to use any physical buttons. Here’s how to use this feature:
- Navigate to the screen you want to capture on your Galaxy S7.
- Press and hold the Power button located on the right side of the device. This action will bring up the Power menu options.
- Among the presented options, you will find “Screenshot”. Tap on it to capture the screenshot.
- After a moment, you will see a quick animation on the screen, indicating that the screenshot has been successfully captured.
- If you can’t find the “Screenshot” option in the Power menu, make sure that you’re pressing and holding the Power button long enough for the menu to appear. Additionally, check if this feature is enabled in the settings of your Galaxy S7.
- Similar to the previous methods, you can access the captured screenshot in the “Screenshots” folder of your phone’s gallery app or through the notification that appears after taking the screenshot.
Using the Power menu to capture screenshots can be a convenient option, especially if you find it easier to access the Power button than performing gestures or using multiple physical buttons simultaneously. It provides a quick and hassle-free way to take screenshots on your Galaxy S7.
However, it’s important to note that the Power menu method may not be available on some older Samsung devices or custom Android interfaces that don’t include this feature. In such cases, you can utilize other methods mentioned in this article to capture screenshots.
Now that you’re familiar with using the Power menu to capture screenshots, let’s explore another method for taking screenshots on your Samsung Galaxy S7!
Method 4: Using the S Pen (If Applicable)
If you own a Samsung Galaxy S7 model that comes with the S Pen stylus, you have an additional method for capturing screenshots. The S Pen offers a convenient way to capture and annotate screenshots directly on your device. Here’s how you can use the S Pen to take screenshots:
- Remove the S Pen from its slot located at the bottom of your Galaxy S7.
- Navigate to the screen you want to capture.
- Once you’ve positioned the screen correctly, press the S Pen button to activate its Air Command menu.
- From the Air Command menu that appears, tap on the “Screen Write” option. This action will instantly capture a screenshot of the current screen.
- The captured screenshot will be displayed with various options for editing and annotating.
- You can use the S Pen to draw, write, or highlight on the screenshot, applying your desired annotations.
- Once you’ve made the necessary edits, you can save the annotated screenshot to your phone’s gallery or share it directly from the editing interface.
Using the S Pen to capture and annotate screenshots provides a level of precision and control that can be beneficial for certain tasks, such as highlighting specific areas, taking notes, or adding personalized touch to the captured image. It is a valuable feature for those who frequently use the S Pen on their Samsung Galaxy S7.
However, it’s important to note that not all Samsung Galaxy S7 models come with the S Pen. If your device does not have the S Pen, you can explore the other methods mentioned in this article to capture screenshots.
Now that you’re familiar with using the S Pen to capture screenshots on the Samsung Galaxy S7, let’s move on to the final method in our list!
Method 5: Using Third-Party Apps
While the Samsung Galaxy S7 provides built-in methods for capturing screenshots, you can also explore third-party apps for more advanced screenshot functionalities. These apps offer additional features such as scrolling screenshots, image editing, and quick sharing options. Here are a few popular third-party apps you can consider:
- Smartshot: Smartshot is a feature-rich screenshot app that offers various capture modes, including scrolling screenshots and delayed captures. It also provides a range of editing tools to annotate and enhance your screenshots.
- Screenshot Easy: Screenshot Easy is a user-friendly app that allows you to capture screenshots with a single tap. It offers options for image cropping, drawing, and adding text, making it easy to customize your screenshots before saving or sharing them.
- Screen Master: Screen Master offers a variety of screenshot capturing methods, including scrolling screenshots and screen recording. It also provides an extensive set of editing tools for adding annotations, blurring sensitive information, and applying various filters to your screenshots.
To utilize these apps, simply search for them on the Google Play Store, download and install the app of your choice, and follow the provided instructions to capture and edit your screenshots.
It’s worth noting that while third-party apps offer additional features and customization options, they might also come with advertisements or require in-app purchases to unlock certain functionalities. Make sure to explore the app’s reviews and ratings to ensure you choose a reputable and reliable app.
Now that you’re aware of the option to use third-party apps for capturing screenshots, you have even more flexibility in how you capture, edit, and share screen contents on your Samsung Galaxy S7.
Conclusion
Taking screenshots on your Samsung Galaxy S7 is a simple yet powerful feature that allows you to capture and save important information, funny conversations, or memorable moments. Whether you prefer using the physical buttons, gestures, the Power menu, or even the S Pen, the Galaxy S7 offers various methods to cater to your individual preferences and needs.
In this article, we explored five different methods for taking screenshots on the Samsung Galaxy S7:
- Using the physical buttons
- Using the Palm swipe gesture
- Using the Power menu
- Using the S Pen (If Applicable)
- Using third-party apps
Each method has its advantages and benefits, allowing you to choose the one that best suits your workflow and personal preferences. It’s important to note that while the physical buttons and Palm swipe gesture are native features of the Galaxy S7, the Power menu and S Pen methods may vary depending on the device and its features.
By knowing and utilizing these different methods, you’ll have the flexibility to capture screenshots in a way that is most convenient for you, whether it’s through a simple button press, a swipe of the hand, or the precision of the S Pen.
Additionally, we also discussed the option of using third-party apps for capturing screenshots. These apps offer advanced features, such as scrolling screenshots, image editing, and quick sharing options, providing you with even more flexibility and customization.
Remember to explore and experiment with these methods to find the one that suits you best. Taking screenshots on your Samsung Galaxy S7 is a valuable tool that can enhance your productivity, communication, and personal preferences.
So, go ahead and capture those important moments, save that valuable information, and share your favorite content effortlessly with the power of screenshots on your Samsung Galaxy S7!