Introduction
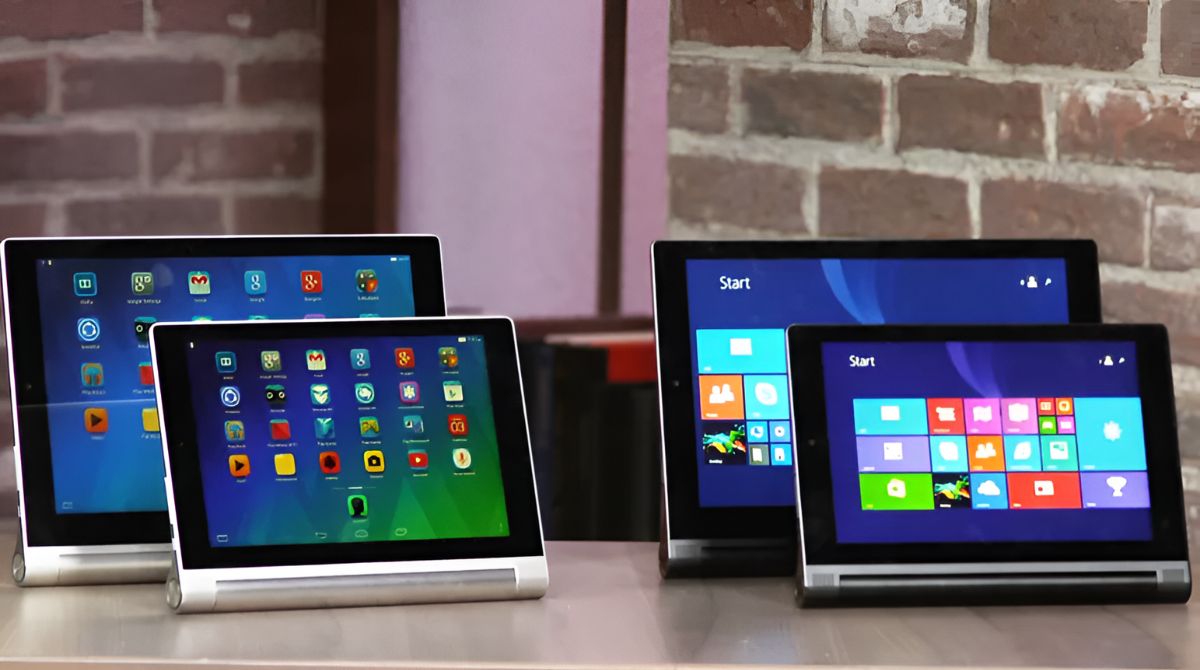
Welcome to the world where your Android tablet becomes more than just a device for browsing the web and running apps. Have you ever wondered if it’s possible to run Windows on your Android tablet? Well, you’re in luck! In this article, we will explore various methods that allow you to run Windows on your Android tablet, opening up a whole new realm of possibilities.
Gone are the days when tablets were limited to specific operating systems. With the advancements in technology, it is now possible to expand the capabilities of your Android tablet and experience the power of Windows on a portable device.
Running Windows on your Android tablet can be beneficial for a variety of reasons. It allows you to access Windows-exclusive software and applications, use productivity tools that are not available on Android, and even play Windows games on a larger screen. Whether you need to work on a familiar Windows environment or simply want to explore the possibilities, running Windows on your Android tablet can be a game-changer.
In the following sections, we will discuss the requirements for running Windows on your Android tablet and delve into different methods that you can use to achieve this. From using remote desktop apps to virtual machines and even dual-boot setups, we will explore various options that cater to different preferences and levels of technical expertise.
Before we move on to the methods, it’s important to note that running Windows on an Android tablet may not provide the same level of performance as a dedicated Windows device. The hardware limitations of your tablet can impact the overall experience. However, with the right setup and expectations, you can still enjoy the benefits of having Windows functionality on your Android tablet.
Are you ready to unlock the full potential of your Android tablet? Let’s jump right into the requirements and methods for running Windows on your device!
Requirements for Running Windows on an Android Tablet
Before you embark on the journey of running Windows on your Android tablet, there are a few essential requirements you need to meet. These requirements will ensure that your tablet is compatible and capable of running Windows smoothly.
1. Hardware Compatibility: Check the specifications of your Android tablet to ensure it meets the minimum requirements for running Windows. Look for specifications such as processor speed, RAM, and storage capacity. While Windows can run on lower-end hardware, for a smoother experience, it is recommended to have a tablet with at least 2GB of RAM, a quad-core processor, and sufficient storage space.
2. Storage Space: Running Windows requires a significant amount of storage space. Ensure that your tablet has enough free storage to accommodate the Windows installation, applications, and files. If necessary, consider expanding the storage capacity using an external SD card or through cloud storage solutions.
3. Battery Life: Running Windows on your Android tablet can be resource-intensive and may drain your battery faster compared to using the native Android operating system. Make sure your tablet has a reliable battery life or keep it connected to a power source during extended Windows usage.
4. Internet Connection: Some of the methods we will discuss in this article require a stable internet connection. Whether you’re using remote desktop apps or streaming Windows to your tablet, a reliable internet connection is essential for a seamless experience.
5. Android OS Version: Check the compatibility of the Android operating system on your tablet with the methods mentioned. Certain methods may require specific Android OS versions, so ensure that your tablet is running a compatible version or consider updating to a newer version if necessary.
6. App Downloads: Depending on the method you choose to run Windows on your tablet, you may need to download specific apps or tools from the Google Play Store or other app marketplaces. Ensure that you have access to these apps and that they are compatible with your tablet’s operating system.
By meeting these requirements, you can ensure a smoother and more efficient experience when running Windows on your Android tablet. Now that you have a clear understanding of the necessary prerequisites, let’s dive into the different methods you can use to run Windows on your tablet.
Method 1: Using Remote Desktop Apps
If you want to run Windows on your Android tablet without installing it directly, using a remote desktop app is a great option. This method allows you to connect to a Windows computer remotely and access its desktop interface from your tablet.
Here’s how you can use remote desktop apps to run Windows on your Android tablet:
1. Install a Remote Desktop App: Start by installing a remote desktop app on your Android tablet. There are several popular options available, such as Microsoft Remote Desktop, AnyDesk, TeamViewer, and Chrome Remote Desktop. Choose one that suits your needs and install it from the Google Play Store.
2. Set up Remote Desktop on the Windows Computer: To connect to a Windows computer, make sure it has remote desktop capabilities enabled. You can do this by going to the Control Panel, selecting System and Security, and clicking on System. From there, click on “Remote settings” and check the box that says “Allow remote connections to this computer.”
3. Connect to the Windows Computer: Open the remote desktop app on your Android tablet and enter the IP address or computer name of the Windows computer you want to connect to. You may need to provide your login credentials, so make sure you have the correct username and password for the Windows computer.
4. Enjoy Windows on Your Tablet: Once connected, you can now navigate the Windows interface using your Android tablet. You can run Windows applications, access files, and even perform tasks as if you were using a Windows computer directly.
Keep in mind that using remote desktop apps requires a stable internet connection, as the connection quality can impact the performance of the remote desktop session. Additionally, depending on your internet speed, there may be some latency or lag in responsiveness.
This method is particularly useful if you have a powerful Windows computer and want to leverage its capabilities while using your Android tablet as a remote device. It allows you to access all the functionality of Windows without the need for separate installations or switching between devices.
Now that you’re familiar with the remote desktop method, let’s explore the next option: using virtual machine apps to run Windows on your Android tablet.
Method 2: Using Virtual Machine Apps
If you prefer a more self-contained solution for running Windows on your Android tablet, using virtual machine apps is the way to go. Virtual machines allow you to create a simulated operating system environment within your Android tablet, giving you the ability to run Windows as if it were a separate computer.
Here’s how you can use virtual machine apps to run Windows on your Android tablet:
1. Choose a Virtual Machine App: Start by selecting a virtual machine app that supports running Windows on Android. Some popular virtual machine apps include VirtualBox and VMware. Download and install the virtual machine app from the Google Play Store.
2. Acquire a Windows ISO Image: You will need a Windows ISO image file to install Windows on the virtual machine. You can obtain a Windows ISO file from a licensed copy of Windows or through the Microsoft website. Make sure you have the appropriate Windows version that you want to install.
3. Create a Virtual Machine: Open the virtual machine app on your Android tablet and create a new virtual machine. Follow the instructions provided by the app to set up the virtual machine, including specifying the amount of RAM, storage, and other settings.
4. Install Windows on the Virtual Machine: Once the virtual machine is set up, locate the Windows ISO file you acquired and choose it as the installation source for the virtual machine. Follow the installation wizard to complete the Windows installation process within the virtual machine.
5. Run Windows on your Android Tablet: After the Windows installation is complete, you can now run Windows on your Android tablet using the virtual machine app. Launch the virtual machine app, select the Windows virtual machine you created, and enjoy the full Windows experience on your tablet.
Virtual machine apps provide a more immersive Windows experience as they allow you to run Windows applications directly on your Android tablet. However, keep in mind that the performance of Windows on a virtual machine may not be as seamless as running it natively on a computer. The performance will depend on the capabilities of your tablet’s hardware and the resource allocation for the virtual machine.
This method is ideal if you want a dedicated Windows environment on your Android tablet and have the resources to allocate to the virtual machine. It allows you to enjoy the versatility of Windows without the need for a separate device.
Now that you’re familiar with running Windows on your Android tablet using virtual machine apps, let’s explore another method: installing a dual-boot setup on your tablet.
Method 3: Installing a Dual Boot Setup on your Android Tablet
If you want to have the option to boot into either Windows or Android on your tablet, installing a dual boot setup is the way to go. This method allows you to have both operating systems coexist on your tablet, giving you the flexibility to choose between them whenever you power on your device.
Here’s how you can install a dual boot setup on your Android tablet:
1. Check Compatibility: Before proceeding, ensure that your tablet supports dual booting. Not all Android tablets are capable of running both Android and Windows. Check with the manufacturer or browse online forums to see if there are custom ROMs or specific instructions available for your tablet model.
2. Backup your Data: It’s always recommended to back up your data before attempting any major modifications. This will ensure that you don’t lose any important files in case something goes wrong during the installation process.
3. Unlock Bootloader: To install a custom ROM for the dual boot setup, you may need to unlock the bootloader of your tablet. The process for unlocking the bootloader varies depending on the tablet model and manufacturer. Check online for specific instructions for your device.
4. Install a Custom Recovery: To install the custom ROM, you will need to install a custom recovery tool such as TWRP (Team Win Recovery Project) on your tablet. This will allow you to flash the custom ROM and create a dual boot environment. Look for instructions specific to your tablet model to install the custom recovery.
5. Download and Flash the Custom ROM: Once you have the custom recovery installed, download a dual boot ROM that supports both Android and Windows. There are various ROMs available for different tablets. Make sure to download a ROM compatible with your tablet model. Follow the instructions provided by the ROM developer to flash the ROM on your tablet using the custom recovery.
6. Boot into the Dual Boot System: After successfully flashing the custom ROM, reboot your tablet. You should now have the option to select either Android or Windows when the device boots up. Use the appropriate key combination or on-screen prompts to choose the operating system you want to use.
Installing a dual boot setup requires technical knowledge and may void your warranty. It’s crucial to follow the instructions carefully, ensuring compatibility and taking necessary precautions. Each tablet may have specific requirements and steps, so it’s important to consult the community forums or developer resources for your specific tablet model.
A dual boot setup allows you to have the best of both worlds, with the option to switch between Android and Windows whenever you need. It provides a native Windows experience alongside your Android setup, giving you the ability to use Windows applications and enjoy the familiarity of the Windows environment.
Now that you’re familiar with installing a dual boot setup, let’s explore another method: streaming Windows to your Android tablet.
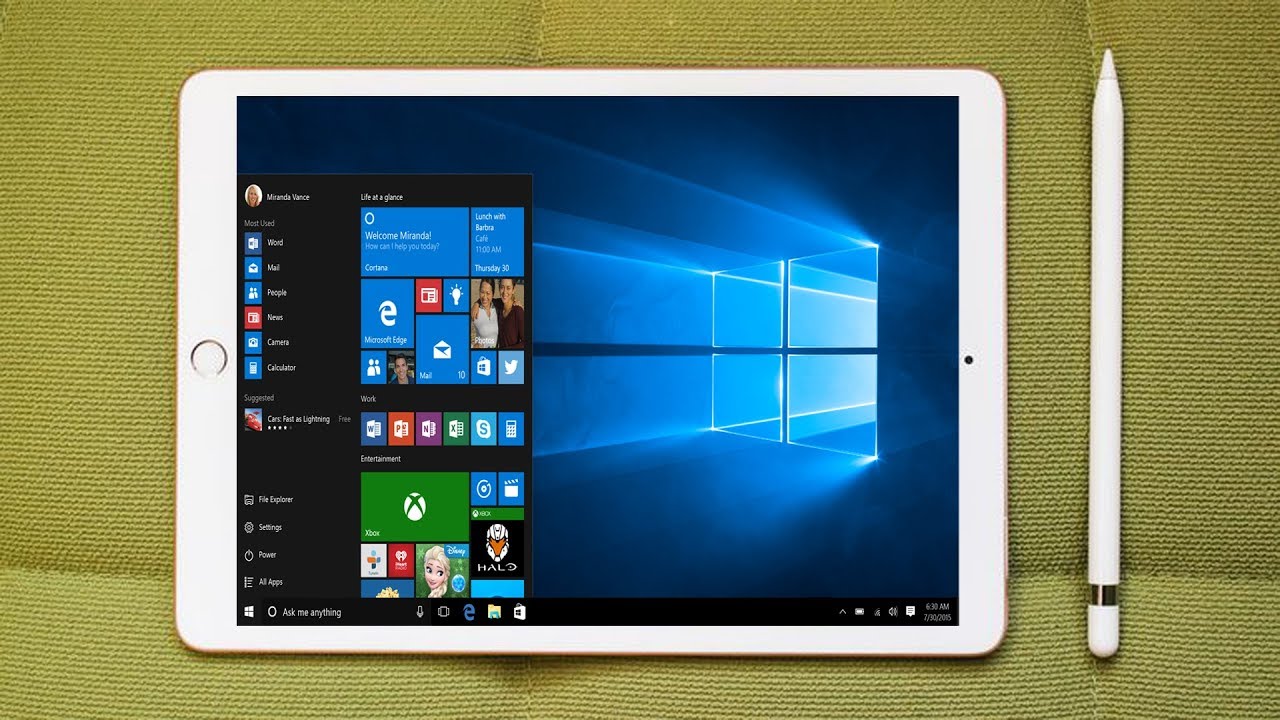
Method 4: Streaming Windows to your Android Tablet
If you want to run Windows on your Android tablet without the need to install it directly or use a virtual machine, streaming Windows to your tablet is a viable option. This method allows you to remotely access and control a Windows computer, streaming the desktop interface to your Android tablet.
Here’s how you can stream Windows to your Android tablet:
1. Prepare the Windows Computer: Ensure that your Windows computer is turned on and connected to the internet. Set up a remote desktop streaming solution on your Windows computer. Popular options include Steam’s In-Home Streaming, Parsec, and Rainway. Install the required software or app on your Windows computer following the instructions provided by the streaming service.
2. Install the Streaming App on your Android Tablet: On your Android tablet, download and install the app provided by the streaming service you chose in the previous step. You can find these apps on the Google Play Store or by visiting the streaming service’s website. Follow the on-screen instructions to set up the app on your tablet.
3. Connect to the Windows Computer: Open the streaming app on your Android tablet and connect to the Windows computer that you want to stream from. Enter the required details, such as the computer name or IP address, and provide any login credentials if prompted.
4. Start Streaming and Control Windows: Once connected, you should see the Windows desktop interface on your Android tablet. You can now use your tablet as a remote control to navigate and interact with Windows. You can run Windows applications, access files, and perform tasks as if you were using a Windows computer directly.
Keep in mind that streaming Windows to your Android tablet relies heavily on a stable and high-speed internet connection. The quality of your streaming experience will depend on factors such as the internet speed, network stability, and proximity between your Windows computer and Android tablet.
Streaming Windows is a convenient method if you already have a powerful Windows computer and want to utilize its capabilities while using your Android tablet as a remote interface. It allows you to access your Windows environment, applications, and files without the need for additional installations or setups.
Now that you’re familiar with the streaming method, let’s summarize the different methods we’ve discussed so far and conclude this article.
Conclusion
Running Windows on your Android tablet opens up a world of possibilities, allowing you to tap into the functionality of Windows applications and experience the familiar Windows environment on a portable device. Throughout this article, we explored four different methods to achieve this feat.
Using remote desktop apps, you can connect to a Windows computer remotely and access the desktop interface from your Android tablet. This method is ideal if you have a powerful Windows computer and want to leverage its capabilities while using your tablet as a remote device.
Virtual machine apps provide a self-contained solution, allowing you to create a simulated Windows environment within your Android tablet. This method is great for those who want a dedicated Windows experience on their tablet and have the resources to allocate to the virtual machine.
Installing a dual-boot setup gives you the flexibility to choose between Android and Windows when powering on your tablet. This method requires technical knowledge and may void your warranty, but it provides a native Windows experience alongside your Android setup.
Streaming Windows to your Android tablet allows you to remotely access and control a Windows computer, streaming the desktop interface to your tablet. This method is convenient if you already have a powerful Windows computer and want to utilize its capabilities while using your tablet as a remote interface.
Before diving into any of these methods, make sure to consider the requirements, compatibility, and technical know-how needed for each approach. It’s important to select a method that suits your needs, preferences, and level of comfort with technology.
Remember that running Windows on an Android tablet may not provide the same level of performance as on a dedicated Windows device. The hardware limitations of your tablet can impact the overall experience. However, with the right setup and expectations, you can still enjoy the benefits of having Windows functionality on your Android tablet.
Now that you’re equipped with the knowledge of these methods, you can make an informed decision and unlock the full potential of your Android tablet. Whether it’s for work, productivity, or simply exploring a new operating system, running Windows on your Android tablet can enhance your capabilities and offer a seamless computing experience.
So, go ahead and choose the method that suits you best. Embrace the versatility and expand the horizons of your Android tablet by bringing the power of Windows to your fingertips!