Introduction
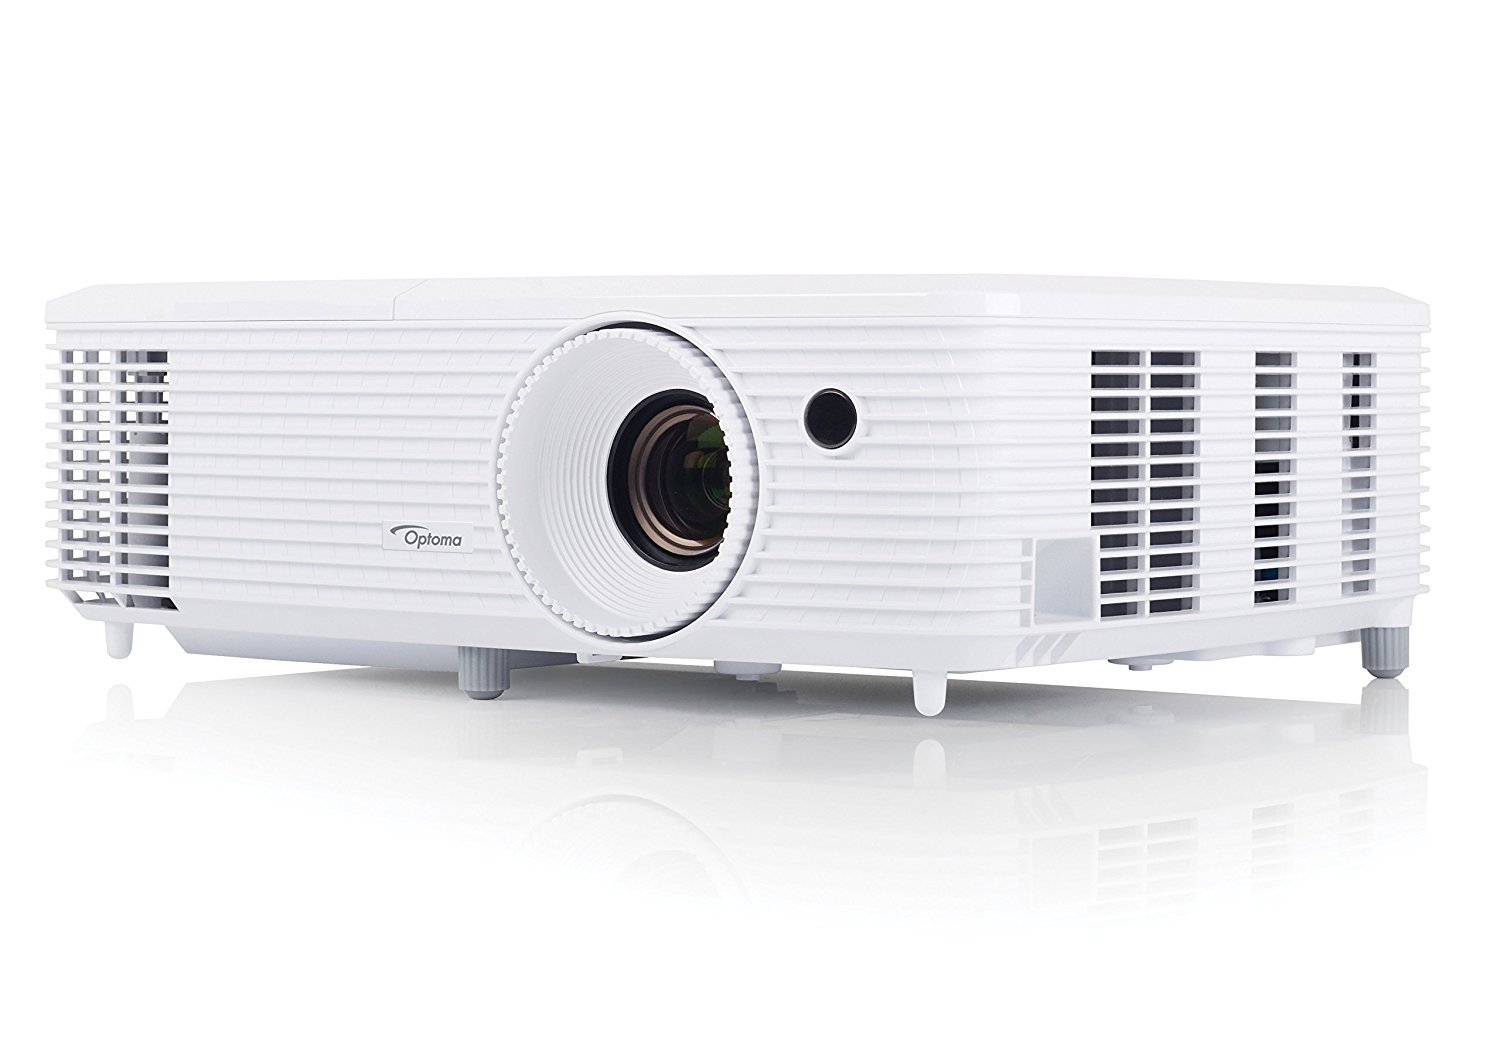
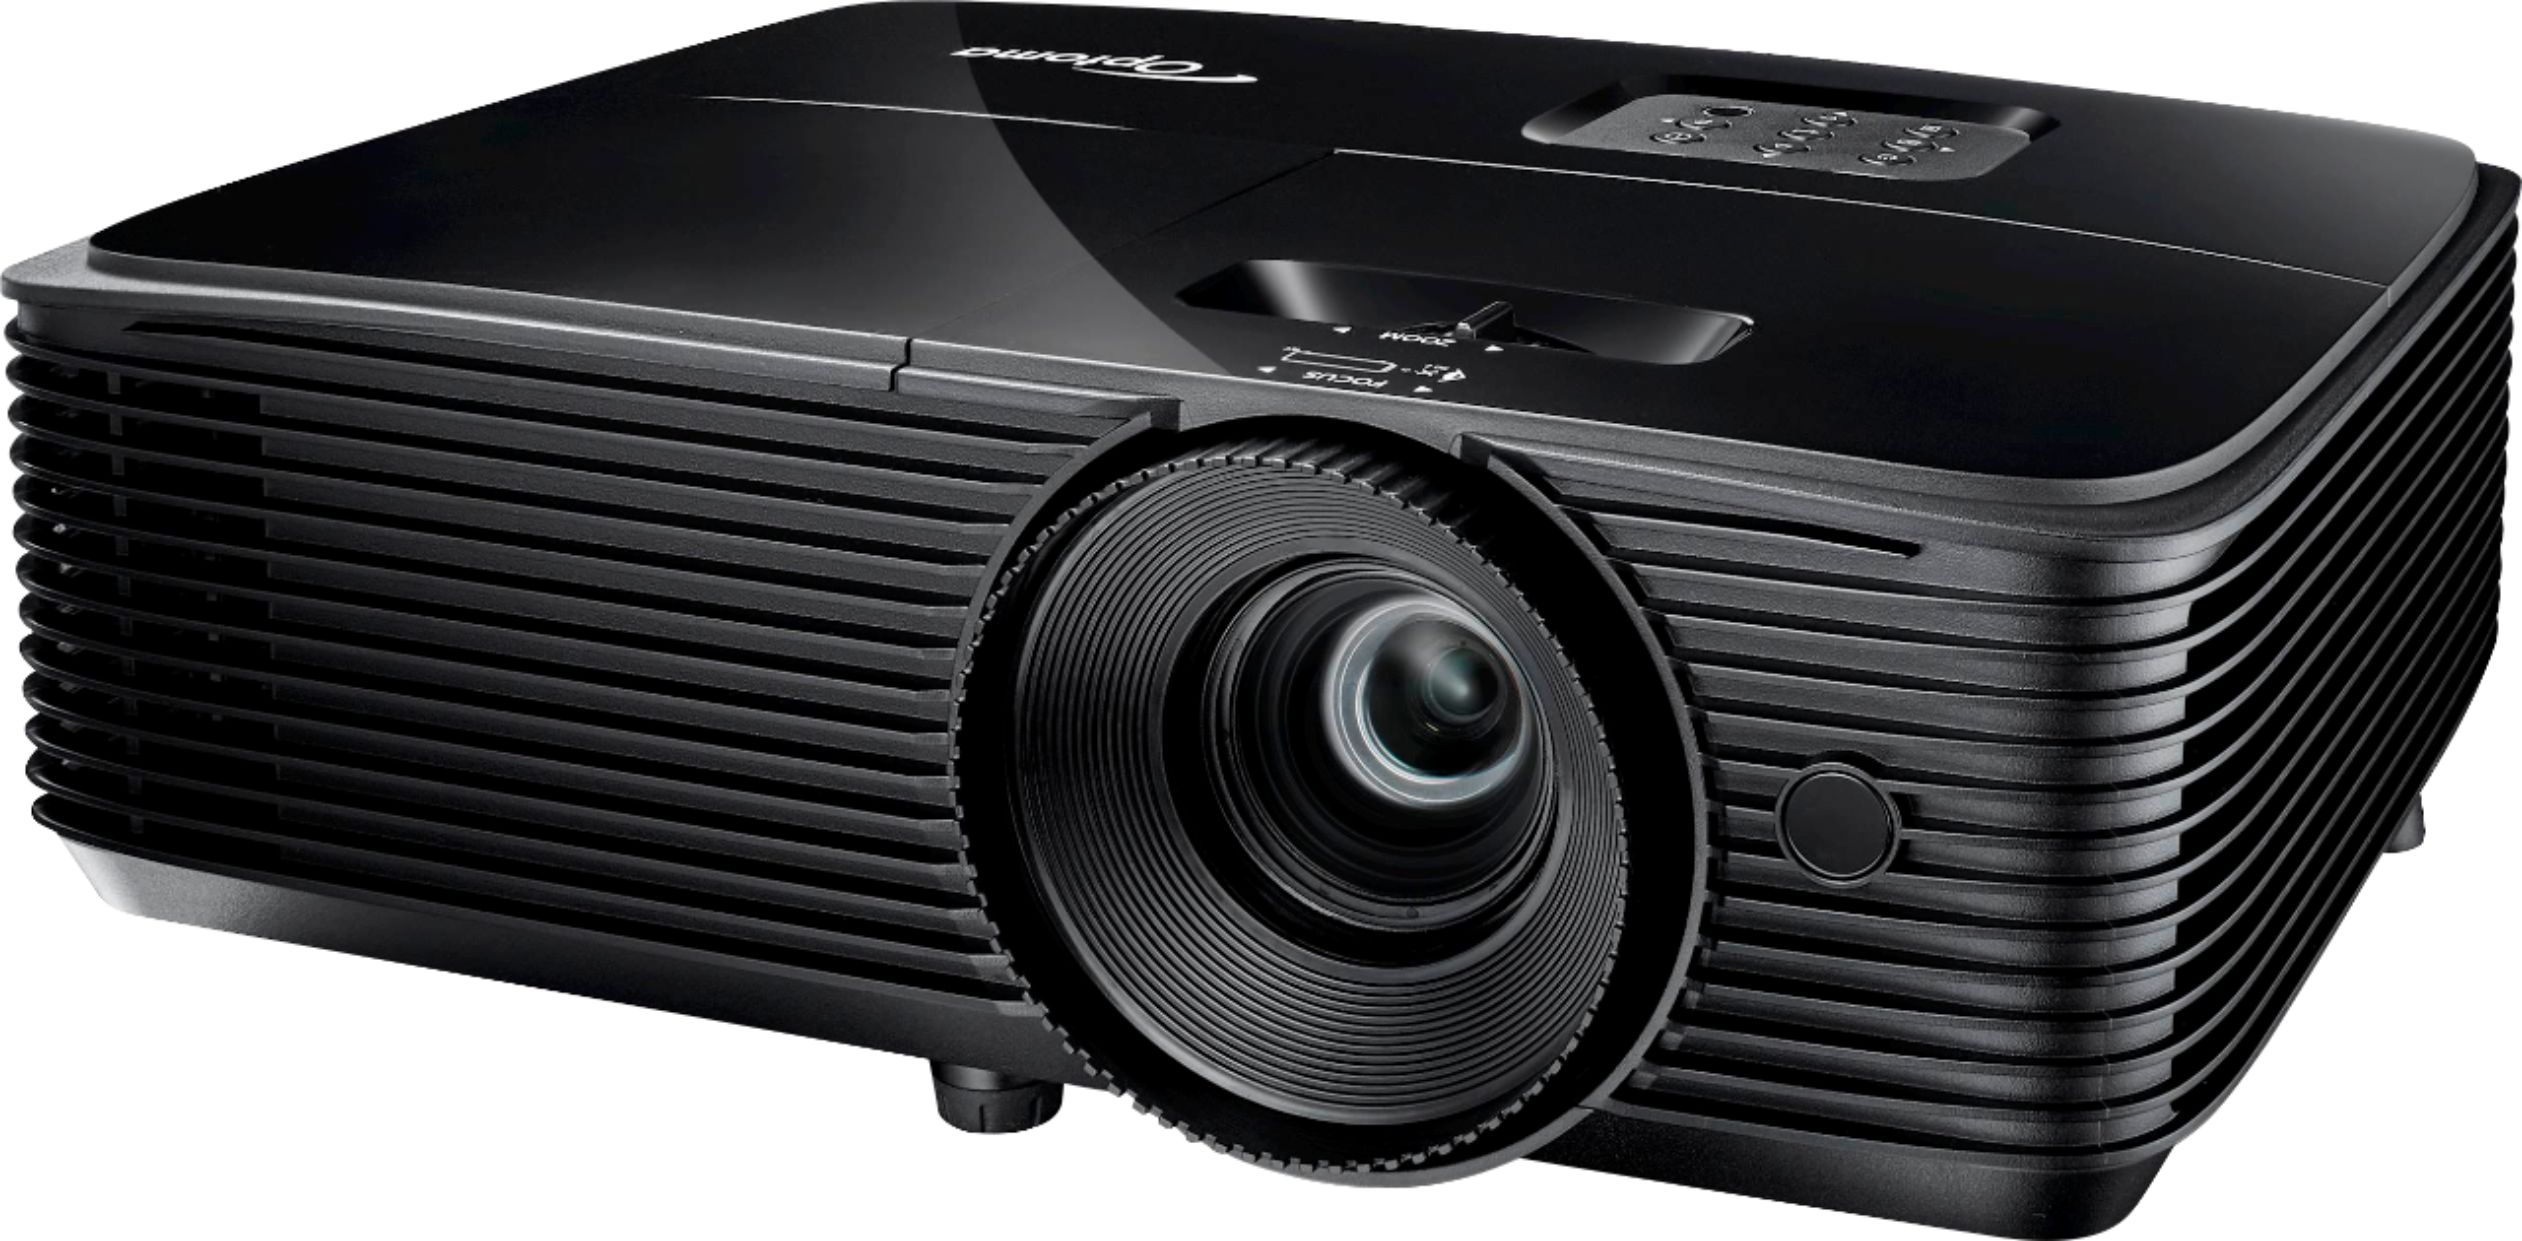
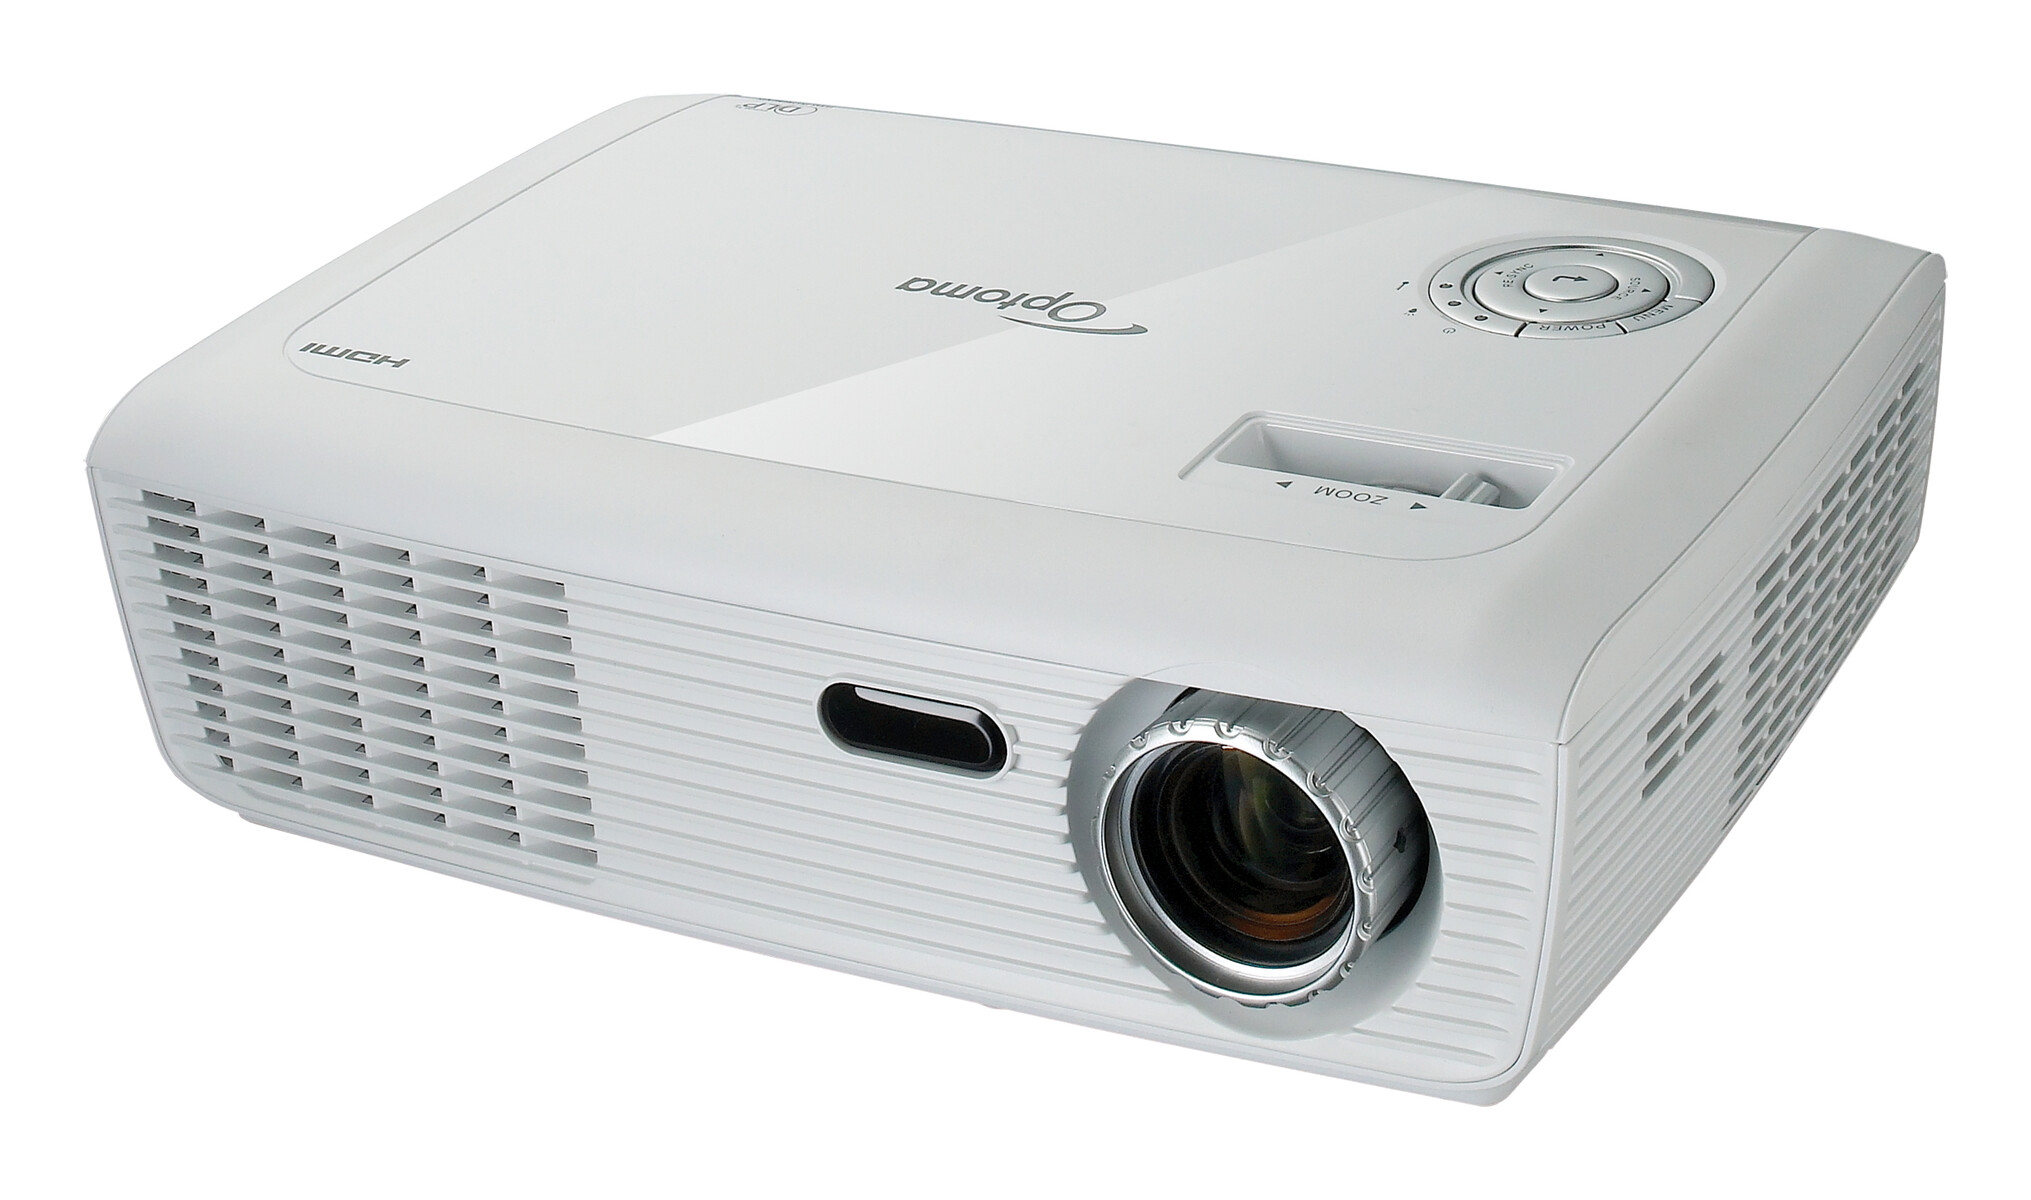
Welcome to our guide on how to reset an Optoma projector. Optoma projectors are known for their high-quality performance and reliability. However, like any electronic device, there may be times when you need to reset the projector to resolve issues or restore it to its factory settings.
In this article, we will provide you with step-by-step instructions on how to reset your Optoma projector, as well as troubleshooting tips for common problems you may encounter. Whether you are experiencing display issues, lamp-related concerns, or simply want to start fresh with a clean slate, resetting your Optoma projector can often be the solution.
Before we dive into the reset process, it’s important to note that resetting your projector will erase any custom settings or calibration you have done. It will revert the projector back to its default settings. So, if you have made any personalized adjustments, make sure to take note of them before proceeding with the reset.
Resetting your Optoma projector can help resolve various issues such as distorted images, display errors, connectivity problems, and more. It can also improve the overall performance and restore the projector to its original state, giving you a fresh start for your next presentation, movie night, or gaming session.
Now that you understand the importance of resetting your Optoma projector and the benefits it can bring, let’s move on and explore the troubleshooting steps and different methods of resetting your projector.
Troubleshooting Common Issues
Before resorting to a full reset, it’s worth troubleshooting the most common issues that can arise with your Optoma projector. This can save you time and effort, and may resolve the problem without needing to perform a complete reset.
1. No power: Ensure that the power cable is securely connected and the power outlet is functioning properly. Check the power indicator light on the projector to see if it is on. If not, try a different power outlet or replace the power cable.
2. No image or distorted image: Check the video source cable connection to make sure it is properly plugged in. Try using a different video cable or source device to rule out any issues with the cable or device. Adjust the projector’s focus and zoom settings to ensure a clear image.
3. No sound or distorted sound: Check the audio cable connections and make sure they are securely plugged into the correct audio inputs. Adjust the volume settings on both the projector and the connected audio device, such as a laptop or DVD player.
4. Overheating: If the projector shuts down unexpectedly due to overheating, check if the air vents are blocked or obstructed. Clean the projector’s air filters regularly to prevent dust buildup, and ensure proper ventilation around the projector.
5. Lamp replacement: If the lamp indicator light is blinking, it may be time to replace the lamp. Refer to the projector’s user manual for instructions on how to replace the lamp. Optoma projectors typically provide a lamp replacement reminder feature to help you keep track of the lamp’s lifespan.
If you have tried troubleshooting the above issues and are still experiencing problems with your Optoma projector, it may be necessary to proceed with a reset to resolve the issue. In the next section, we will guide you through the step-by-step process of resetting your Optoma projector.
Step-by-Step Guide to Resetting Optoma Projector
Resetting your Optoma projector involves restoring it to its factory settings. This process will erase any customized settings and bring the projector back to its original state. Here is a step-by-step guide to help you reset your Optoma projector:
- Turn off the projector and disconnect all cables.
- Locate the control panel or the remote control for your Optoma projector.
- If using the control panel, locate and press the “Menu” or “Setup” button to access the projector’s menu options.
- If using the remote control, press the “Menu” button to access the on-screen menu.
- Navigate to the “Reset” or “System” section in the menu options using the arrow keys on the control panel or remote control.
- Once in the “Reset” or “System” section, look for the “Factory Reset” or “Restore to Factory Defaults” option and select it.
- Confirm the reset by selecting “Yes” or “OK” when prompted. Note that this will erase all customized settings and configurations.
- Wait for the projector to complete the reset process. It may take a few minutes for the projector to restart.
- Once the reset is complete, reconnect the cables and power on the projector.
- Follow the initial setup prompts on the projector’s screen to configure basic settings such as language, display mode, and input source.
It’s essential to consult your projector’s user manual for specific instructions on accessing the menu options and performing a factory reset, as the steps may vary slightly depending on the Optoma projector model you have.
By following these step-by-step instructions, you should be able to successfully reset your Optoma projector and resolve any issues you were facing. However, if the problems persist or you need further assistance, it is recommended to contact Optoma’s customer support for professional guidance.
Resetting Factory Settings Using the Remote Control
If you have the remote control for your Optoma projector, you can easily reset the factory settings using the following steps:
- Ensure that the projector is turned on.
- Point the remote control towards the projector and make sure there are no obstructions between them.
- Press the “Menu” button on the remote control to access the on-screen menu.
- Using the arrow keys on the remote control, navigate to the “Reset” or “System” section in the menu options.
- Select the “Factory Reset” or “Restore to Factory Defaults” option from the menu.
- Confirm the reset by selecting “Yes” or “OK” when prompted. This action will erase all customized settings and configurations.
- Wait for the projector to complete the reset process. It may take a few minutes for the projector to restart.
- Once the reset is complete, the projector will display the default settings.
- Reconfigure any necessary settings, such as language, display mode, and input source, using the remote control and on-screen menu.
Remember to consult your specific Optoma projector’s user manual for precise instructions on accessing the on-screen menu and performing a factory reset using the remote control. The steps may differ slightly depending on the model you have.
By following these steps, you can easily reset your Optoma projector to its factory settings using the remote control. This can be helpful if you prefer using the remote control over the control panel buttons or if the control panel is not easily accessible.
However, should you encounter any difficulties or require additional assistance, it is recommended to refer to the user manual or contact Optoma’s customer support for further guidance.
Resetting Factory Settings Using the On-Screen Menu
If you prefer using the on-screen menu of your Optoma projector to reset the factory settings, follow these steps:
- Turn on the projector and ensure that it is displaying an image.
- Press the “Menu” button on the control panel or remote control to access the on-screen menu.
- Using the arrow keys, navigate to the “Reset” or “System” section in the menu options.
- Within the “Reset” or “System” section, locate the “Factory Reset” or “Restore to Factory Defaults” option.
- Select the “Factory Reset” or “Restore to Factory Defaults” option.
- Confirm the reset by selecting “Yes” or “OK” when prompted. This will erase all customized settings and configurations.
- Wait for the projector to complete the reset process. It may take a few minutes for the projector to restart.
- Once the reset is complete, the projector will display the default settings.
- Reconfigure any necessary settings, such as language, display mode, and input source, using the on-screen menu.
It’s important to note that the steps mentioned above are general guidelines for resetting the factory settings via the on-screen menu. The exact menu options and layout may vary depending on the Optoma projector model you are using.
Refer to your projector’s user manual for detailed instructions on accessing the on-screen menu and performing a factory reset. The manual will provide the specific steps and menu navigation tailored to your model.
By following these steps, you can easily reset your Optoma projector to its factory settings using the on-screen menu. This method is convenient, especially if you prefer navigating through settings using the on-screen menu rather than the physical control buttons.
If you encounter any difficulties or require further assistance, it is advisable to consult the user manual or contact Optoma’s customer support for additional guidance.
Resetting the Lamp Timer
Over time, the lamp in your Optoma projector will eventually reach the end of its lifespan. To accurately keep track of the lamp’s usage, Optoma projectors come equipped with a lamp timer feature that keeps count of the lamp hours. Resetting the lamp timer allows you to monitor the lamp’s usage accurately.
Here’s how you can reset the lamp timer on your Optoma projector:
- Turn on the projector and ensure that it is displaying an image.
- Press the “Menu” button on the control panel or remote control to access the on-screen menu.
- Navigate to the “Settings” or “System” section in the on-screen menu.
- Look for the “Lamp Settings” or “Lamp Timer” option in the menu.
- Within the “Lamp Settings” or “Lamp Timer” option, select the “Reset Lamp Timer” or “Clear Lamp Hours” option.
- Confirm the reset action by selecting “Yes” or “OK” when prompted.
- Wait for the projector to process the reset. It may take a few moments for the process to complete.
- After the reset is finished, the lamp timer will be reset to zero, and you will have an accurate count of the lamp’s usage from that point onward.
It’s important to note that resetting the lamp timer does not extend the lifespan of the lamp itself. It simply provides you with an accurate record of the lamp hours. Optoma projectors typically have a lamp replacement reminder feature that alerts you when it’s time to replace the lamp based on its usage.
Consult your projector’s user manual for specific instructions on accessing the on-screen menu and resetting the lamp timer. Menu options and steps may vary depending on your Optoma projector model.
By resetting the lamp timer, you can keep track of the lamp’s usage accurately and ensure optimal performance from your Optoma projector. If you have any difficulties or require further assistance, refer to the user manual or contact Optoma’s customer support for guidance.
Tips for Maintaining Optoma Projector Performance
To ensure optimal performance and longevity of your Optoma projector, it is important to implement proper maintenance practices. Here are some tips to help you maintain your Optoma projector:
- Regularly clean the projector: Dust and debris can accumulate on the projector’s lens and vents, affecting performance and potentially causing overheating. Use a soft cloth or lens brush to gently clean the lens and a can of compressed air to remove dust from the vents and internal parts. Avoid using abrasive materials or strong cleaning solutions, as they may damage the projector.
- Clean or replace air filters: Optoma projectors are equipped with air filters that prevent dust from entering the internal components. Check the user manual to locate and clean the filters regularly. If the filters are damaged or excessively dirty, consider replacing them to maintain proper airflow and prevent overheating.
- Ensure proper ventilation: Optoma projectors generate heat, so it is crucial to provide adequate ventilation during operation. Avoid placing the projector in enclosed spaces or close to walls or other objects that may block airflow. Maintain a clear space around the projector to allow for proper ventilation and prevent overheating.
- Use a surge protector: Protect your Optoma projector from power surges by plugging it into a surge protector. Power fluctuations can damage the internal components of the projector, so using a surge protector can help safeguard against these risks.
- Avoid abrupt power interruptions: When turning off your Optoma projector, allow it to go through the proper shutdown process. Avoid unplugging or turning off the power supply abruptly, as this can cause damage to the lamp and other sensitive components.
- Keep the projector away from moisture: Moisture can harm the projector’s internal components. Avoid using the projector in humid environments or exposing it to liquids. If the projector does come into contact with liquid, turn it off immediately, unplug it, and contact Optoma’s customer support for guidance on proper handling.
- Schedule periodic maintenance checks: Consider getting your Optoma projector serviced by professionals periodically. They can perform thorough inspections, clean internal components, and resolve any potential issues proactively.
By following these maintenance tips, you can maximize the performance and lifespan of your Optoma projector. Regular cleaning, proper ventilation, and careful handling can contribute to a reliable and enjoyable viewing experience.
Remember to consult your projector’s user manual for specific maintenance instructions tailored to your Optoma projector model. If you encounter any difficulties or have specific maintenance concerns, reach out to Optoma’s customer support for professional assistance.
Conclusion
Resetting an Optoma projector can be a useful troubleshooting step for resolving common issues and restoring the projector to its factory settings. Whether you’re experiencing display problems, connectivity issues, or simply want to start fresh, resetting your Optoma projector can often provide a solution.
In this guide, we have provided you with step-by-step instructions on how to reset your Optoma projector using both the remote control and the on-screen menu. We have also shared troubleshooting tips for common problems and highlighted the importance of proper maintenance to ensure optimal projector performance.
Remember to consult your specific Optoma projector’s user manual for detailed instructions and to follow any manufacturer recommendations for maintenance and operations.
If you encounter any difficulties or have specific questions regarding your Optoma projector, it is advisable to contact Optoma’s customer support. Their team of experts can provide you with personalized assistance and guidance to address your concerns.
By following the instructions and tips outlined in this guide, you can confidently reset your Optoma projector, troubleshoot common issues, and maintain its performance for a reliable and enjoyable viewing experience.


