Introduction
There are instances when we send an email only to realize later that we forgot to include important information or made a mistake in the content. Thankfully, Gmail provides a straightforward way to resend an email, giving us the opportunity to correct any errors or omissions we may have made.
In this guide, we will walk you through the step-by-step process of resending an email in Gmail. Whether you need to include additional information, attach a file you forgot, or simply want to ensure that the recipient receives the email, resending can save the day.
Gmail, provided by Google, is one of the most popular email services worldwide. It offers a wide range of features, including user-friendly interfaces, robust security, and ample storage space. With a simple and intuitive layout, navigating through Gmail is a breeze, making it a preferred choice for both personal and professional use.
Now, let’s explore how you can easily resend an email in Gmail without any hassle.
Step 1: Open Gmail
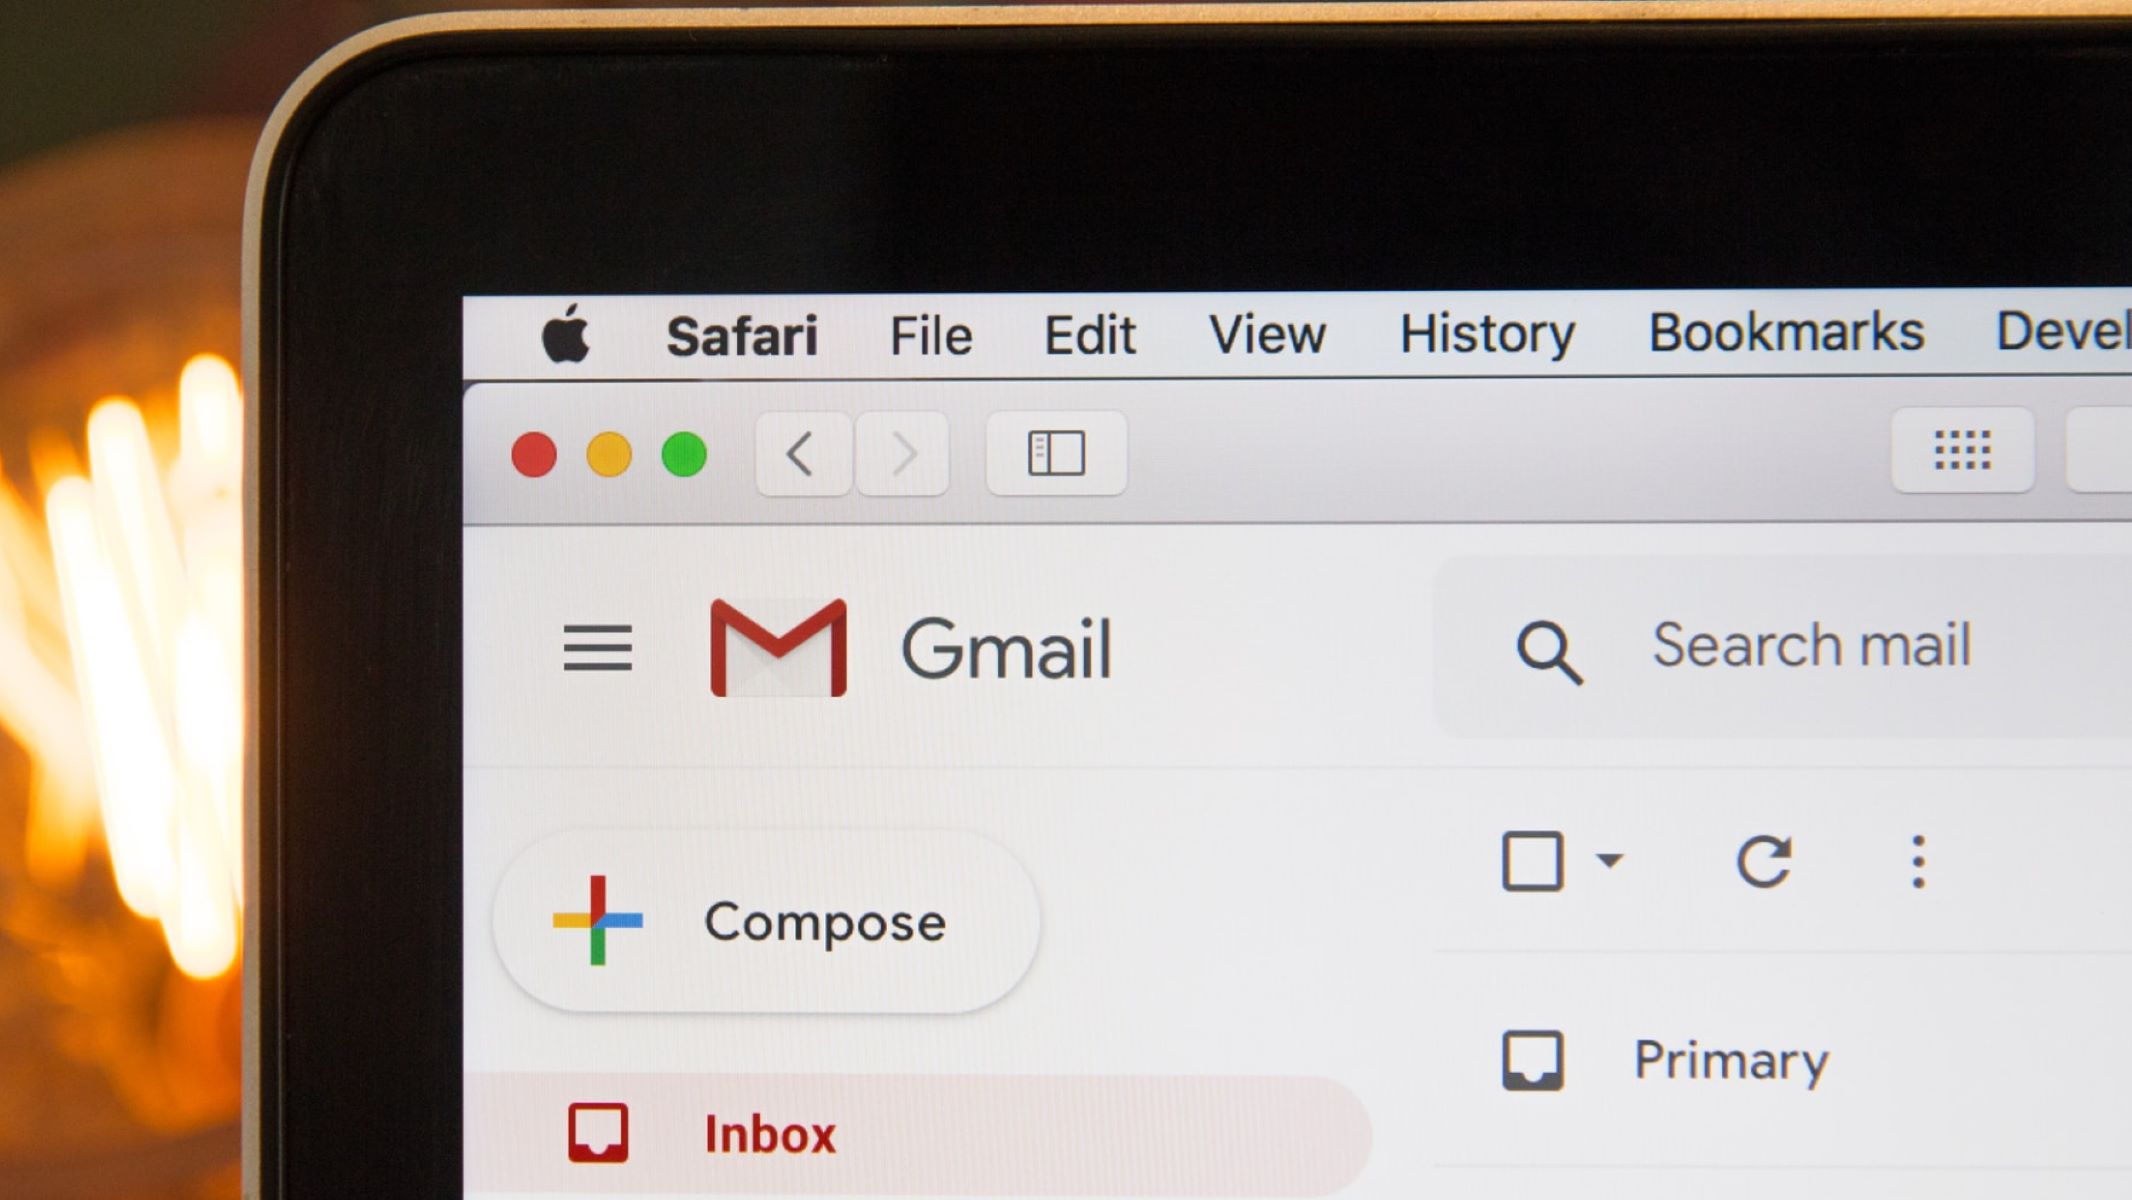
The first step in the process of resending an email in Gmail is to open the Gmail web client. Launch your preferred web browser and navigate to the Gmail website by typing “gmail.com” in the address bar.
If you have a Gmail account, enter your email address and password in the respective fields and click on the “Sign In” button. If you don’t have a Gmail account, you can create one by clicking on the “Create account” option and following the on-screen instructions.
Once you have successfully signed in to your Gmail account, you will be greeted by the Gmail interface, which displays your inbox, composed email drafts, and sent emails.
Gmail provides a user-friendly interface that allows you to easily navigate through various features and options. The layout is designed to be intuitive, making it easy for users to access their emails and perform tasks efficiently.
Note that you can also access Gmail through the Gmail mobile app, available for both Android and iOS devices. Simply open the app and sign in to your Gmail account to proceed.
With Gmail open and ready, you are now one step closer to resending your email. Let’s move on to the next step and find the Sent folder where your email is located.
Step 2: Find the Sent folder
Once you have opened Gmail, the next step is to locate the “Sent” folder where all your previously sent emails are stored. The Sent folder is where you will find the email that you want to resend.
To locate the Sent folder, look at the left-hand side panel of the Gmail interface. Here, you will see a list of different labels and folders. Scroll down until you find the “Sent” label. It is usually located below the “Inbox” label.
Click on the “Sent” label, and Gmail will display all your sent emails in chronological order, starting with the most recent ones. The list will include details such as the recipient’s name, the subject line of the email, and the date and time it was sent.
Gmail automatically saves all sent emails in the Sent folder, ensuring that you can easily access them whenever needed. This feature is especially useful when you want to resend an email or refer back to previous conversations.
If you have a large number of emails in your Sent folder, you can use the search bar located at the top of the Gmail interface to quickly find the specific email you want to resend. Simply enter keywords related to the email, such as the recipient’s name or the subject line, and Gmail will filter the results accordingly.
With the Sent folder located and the email you want to resend in sight, you are ready to proceed to the next step and open the email.
Step 3: Locate the email you want to resend
After finding the Sent folder, the next step is to locate the specific email that you want to resend. This may be a recent email or an older one that requires updating or additional information.
In the Sent folder, you will find a list of your sent emails, with the most recent ones at the top. Scroll through the list to find the email you wish to resend. You can identify the email by the subject line and recipient’s name displayed in the list.
If you have a large volume of sent emails, you can use the search bar at the top of the Gmail interface to quickly locate the email. Simply enter relevant keywords from the email, such as the recipient’s name or a specific phrase from the subject line, and Gmail will display the relevant results.
Alternatively, you can use the filters provided by Gmail to narrow down your search. These filters allow you to sort emails based on various criteria such as sender, subject, date range, and more. By using these filters, you can quickly find the email you want to resend.
Once you have located the email, you are ready to proceed to the next step and open it in Gmail.
Step 4: Open the email
Once you have located the email you want to resend in the Sent folder, the next step is to open it. Opening the email will allow you to view its contents and make any necessary changes before resending it.
To open the email, simply click on the subject line or the sender’s name in the list of sent emails. This will open the email in a new window or tab, depending on your browser settings.
Gmail will display the entire contents of the email, including the subject line, body text, and any attachments that were included in the original message. You can now review the email and make any modifications or additions as needed.
If you need to make changes to the email, you can edit the subject line, revise the body text, or add/remove attachments. Gmail provides a user-friendly text editor that allows you to format your email, insert links, add images, and more.
Take your time to carefully review the email and ensure that all the information and details are accurate and complete. This is your opportunity to correct any mistakes or add any missing information before resending the email.
Once you are satisfied with the contents of the email, you can proceed to the next step and access the three-dot menu icon to find the option to resend the email in Gmail.
Step 5: Click on the three-dot menu icon
After opening the email that you want to resend, the next step is to access the three-dot menu icon in order to find the option to resend the email in Gmail.
The three-dot menu icon, also known as the “More options” icon, is located at the top-right corner of the email window. It is represented by three vertically aligned dots, and clicking on it will open a dropdown menu with various options.
Once you have located the three-dot menu icon, click on it to reveal the menu. This will provide you with a range of actions and settings that you can apply to the email.
In the dropdown menu, you will see options such as “Reply”, “Forward”, “Print”, “Archive”, “Move to”, and more. These options allow you to perform different actions on the email, depending on your needs.
Scroll down through the menu options until you find the option to resend the email. It is usually labeled as “Resend this message” or a similar term.
Click on the “Resend this message” option to proceed. This action will prompt Gmail to open a new email composition window with the contents of the original email, allowing you to proceed with the resend process.
With the three-dot menu icon clicked and the option to resend the email selected, you are now ready to move on to the next step and make any necessary changes to the email before resending it.
Step 6: Select “Resend this message”
After clicking on the three-dot menu icon in Gmail, the next step is to select the “Resend this message” option from the dropdown menu. This option allows you to initiate the process of resending the email.
When you choose the “Resend this message” option, Gmail will open a new email composition window with the contents of the original email. This includes the recipient’s email address, subject line, body text, and any attachments that were included in the original message.
This step is crucial as it gives you the chance to review the email once again and make any necessary modifications before resending it. You may want to update the subject line, rephrase certain parts of the email, or include additional information that might be relevant.
It’s important to note that when you select the “Resend this message” option, Gmail does not automatically send the email. It simply provides you with the opportunity to make changes and review the email before proceeding.
Take the time to carefully go through the email and ensure that everything is accurate, clear, and concise. Check for any grammatical or spelling errors, and consider the tone and overall effectiveness of your message.
Once you are satisfied with the modifications, you can proceed to the next step and click on the “Send” button to resend the email to the desired recipient.
Remember, selecting the “Resend this message” option enables you to make any final adjustments before sending the email to ensure that it meets your intended purpose.
Step 7: Make any necessary changes
After selecting the “Resend this message” option in Gmail, the next step is to make any necessary changes to the email before resending it. This gives you the opportunity to update the content, correct any mistakes, or add any missing information.
In the new email composition window, you will see the original contents of the email, including the recipient’s email address, subject line, body text, and any attachments. Here are some changes you may consider making:
- Subject Line: Modify the subject line to provide more clarity or emphasize a specific point.
- Body Text: Edit the body of the email to make it more concise, engaging, or informative. Add any additional details or remove any irrelevant information.
- Attachments: Review the attachments included in the original email. If necessary, you can add new attachments or remove existing ones.
Pay attention to the tone, language, and overall effectiveness of your message. Ensure that the email conveys your intended message in a professional and clear manner.
Take your time to carefully review the changes you made to the email. It’s essential to proofread the content for spelling and grammar errors. Also, consider the organization and flow of the email to ensure that it is coherent and easy to understand.
Remember, the goal is to resend an improved version of the original email. Making necessary changes will help you deliver a more polished and effective message to the recipient.
Once you are satisfied with the modifications, you can proceed to the final step and click on the “Send” button to resend the email.
Step 8: Click on “Send” to resend the email
After making the necessary changes to the email in Gmail, the final step is to click on the “Send” button to resend the email to the intended recipient. This step ensures that your revised email reaches its destination and allows you to complete the process of resending.
Located usually at the bottom of the email composition window, the “Send” button is represented by an arrow or a paper airplane icon. Once you are ready to resend the email, simply click on the “Send” button.
Before clicking on “Send”, it’s essential to take a moment to double-check all aspects of the email. Make sure that the recipient’s email address is correct, the subject line accurately reflects the content, and the body text contains all the necessary information.
Review your changes and ensure that the email is polished, professional, and aligned with your intentions. This final assessment will help you avoid any last-minute mistakes and ensure that the revised email is ready for delivery.
Once you are confident that everything is in order, go ahead and click on the “Send” button. Gmail will then proceed to deliver the email to the recipient, just as it would with any regular email.
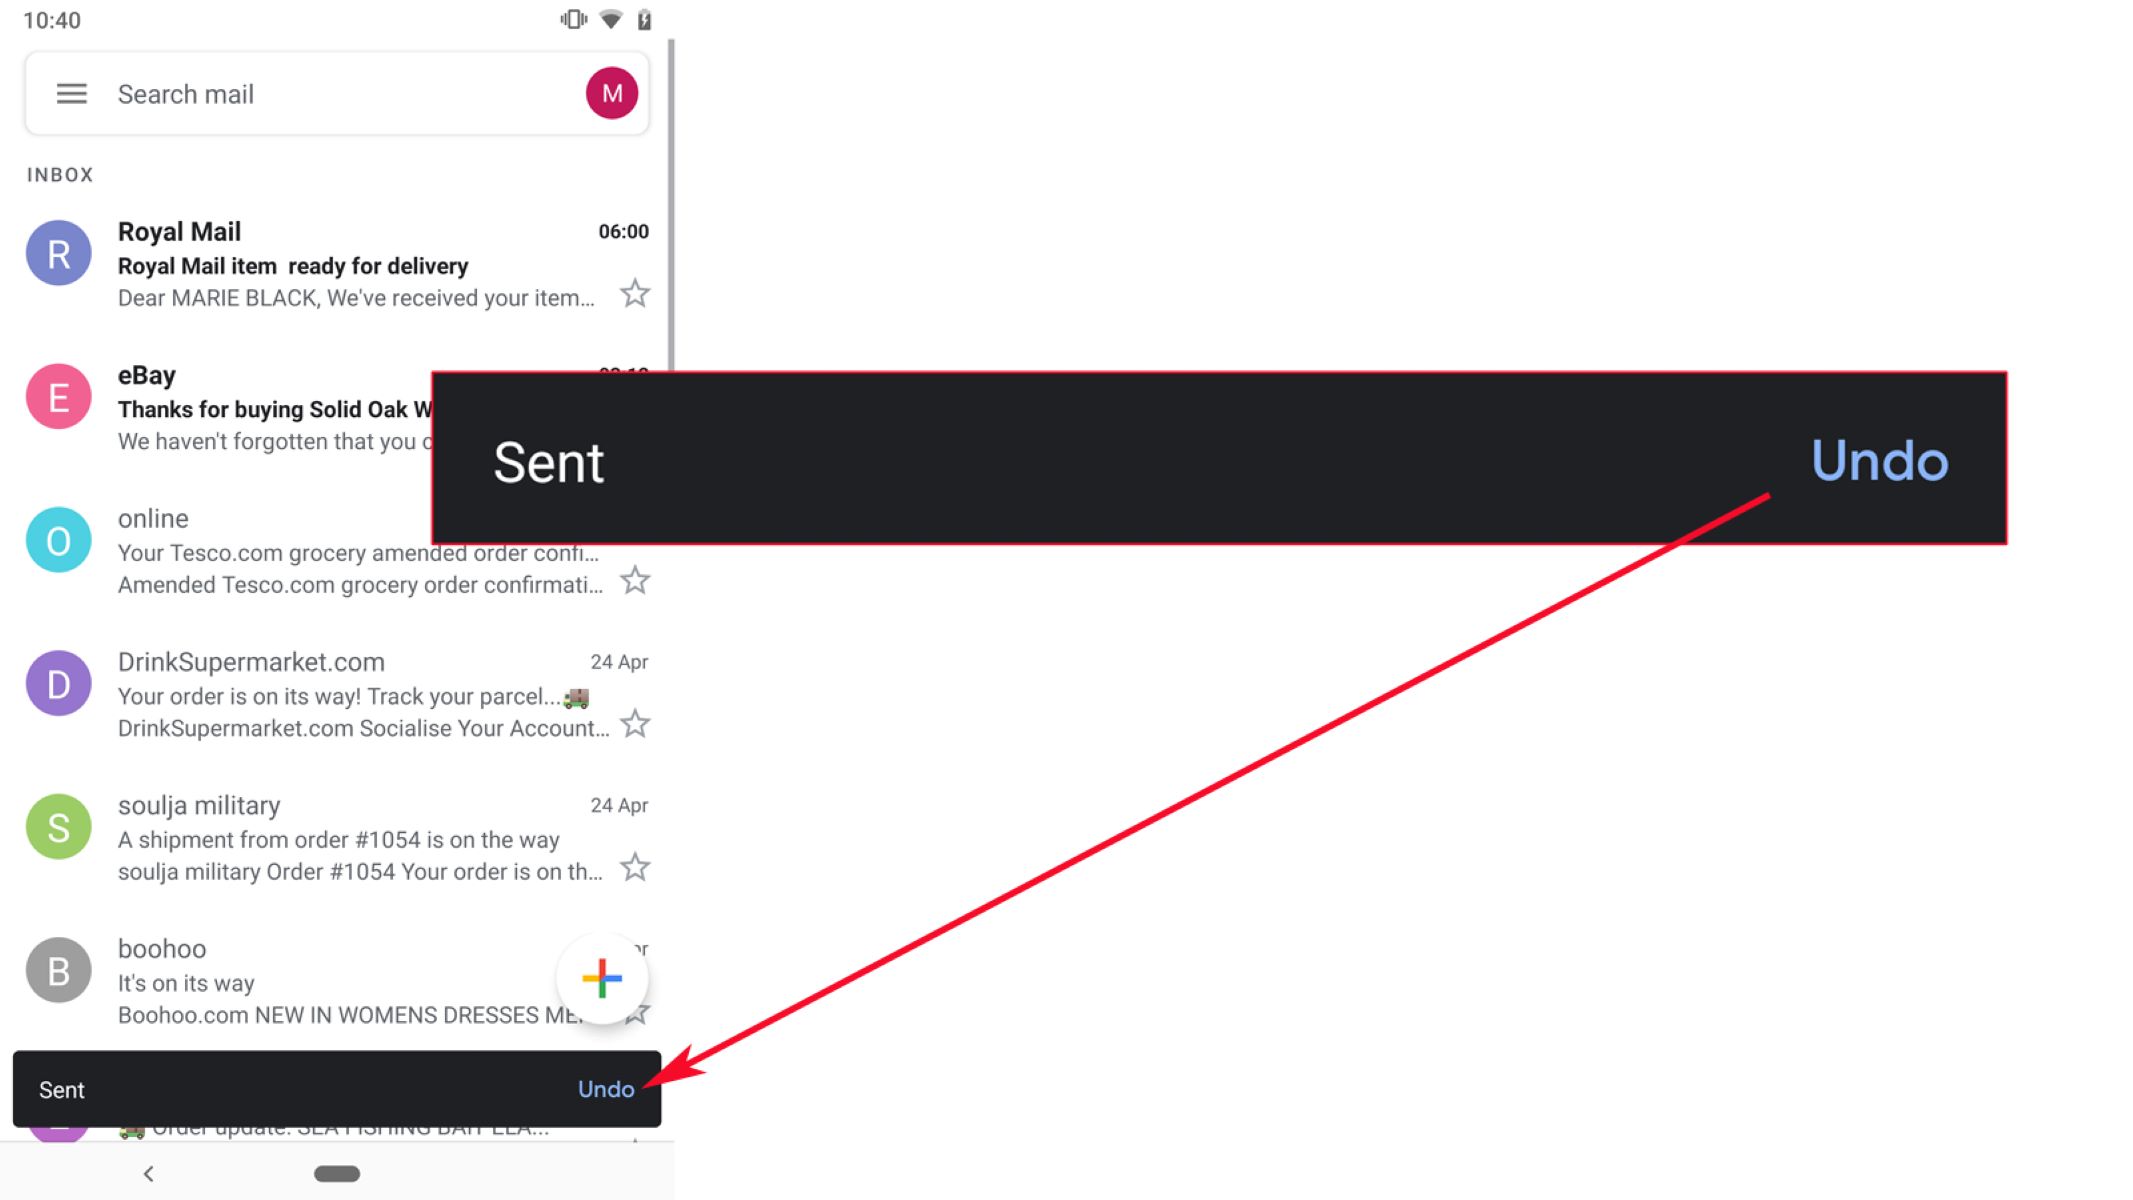
After clicking on “Send,” Gmail may provide a confirmation message or return you to your inbox. Either way, you can rest assured knowing that your revised email has been successfully sent and will be delivered to the recipient’s inbox.
And there you have it! By following these steps, you can easily resend an email in Gmail, allowing you to rectify any mistakes, add important information, or ensure that the intended recipient receives your message.
Now that you know how to resend an email in Gmail, you can confidently correct any errors and maintain effective communication in your personal and professional interactions.
Conclusion
Resending an email in Gmail is a simple and convenient way to rectify mistakes, add missing information, or ensure that the intended recipient receives your message. With just a few easy steps, you can revise and resend an email, maintaining effective communication in both personal and professional settings.
In this guide, we explored the step-by-step process of resending an email in Gmail:
- Open Gmail
- Find the Sent folder
- Locate the email you want to resend
- Open the email
- Click on the three-dot menu icon
- Select “Resend this message”
- Make any necessary changes
- Click on “Send” to resend the email
We emphasized the importance of carefully reviewing the email before sending it again, allowing you to make any necessary modifications and ensure its accuracy and effectiveness. By following these steps, you can maintain clear and concise communication with your recipients.
Gmail’s user-friendly interface, combined with its features like the Sent folder and the three-dot menu icon, make the process of resending an email seamless and hassle-free. It gives you the opportunity to enhance the content, correct mistakes, or add any missing information, guaranteeing that your message is effectively delivered.
Whether you’re a busy professional sending important business communications or an individual who wants to ensure that your personal emails are accurate and complete, knowing how to resend an email in Gmail is a valuable skill.
So, the next time you realize you’ve forgotten an attachment or want to update the contents of an email, you can confidently follow the steps outlined in this guide to resend your email in Gmail effectively.
Now that you have the knowledge, take advantage of Gmail’s features and ensure that your emails are delivered in the best possible form. Happy emailing!