Introduction
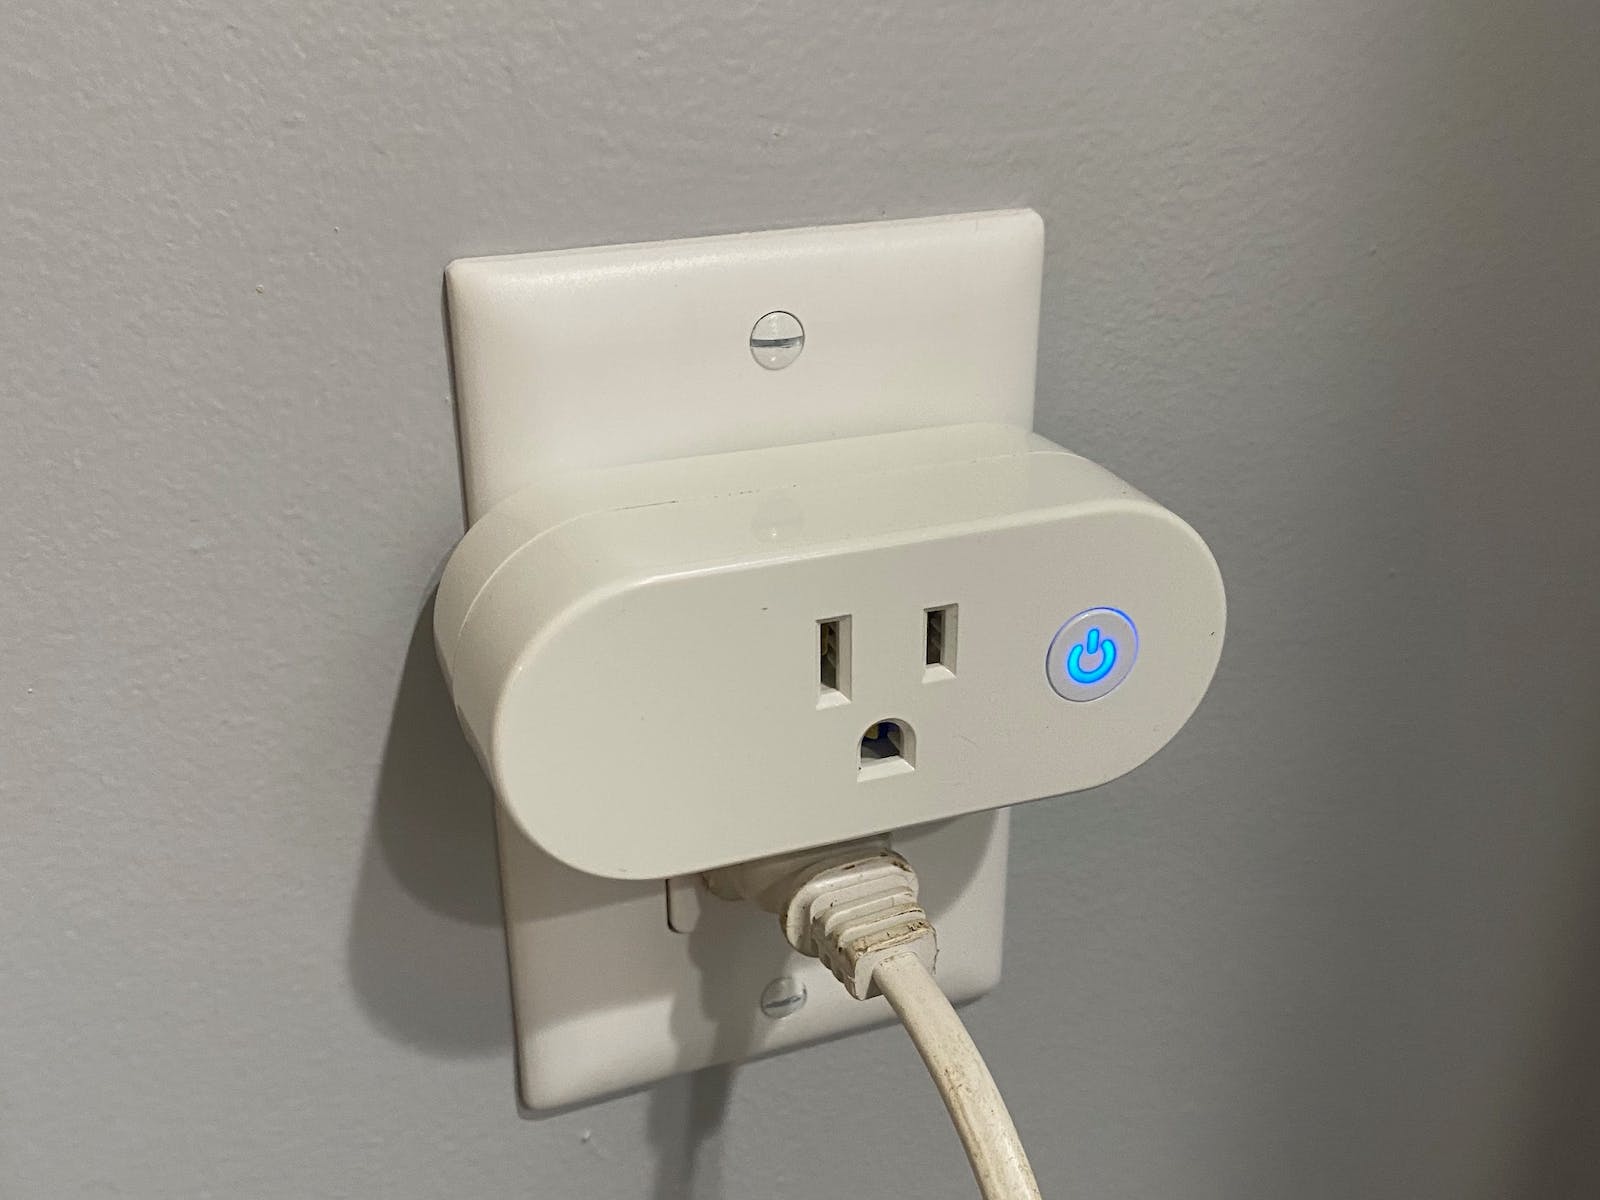
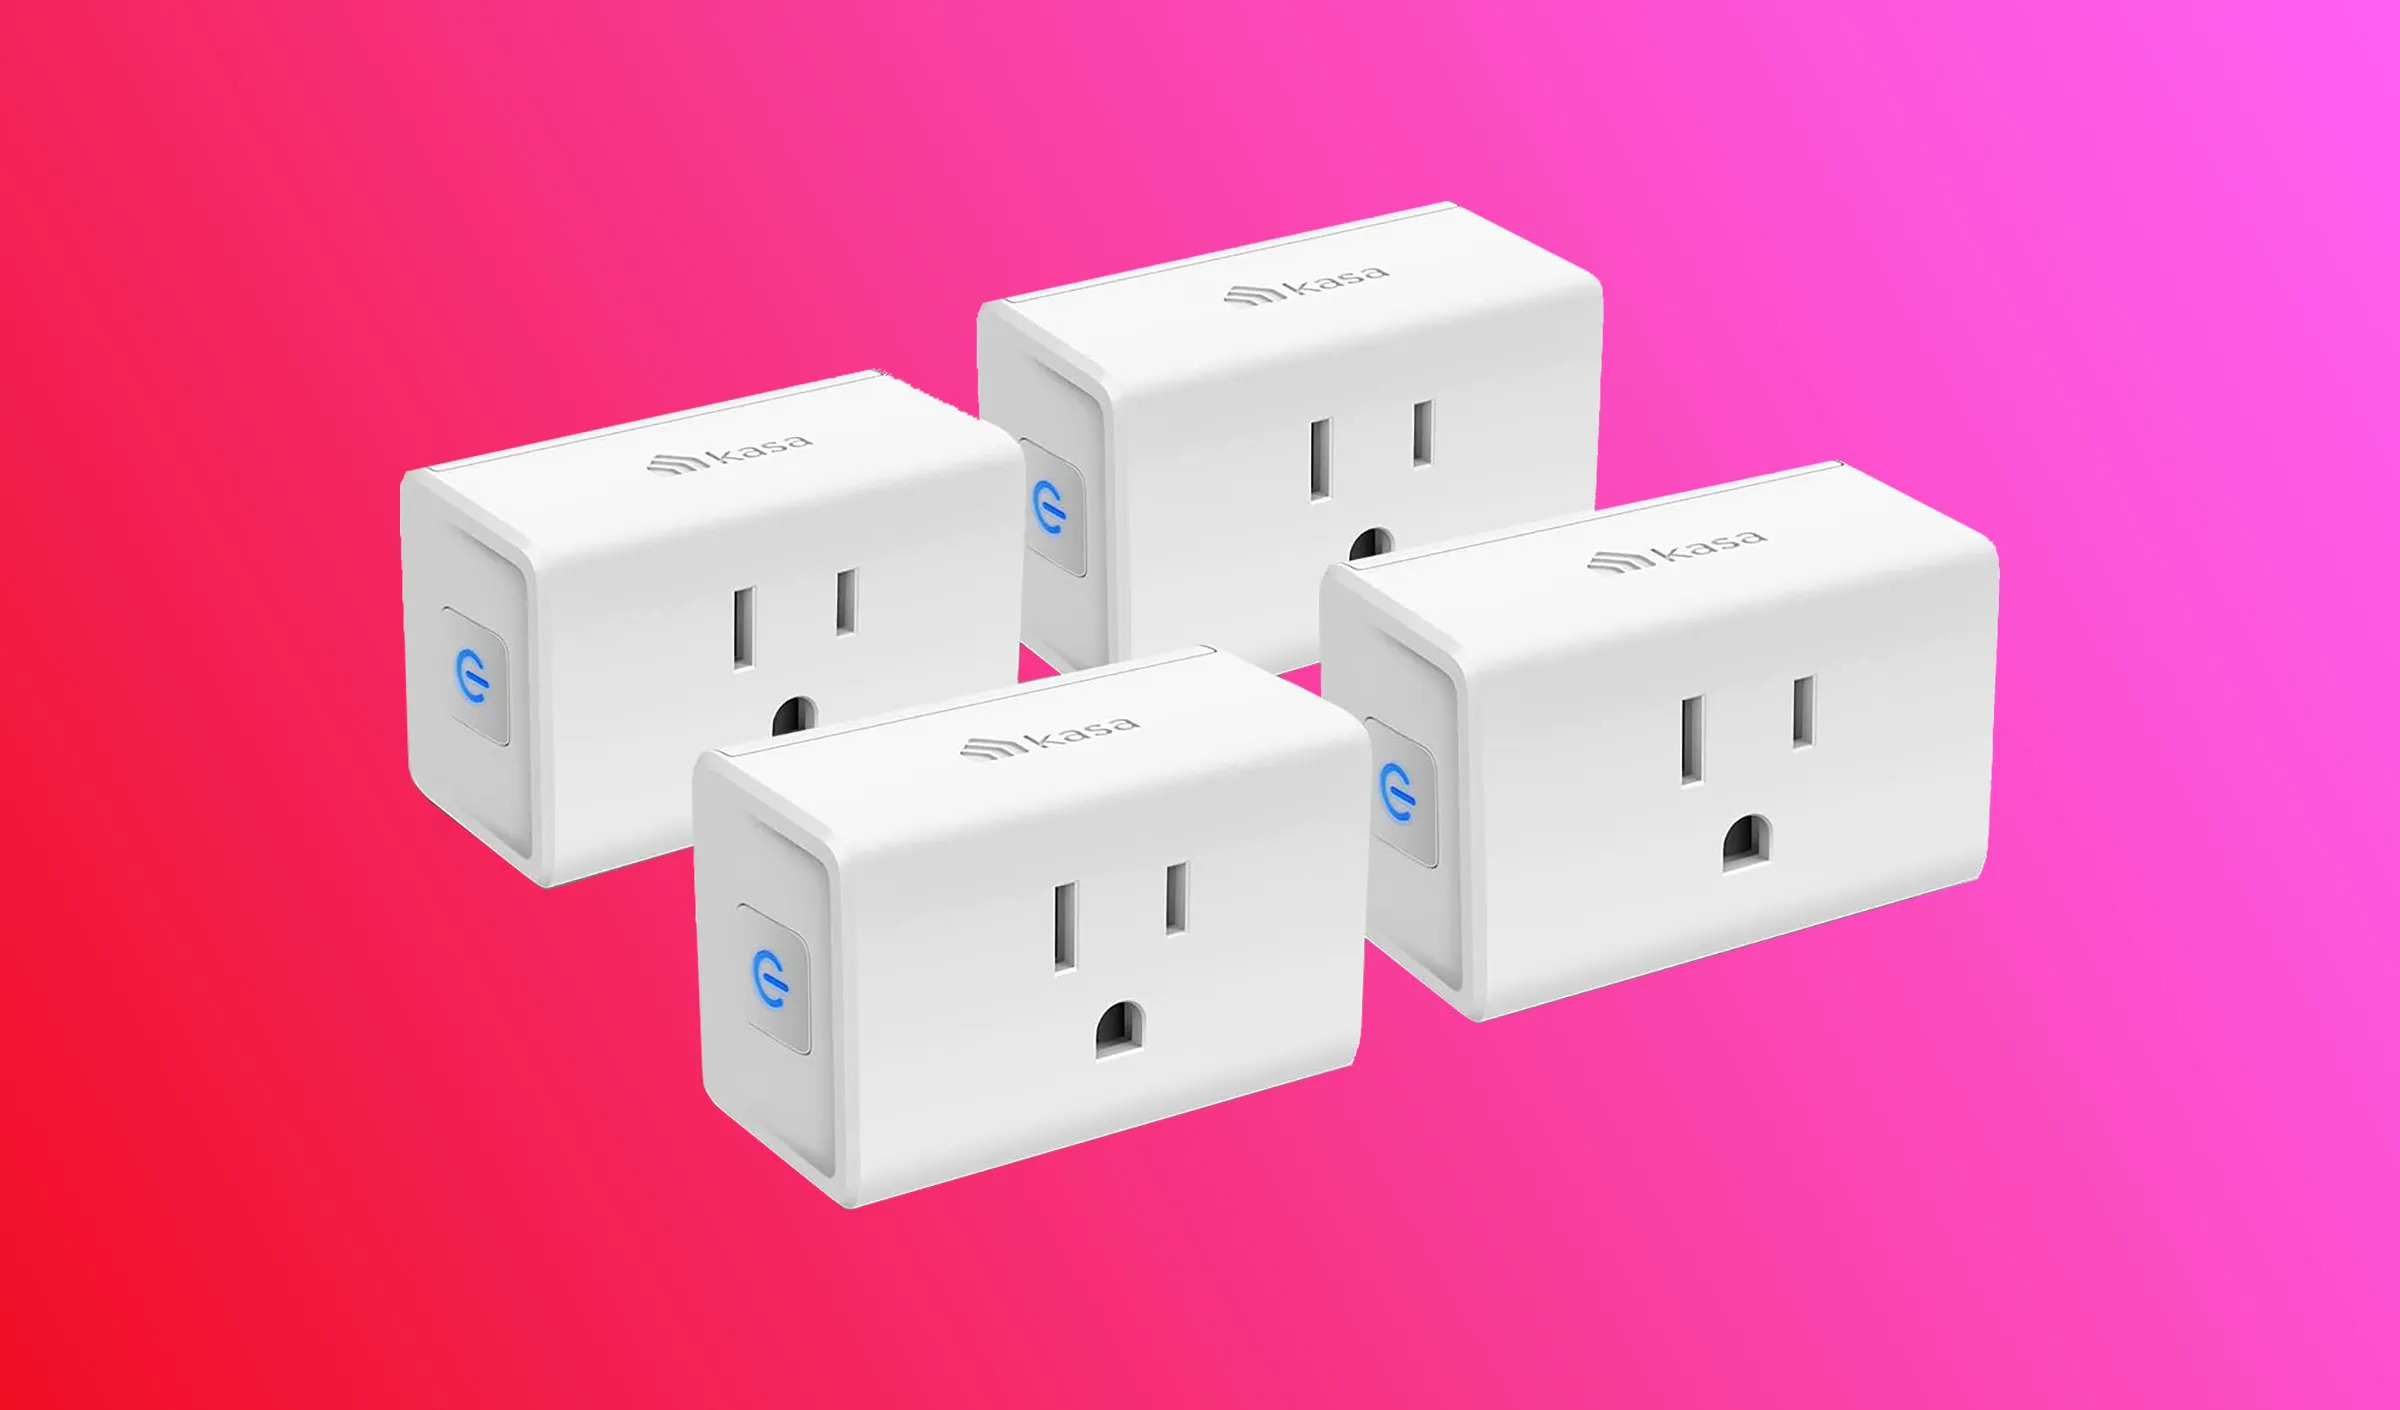
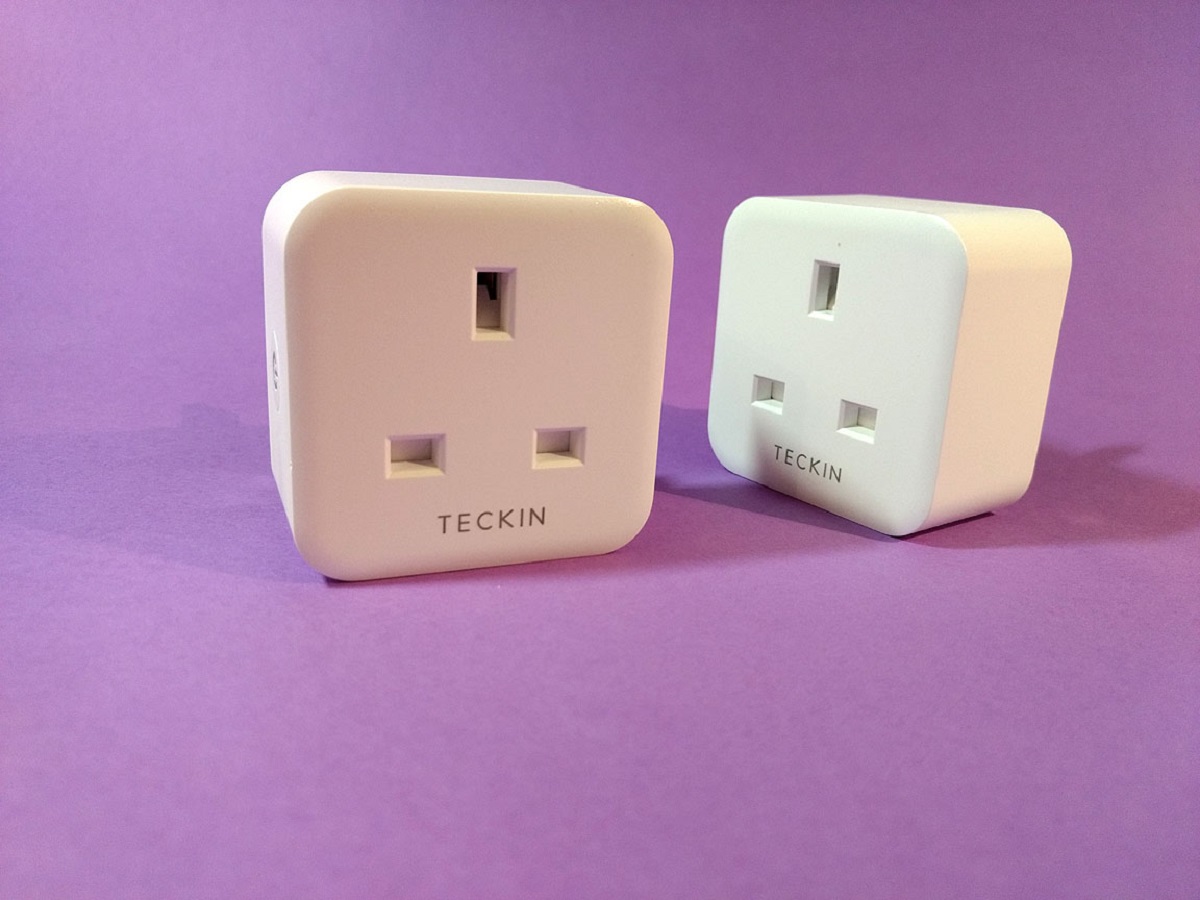
Smart plugs have revolutionized the way we control our electronic devices, allowing us to easily turn appliances on and off with just a voice command. Pairing these smart plugs with virtual assistants like Amazon Alexa adds an extra layer of convenience and control. However, sometimes the default names assigned to these devices by manufacturers might not be as descriptive or memorable as we’d like them to be. Luckily, Alexa provides a simple solution by allowing users to rename their smart plugs to something more personalized.
In this guide, I will walk you through the step-by-step process of renaming a smart plug using the Alexa app. Whether you want to change the name to better reflect the device it controls or simply give it a fun nickname, this tutorial will help you accomplish that in no time!
Renaming your smart plug not only makes it easier to remember and identify when using voice commands, but it also improves the overall user experience. Imagine having multiple smart plugs around your home, and each one has a generic name like “Smart Plug 1” or “Device A.” It could quickly become confusing and frustrating to remember which plug controls which appliance. By renaming them, you can customize the names to align with the specific appliances they control, making it effortless to manage your devices.
So let’s dive into the process of renaming a smart plug on Amazon Alexa, and in just a few simple steps, you’ll have your devices named and organized exactly the way you want them.
Step 1: Open the Alexa app
The first step in renaming your smart plug on Alexa is to open the Alexa app on your smartphone or tablet. The Alexa app is available for both Android and iOS devices and can be downloaded from the respective app stores.
Once you have downloaded and installed the app, launch it and log in to your Amazon account. Make sure you use the same account that is associated with your Alexa-enabled device and the smart plug you want to rename.
Upon logging in, you will be greeted by the Alexa home screen, which is where you can control and manage all your Alexa-enabled devices. Take a moment to familiarize yourself with the different sections, such as the Devices tab, the Skills & Games section, and the Messaging option.
Now that you’re ready, let’s move on to the next step and proceed with renaming your smart plug.
Step 2: Go to Devices
After opening the Alexa app, you will need to navigate to the Devices section, where you can manage all the devices linked to your Amazon Alexa account. This is where you will find your smart plug and be able to rename it.
To access the Devices tab, look for the bottom navigation bar in the app. In most versions of the Alexa app, it is represented by an icon that looks like three lines or dots. Tap on this icon to expand the navigation menu.
From the expanded menu, locate and select the “Devices” option. This will take you to the Devices screen, where you can view and manage all the devices connected to your Alexa account.
On the Devices screen, you will see a list of all the devices associated with your account. This includes not only your smart plugs but also other Alexa-enabled devices like smart speakers, lights, and thermostats. Scroll through the list or use the search function to locate the smart plug you want to rename.
Once you have found the smart plug, you are ready to move on to the next step and proceed with renaming it. Renaming your smart plug will not affect its functionality but will make it easier for you to identify and command it using Alexa.
Step 3: Select the smart plug to rename
Now that you are in the Devices section of the Alexa app, it’s time to locate and select the specific smart plug that you want to rename. This step will allow you to access the settings and options for that particular device.
Scroll through the list of devices or use the search function to find the smart plug you wish to rename. Once you have located it, tap on it to select it. This will take you to the device details screen, where you can view and manage various settings related to the smart plug.
On the device details screen, you will see information about the smart plug, such as its current name, status, and any associated routines or groups. Take a moment to ensure that you have selected the correct device before proceeding with the renaming process.
It’s worth noting that if you have multiple smart plugs of the same brand or type, they might have similar default names assigned by the manufacturer. Renaming them will not only help you identify and control each device more easily but also prevent confusion when giving voice commands to Alexa.
Once you have ensured that you have selected the correct smart plug, let’s move on to the next step and start renaming it according to your preference.
Step 4: Tap on Edit Name
After selecting the smart plug you want to rename, you will need to navigate to the option to edit its name. The Alexa app makes it easy to modify the name of your devices to suit your preferences.
On the device details screen, look for the option to edit the name of the smart plug. Depending on the version of the app or the device you are using, this option may be represented by an “Edit” button or a pencil icon. Tap on this button or icon to proceed with renaming the smart plug.
When you tap on the edit option, a text field will appear where you can enter the new name for your smart plug. Alexa allows you to use any name that is easy to remember and identify when giving voice commands.
It’s important to choose a descriptive and unique name for your smart plug so that you can easily differentiate it from other devices in your Alexa ecosystem. For example, if your smart plug controls the lamp in your living room, you can name it “Living Room Lamp” or “Lamp Plug.” This way, you can issue commands like “Alexa, turn on the Living Room Lamp” with ease.
You can also get creative with the names and give your smart plug a fun or personalized nickname. The choice is yours, as long as it is concise and easy to understand for both you and Alexa.
Once you have entered the new name for the smart plug, proceed to the next step to save the changes and apply the new name to your device.
Step 5: Enter the new name
In this step, you will enter the new name for your smart plug. Once you have tapped on the option to edit the name, a text field will appear where you can type in the desired name for the device.
Take a moment to think about the new name you want to give to your smart plug. It’s important to choose a name that is both descriptive and easy to remember. You want a name that accurately reflects the appliance or device controlled by the smart plug and makes it simple to issue voice commands to Alexa.
To enter the new name, tap on the text field and use the keyboard that appears on your device’s screen to type in the desired name. Make sure to double-check for any spelling errors or typos before proceeding to the next step. Having a correctly spelled name will ensure that Alexa understands your commands accurately.
When choosing the new name, you have the flexibility to be as creative as you’d like. You can use specific room names, appliance names, or even give your smart plug a fun nickname that brings a smile to your face. Remember, the key is to select a name that is easy to pronounce and recognize when using Alexa.
Once you have entered the new name, move on to the next step to save the changes and finalize the renaming process for your smart plug.
Step 6: Save the changes
After entering the new name for your smart plug, it’s time to save the changes and apply the new name to the device. This step ensures that the renamed smart plug is recognized and can be controlled using the updated name.
Look for the option to save the changes on the screen. Depending on the version of the Alexa app you’re using, this option may be labeled as “Save,” “Apply,” or a checkmark icon. Tap on this option to confirm and save the new name for your smart plug.
Upon saving the changes, the Alexa app will update the name of your smart plug in its system. This means that any voice commands or routines you set up in the future will reference the new name you have chosen. It’s important to note that it may take a few moments for the changes to propagate across all your Alexa-enabled devices.
To ensure that the changes have been successfully saved, you can double-check the device details screen. The updated name should be displayed in place of the old name. This confirms that the renaming process has been completed successfully.
By saving the changes, you have successfully customized the name of your smart plug to suit your preference and make it easier to control using voice commands with Alexa.
Now that the changes have been saved, let’s move on to the next step and test the new name with actual Alexa commands.
Step 7: Test the new name with Alexa commands
Now that you have successfully renamed your smart plug, it’s time to put it to the test by using Alexa commands. This step ensures that the new name is recognized by Alexa and allows you to control your device effortlessly.
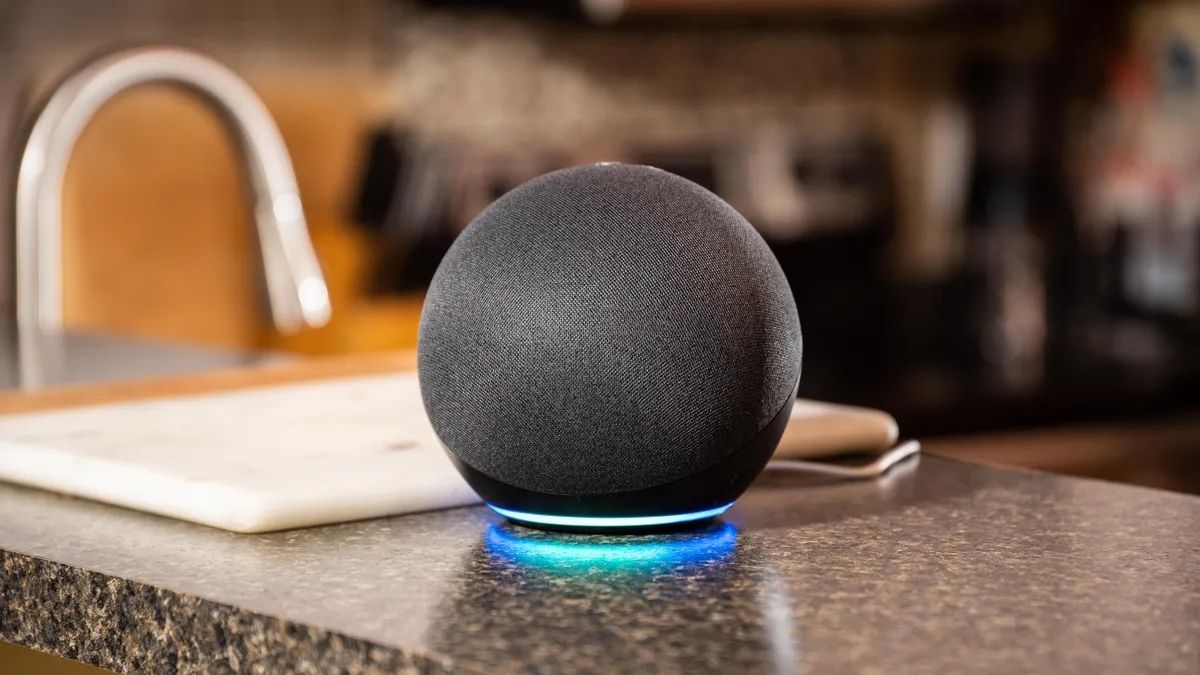
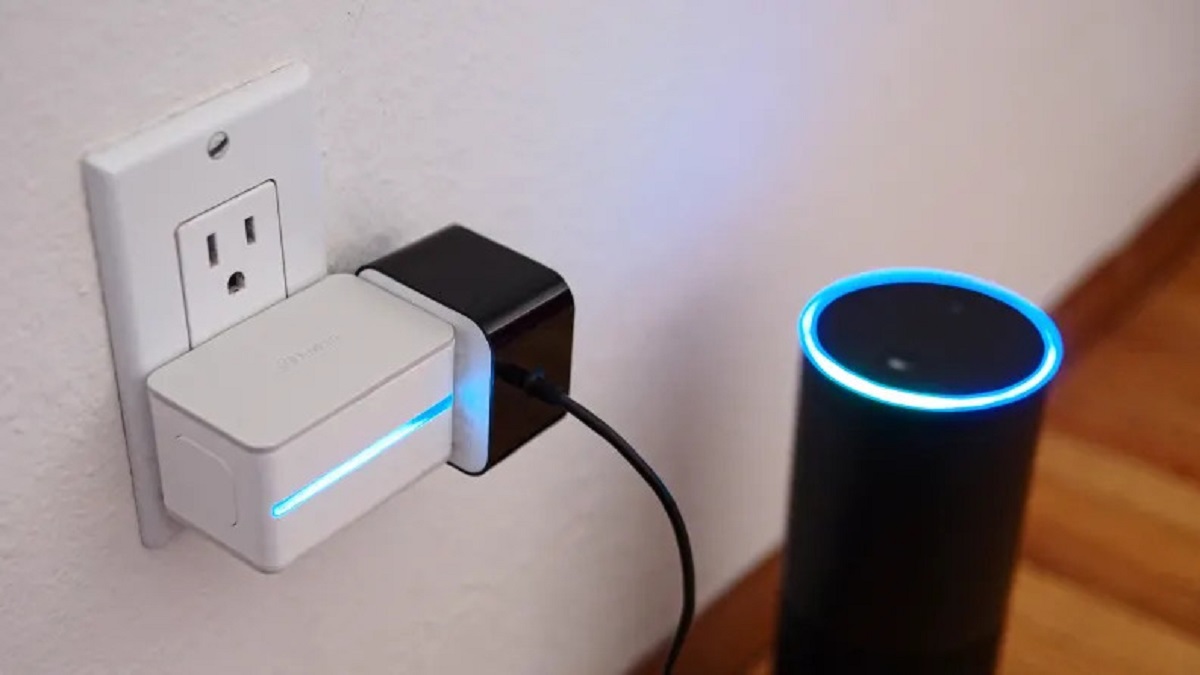
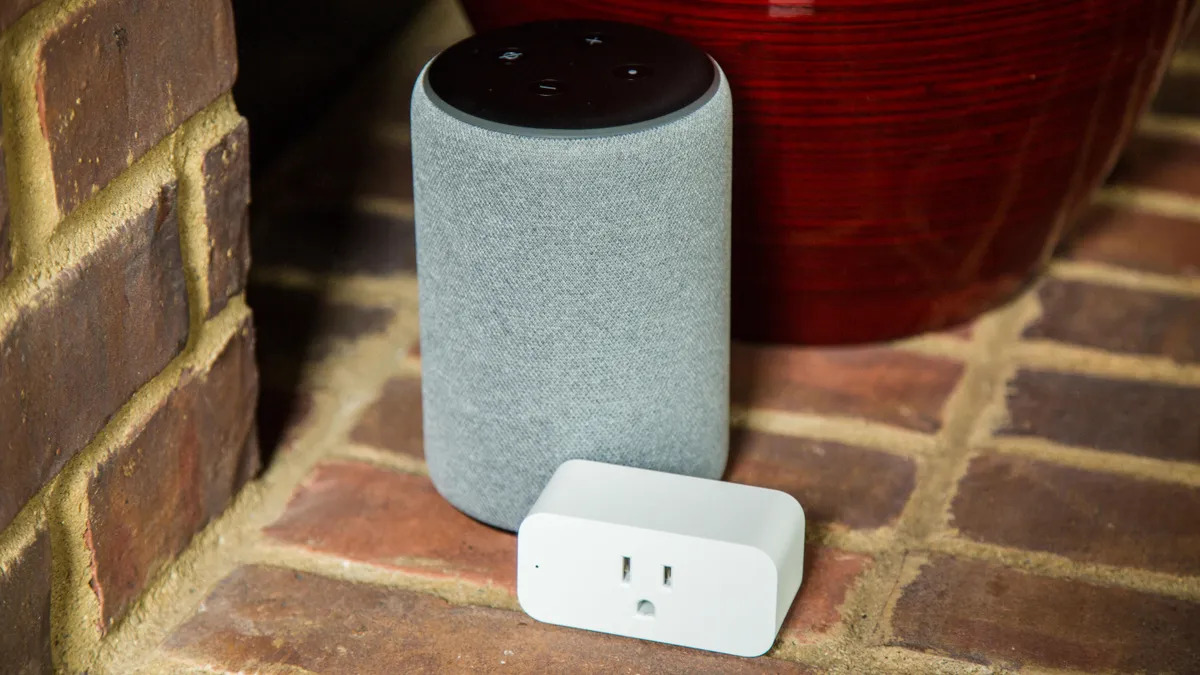
To begin, make sure your Alexa-enabled device, such as an Echo smart speaker, is connected and within range. You can say “Alexa, wake up” to activate it. Once the device is ready, use the new name you assigned to the smart plug in your voice command.
For example, if you named your smart plug “Living Room Lamp,” you can say “Alexa, turn on the Living Room Lamp” to switch on the device. Alexa should respond by executing your command and activating the smart plug.
If the device responds as expected, congratulations! You have successfully renamed your smart plug and can now control it effortlessly using Alexa commands. Make sure to test different commands such as turning the device on or off, adjusting the brightness, or setting up routines to ensure all functionalities are working correctly.
However, if Alexa does not recognize the new name or does not respond to your commands, double-check the spelling and pronunciation of the name. It’s possible that there might be a slight variation or error in how you are speaking the name. Try re-entering the name or using a different voice command to control the smart plug.
It’s also worth mentioning that sometimes it may take a few moments for the changes to fully synchronize across all your Alexa-enabled devices. If you are experiencing any issues, wait for a few minutes and try again.
By testing the new name with Alexa commands, you can ensure that the renaming process was successful and enjoy the convenience of controlling your smart plug with ease.
Now that you have learned how to rename your smart plug on Alexa and test the new name, you can confidently manage and control your devices in a personalized and efficient way.
Conclusion
Renaming your smart plug on Amazon Alexa not only adds a personal touch to your device setup but also enhances the overall user experience. With just a few simple steps, you can customize the name of your smart plug to something memorable and descriptive, making it easier to control and manage your devices through voice commands.
By following the step-by-step guide outlined in this article, you have learned how to rename your smart plug using the Alexa app. Starting from opening the app and navigating to the Devices section, to selecting the smart plug, editing the name, and saving the changes, you have gained the knowledge to customize your device names according to your preference.
Remember to choose a name that accurately represents the device and makes it easy for you to issue voice commands to Alexa. Whether you opt for descriptive names or fun nicknames, the key is to select a name that is clear and easy to understand.
Once the changes are saved, be sure to test the new name with Alexa commands to ensure proper recognition and functionality. By doing this, you can ensure that your new device name is working seamlessly with Alexa and that you can effortlessly control your smart plug.
The ability to rename your smart plug on Alexa provides a convenient way to organize and manage your devices in a way that suits your needs. It eliminates confusion when you have multiple devices and makes it simple to control specific devices with a simple voice command.
So, go ahead and personalize your smart plug names on Alexa to enhance your smart home experience. With a few quick steps, you can make it easier than ever to command and control your devices with just your voice.