Introduction
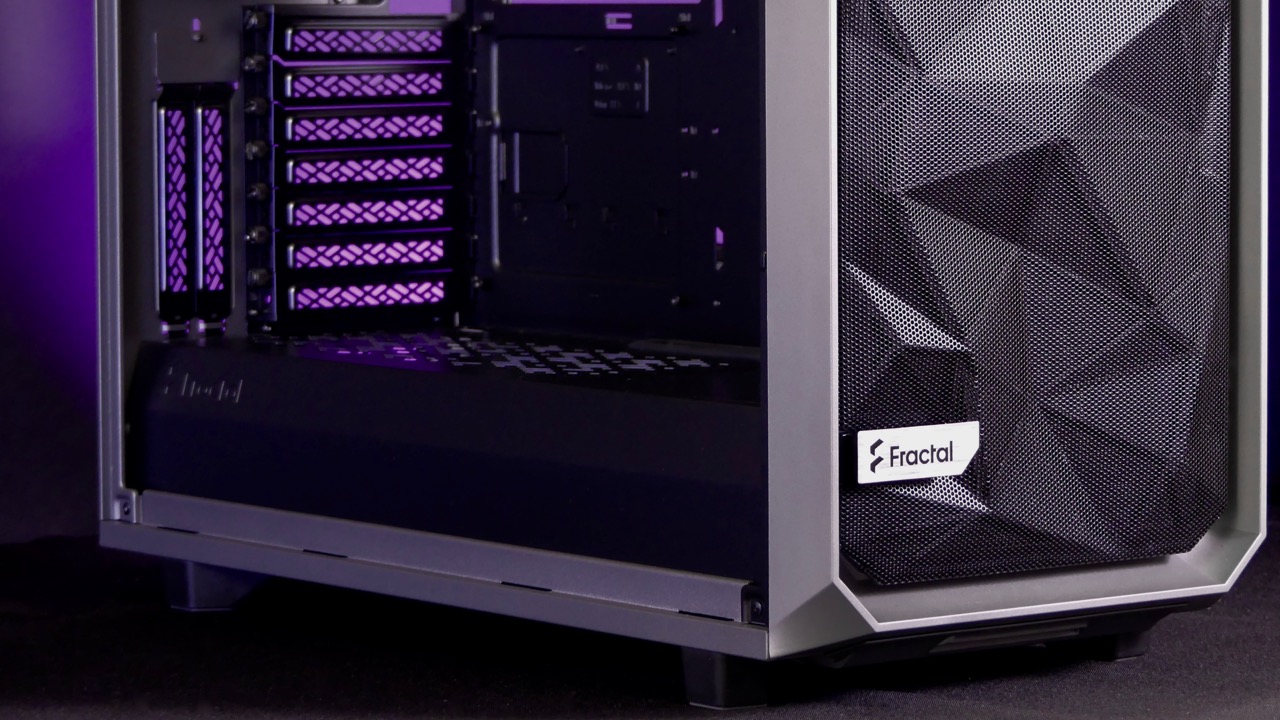
Welcome to the world of PC case customization! Whether you’re a seasoned enthusiast or a first-time builder, knowing how to remove the front panel of your PC case can come in handy. In this guide, we’ll walk you through the step-by-step process of removing the front panel of the popular Meshify C case.
The front panel of a PC case is not only responsible for aesthetic appeal but also plays a crucial role in airflow. Over time, dust and debris can accumulate, restricting airflow and potentially affecting the overall performance and lifespan of your components. By removing and cleaning the front panel, you can ensure optimal cooling and maintain the pristine appearance of your case.
Before we dive into the details, let’s quickly go over the tools you’ll need to safely remove the front panel of your Meshify C case:
- Screwdriver (usually a Phillips head)
- Anti-static wrist strap (optional but recommended)
- Cleaning cloth or soft brush
With these tools in hand, you’re ready to embark on your front panel removal adventure!
Tools Required
Before you begin removing the front panel of your Meshify C case, it’s important to gather the necessary tools to ensure a smooth and efficient process. Here’s a list of tools you’ll need:
- Screwdriver: You’ll need a screwdriver to remove any fasteners or screws holding the front panel in place. Most PC cases use Phillips head screws, so make sure you have a suitable screwdriver on hand.
- Anti-static wrist strap: While not absolutely necessary, using an anti-static wrist strap can help protect your components from electrostatic discharge (ESD) during the removal process. This is particularly important if you’re working on an expensive or sensitive build.
- Cleaning cloth or soft brush: After removing the front panel, you’ll want to give it a thorough cleaning to remove any dust or debris. Having a soft cloth or brush specifically designated for cleaning electronic components will ensure that you don’t scratch or damage the surface.
Having these tools readily available will save you time and make the front panel removal process much easier. Now that you’re equipped, let’s move on to the next section: preparation.
Preparation
Before you jump right into removing the front panel of your Meshify C case, a little preparation can go a long way in ensuring a smooth and successful process. Here are a few steps to follow:
- Power down and unplug: Before working on any computer components, it’s crucial to power down your PC and unplug it from the electrical outlet. This will prevent any accidental damage or electrical shock.
- Ground yourself: Even the slightest static discharge can damage sensitive computer parts. To prevent this, it’s highly recommended to use an anti-static wrist strap. If you don’t have one, make sure to ground yourself by touching a metal surface before handling any internal components.
- Clear your work area: To avoid any potential accidents or damage, clear the area where you’ll be working. Make sure there’s enough space to maneuver and that you have good lighting to see what you’re doing.
- Take photos or notes: If you’re new to PC building or it’s your first time removing the front panel of your case, it’s a good idea to take photos or notes as you go along. This will help you remember the correct placement and orientation of components for reassembly.
By taking these preparation steps, you’ll set yourself up for success and minimize the risk of encountering any issues during the front panel removal process. Now, let’s move on to the exciting part: removing the side panel!
Step 1: Removing the Side Panel
Before we can access the front panel of your Meshify C case, we need to remove the side panel. Here’s how:
- Power down your PC: Make sure your computer is powered off and unplugged from the electrical outlet.
- Locate the screws: On the backside of the case, you’ll find several screws securing the side panel. They are usually located near the edges of the panel.
- Use a screwdriver: Grab your screwdriver and start removing the screws from the side panel. Keep them in a safe place as you’ll need them to reattach the panel later.
- Slide the side panel: Once all the screws are removed, gently slide the side panel towards the back of the case. It should easily come off, revealing the interior of your PC.
With the side panel successfully removed, we can now proceed to the next step: locating the fasteners that hold the front panel in place. Remember to handle the side panel with care and avoid touching any sensitive electronic components inside your PC.
Step 2: Locating the Front Panel Fasteners
Now that we have removed the side panel, we can focus on locating the fasteners that secure the front panel of your Meshify C case in place. Follow these steps:
- Inspect the front panel: Take a close look at the front of your case. You may notice some small screws or clips along the edges or corners of the front panel.
- Refer to the user manual: If you’re unsure about the exact location of the fasteners, consult the user manual that came with your case. It will provide detailed information on the front panel attachment points.
- Check for hidden fasteners: In certain cases, manufacturers may hide the fasteners underneath removable parts or behind panels. Carefully examine the front panel to ensure no hidden screws or clips are holding it in place.
By thoroughly inspecting the front panel and referring to the user manual, you should be able to identify the fasteners that need to be removed. Once you have located them, proceed to the next step to safely remove the front panel.
Step 3: Removing the Front Panel
With the fasteners identified, it’s time to remove the front panel of your Meshify C case. Follow these steps:
- Prepare yourself: Put on your anti-static wrist strap or ground yourself by touching a metal surface to discharge any static electricity.
- Use your screwdriver: Take your screwdriver and carefully remove the screws or unclip the fasteners that hold the front panel in place. Keep the screws in a safe place so you don’t lose them.
- Gently detach the front panel: Once the fasteners are removed, gently pull or tilt the front panel away from the case. Be cautious not to force it or apply excessive pressure on any delicate components.
- Set aside the front panel: Find a clean and safe surface to set aside the front panel. This will allow you to clean it thoroughly in the next step.
By following these steps, you should be able to successfully remove the front panel of your Meshify C case. Take your time and handle the panel with care to avoid any accidental damage. Now, let’s move on to the next step: cleaning the front panel!
Step 4: Cleaning the Front Panel
Now that you have removed the front panel of your Meshify C case, it’s time to give it a thorough cleaning. Follow these steps to ensure it’s free from dust and debris:
- Inspect for dust and debris: Examine the front panel closely, looking for any dust, smudges, or other debris that may have accumulated over time. Pay special attention to any ventilation holes or filters.
- Use gentle cleaning tools: Take a soft cloth or a soft brush and gently wipe or brush away the dust from the surface of the front panel. If there are stubborn stains or sticky residue, dampen the cloth slightly with water or a mild cleaning solution specifically designed for electronic devices.
- Clean the ventilation holes or filters: If your front panel has ventilation holes or filters, remove them carefully and clean them separately. Use a brush or compressed air to remove any dust or debris trapped in the tiny holes or mesh.
- Allow the front panel to dry: After cleaning, give the front panel enough time to dry completely before reattaching it to the case. This will help prevent any moisture from seeping into your PC components.
By following these cleaning steps, you can ensure that your front panel is free from dust and debris, allowing for optimal airflow and maintaining the aesthetics of your PC case. Now, let’s move on to the final step: reattaching the front panel!
Step 5: Reattaching the Front Panel
After giving the front panel of your Meshify C case a thorough cleaning, it’s time to reattach it. Follow these steps to securely reinstall the front panel:
- Align the front panel: Carefully align the front panel with the corresponding slots or holes on the case. Make sure it is properly positioned and flush with the rest of the case.
- Insert the fasteners: Using the screws or clips that you removed earlier, slowly insert them into the designated holes or slots on the front panel. Gently tighten them using a screwdriver or your hands until they are secure. Be careful not to overtighten, as this may damage the panel or strip the screws.
- Double-check the alignment: Take a moment to double-check the alignment of the front panel. Ensure that it is evenly positioned and doesn’t appear skewed or crooked.
- Replace any additional components: If you had removed any removable parts, such as ventilation holes or filters, make sure to reattach them securely as well.
- Secure the side panel: Finally, reattach the side panel by sliding it back into place and using the screws to secure it tightly. Make sure all the screws are properly tightened but avoid overtightening.
Once you have followed these steps and reattached the front panel, your Meshify C case should be back in its original form, ready to showcase your PC components with style and efficiency. Take a moment to admire your work and enjoy the refreshed appearance of your case!
Conclusion
Congratulations on successfully removing and cleaning the front panel of your Meshify C case! By following the step-by-step process outlined in this guide, you’ve taken an important step towards maintaining optimal airflow and preserving the aesthetics of your PC case.
Remember, regular cleaning and maintenance of your PC case, including the front panel, can help prevent dust buildup and ensure the longevity and performance of your components. It’s a good practice to clean the front panel periodically, especially if you notice any signs of reduced airflow or visible dust accumulation.
Throughout this guide, we’ve provided you with the necessary tools and steps to remove, clean, and reattach the front panel of your Meshify C case. By taking your time, being cautious, and following the instructions carefully, you can confidently perform this process and keep your PC case looking and performing at its best.
We hope this guide has been helpful to you. Now, it’s time for you to enjoy your clean and refreshed PC case. Happy computing!


