Introduction
Welcome to this step-by-step guide on how to remove the front of your LED TV. Whether you need to replace a broken screen, clean the front panel, or make internal repairs, removing the front cover is often necessary. While it may seem like a daunting task, with the right tools and precautions, you can safely remove the front of your LED TV without causing any damage or harm.
LED TVs have become a popular choice for their vibrant display, slim design, and energy efficiency. However, when it comes to maintenance or repairs, accessing the internal components can be a bit tricky. This guide will walk you through the process of removing the front panel, allowing you to carry out necessary tasks with ease.
It’s important to note that each TV model may have slight variations in terms of the procedure and tools required. Therefore, it’s always a good idea to consult your TV’s user manual for specific instructions. Additionally, if you are not comfortable working with electronics or don’t have experience in this area, it’s advisable to seek professional assistance. Safety should always be a top priority when working with any electrical devices.
In the following sections, we will discuss the necessary safety precautions, the tools you will need, and the step-by-step process for removing the front panel of your LED TV. Just remember to take your time, follow the instructions carefully, and proceed at your own pace. By the end of this guide, you’ll have the skills and knowledge to safely remove the front of your LED TV and confidently carry out any necessary repairs or maintenance tasks. So, let’s get started!
Safety Precautions
Before you begin the process of removing the front of your LED TV, it’s important to take certain safety precautions to protect yourself and prevent any accidental damage to the TV or its internal components. Here are a few key safety measures to keep in mind:
- Ensure that the TV is completely powered off and unplugged from the electrical outlet before starting the process. This will help minimize the risk of electric shock.
- Find a clean and well-lit work area where you can comfortably handle the TV. Avoid working on rugs or carpets, as static electricity can build up and potentially harm the TV’s sensitive electronic components.
- If possible, use an anti-static wrist strap to ground yourself before touching any of the internal components. This will further reduce the risk of static discharge damaging the TV.
- Use the correct tools for the job. A magnetic screwdriver can be extremely helpful in preventing small screws from getting lost inside the TV. Additionally, ensure that the tools you use are in good condition and appropriate for the task.
- Exercise caution when handling the front panel and other delicate components. Apply gentle pressure when removing and detaching parts to avoid cracking or breaking them.
- Avoid touching the screen directly with your fingers, as oils and debris from your skin can stain or damage the display. Instead, use a soft microfiber cloth or special screen cleaning solution to wipe the screen if necessary.
- If you encounter any resistance or excessive force is required during the removal process, stop immediately and re-evaluate the steps. Applying too much pressure can result in permanent damage to the TV.
- Finally, always refer to the manufacturer’s instructions and guidelines for your specific TV model. These instructions may contain additional safety precautions or specific steps that are unique to your TV.
By adhering to these safety precautions, you can minimize the risk of accidents and ensure a smooth and successful process of removing the front panel of your LED TV.
Tools Needed
To successfully remove the front of your LED TV, you will need a few essential tools. Gathering these tools beforehand will ensure that you have everything you need to complete the process smoothly. The specific tools required may vary depending on your TV model, but here is a list of commonly used tools:
- Screwdriver set: A set of precision screwdrivers with various sizes and types of heads will allow you to remove the screws holding the front panel in place.
- Anti-static wrist strap: While not essential, an anti-static wrist strap can help prevent any static discharge that could damage the TV’s internal components.
- Microfiber cloth: This soft cloth is ideal for cleaning the front panel and removing any dust or fingerprints without scratching the surface.
- Screen cleaning solution: If you need to clean the screen, a specialized screen cleaning solution can be used in conjunction with the microfiber cloth for gentle and effective cleaning.
- Tweezers: A pair of tweezers can come in handy for delicately handling and removing small components or cables.
- Spudger or plastic opening tools: These tools can be used to pry open delicate plastic tabs without causing damage to the TV’s casing.
- Small container or magnetic parts tray: Keeping track of the small screws and components is crucial. Using a small container or magnetic parts tray will prevent them from getting lost during the disassembly process.
- Work gloves: Optional, but work gloves can provide an extra layer of protection for your hands and help with grip and handling.
Remember, it’s essential to use the right tools and handle them with care. Using improper tools can damage the TV or its components, so ensure that you have the necessary tools ready before starting the process.
Step 1: Unplug the TV and Remove Any Accessories
Before you begin the process of removing the front of your LED TV, the first step is to ensure that the TV is completely powered off and unplugged from the electrical outlet. This is crucial for your safety and to prevent any potential damage to the TV during the process.
Once the TV is unplugged, remove any accessories or external devices that may be connected, such as gaming consoles, Blu-ray players, or sound systems. This will make it easier to handle the TV and prevent any accidental damage to these devices during the removal process.
Take a moment to inspect the TV for any other attached devices, such as USB drives or SD cards. Remove these as well before proceeding. It’s important to have a clear and unobstructed workspace to safely work with the TV.
Additionally, remove any wall mounting brackets or stands that may be attached to the TV. Carefully unscrew and detach them according to the manufacturer’s instructions. Set aside the screws and brackets in a safe place for reinstallation later.
By unplugging the TV, removing accessories, and detaching any wall mounts or stands, you’re preparing the TV for the removal process. This will make it easier to handle and reduce the risk of accidental damage to both the TV and other connected devices or accessories.
Step 2: Locate and Remove the Screws on the Back Cover
With the TV unplugged and accessories removed, it’s time to locate and remove the screws that secure the back cover. The back cover is typically held in place by a series of screws around its edges and possibly in the middle.
Grab your screwdriver set and carefully examine the back of the TV. Look for any visible screws, which are usually small and Phillips-head or Torx-head screws. These screws may be recessed or covered by plastic tabs or panels, so take your time to locate them all.
Once you’ve identified the screws, start removing them one by one. Use the appropriate size screwdriver to prevent damaging the heads of the screws. It’s a good idea to keep the screws in a small container or magnetic parts tray to avoid misplacing them.
As you remove the screws, take note of their placement. Some TV models may have different sizes or types of screws in specific locations. Keeping track of their positions will make reassembly easier later on.
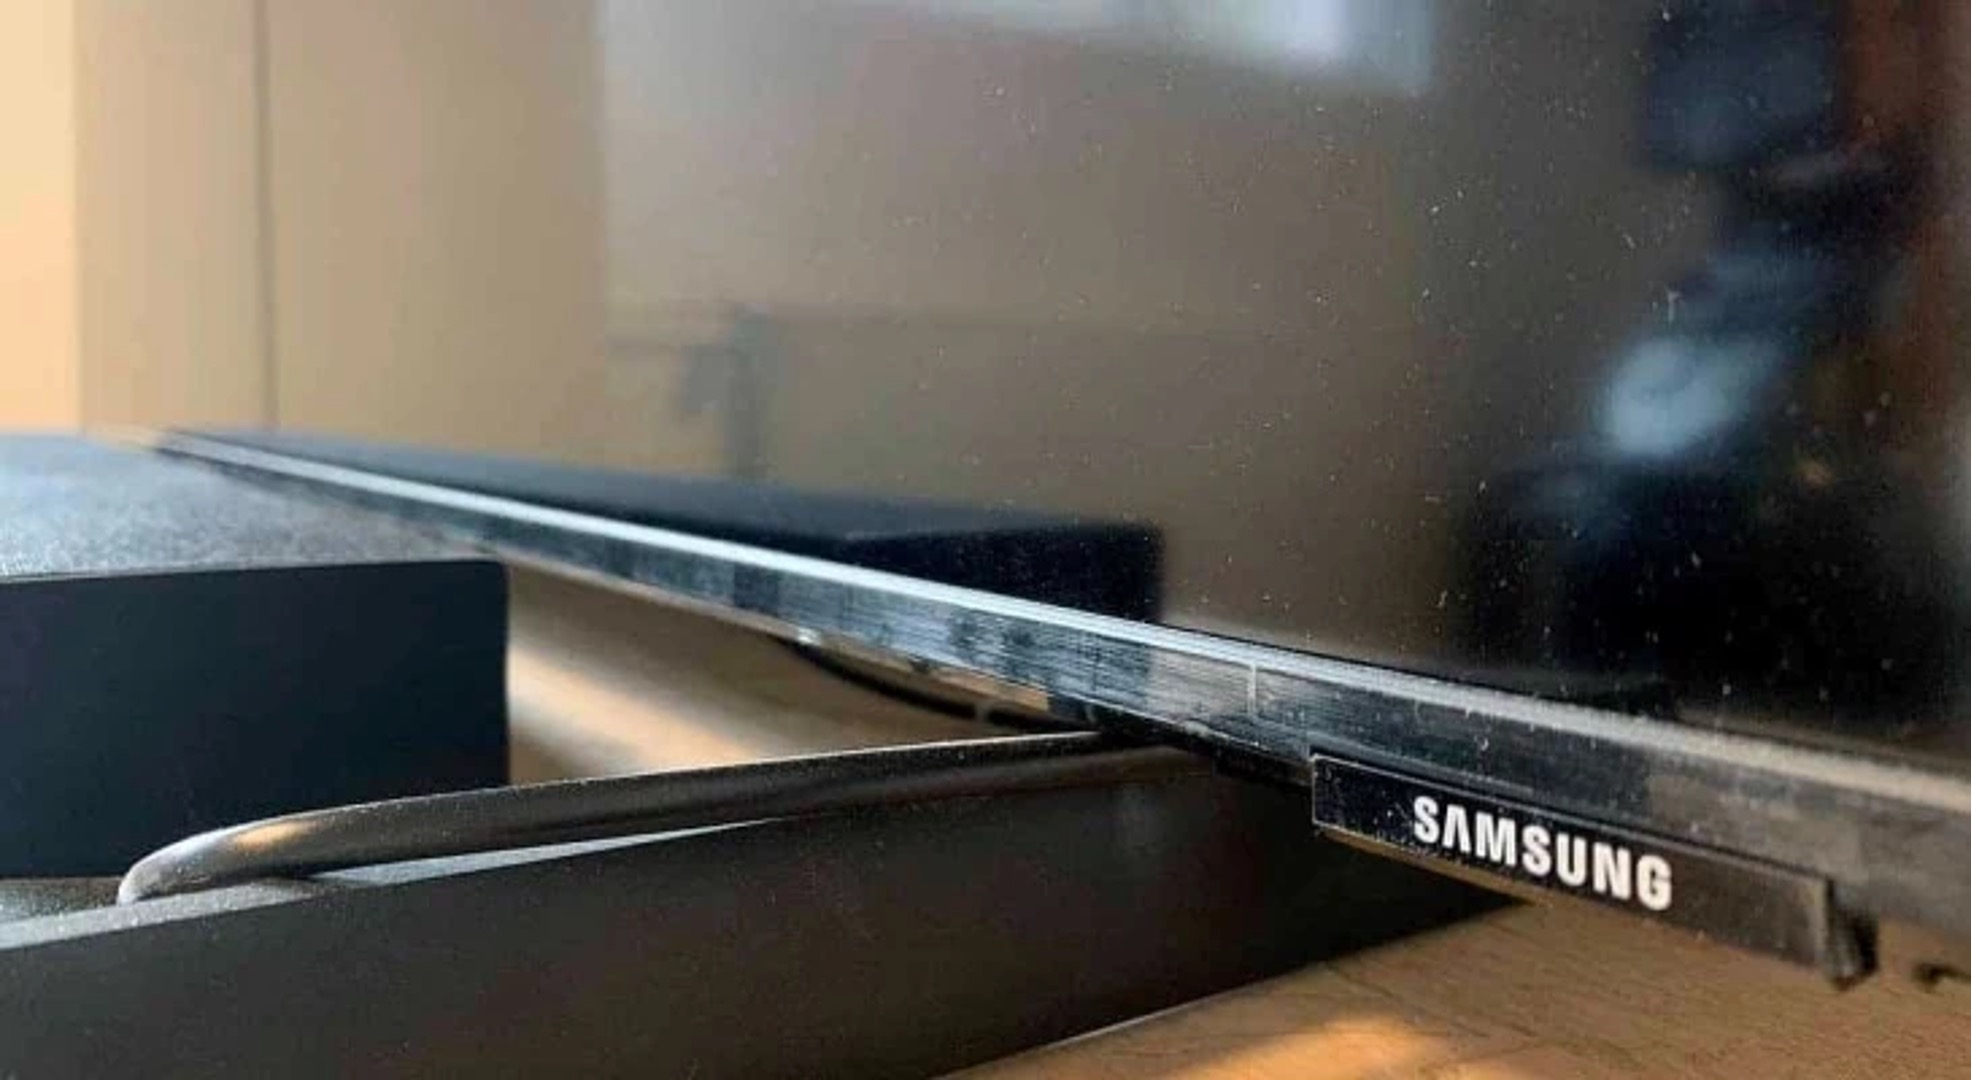
Once all the screws are removed, gently slide or lift the back cover off the TV. Be careful not to force it or pull too hard, as there may be cables or connectors still attached to the back cover that need to be disconnected first.
If you encounter resistance or the back cover doesn’t easily come off, double-check for any screws that may have been missed. Additionally, some TV models may have plastic clips or tabs securing the back cover in place. In such cases, use a spudger or plastic opening tool to carefully pry off the cover.
Removing the screws on the back cover is an important step to gain access to the internal components of the TV. Take your time, be thorough, and keep the screws organized to ensure a smooth and successful process.
Step 3: Gently Remove the Back Cover
With the screws on the back cover removed, it’s time to gently remove the cover to gain access to the internal components of your LED TV. Carefully follow these steps to ensure a smooth removal process:
1. Once all the screws are removed, locate any cables or connectors that are still attached to the back cover. These cables may include HDMI, USB, or power cables. Take note of their positions and gently disconnect them.
2. Some connectors may have clips or tabs that need to be released before they can be disconnected. Use your fingers or a small pair of tweezers to release these clips while carefully disconnecting the cables.
3. With all the cables and connectors detached, take a moment to inspect the back cover for any additional clips, tabs, or fasteners that may be holding it in place. These may vary depending on your TV model.
4. Using your fingers or a plastic opening tool, carefully apply gentle pressure and slowly lift or slide off the back cover. Take your time and pay attention to any resistance or cables that may still be connected.
5. If you encounter any resistance or difficulty in removing the back cover, double-check for any missed screws or connectors that may still be attached. Avoid forcing the cover as this could potentially damage the TV or its components.
Once the back cover is removed, set it aside in a safe and clean area. You now have easy access to the internal components of your LED TV, allowing you to proceed with any necessary repairs, cleaning, or maintenance tasks.
Remember to handle the back cover with care and avoid placing it on any surfaces that may scratch or damage it. Keep it in a secure location until it’s time for reassembly.
Step 4: Disconnect the Cables from the Front Panel
Now that the back cover has been removed, the next step is to disconnect the cables that are connected to the front panel. These cables include those for the display, buttons, and any other components that are integrated into the front panel. Follow these steps to safely disconnect the cables:
1. Take a close look at the front panel and identify the cables that are connected to it. These cables might include the display cable, ribbon cables, or connector cables for buttons or other interfaces.
2. Before disconnecting any cables, pay attention to how they are connected and the orientation. It’s essential to reconnect them correctly during reassembly. You may want to take a picture or make a note to assist you in remembering their positions.
3. Gently hold the cable connector and carefully pull it straight out from the socket. Avoid pulling on the cable itself, as this can cause damage. Some connectors may have locking mechanisms or tabs that need to be released before they can be disconnected. Take your time and be patient.
4. If you encounter any resistance or difficulty in disconnecting a cable, double-check for any locking mechanisms or tabs that may still be engaged. It’s crucial to release these mechanisms first before attempting to disconnect the cable.
5. Once all the cables are disconnected, set them aside in a safe and organized manner. Be mindful of any delicate connectors or cables to prevent damage.
By disconnecting the cables from the front panel, you are preparing it for removal and allowing for a more thorough cleaning or replacement if necessary. Remember to handle the cables with care to avoid any damage and keep them in a secure location until it’s time for reassembly.
Step 5: Remove the Screws Securing the Front Panel
With the cables disconnected, you can now proceed to remove the screws that secure the front panel in place. These screws hold the front panel to the TV’s chassis and may be located on the sides, bottom, or even hidden under plastic covers or rubber grommets. Follow these steps to remove the screws:
1. Carefully inspect the front panel and locate the screws that secure it to the TV’s chassis. They are usually small screws and may require a Phillips-head or Torx-head screwdriver, depending on your TV model.
2. Take note of the size and position of each screw as you encounter them. Some TV models may have different sizes or types of screws in specific locations. Keeping track of their positions will make reassembly easier later on.
3. Using the appropriate screwdriver, begin removing the screws one by one. Apply gentle pressure and ensure that the screwdriver is properly aligned with the screw head to avoid stripping the screws.
4. As you remove each screw, set it aside in a safe place or a small container to prevent misplacement. It’s crucial to keep track of the screws to make reassembly easier and avoid confusion.
5. Some screws may be longer or slightly different from the others, so take note of any variations. Keeping them organized will help ensure a smooth reassembly process later on.
As you remove the screws, take care not to apply excessive force or use the wrong screwdriver size. These precautions will help prevent damage to the screws or the front panel itself. If you encounter any resistance or difficulty in removing a screw, double-check for any obstructions or missed screws in the surrounding area.
By removing the screws securing the front panel, you are now one step closer to completely removing it. Take your time, be diligent, and keep the screws organized for a seamless reassembly process.
Step 6: Carefully Detach the Front Panel from the TV
Now that the screws securing the front panel have been removed, it’s time to carefully detach the panel from the TV’s chassis. The front panel is typically held in place by plastic clips or tabs that need to be gently released. Follow these steps to detach the front panel without causing any damage:
1. Examine the edges and corners of the front panel to identify any plastic clips or tabs that are holding it in place. These clips may be located along the sides, bottom, or even hidden underneath rubber grommets or plastic covers.
2. Starting from one corner, use your fingers or a plastic opening tool to apply gentle pressure and pry the front panel away from the TV’s chassis. Work your way around the edges, releasing the clips one by one.
3. Take your time and be patient during this process. If you encounter resistance or difficulty in detaching the panel, double-check for any missed clips or tabs that may still be engaged. Gently wiggle and move the panel while applying pressure to release any stubborn clips.
4. As you detach the front panel, be mindful of any fragile components or cables that may still be attached. If necessary, disconnect any remaining cables or connectors before completely removing the front panel.
5. Once all the clips and tabs have been released and any cables disconnected, carefully lift or slide the front panel away from the TV’s chassis. Be cautious not to twist or bend the panel excessively to avoid any cracks or damage.
By successfully detaching the front panel, you now have full access to the internal components of your LED TV. Take a moment to admire your progress and get ready for potential repairs, cleaning, or maintenance tasks. Ensure that you safely store the detached front panel in a secure and clean location until it’s time for reassembly.
Step 7: Clean and Maintain the Front Panel
Now that the front panel of your LED TV is detached, it’s an excellent opportunity to clean and maintain it. Over time, the front panel can accumulate dust, fingerprints, and smudges, affecting the overall viewing experience. Follow these steps to clean and maintain the front panel effectively:
1. Start by gently wiping the front panel with a soft, lint-free microfiber cloth. This will help remove any loose dust and debris. Avoid using harsh materials or paper towels, as they can potentially scratch the surface.
2. If there are stubborn fingerprints or smudges, dampen the microfiber cloth with a small amount of water or a screen-cleaning solution specifically designed for electronics. Don’t spray any liquid directly onto the panel—instead, slightly dampen the cloth and gently wipe the affected area.
3. Pay special attention to the corners and edges of the panel, as these areas can collect more dirt and grime. Use a soft-bristled brush or a cotton swab dipped in water to reach difficult-to-clean spots.
4. Avoid applying excessive pressure or scrubbing vigorously, as this can potentially damage the panel. Instead, use gentle, circular motions to clean the surface.
5. Once you’ve finished cleaning the front panel, allow it to air dry completely before reassembling. This will prevent any moisture from causing damage or leaving streaks on the panel.
6. While the front panel is detached, it’s also a good time to inspect it for any cracks, scratches, or damage. If you notice any significant issues, consider consulting a professional or contacting the manufacturer for further assistance.
By regularly cleaning and maintaining the front panel, you can enhance the longevity of your LED TV and ensure a clear and vibrant viewing experience. Remember to keep the front panel in a safe and clean location until you’re ready for reassembly.
Conclusion
Congratulations, you have successfully learned how to remove the front of your LED TV! We hope this step-by-step guide has provided you with the knowledge and confidence to safely carry out the process. By following the outlined steps and taking necessary safety precautions, you can access the internal components for repairs, cleaning, or maintenance tasks.
Throughout this guide, we emphasized the importance of safety precautions, including unplugging the TV, using the correct tools, and handling the front panel and cables with care. These measures not only protect you from potential harm but also prevent any accidental damage to the TV itself.
Remember, each TV model may have slight variations in terms of the procedure and tools required. It’s always a good idea to consult your TV’s user manual for specific instructions tailored to your model.
Once you have successfully removed the front panel, take the opportunity to clean and maintain it. Regularly removing dust, fingerprints, and smudges will ensure optimal picture quality and extend the lifespan of your TV.
If you encounter any difficulties or are unsure about any step, it’s advisable to seek professional assistance. The internal components of an LED TV can be delicate, and improper handling can cause irreparable damage.
We hope this guide has been informative and valuable to you. Remember to exercise caution, patience, and attention to detail throughout the process. With the skills you’ve acquired, you can confidently perform maintenance or repairs on your LED TV, enhancing both its performance and your viewing experience.
Thank you for reading, and best of luck with your LED TV maintenance journey!