Introduction
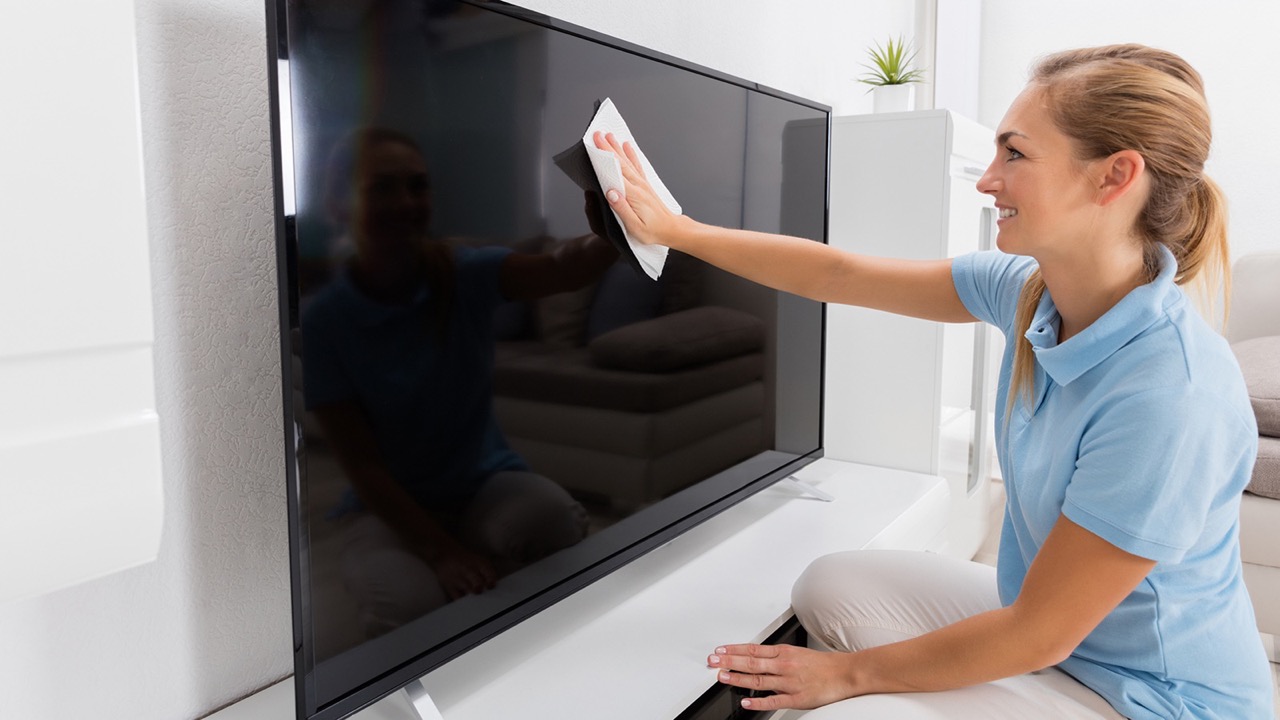
Welcome to this guide on how to remove the screen cover on your LED TV. Over time, your TV screen may accumulate dust, fingerprints, and smudges, affecting its display quality. Removing the screen cover allows you to clean it thoroughly, ensuring a clear and vibrant viewing experience.
Before you begin, it is essential to note that removing the screen cover may void your TV’s warranty. If your TV is still under warranty, it is advisable to contact the manufacturer or a professional technician for assistance. However, if you are confident in your abilities and want to clean the screen cover yourself, this guide will provide you with step-by-step instructions.
It’s important to gather the necessary tools before you begin. You will need a screwdriver or a clamp removal tool, a cleaning solution specifically formulated for electronics, a microfiber cloth, and a soft, lint-free cloth. These tools will help you safely remove and clean the screen cover without causing any damage to your TV.
Remember to follow all safety precautions throughout the process. Always turn off your TV and unplug it from the power source before attempting to remove the screen cover. This will prevent any electrical accidents and ensure your safety.
Now that you are familiar with the basic information, let’s proceed to the next section, which outlines the specific tools needed for this task.
Tools Needed
Before you start removing the screen cover on your LED TV, you will need a few essential tools. Having these tools ready will make the process smoother and more efficient. Here are the tools you will need:
- Screwdriver: Depending on the TV model, you may need a Phillips or flat-head screwdriver to remove the screws securing the screen cover. Make sure to use the correct size that fits the screws on your TV.
- Clamp Removal Tool: Some TV models may have clamps instead of screws holding the screen cover in place. In this case, you will need a clamp removal tool, which allows you to unhook the clamps without damaging the TV or the cover.
- Cleaning Solution: Use a cleaning solution specifically designed for electronics. Avoid using harsh chemicals, as they can damage the screen. The cleaning solution should be alcohol-free and safe to use on LCD or LED screens.
- Microfiber Cloth: A microfiber cloth is ideal for cleaning the screen cover. It is soft and lint-free, preventing scratches or streaks on the surface. Avoid using paper towels or rough cloths, as they can leave scratches on the screen.
- Soft, Lint-Free Cloth: After cleaning the screen cover with the microfiber cloth, use a soft, lint-free cloth to wipe away any remaining moisture. This cloth should be clean and free of any debris to avoid introducing new scratches or marks.
Make sure you have all these tools ready before you proceed with removing the screen cover. Having them on hand will save you time and ensure a smooth cleaning process without any unnecessary delays.
Step 1: Turn Off the TV and Unplug It
The first step in removing the screen cover on your LED TV is to ensure that the TV is turned off and unplugged. This step is crucial to ensure your safety throughout the process and prevent any electrical accidents.
To turn off the TV, locate the power button on either the front or side of the TV, or use the remote control if it has a dedicated power button. Press the power button until the screen goes completely black, indicating that the TV is turned off.
Once the TV is turned off, locate the power cord at the back of the TV and unplug it from the electrical outlet. This step eliminates any risk of electric shock while you work on removing the screen cover.
It is essential to let the TV sit for a few minutes after being unplugged to discharge any residual electrical charge. This will further reduce the risk of electric shock and ensure your safety while handling the TV.
Remember, never attempt to remove the screen cover while the TV is still powered on or plugged into the outlet. It’s better to be safe than sorry, so take the necessary precautions and wait until the TV is completely powered off and unplugged before proceeding to the next step.
Once the TV is turned off and unplugged, you are ready to move on to the next step, which involves locating the screws or clamps that hold the screen cover in place. This step will be covered in the upcoming section.
Step 2: Locate the Screws or Clamps
After ensuring that your LED TV is turned off and unplugged, the next step in removing the screen cover is to locate the screws or clamps that secure it in place. The method used to secure the screen cover may vary depending on the TV model, so carefully examine the edges of the screen to identify the fasteners.
If your TV has screws, you will typically find them along the edges of the screen cover. Grab a flashlight if needed to get a clear view of the edges. Look for small openings or recessed areas that indicate the presence of screws. Use a screwdriver that matches the screw head type (usually Philips or flat-head) to remove the screws.
In case your TV uses clamps instead of screws, inspect the edges of the screen cover for small tabs or levers. These clamps usually require gentle pressure or manipulation to release them. You may need a clamp removal tool to unhook the clamps effectively without causing any damage to the TV or the screen cover.
Before proceeding to the next step, it is essential to take note of the number and location of the screws or clamps. This will ensure that you can reattach the screen cover properly after cleaning it.
Now that you have located the screws or clamps, you are ready to move on to the next step, which involves removing the screws or unhooking the clamps. This will be covered in detail in the following section.
Step 3: Remove the Screws or Unhook the Clamps
Now that you have located the screws or clamps that secure the screen cover on your LED TV, it’s time to remove them. Follow these instructions based on whether your TV uses screws or clamps:
If your TV uses screws:
- Using the appropriate screwdriver, carefully unscrew each screw along the edges of the screen cover.
- As you remove each screw, place it in a secure location, such as a small container or a plastic bag. This will prevent misplacement or loss.
- Continue removing all the screws until the screen cover is no longer fastened to the TV.
If your TV uses clamps:
- Take your clamp removal tool and carefully unhook each clamp along the edges of the screen cover.
- Gently apply pressure or manipulate the clamps to release them from their locked position.
- Ensure that all the clamps are fully released before moving on to the next step.
As you remove the screws or unhook the clamps, be cautious not to exert excessive force or pressure that could damage the TV or the screen cover. Take your time and proceed with care.
Once all the screws are removed or the clamps are unhooked, set them aside in a safe place. You will need them later when you reattach the screen cover after cleaning.
With the screws removed or the clamps unhooked, you are now ready to proceed to the next step, which involves gently lifting the screen cover. This step will be covered in detail in the following section.
Step 4: Gently Lift the Cover
Now that you have successfully removed the screws or unhooked the clamps, it’s time to carefully lift the screen cover from your LED TV. Follow these steps to do it correctly:
- Start by placing your hands on either side of the screen cover, near the edges.
- Apply gentle and even pressure to lift the screen cover upward. Be cautious not to put too much force or bend the cover excessively, as it may cause damage.
- Continue lifting the cover slowly and evenly until it is completely detached from the TV.
It’s important to note that the screen cover may be connected to the TV by small clips or hooks. In such cases, you may need to maneuver the cover slightly to release these connections. Be careful not to force any movements or break these clips.
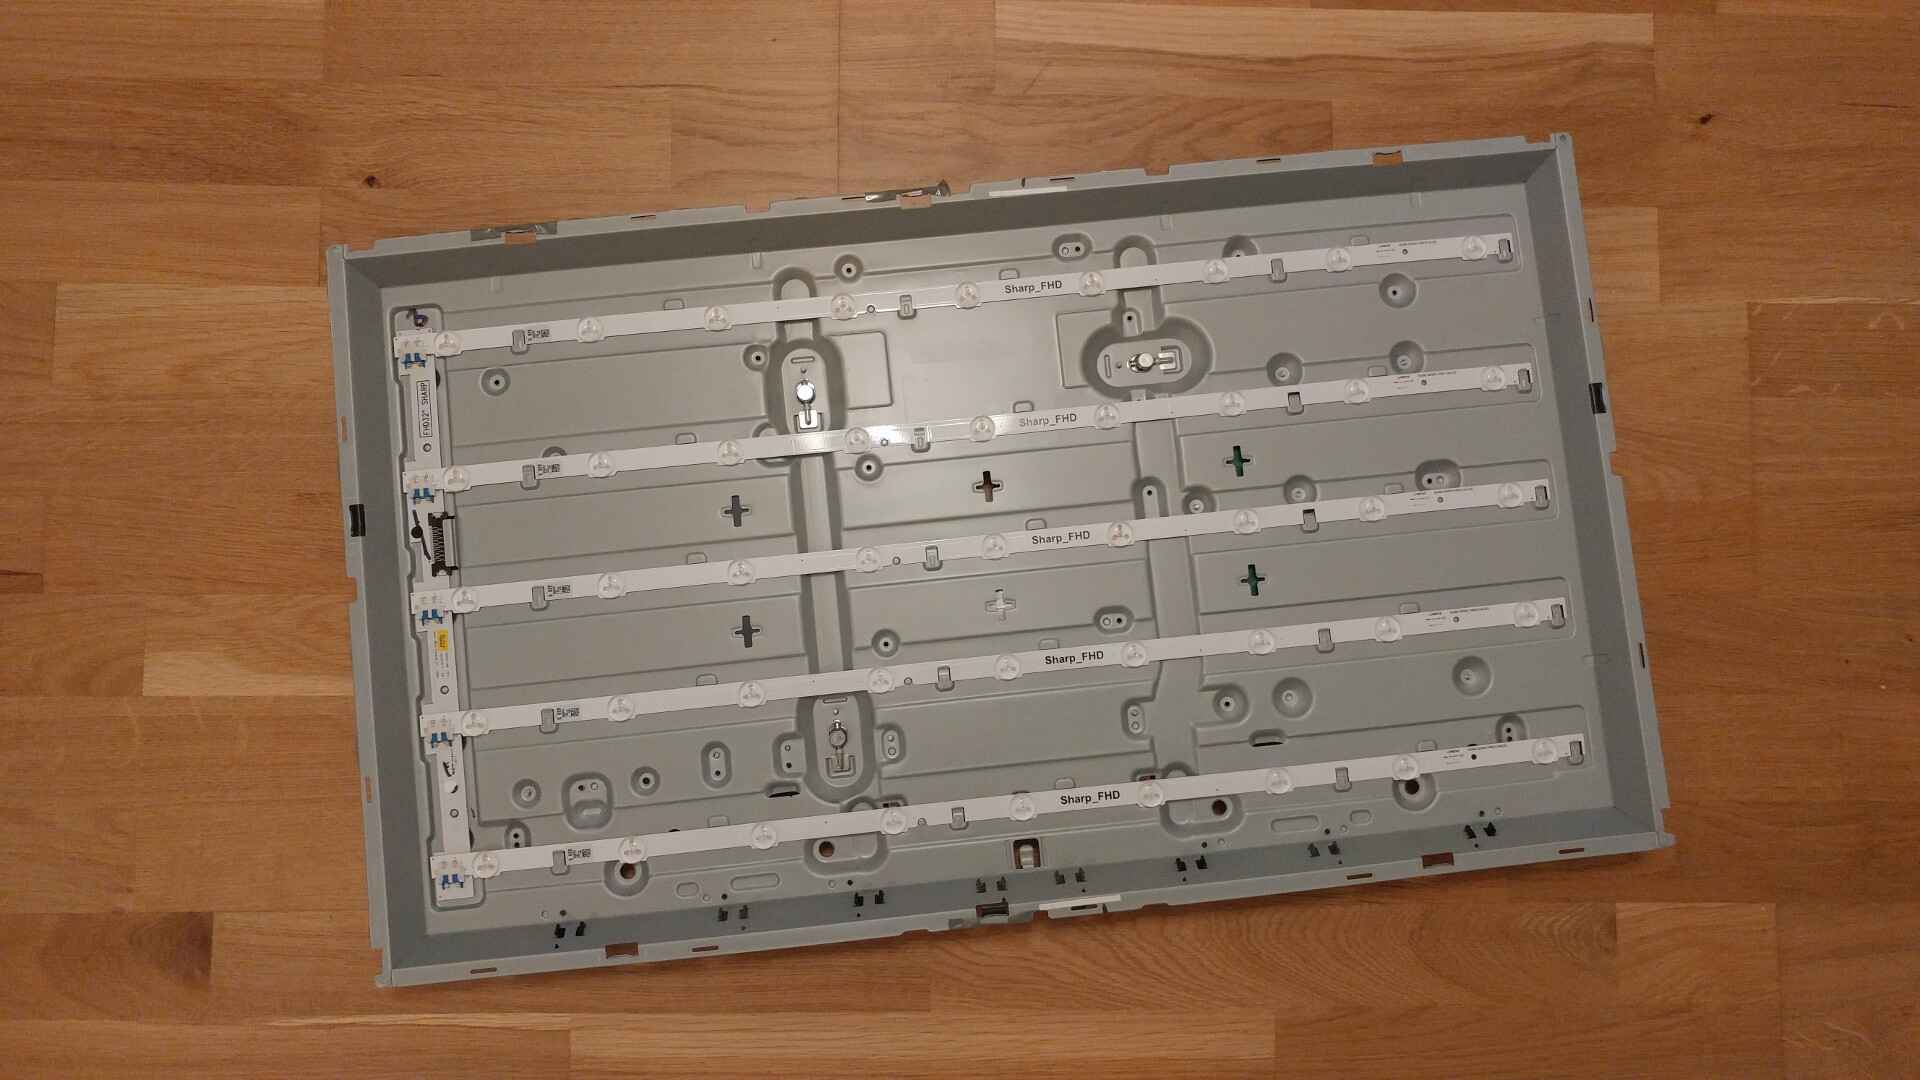
As you lift the screen cover, you may notice that it is attached to a frame or bezel. This is normal, and you should only focus on removing the cover itself. Avoid touching or applying pressure to the actual screen, as it is delicate and can be easily damaged.
Once the screen cover is completely lifted and detached from the TV, set it aside in a safe and clean location. This will allow you to proceed with the next step, which involves cleaning the screen itself, without any obstructions.
In the upcoming section, we will discuss how to properly clean the screen of your LED TV to ensure a clear and pristine display.
Step 5: Clean the Screen
Now that you have removed the screen cover from your LED TV, it’s time to clean the screen itself. Follow these steps to ensure a thorough and safe cleaning process:
- Start by preparing a cleaning solution specifically formulated for electronics. Avoid using harsh chemicals, as they can damage the screen. Look for a cleaning solution that is alcohol-free and safe for use on LCD or LED screens.
- Apply a small amount of the cleaning solution onto a soft, lint-free cloth. Be careful not to saturate the cloth, as excess moisture can seep into the screen and cause damage.
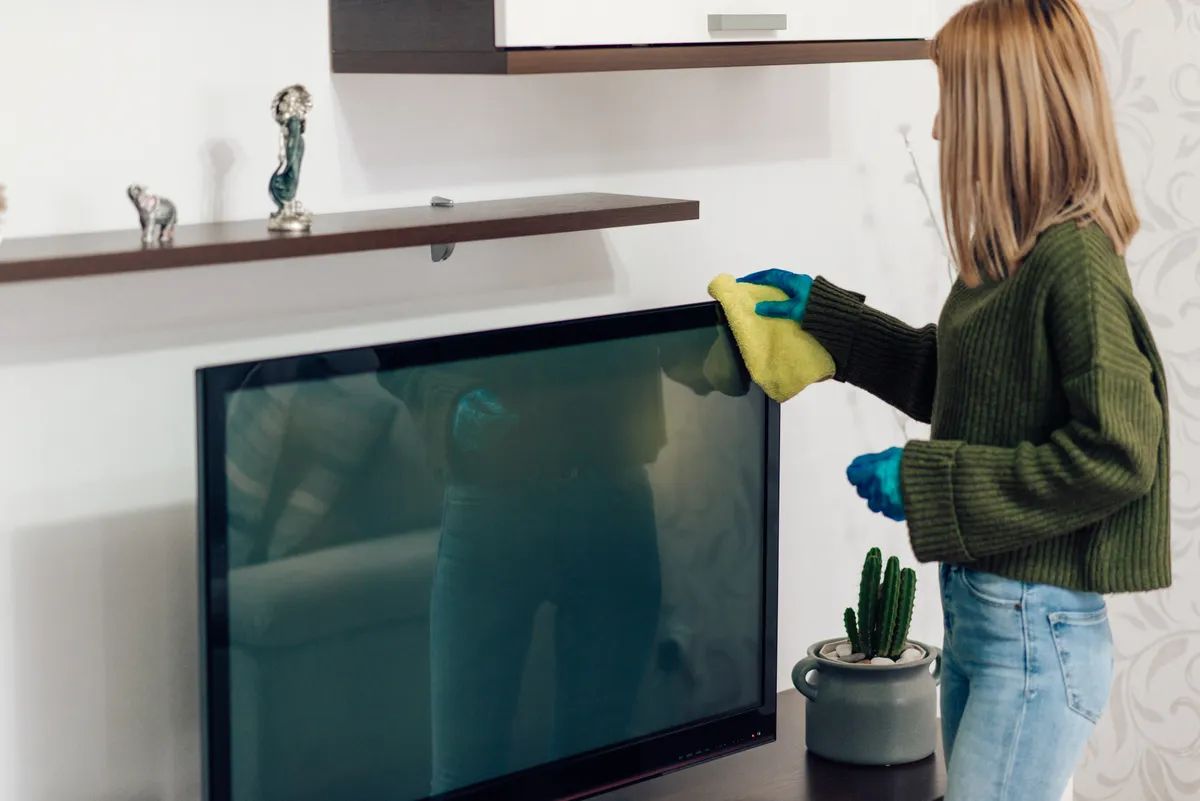
- Gently wipe the screen in a circular motion, starting from the center and moving outward. Apply light pressure but do not press too hard, as this can cause damage or create streaks.
- Pay extra attention to areas with visible smudges or fingerprints. Continue wiping until the screen is clean and free from any marks or debris.
- If there are stubborn stains or grime, you can dampen the cloth slightly and apply a bit more pressure. However, ensure that the cloth is still damp and not wet.
- Once you have thoroughly cleaned the screen, use a dry, soft, lint-free cloth to gently wipe away any moisture or residue. This step helps prevent streaks or spots from forming on the screen during the drying process.
When cleaning the screen, avoid using rough or abrasive cloths as they can scratch the surface. Also, refrain from spraying the cleaning solution directly onto the screen, as it can seep into the TV and cause damage to internal components.
Remember, the screen is delicate, so it is crucial to handle it with care. Avoid pressing too hard or using excessive moisture during the cleaning process.
Once the screen is clean and dry, move on to the next step, which involves reattaching the screen cover to your LED TV.
Step 6: Reattach the Cover
After cleaning the screen of your LED TV, it’s time to reattach the screen cover. Follow these steps to ensure a secure and proper reattachment:
- Hold the screen cover in position and align it carefully with the edges of the TV. Make sure it sits flush against the frame or bezel.
- If your TV uses screws, grab the screws that you set aside earlier. Begin by inserting and tightening the screws one by one, starting from one corner and moving to the opposite corner diagonally. This ensures an even and balanced attachment.
- If your TV uses clamps, gently hook each clamp back into place along the edges of the screen cover. Apply light pressure to ensure they are secured and hold the cover firmly.
- Continue attaching all the screws or clamps until the screen cover is firmly in place.
As you reattach the screen cover, be cautious not to overtighten the screws or force the clamps. Applying excessive force can damage the cover or the TV itself.
Once the screen cover is securely reattached, take a moment to ensure that it is aligned properly and there are no gaps or uneven areas. This will ensure that the screen is protected and the display quality is not compromised.
After reattaching the screen cover, double-check that all the screws are tightened or clamps are securely in place. This step helps prevent any loose components that could pose a safety risk or allow dust and dirt to enter the TV.
Congratulations! You have successfully reattached the screen cover on your LED TV. It’s now time to power on the TV and enjoy the clear and vibrant display.
Before you power on the TV, take a moment to clean and organize your workspace. Dispose of any cleaning materials and put away your tools in an orderly manner. This will ensure a clutter-free environment and prevent any accidents or damage to the TV.
Now that you have completed the steps for removing, cleaning, and reattaching the screen cover, your LED TV is ready to provide you with an optimal viewing experience once again.
Additional Tips and Warnings
While removing and cleaning the screen cover on your LED TV, there are a few additional tips and warnings to keep in mind. These will help ensure a successful and safe process. Take note of the following:
- Never use abrasive materials: Avoid using abrasive materials such as paper towels, rough cloths, or cleaning solutions that contain alcohol or ammonia. These can scratch the screen and damage the display.
- Avoid excessive pressure: When cleaning the screen, apply gentle pressure to avoid damaging the delicate surface. Excess pressure can lead to screen distortion or permanent damage.
- Use a screen protector: Consider using a screen protector to help minimize future accumulation of dust, fingerprints, and smudges. This extra layer of protection can make cleaning easier and prevent damage to the screen.
- Regularly dust the TV: Beyond cleaning the screen cover, it’s essential to regularly dust the entire TV to prevent dust build-up on the screen. Use a clean, soft cloth or a gentle duster to remove any dust or particles.
- Keep liquids away from the TV: Avoid spilling liquids on or near the TV as it can lead to damage or electrical hazards. If any liquid comes into contact with the TV, immediately turn it off, unplug it, and consult a professional technician for assistance.
- Read the manufacturer’s guidelines: Refer to the user manual or guidelines provided by the manufacturer for specific instructions on removing and cleaning the screen cover. Following the manufacturer’s recommendations will help protect your TV and ensure you don’t void the warranty.
- If in doubt, seek professional help: If you are unsure or uncomfortable with removing the screen cover or cleaning the screen yourself, it’s best to seek professional assistance. Contact the manufacturer or a certified technician to ensure the job is done safely and effectively.
By following these additional tips and exercising caution, you can prolong the lifespan of your LED TV and maintain its optimal display quality.
Now that you are equipped with the necessary knowledge and precautions, feel confident in taking care of your LED TV’s screen cover and enjoying a crystal-clear viewing experience.
Conclusion
Removing the screen cover on your LED TV and cleaning the screen is a simple task that can greatly improve your viewing experience. By following the steps outlined in this guide, you can maintain a clear and vibrant display, free from dust, fingerprints, and smudges.
Remember to always turn off the TV and unplug it before attempting to remove the screen cover. Take your time and handle the screen cover with care to avoid damaging the TV or the cover itself. Use the appropriate tools, such as a screwdriver or clamp removal tool, to safely remove the cover.
When cleaning the screen, use a cleaning solution specifically formulated for electronics and avoid using abrasive materials. Gently wipe the screen in a circular motion and use a soft, lint-free cloth to remove excess moisture. Be mindful of applying excessive pressure or using excessive amounts of cleaning solution.
Once the screen cover is clean, reattach it securely using the screws or by hooking the clamps back into place. Ensure proper alignment and tighten the screws or secure the clamps to avoid any loose components.
Additionally, consider using a screen protector to minimize future dirt and smudges. Regularly dust the TV to prevent dust buildup on the screen and keep all liquids away from the TV to prevent damage or electrical hazards.
If you have any doubts or feel uncomfortable performing these tasks yourself, it is always advisable to seek professional help or consult the manufacturer’s guidelines.
By incorporating these steps into your routine maintenance, you can enjoy a stunning display quality and extend the lifespan of your LED TV. Take the time to care for your TV’s screen, and you’ll be rewarded with an immersive and enjoyable viewing experience for years to come.