Introduction
Welcome to this comprehensive guide on how to fix back lighting on your LED TV. As technology continues to advance, LED (Light Emitting Diode) televisions have become immensely popular due to their superior picture quality and energy efficiency. However, like any electronic device, LED TVs can experience issues, including problems with their back lighting.
To understand how to fix back lighting on your LED TV, it’s essential to first understand what back lighting is and how it works. LED TVs utilize a panel of tiny light-emitting diodes positioned behind the screen to provide the illumination needed for a clear and vibrant picture. These diodes are responsible for the brightness and contrast levels, allowing you to enjoy sharp, vivid visuals.
While LED TVs are generally reliable, they can occasionally encounter back lighting problems. These issues may manifest as dark spots, uneven lighting, or complete failure of the back lights. Fortunately, many back lighting problems can be resolved without the need for professional assistance, saving you both time and money.
In this guide, we will walk you through the common issues that can occur with LED TV back lighting and provide a step-by-step tutorial on how to fix them. Whether you’re experiencing partial backlight failure, dimming, or any other related problem, this guide will equip you with the knowledge and tools necessary to address and resolve the issue effectively.
Before we dive into the troubleshooting process and repair techniques, it’s important to familiarize yourself with the tools you will need. Having the necessary tools ready will ensure a smooth and efficient repair process. We will cover the required tools in the next section, so let’s get started!
Understanding Back Lighting on LED TVs
To effectively fix back lighting issues on LED TVs, it’s crucial to have a good understanding of how the back lighting system functions. As mentioned earlier, LED TVs use a panel of light-emitting diodes positioned behind the screen to produce the necessary illumination.
The back lighting system is divided into two types: edge-lit and full array. Edge-lit LED TVs have LEDs placed along the edges of the display, while full array LED TVs have an array of LED bulbs positioned across the entire back surface of the screen.
The purpose of the back lighting system is to provide uniform illumination across the display, ensuring that each pixel on the screen emits the correct amount of light. This allows for better contrast, color accuracy, and overall picture quality.
Back lighting can be further categorized into two types: direct and indirect. Direct back lighting refers to the placement of LEDs directly behind the pixels on the screen. This method provides precise control over the individual pixels’ brightness and allows for better contrast levels.
Indirect back lighting, on the other hand, involves placing the LEDs behind a diffuser layer. This diffuser helps distribute the light evenly across the screen, resulting in a more consistent illumination. Indirect back lighting is commonly used in edge-lit LED TVs.
Back lighting technology has evolved over the years, with advancements such as local dimming. Local dimming allows specific areas of the screen to be dimmed or brightened independently, enhancing the contrast ratio and improving the overall picture quality.
Understanding how the back lighting system works is essential because it enables you to diagnose and troubleshoot issues more effectively. When a problem arises, you can identify whether it is related to the LEDs themselves, the circuitry, or any other component of the back lighting system.
Now that we have a good grasp of back lighting technology, let’s move on to the common issues that can arise with LED TV back lighting and how to resolve them. By learning about these issues, you’ll be better prepared to tackle any problems that may arise and restore your LED TV’s back lighting to optimal functionality.
Common Issues with Back Lighting
LED TVs, like any electronic device, can encounter various issues with their back lighting. Identifying these common problems is the first step towards resolving them effectively. Let’s take a look at some of the most frequent issues you may face:
- Uneven Back Lighting: This is characterized by areas of the screen appearing darker or brighter than others. It can be caused by defective LEDs or improper distribution of light from the light source.
- Backlight Bleeding: This occurs when the light from the LEDs leaks around the edges of the display, resulting in uneven brightness along the edges. It is often more noticeable in dark scenes and can be caused by poor construction or pressure on the screen.
- Dead Pixels: Dead pixels are individual pixels on the screen that fail to light up. They appear as black spots and can be the result of manufacturing defects or physical damage to the screen.
- Flickering Backlight: If your LED TV backlight flickers or flashes intermittently, it could be due to a faulty power supply, loose connections, or issues with the LED driver board.
- Complete Backlight Failure: In some cases, the entire backlight may fail, resulting in a completely dark screen. This can occur due to power supply issues, damaged LEDs, or a defective LED driver board.
It’s important to note that these issues can vary in severity and may require different repair approaches. While some problems can be resolved by performing simple troubleshooting steps, others may require more advanced repair techniques or the replacement of faulty components.
Now that we’re familiar with the common issues that can occur with LED TV back lighting, let’s move on to the next section, where we will discuss the tools you will need to fix these problems. Having the right tools at hand will make the troubleshooting and repair process much smoother and more efficient.
Tools Needed for Back Lighting Repair
When it comes to repairing back lighting issues on your LED TV, having the right tools is essential. Here are the tools you will need to effectively troubleshoot and fix common back lighting problems:
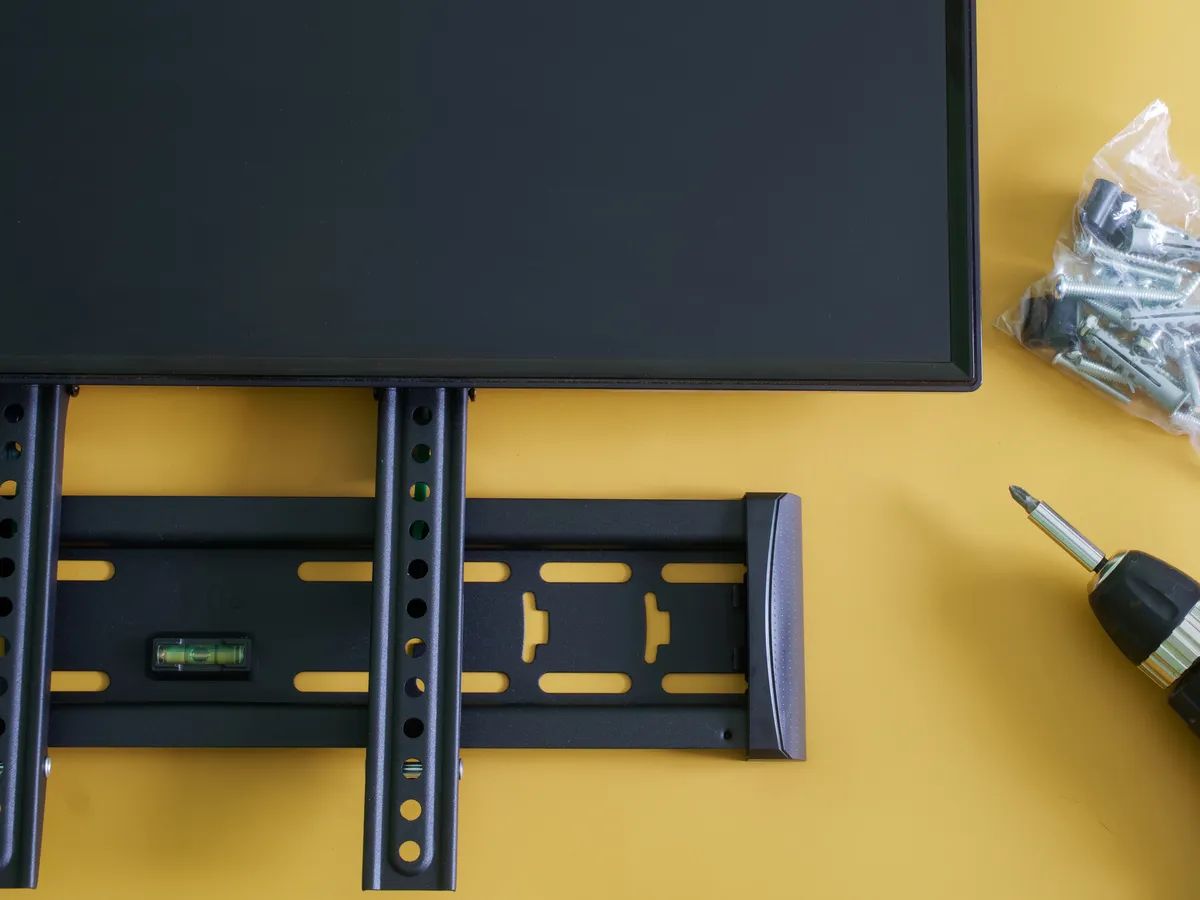
- Screwdrivers: A set of precision screwdrivers is necessary for removing the screws that secure the back cover and accessing the internal components of your LED TV. Ensure you have the appropriate screwdriver types and sizes to fit the screws on your specific model.
- Tweezers: Tweezers are useful for manipulating small components and connectors during the repair process. They provide precise control and make it easier to handle delicate parts without causing any damage.
- Multi-meter: A multi-meter is an essential tool for diagnosing electrical problems. It allows you to measure voltage, resistance, and continuity, helping you identify any issues with the power supply or faulty connections.
- Heat Gun or Hair Dryer: A heat gun or hair dryer can be used to soften adhesive and facilitate the removal of components during repair. Be cautious when using heat, as excessive heat can damage delicate parts or the screen.
- Isopropyl Alcohol and Microfiber Cloth: Isopropyl alcohol and a microfiber cloth are useful for cleaning connectors, removing dust, and ensuring proper connections between components. Clean connections can help eliminate flickering or intermittent backlight issues.
- Soldering Iron and Solder: If you encounter loose connections or damaged components, a soldering iron and solder will be necessary for reflowing solder joints or replacing faulty parts. Basic soldering skills are required for this step.
- Replacement Components: Depending on the specific issue you’re facing, you may need to replace faulty components such as LEDs, the LED driver board, or the power supply unit. Ensure you have the correct replacement parts specific to your TV model.
Having these tools ready before starting the repair process will greatly facilitate the troubleshooting and fixing of back lighting problems. Make sure you have a clean and well-organized workspace to avoid misplacing any small components or causing accidental damage.
Now that you’re equipped with the necessary tools, it’s time to delve into the step-by-step guide on how to fix back lighting on your LED TV. In the next section, we will walk you through the entire repair process, ensuring you have a clear understanding of each step involved.
Step-by-Step Guide to Fixing Back Lighting on LED TV
Now that you have your tools ready, let’s dive into the step-by-step process of repairing back lighting issues on your LED TV. Please note that the following steps are general guidelines, and the specific repair process may vary depending on your TV model and the nature of the problem. Remember to refer to your TV’s user manual for any model-specific instructions. Here’s what you need to do:
- Power Off and Unplug: Before starting any repairs, make sure your TV is powered off and unplugged to avoid the risk of electric shock.
- Remove the Back Cover: Use the appropriate screwdriver to remove the screws that secure the back cover. Carefully remove the cover and set it aside in a safe place.
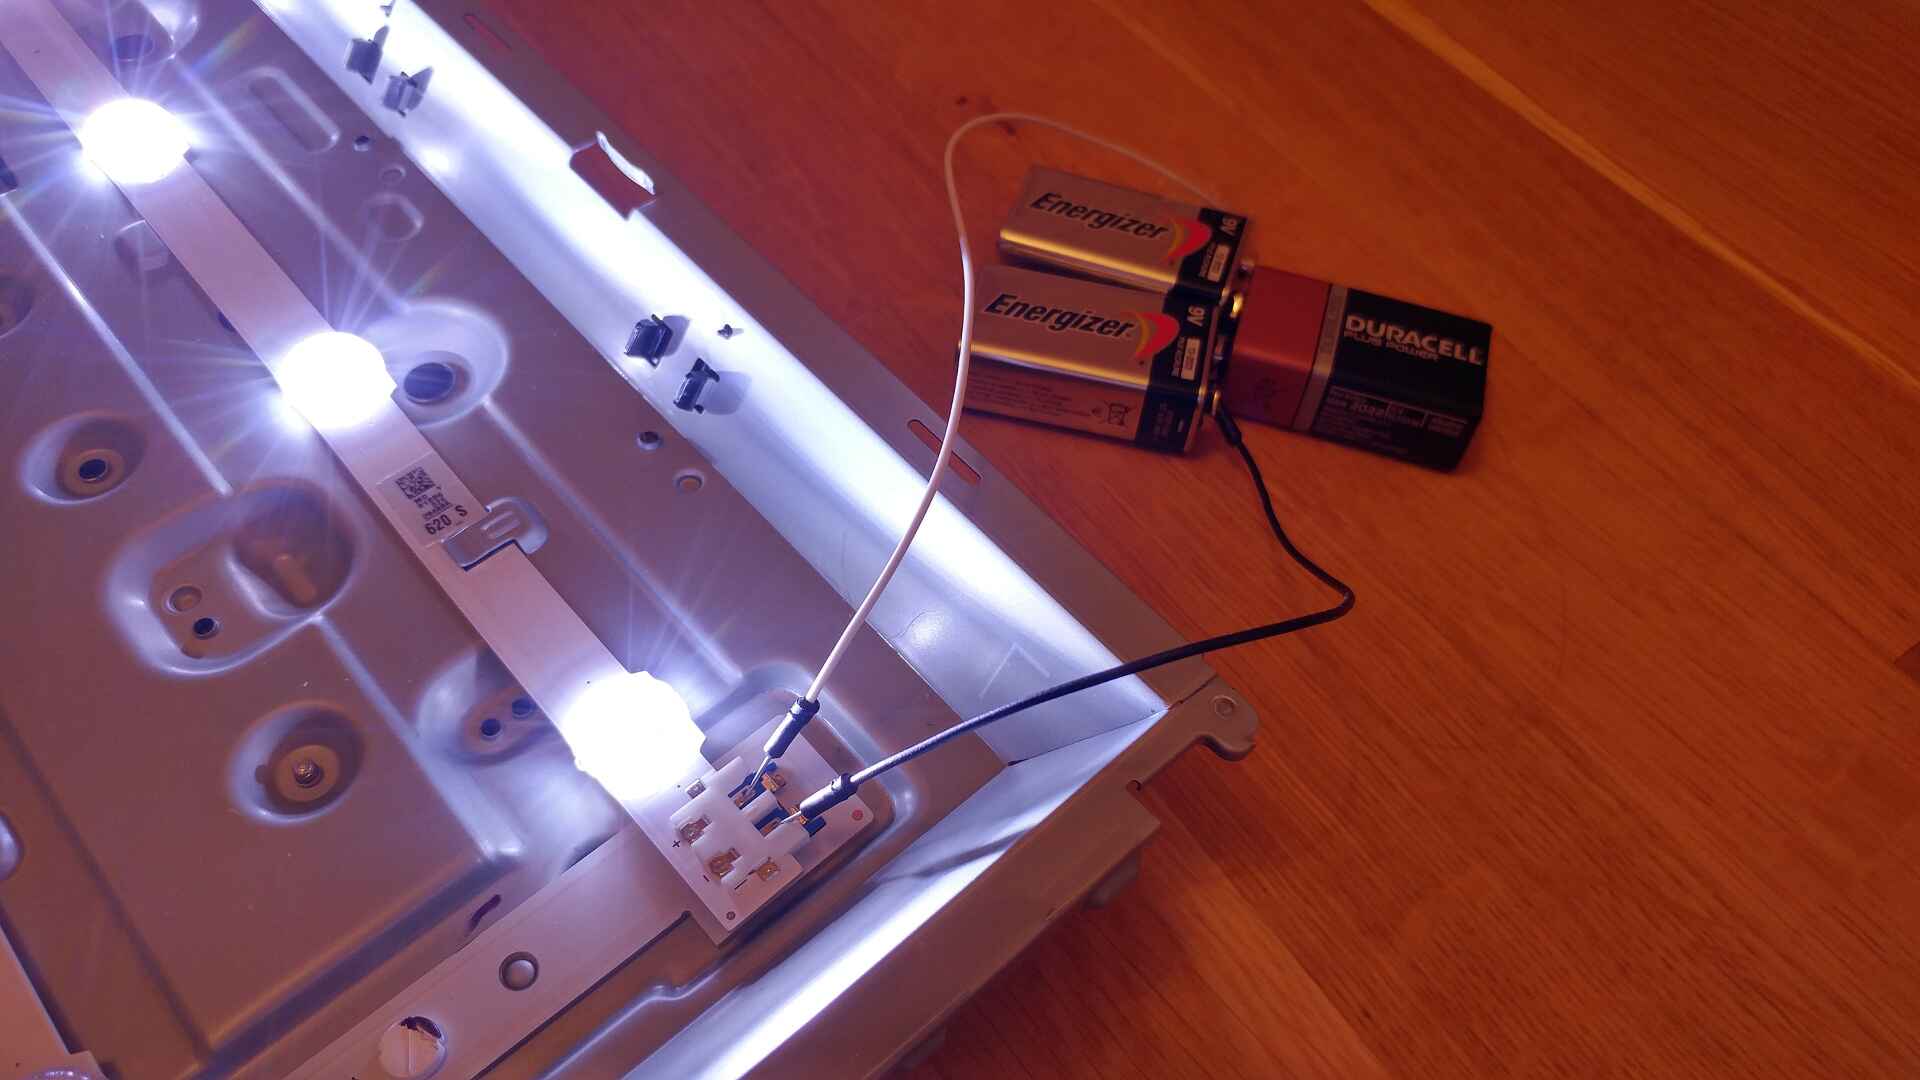
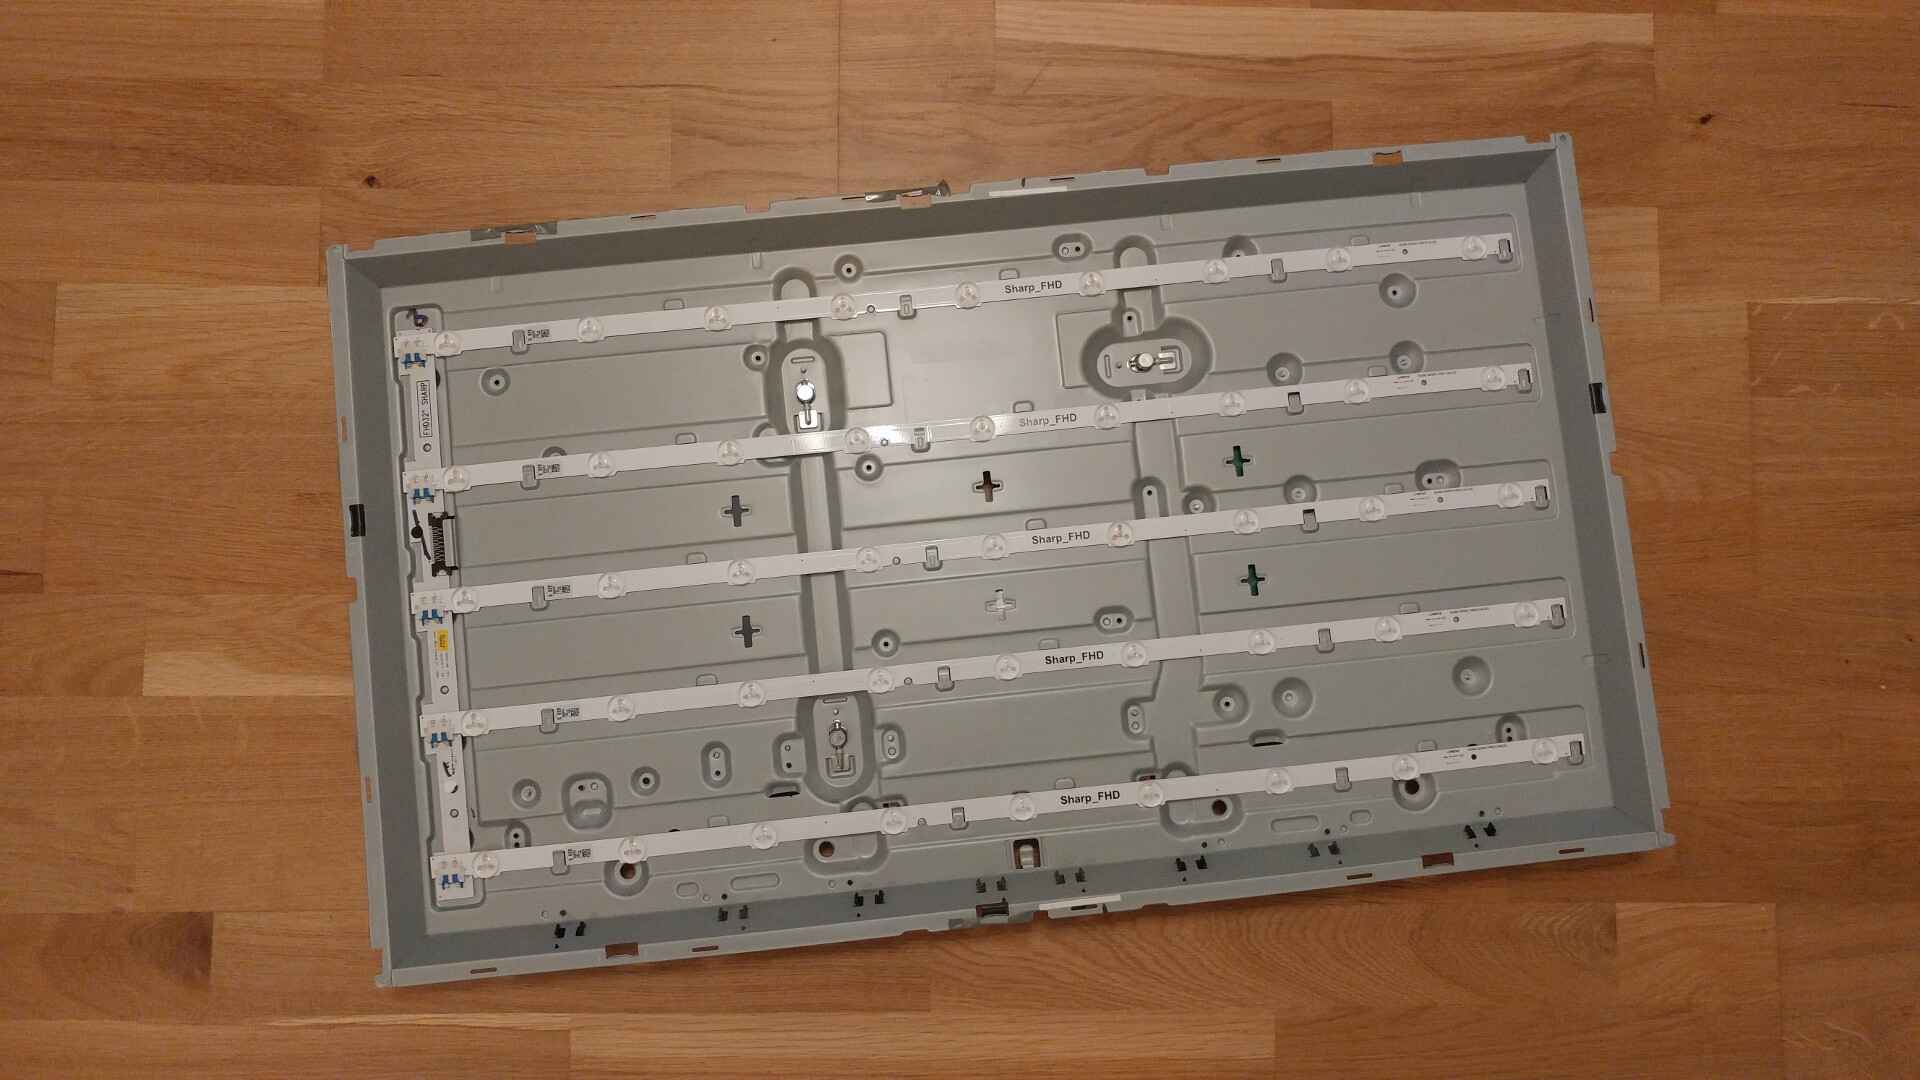
- Locate the Backlight System: Once the back cover is removed, locate the backlight system, which consists of the LEDs, driver board, and associated connections.
- Inspect for Loose Connections: Check for any loose connections between the driver board and the LEDs. If you find any loose cables or connectors, gently reseat them to ensure proper contact.
- Check for Damaged LEDs: Examine the LEDs for any visible signs of damage, such as burn marks or physical defects. If you identify any faulty LEDs, they will need to be replaced. Refer to your TV’s user manual or contact the manufacturer for the appropriate replacement part.
- Test the Power Supply: Use a multi-meter to test the voltage output of the power supply to ensure it is functioning correctly. If the power supply is faulty, it may need to be replaced or repaired by a professional.
- Soldering and Component Replacement: If you have identified faulty components, such as the LEDs or driver board, and possess the necessary soldering skills, you can proceed with removing the defective part and replacing it with a new one. Take caution when soldering to avoid damaging nearby components.
- Clean and Reassemble: Before reassembling the TV, clean any dust or debris from the internal components using isopropyl alcohol and a microfiber cloth. Ensure all connections are secure and free from any obstruction. Carefully put the back cover back in place and secure it with the screws.
- Power On and Test: Plug in your TV and power it on. Check if the back lighting issue has been resolved. Look for even illumination, no flickering, and no dark spots on the screen. If the problem persists, further troubleshooting or professional assistance may be required.
Remember, working on electronics carries the risk of potential damage, so proceed with caution and at your own risk. If you’re unsure about any step or lack the necessary skills, it’s always recommended to consult a professional technician.
Following these steps and being patient and meticulous in your approach will increase the likelihood of successfully fixing back lighting issues on your LED TV. Now you’re well-equipped to tackle common back lighting problems and bring your television back to its optimal performance.
Conclusion
Fixing back lighting issues on your LED TV might seem like a daunting task, but armed with the knowledge and step-by-step guide provided in this article, you are now well-prepared to tackle common problems that may arise. By understanding how the back lighting system works, recognizing common issues, and having the necessary tools and techniques at your disposal, you can troubleshoot and repair back lighting problems effectively.
Remember to approach the repair process with caution and in a methodical manner. Take the time to inspect for loose connections, damaged LEDs, or faulty components. Utilize the appropriate tools, such as screwdrivers, tweezers, and a multi-meter, to diagnose and resolve the issue. If necessary, practice soldering skills or seek professional help for more complex repairs.
Cleaning the internal components and ensuring secure connections are essential for optimal performance. Be sure to reassemble the TV carefully and power it on to test if the back lighting issue has been resolved. If not, further troubleshooting or expert assistance may be required.
Remember, while this guide provides general instructions, TV models and specific back lighting issues may vary. Always consult your TV’s user manual or seek professional advice when in doubt. Working on electronics carries the risk of accidental damage or injury, so proceed with caution and at your own risk.
We hope this guide has been helpful in guiding you through the process of repairing back lighting on your LED TV. By following the information and steps provided, you can save time and money by fixing common back lighting issues yourself. Now you can enjoy your LED TV with vibrant, uniform back lighting and an enhanced viewing experience.