Introduction
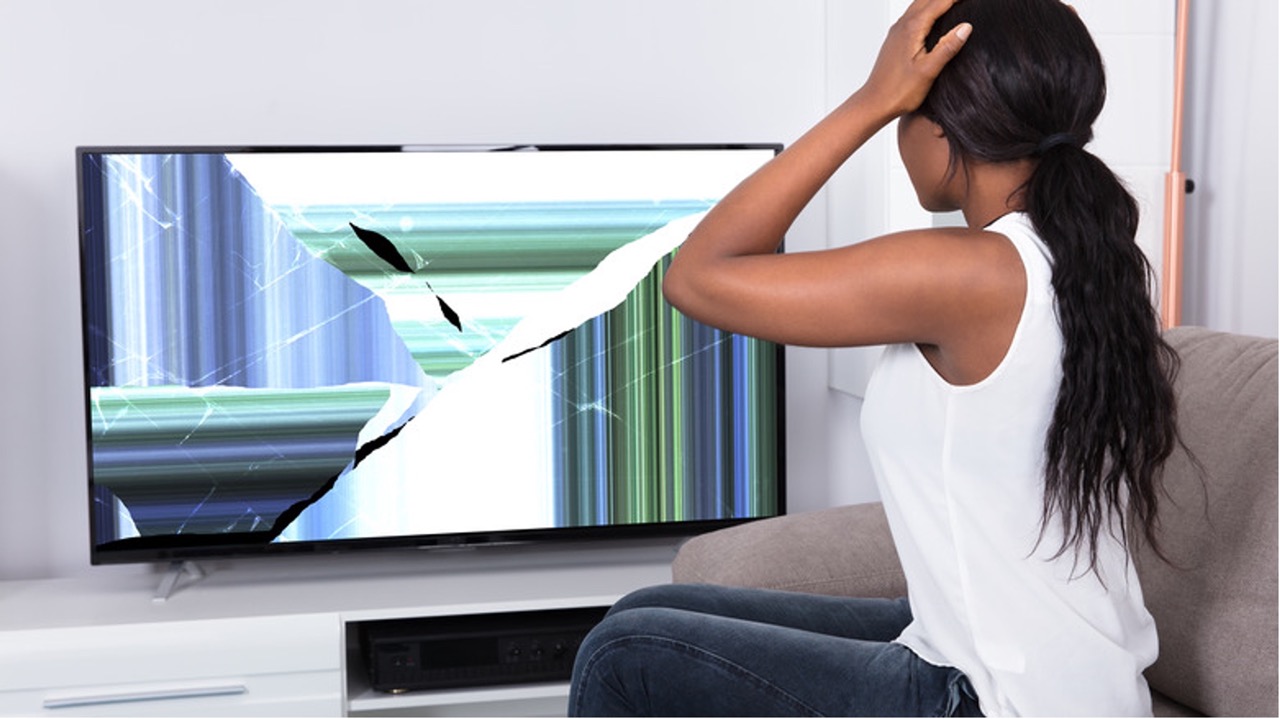
An LED TV offers a brilliant and immersive viewing experience with its vibrant colors, high contrast ratios, and sleek design. However, like any electronic device, LED TVs can encounter issues with their screens. From horizontal lines to dead pixels, flickering screens to image distortion, these problems can be quite frustrating.
In this article, we will explore common screen issues that LED TVs may face and provide step-by-step instructions to fix them. We will also discuss how to check for external factors that could be impacting the screen performance and how to power cycle the TV to resolve any temporary glitches.
Additionally, we will explain the importance of updating the TV’s firmware and walk you through the process. We will address specific screen issues such as horizontal or vertical lines, dead pixels, flickering or flashing screens, and image distortion. Furthermore, we will guide you on how to repair backlight bleeding, a common problem that affects screen uniformity.
By the end of this article, you will have a better understanding of the steps necessary to troubleshoot and fix various screen issues on an LED TV, ensuring that you can continue to enjoy your favorite shows and movies with optimum picture quality.
Common Screen Issues
LED TVs can encounter several common screen issues that can hinder your viewing experience. Understanding these problems can help you troubleshoot and resolve them effectively. Here are some of the most common screen issues you may come across:
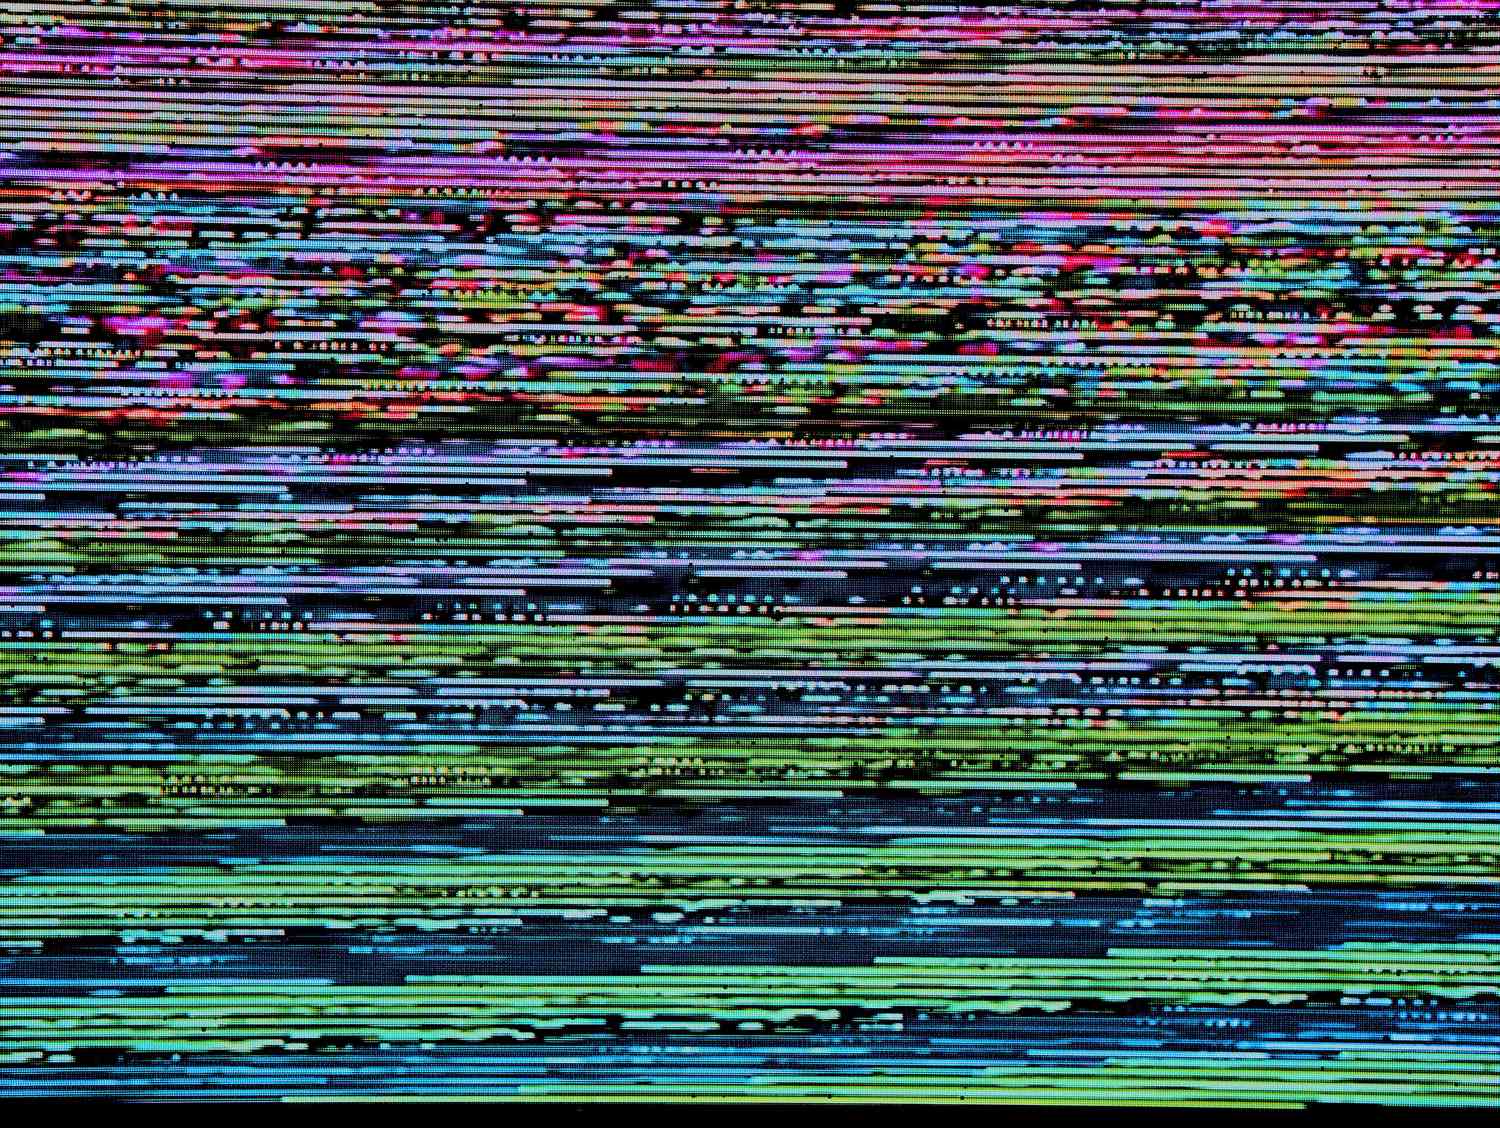
- Horizontal or Vertical Lines: The appearance of horizontal or vertical lines on your LED TV screen can be distracting. These lines can be due to a faulty connection, loose cables, or signal interference.
- Dead Pixels: Dead pixels are small spots on the screen that do not display any color. They can occur due to manufacturing defects or physical damage. Dead pixels can be quite noticeable, especially when viewing light-colored backgrounds.
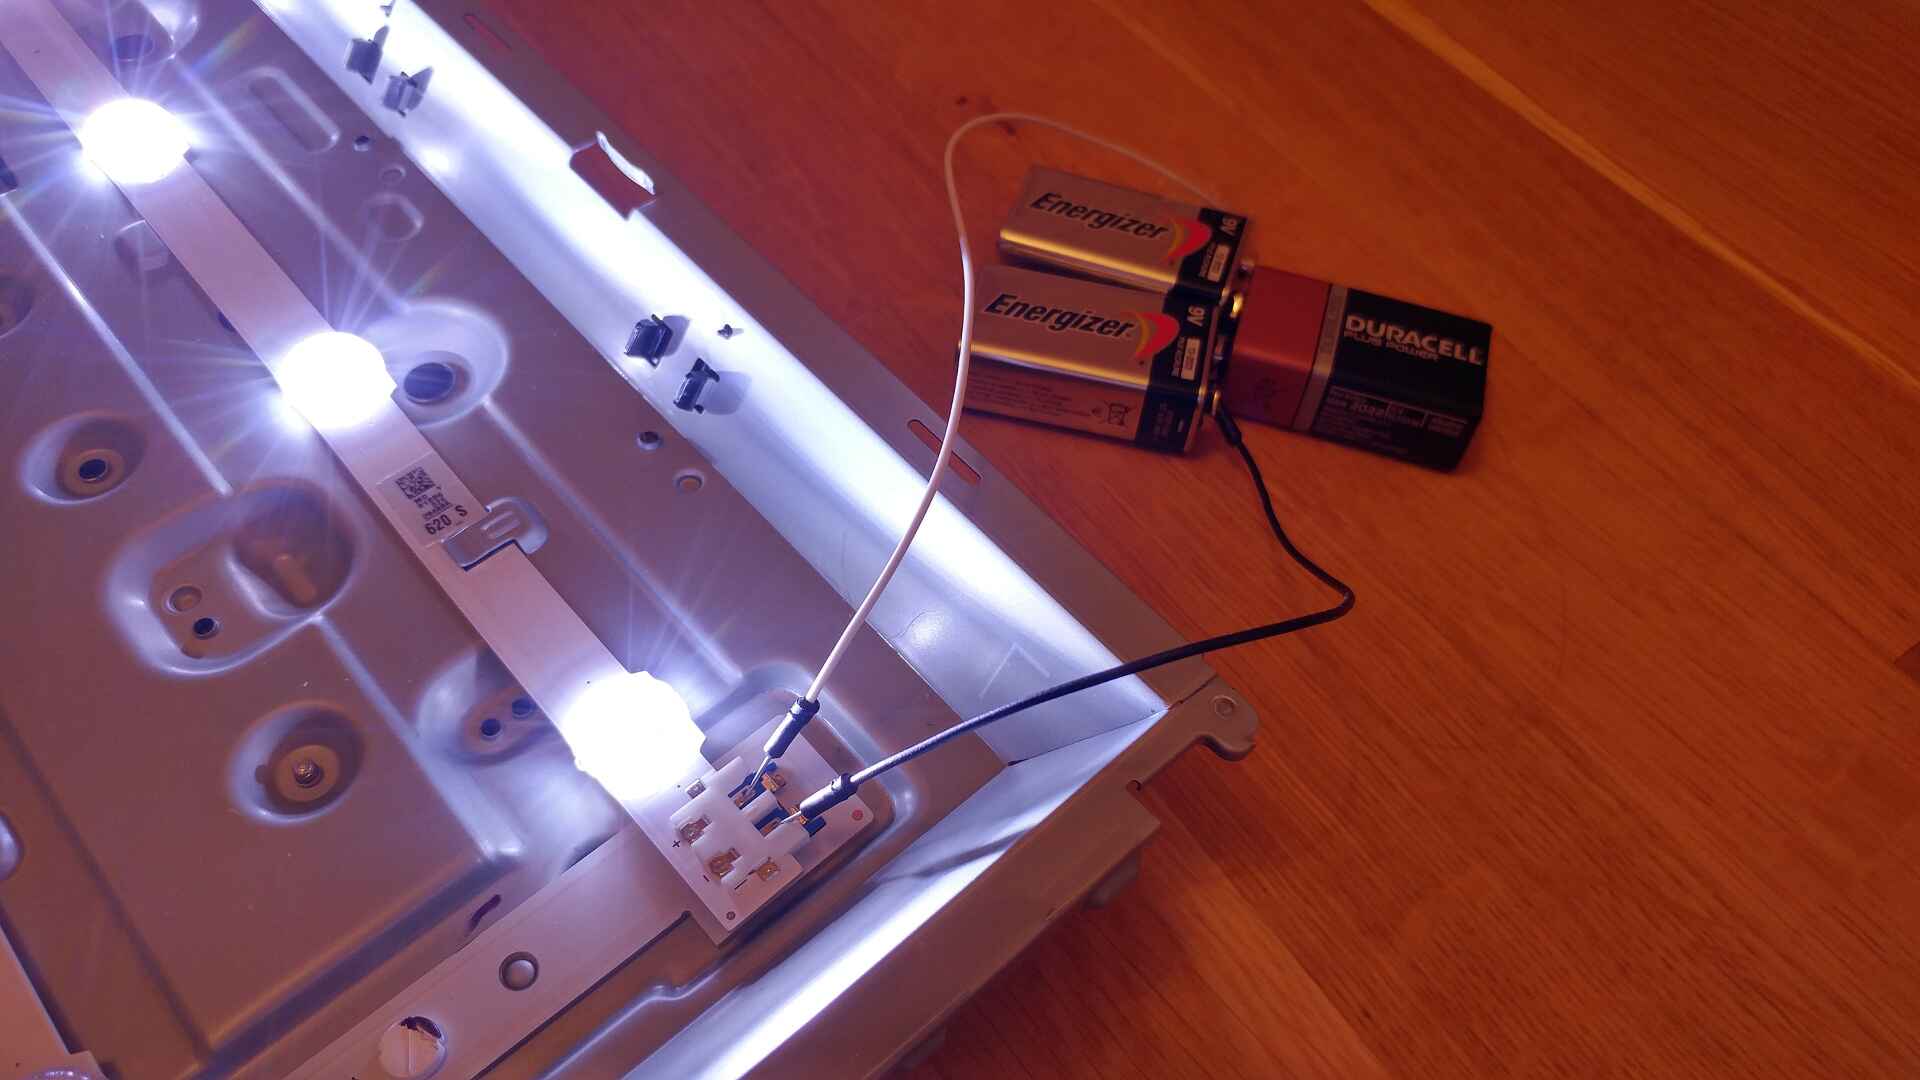
- Flickering or Flashing Screen: A flickering or flashing screen can be caused by incompatible display settings, faulty graphics drivers, or a damaged backlight. This issue can be quite irritating and can negatively impact your viewing experience.
- Image Distortion: Image distortion can manifest as blurry or distorted images, stretched or squished pictures, or a warped display. This can result from incorrect aspect ratio settings, low-quality video sources, or issues with the TV’s image-processing capabilities.
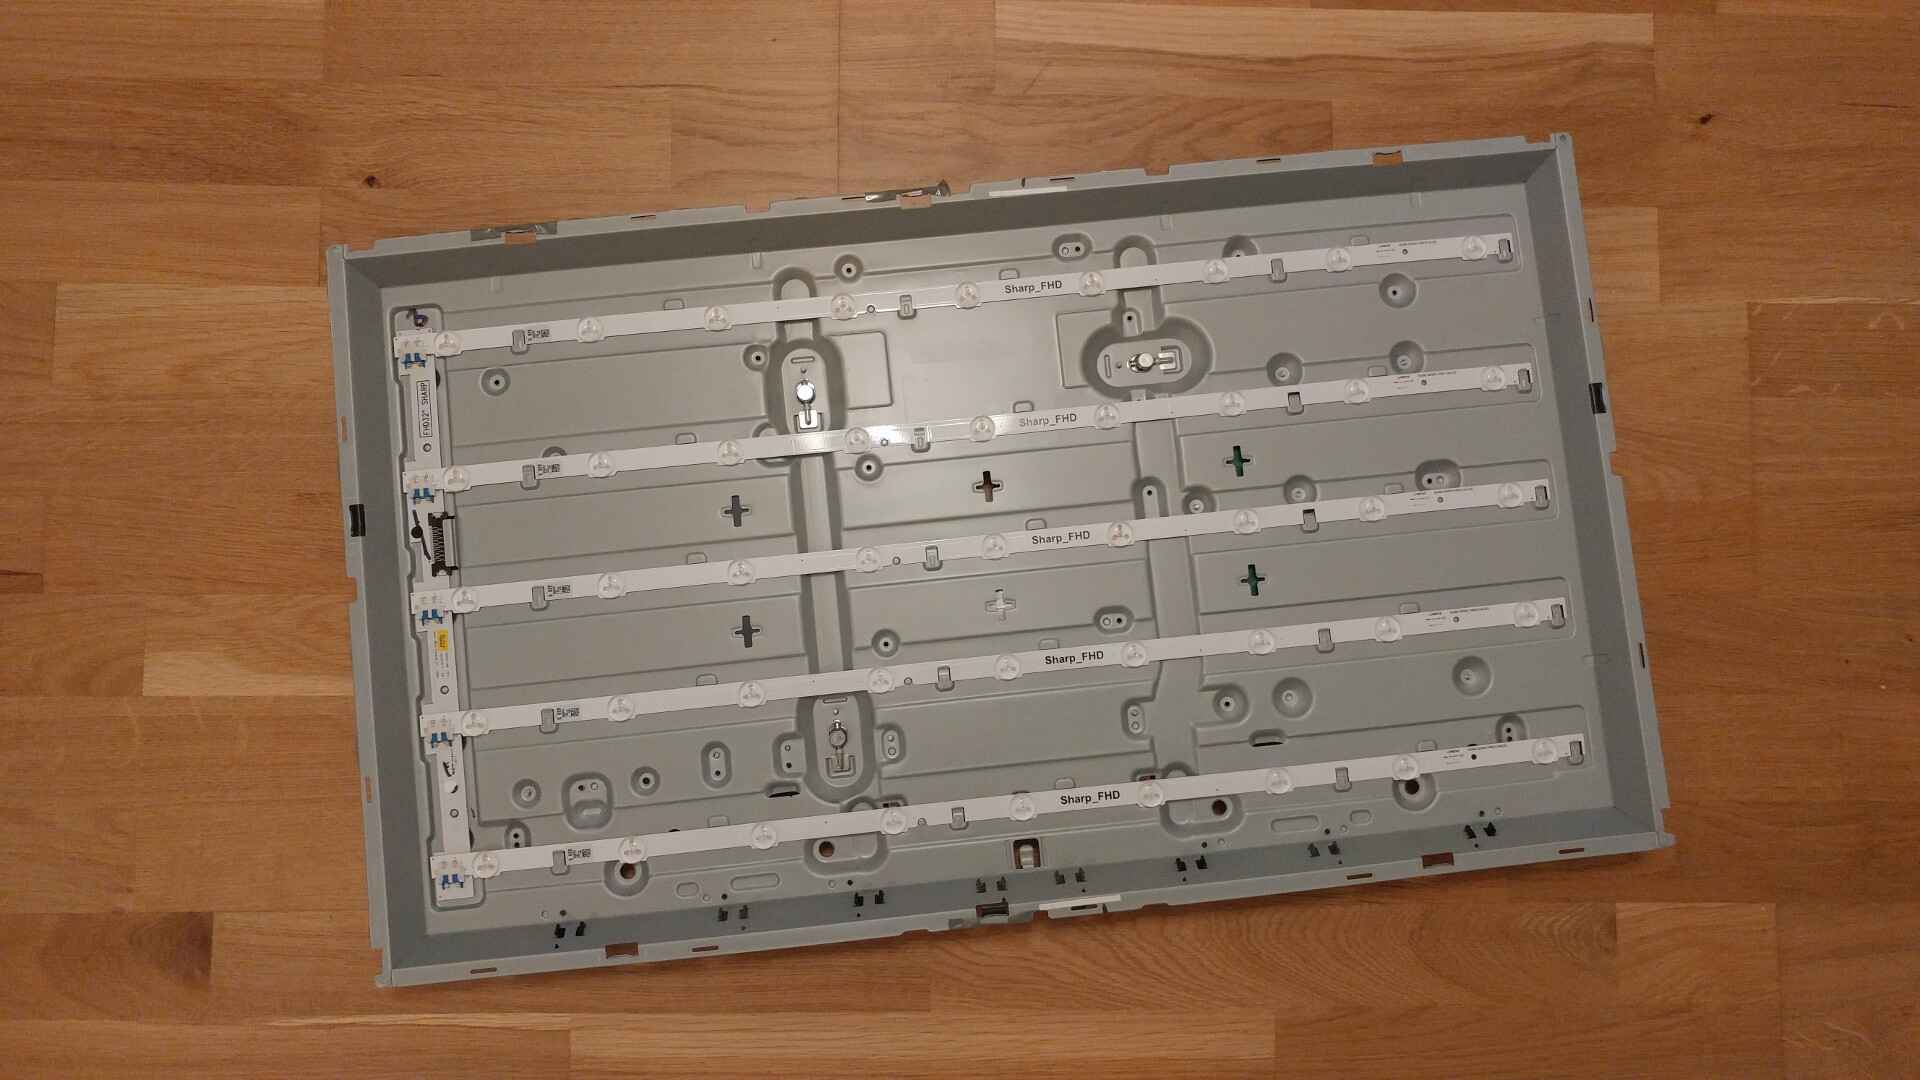
- Backlight Bleeding: Backlight bleeding refers to the uneven distribution of backlighting on the screen, causing bright patches or areas of light leakage. This issue can be particularly noticeable when watching dark or black scenes, leading to a diminished viewing experience.
These common screen issues can occur due to a range of factors, including technical malfunctions, physical damage, or incorrect settings. Fortunately, many of these problems can be resolved with some simple troubleshooting techniques. In the following sections, we will guide you through the step-by-step process of fixing these issues and restoring the optimal performance of your LED TV screen.
Checking for External Factors
Before diving into troubleshooting the screen issues on your LED TV, it’s important to rule out any external factors that may be causing the problem. Here are some steps you can take to check for external factors:
- Check the Power Supply: Ensure that the power cable is securely connected to both the TV and the power outlet. Try plugging the TV into a different outlet to see if there is an issue with the power source.
- Inspect Connectivity: Verify that all cables, such as HDMI or DisplayPort cables, are properly connected to both the TV and the external devices, such as cable boxes or gaming consoles. Loose or damaged cables can affect the screen performance.
- Remove Obstructions: Make sure there are no objects obstructing the TV’s vents or blocking the remote sensor. Adequate ventilation is crucial to prevent overheating, which can lead to screen issues.
- Check for Signal Interference: Radiofrequency interference from other electronic devices, such as cordless phones or Wi-Fi routers, can affect the TV’s screen. Move any potential sources of interference away from the TV and observe if the screen issue persists.
- Consider Ambient Lighting: Bright ambient lighting, including sunlight or glare from nearby windows, can impact the screen visibility. Adjust the curtains or blinds, reposition the TV, or consider using anti-glare filters to reduce the effect of ambient lighting.
By checking for these external factors, you can determine if there are any simple fixes that can resolve the screen issues on your LED TV. If the problem persists even after ruling out these external factors, it’s time to move on to the next troubleshooting steps. In the following sections, we will guide you through power cycling the TV, updating the firmware, and addressing specific screen issues.
Power Cycling the TV
Power cycling, or resetting, your LED TV can often resolve temporary glitches and minor software issues that may be causing screen problems. Here’s how you can power cycle your TV:
- Turn off the TV: Locate the power button on your TV or remote control and turn off the TV.
- Unplug the TV: Disconnect the power cord from the power outlet. Wait for at least 10-15 seconds to allow any residual power to dissipate. This will ensure a complete power cycle.
- Plug in the TV: Reconnect the power cord to the power outlet and wait for a few seconds. Make sure it is securely plugged in.
- Turn on the TV: Press the power button on your TV or remote control to turn on the TV. Allow it to boot up completely before assessing if the screen issue persists.
Power cycling your TV refreshes its software and can often resolve temporary glitches that may be affecting the screen. It’s a simple yet effective troubleshooting step that is recommended for a variety of minor issues.
If power cycling doesn’t resolve the screen problem, or if it only provides a temporary solution, it may be time to consider updating the firmware of your LED TV. Firmware updates can address software bugs and compatibility issues, which can contribute to screen problems.
In the next section, we will explain the process of updating the firmware on your LED TV and how to ensure you have the latest software version installed.
Updating Firmware
Updating the firmware of your LED TV is an essential step in resolving various screen issues. Firmware updates often include bug fixes, improvements, and compatibility enhancements that can address software-related problems. Here’s how you can update the firmware of your LED TV:
- Check for the latest firmware: Visit the manufacturer’s website or check the TV’s support page to find the latest firmware version for your specific model. Look for the firmware release notes to see if it addresses any screen-related issues.
- Download the firmware: If there is an updated firmware available, download it to your computer. Follow the instructions provided by the manufacturer to ensure you download the correct version for your model.
- Prepare a USB drive: Format a USB drive to FAT32 or exFAT file system. Create a new folder on the USB drive and name it “Firmware” or a similar name.
- Copy the firmware file: Copy the downloaded firmware file to the “Firmware” folder on the USB drive. Ensure that the file is properly placed in the folder and that it has the correct file name as specified by the manufacturer.
- Connect the USB drive to the TV: Turn on your TV and connect the USB drive to one of the USB ports. Wait for a few seconds to allow the TV to recognize the USB drive.
- Start the firmware update: Access the TV’s settings menu and look for the firmware update option. Follow the on-screen instructions to start the firmware update process. Be patient as the update may take several minutes to complete.
- Restart the TV: Once the firmware update is completed, restart your TV to ensure that the new firmware is fully applied.
Updating the firmware of your LED TV can address software-related screen problems by applying the latest bug fixes and enhancements. It’s important to regularly check for firmware updates and keep your TV’s software up to date for optimal performance.
If updating the firmware doesn’t fix the screen issue, it’s time to explore specific troubleshooting steps based on the type of problem you’re experiencing. In the following sections, we will cover fixes for horizontal or vertical lines, dead pixels, flickering or flashing screens, image distortion, and backlight bleeding.
Fixing Horizontal or Vertical Lines
Horizontal or vertical lines on the screen of your LED TV can be a distracting and frustrating issue. Here are some steps you can take to try and fix this problem:
- Check cable connections: Ensure that all cables, especially the HDMI or DisplayPort cables, are securely connected to both the TV and the external devices. Loose or damaged cables can cause signal interference and result in line artifacts on the screen.
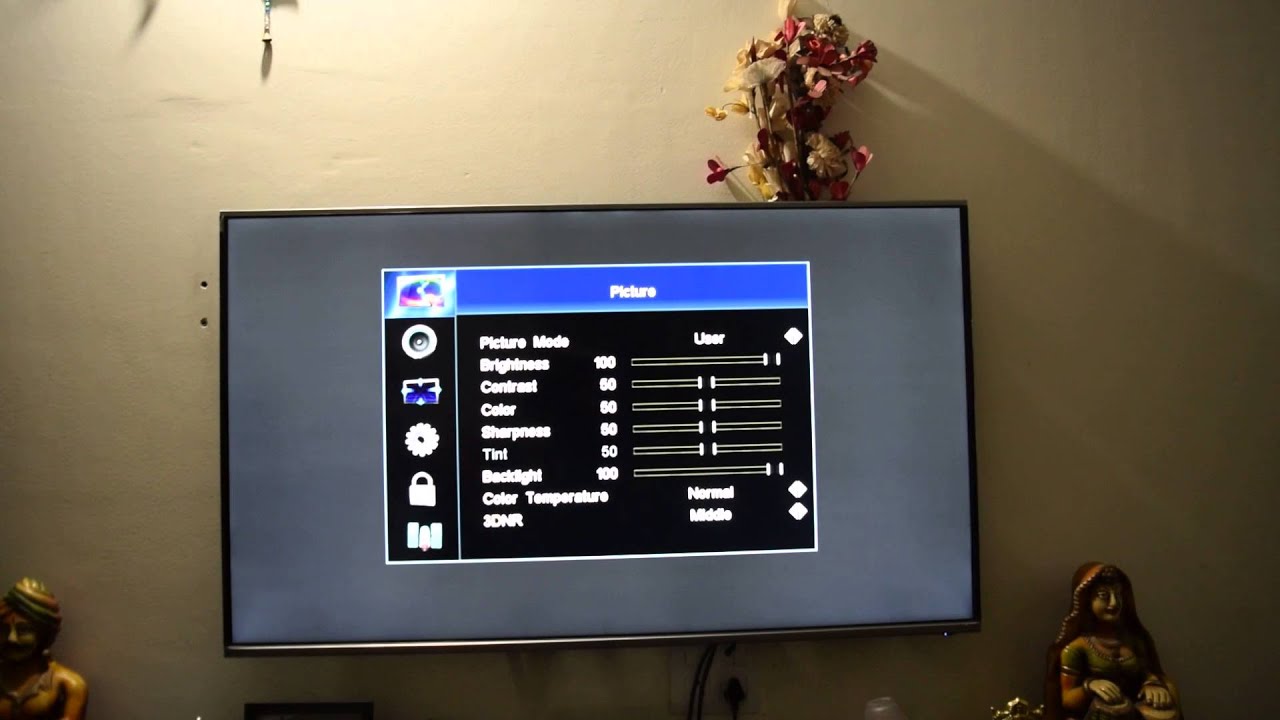
- Reset display settings: Access the TV’s settings menu and navigate to the display or picture settings. Look for the option to reset the display settings and confirm the action. This will revert any customized settings that might be contributing to the appearance of lines.
- Update graphics drivers: If you have your LED TV connected to a computer, ensure that your graphics drivers are up to date. Outdated or incompatible drivers can cause visual artifacts, including horizontal or vertical lines on the screen. Visit the website of your graphics card manufacturer to download and install the latest drivers.
- Perform a factory reset: A factory reset can resolve persistent software issues that may be causing the lines on your LED TV screen. Refer to the TV’s user manual or check the manufacturer’s website for instructions on how to perform a factory reset. Keep in mind that this will erase any personalized settings, so make sure to backup any necessary data beforehand.
- Consult a professional: If none of the above steps resolves the issue, it’s possible that there is a hardware problem with your LED TV. In such cases, it is recommended to seek assistance from a professional technician or contact the manufacturer’s customer support for further guidance.
Remember to follow the appropriate safety measures when troubleshooting your LED TV and avoid tampering with any internal components unless you are qualified to do so. It’s always best to consult the user manual or contact the manufacturer for specific instructions related to your TV model.
If you are experiencing dead pixels, another common screen issue, continue reading the next section for steps on addressing this problem.
Resolving Dead Pixels
Dead pixels can be a frustrating issue on your LED TV, causing small spots on the screen that do not display any color. While dead pixels are often difficult to fix completely, here are some methods you can try to minimize their impact:
- Pixel refresh feature: Many LED TVs have a built-in pixel refresh feature. Access the TV’s settings menu and look for an option related to pixel refresh or pixel shifting. Activate this feature, and it will attempt to revive or realign the affected pixels over time.
- Apply pressure to the pixel: Gently apply pressure to the dead pixel area using a soft cloth or your fingertip. Be careful not to exert too much pressure, as it can damage the screen. Sometimes, applying light pressure can help reactivate or reposition the stuck pixel.
- Use a pixel-fixing software: There are various pixel-fixing software programs available online that can help revive dead pixels. These programs display rapidly changing colors in the affected area, which can encourage the pixel to start working again. Follow the instructions provided by the software and run it for the recommended duration.
- Professional pixel fixing services: In certain cases, dead pixels may require professional intervention. There are specialized tools and techniques used by technicians to attempt to fix dead pixels. Consider reaching out to a professional technician or contacting the TV manufacturer for their recommendations.
Keep in mind that dead pixels can be a result of manufacturing defects or physical damage, and they may not always be fully repairable. In some cases, the issue may be covered under the warranty, so it’s worth checking with the manufacturer to explore your options.
If dead pixel resolution methods do not yield satisfactory results or if you are facing other screen issues like flickering or flashing, continue reading the next section for troubleshooting steps.
Fixing Flickering or Flashing Screen
A flickering or flashing screen on your LED TV can be an annoying and disruptive issue. Here are some steps you can take to try and fix this problem:
- Check the display settings: Access the TV’s settings menu and navigate to the display or picture settings. Ensure that the refresh rate is set to the recommended value for your TV model. Incompatible or incorrect refresh rates can cause screen flickering.
- Update graphics drivers: If your LED TV is connected to a computer, ensure that your graphics drivers are up to date. Outdated or incompatible drivers can cause screen flickering. Visit the website of your graphics card manufacturer to download and install the latest drivers.
- Adjust energy-saving settings: Some LED TVs have energy-saving features that can cause screen flickering. Navigate to the TV’s settings menu and look for options related to energy-saving or power-saving modes. Disable or adjust these settings to see if it resolves the issue.
- Try a different power source: Plug your LED TV into a different power outlet or use a different power cable to rule out any power-related issues. Fluctuations in power supply can sometimes cause screen flickering.
- Check for interference: External devices such as speakers, lights, or other electronic devices placed too close to the TV can cause electromagnetic interference, leading to screen flickering. Try moving these devices away from the TV and observe if the issue persists.
- Perform a factory reset: Perform a factory reset on your LED TV to reset any software configurations that could be causing screen flickering. Refer to the TV’s user manual or check the manufacturer’s website for instructions on performing a factory reset.
- Consult a professional: If none of the above steps resolve the issue, it’s advisable to seek help from a professional technician or contact the manufacturer’s customer support for further assistance. There may be an underlying hardware problem that requires specialized attention.
It’s important to note that screen flickering can be caused by various factors, including software settings, power issues, or interference. By systematically troubleshooting these potential causes, you can increase the chances of resolving the flickering or flashing screen problem on your LED TV.
If you are facing image distortion or another screen issue, continue reading the next section for troubleshooting steps specific to that problem.
Correcting Image Distortion
Image distortion on your LED TV can manifest as blurry or distorted images, stretched or squished pictures, or a warped display. Here are some steps you can take to try and correct image distortion:
- Adjust aspect ratio settings: Access the TV’s settings menu and navigate to the display or picture settings. Look for options related to aspect ratio or screen size. Ensure that the aspect ratio is set correctly based on the content you are viewing. Most modern TVs have an automatic aspect ratio setting that adjusts the picture to fit the screen.
- Check the video source: If you notice image distortion while watching specific content from a particular source, such as a cable box or streaming device, check the display settings of that source device. Ensure that the output resolution and aspect ratio settings of the source device are compatible with your TV.
- Disable motion smoothing: Some LED TVs have a motion smoothing feature, also known as the “soap opera effect,” which can cause image distortion. Access the TV’s settings menu and navigate to the motion settings. Disable or adjust the motion smoothing feature to reduce any unwanted image distortion.
- Reset picture settings: If you have made custom adjustments to the TV’s picture settings, it’s worth resetting them to the default factory settings. This can help eliminate any conflicting settings that may be causing image distortion.
- Check for firmware updates: Ensure that your LED TV’s firmware is up to date by checking the manufacturer’s website or the TV’s support page. Firmware updates often include bug fixes and improvements that can address image distortion issues.
- Consult a professional: If none of the above steps resolve the image distortion problem, it’s advisable to seek assistance from a professional technician or contact the manufacturer’s customer support for further guidance. A professional may be able to diagnose and address any underlying hardware issues causing the distortion.
Image distortion can be attributed to various factors, including incorrect settings, incompatible video sources, or hardware-related issues. By following these troubleshooting steps, you can enhance your LED TV’s image quality and minimize any distortion for a more enjoyable viewing experience.
If you are experiencing backlight bleeding, continue reading the next section for steps to mitigate this common issue.
Repairing Backlight Bleeding
Backlight bleeding is a common issue that affects LED TVs, causing uneven distribution of backlighting and resulting in bright patches or areas of light leakage on the screen. While complete repair of backlight bleeding may not be possible, there are steps you can take to minimize its impact:
- Adjust the backlight settings: Access the TV’s settings menu and navigate to the display or picture settings. Look for options related to backlight or brightness. Reduce the backlight or brightness level to minimize the visibility of backlight bleeding.
- Optimize the viewing environment: Ensure that the room where the TV is located has controlled lighting conditions. Dimming the ambient lighting or using curtains or blinds to reduce external light can help minimize the impact of backlight bleeding.
- Change the viewing angle: Backlight bleeding can be more prominent when viewing the TV from certain angles. Experiment with adjusting your seating position or the TV’s positioning to find the angle that reduces the visibility of the bleeding.
- Contact the manufacturer: If backlight bleeding is severe or affecting your viewing experience significantly, it may be worth reaching out to the manufacturer’s customer support. They may be able to provide guidance or recommend a suitable solution based on the warranty or service options available.
- Consider professional assistance: In certain cases, backlight bleeding may require professional attention to address the issue. Professional technicians may be able to provide specialized techniques or solutions to mitigate the effect of backlight bleeding.
It’s important to note that backlight bleeding is a common occurrence in LED TVs due to the way they are designed. While it can be frustrating, complete elimination may not be attainable. However, by following these steps, you can minimize the impact of backlight bleeding and enhance your overall viewing experience.
If none of the above steps help resolve the issue, it’s recommended to seek professional assistance or contact the manufacturer for further guidance specific to your TV model.
With the troubleshooting steps outlined in this article, you now have the knowledge to address common screen issues on your LED TV. By following the appropriate steps and taking the necessary precautions, you can restore optimum performance and enjoy uninterrupted viewing of your favorite shows and movies.
Conclusion
LED TVs provide stunning visuals and immersive entertainment experiences. However, they can encounter various screen issues that may hinder your viewing pleasure. By following the troubleshooting steps outlined in this article, you can address common problems such as horizontal or vertical lines, dead pixels, flickering screens, image distortion, and backlight bleeding.
It’s important to start by checking for any external factors that may be contributing to the screen issues, such as loose cables, power supply problems, or signal interference. Power cycling the TV and updating the firmware are simple yet effective steps that can resolve temporary glitches and software-related problems.
For specific screen issues, such as dead pixels, flickering screens, or image distortion, there are targeted approaches you can take. From adjusting settings, updating drivers, and applying pressure to the pixel in the case of dead pixels, to disabling motion smoothing and resetting picture settings for screen flickering, you can try various solutions to improve the display quality.
While some issues, like backlight bleeding, may be challenging to completely eliminate, you can minimize their impact by adjusting settings, optimizing the viewing environment, or consulting professionals if necessary.
Remember to consult your TV’s user manual or reach out to the manufacturer for specific guidance related to your TV model. Safety precautions should also be considered when troubleshooting or seeking professional assistance.
By effectively troubleshooting and addressing screen issues on your LED TV, you can restore picture quality and enjoy a seamless, immersive viewing experience once again.