Introduction
Welcome to this guide on how to remove backed up photos from Google Photos. Google Photos is a popular cloud-based photo storage and sharing service that offers users a convenient way to store, organize, and access their photos and videos. However, over time, you may find that your storage is filling up, or you have duplicate or unwanted photos that you no longer need to keep. Fortunately, Google Photos provides an easy process to delete these backed up photos and free up valuable storage space.
In this step-by-step guide, we will walk you through the process of removing backed up photos from Google Photos. Whether you want to delete a few individual photos or clear out your entire library, we’ve got you covered. We will ensure that you understand each step and provide useful tips along the way.
Before we begin, it’s important to note that when you delete photos from Google Photos, they will also be deleted from any devices that are synced with your Google account. Therefore, if you have any photos that you want to keep, be sure to back them up or download them to your local device before proceeding with the deletion process.
Now, let’s dive in and learn how to remove backed up photos from Google Photos!
Step 1: Open Google Photos
To begin removing backed up photos from Google Photos, you first need to open the Google Photos app on your device. If you don’t have the app installed, you can download it from the App Store (for iOS devices) or the Google Play Store (for Android devices) and sign in with your Google account.
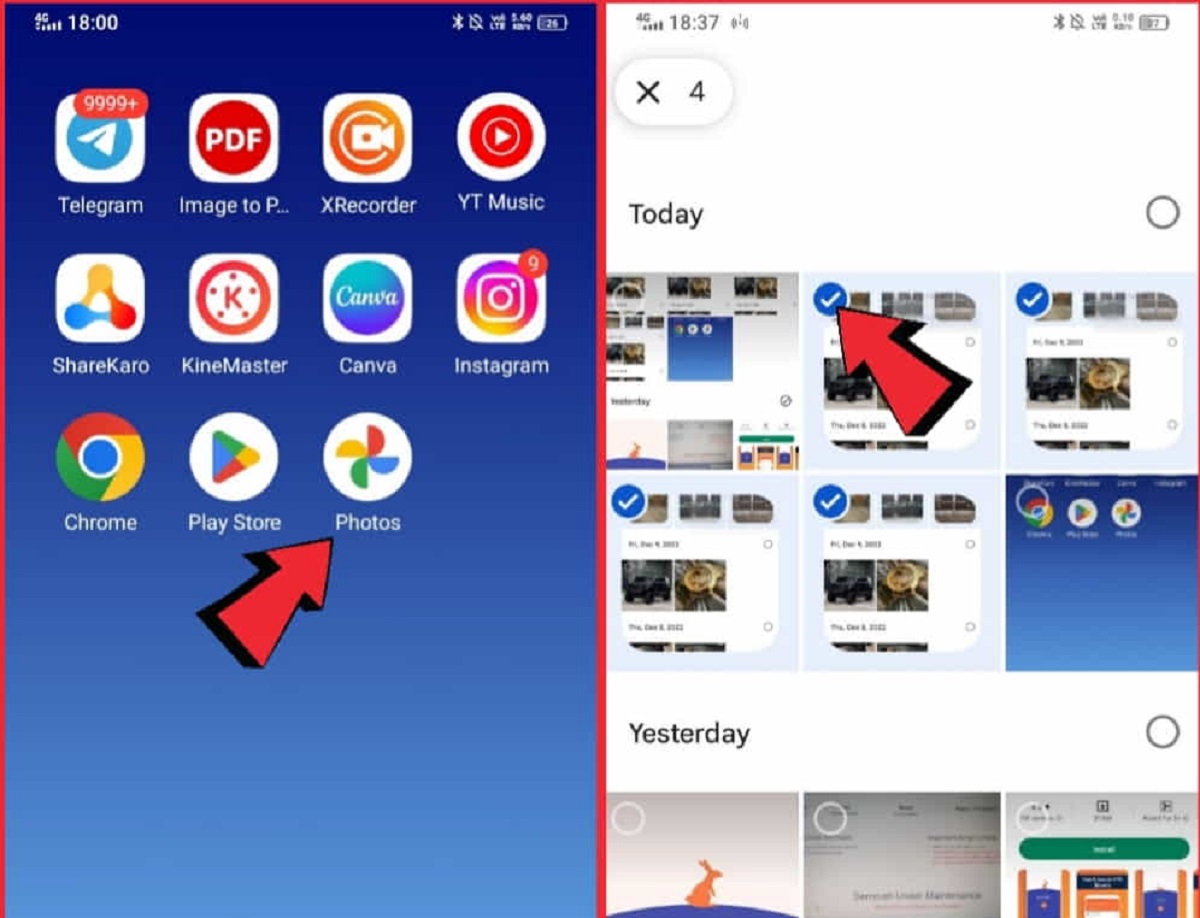
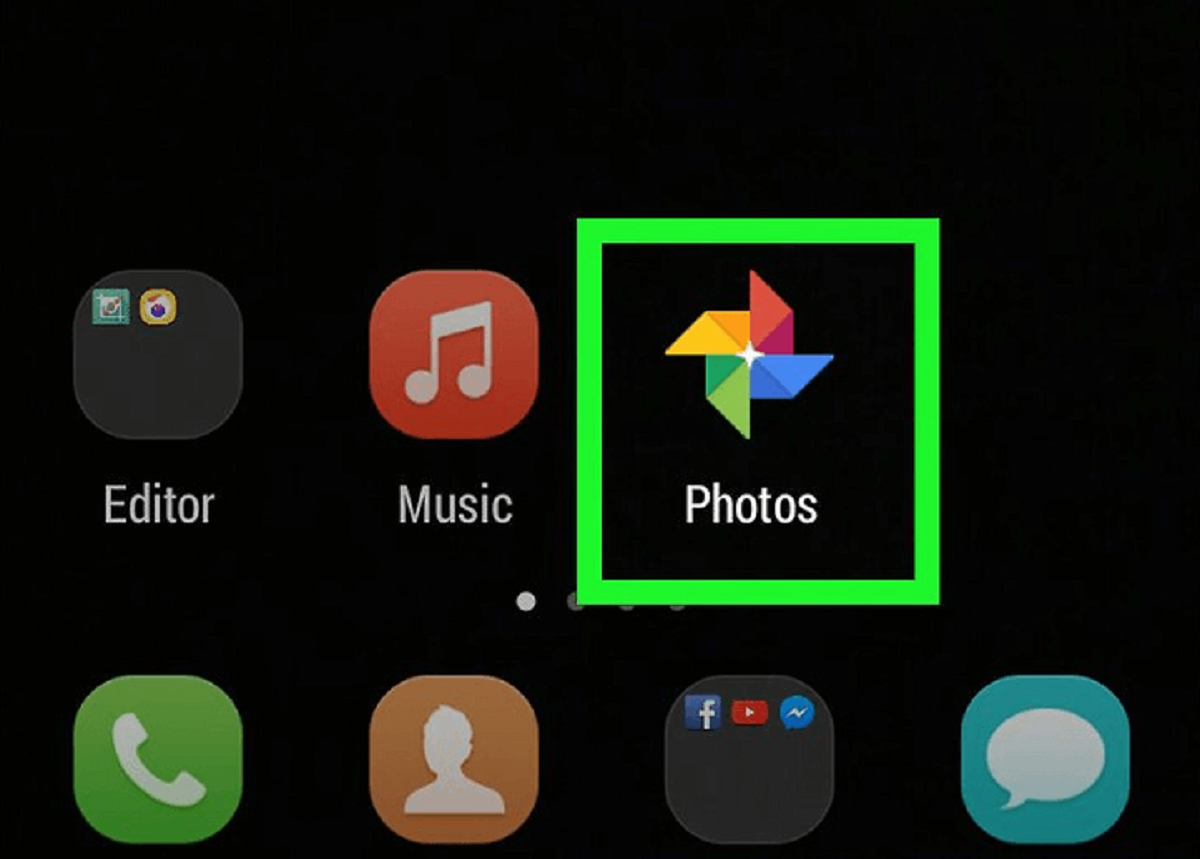
Once you have the app installed and logged in, locate the Google Photos icon on your home screen or app drawer and tap on it to open the app. The app icon is a colorful pinwheel-like symbol with the word “Photos” beneath it.
After opening the Google Photos app, you will be greeted with a grid view of your photos and videos. This is your main library where all your backed up photos and videos are stored. You can swipe up and down to scroll through your library or use the search bar at the top to find specific photos or albums.
If you prefer to access Google Photos from your computer, you can visit the Google Photos website (photos.google.com) and sign in with your Google account.
Now that you have successfully opened Google Photos, let’s move on to the next step to access the Backup and Sync settings.
Step 2: Access the Backup and Sync settings
In order to remove backed up photos from Google Photos, you’ll need to access the Backup and Sync settings. These settings allow you to control how photos and videos on your device are backed up and synced with your Google account.
To access the Backup and Sync settings, follow these steps:
- Open the Google Photos app on your device if you haven’t done so already.
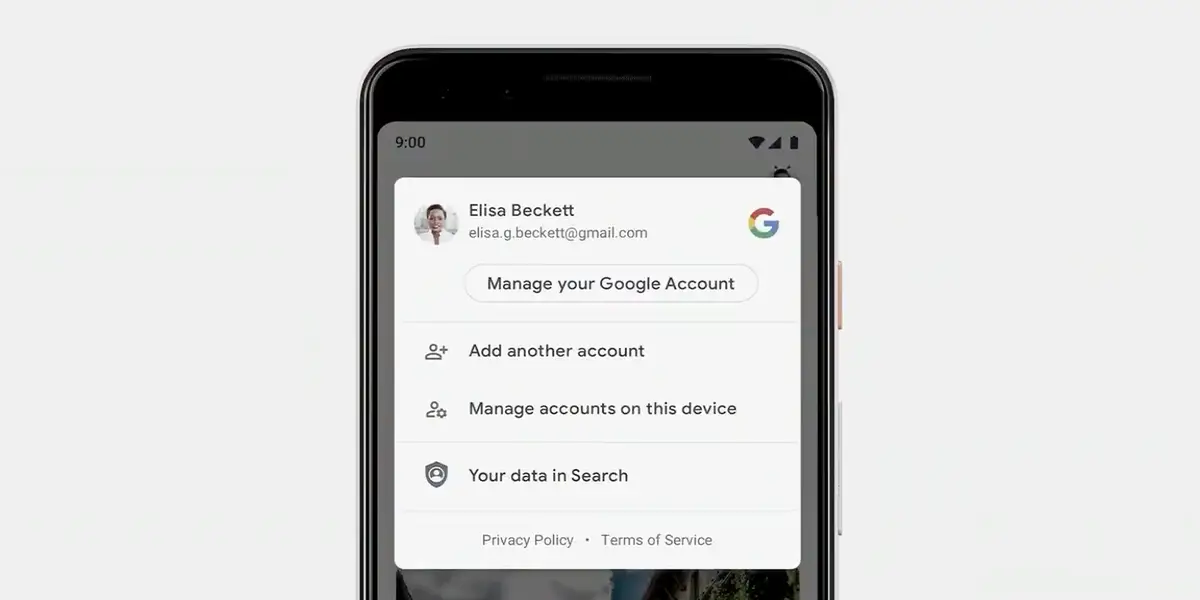
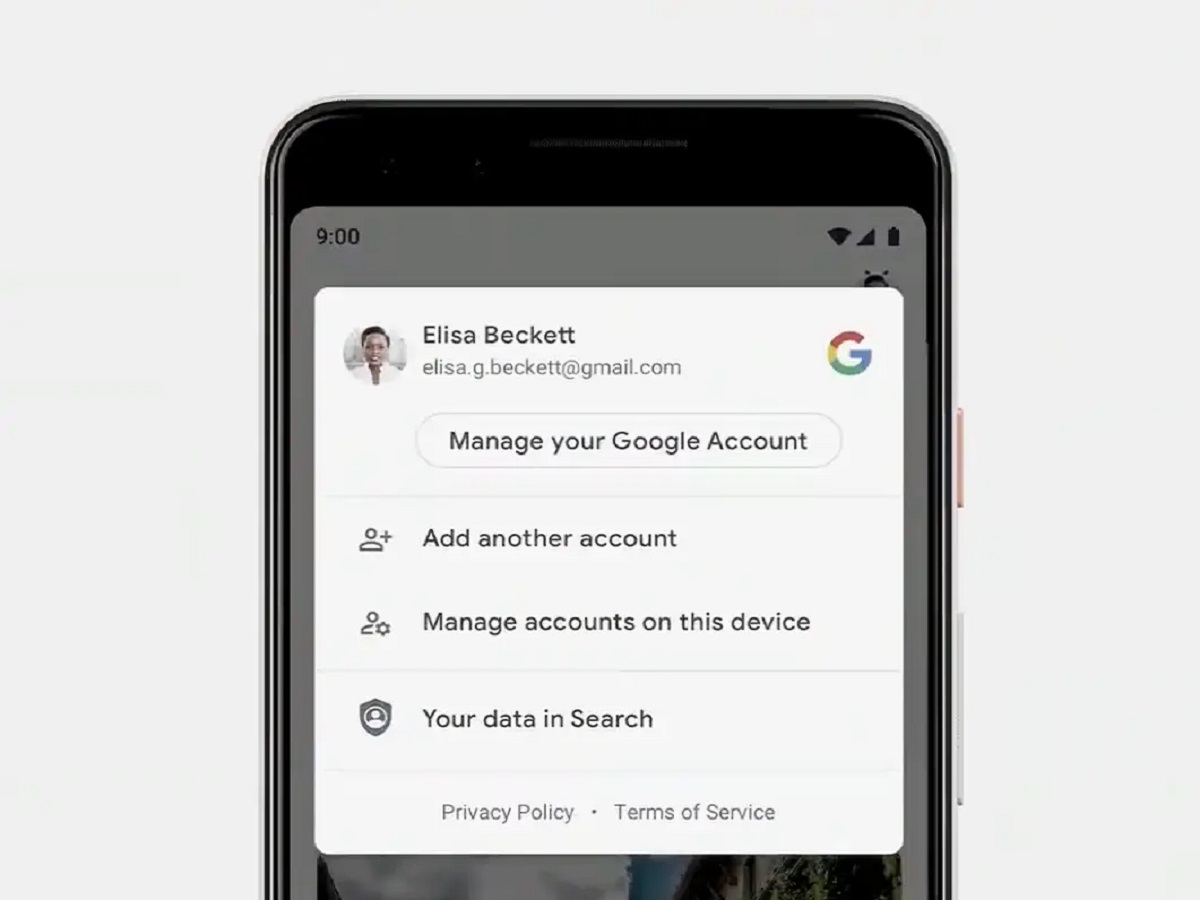
- Tap on the profile icon in the top right corner of the screen. It is represented by your account initials or profile picture.
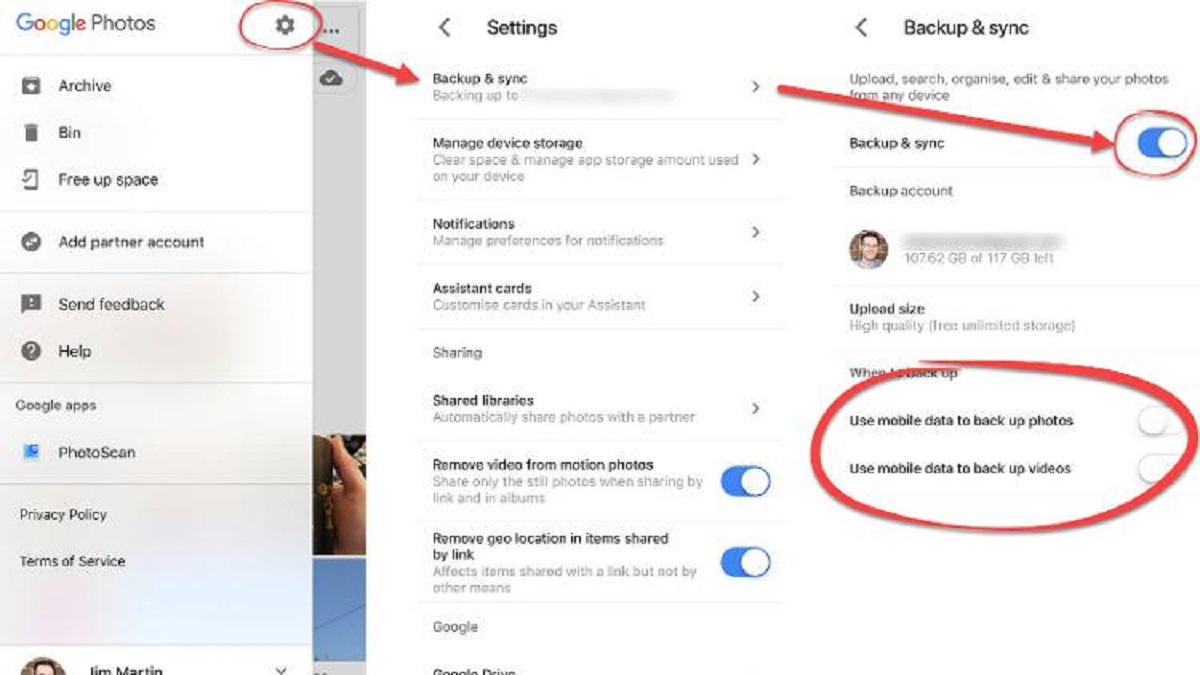
- In the drop-down menu that appears, select “Photos settings”. This will take you to the Google Photos settings page.
- On the settings page, locate and tap on the “Backup & sync” option. This will open the Backup and Sync settings.
Once you are in the Backup and Sync settings, you will see various options related to backing up and syncing your photos and videos. These settings allow you to choose which folders on your device are automatically backed up, select the upload quality for your media, and control whether or not to include videos in the backup process.
It’s important to note that when you delete backed up photos from Google Photos, they may also be removed from your device if they were previously synced. To prevent this, you can choose to turn off the “Sync” option in the Backup and Sync settings before proceeding with the deletion process.
Now that you have accessed the Backup and Sync settings, you are ready to move on to the next step and start removing backed up photos from Google Photos.
Step 3: Remove backed up photos from Google Photos
Now that you have accessed the Backup and Sync settings in Google Photos, it’s time to remove the backed up photos you no longer need. Here’s how:
- From the Backup and Sync settings page, scroll down until you find the “Back up & sync” section.
- Under this section, you will see a list of folders that are being backed up from your device. These folders may include the Camera folder, Screenshots folder, or any other folders you have chosen to back up.
- Tap on the folder that contains the photos you want to remove. This will open the folder view.
- In the folder view, you will see all the photos that have been backed up from that folder. You can scroll through the photos and tap on the ones you want to delete. When you tap on a photo, a checkmark will appear on it to indicate that it has been selected.
- If you want to select multiple photos at once, you can tap and hold on a photo and then swipe your finger to select additional photos. Alternatively, you can tap on the select all button, usually represented by a square with a checkmark, to select all the photos in the folder.
- Once you have selected the photos you want to remove, tap on the trash can icon or the delete button to initiate the deletion process.
Deleting backed up photos from Google Photos may take a few moments, depending on the number of photos you have selected. It’s worth noting that the deleted photos will be moved to the “Trash” folder within Google Photos, where they will remain for 60 days before being permanently deleted. During this period, you have the option to restore any photos you may have accidentally deleted.
Let’s move on to the next step to confirm the deletion of the backed up photos.
Step 4: Confirm the deletion
After selecting and deleting the backed up photos in Google Photos, it’s important to confirm the deletion to ensure that the photos are permanently removed from your library. Here’s how to do it:
- Once you have deleted the photos from the folder view, you will be taken back to the main library view in Google Photos.
- At the bottom of the screen, you will see a bar that displays the number of photos you have selected for deletion.
- Tap on the trash can icon or the “Empty trash” button to confirm the deletion of the selected photos.
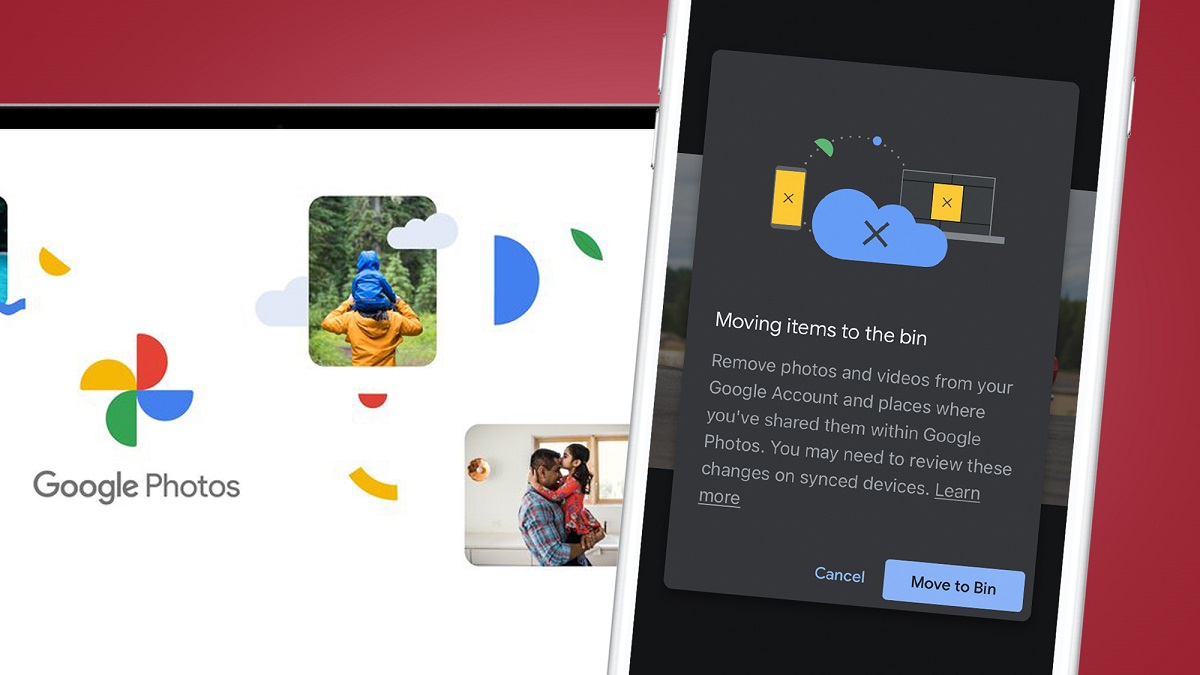
- A confirmation pop-up will appear, asking if you want to permanently delete the selected photos. Review the list of photos to ensure that you have selected the correct ones.
- If you are sure you want to proceed, tap on “Delete” or “OK” to confirm the deletion.
- The selected photos will now be permanently deleted from Google Photos and moved to the Trash folder. They will no longer appear in your library or search results.
It’s important to note that once photos are permanently deleted from the Trash folder, they cannot be recovered. Therefore, it’s crucial to double-check your selection before confirming the deletion.
Now that you have confirmed the deletion of the backed up photos, let’s proceed to the final step to check if the photos have been successfully removed from Google Photos.
Step 5: Check if photos are removed from Google Photos
After successfully deleting the backed up photos from Google Photos, it’s important to verify if the photos have been completely removed from your library. Here’s how to check:
- Return to the main library view in the Google Photos app.
- Scroll through your library or use the search bar to locate the photos that you previously deleted.
- If the photos no longer appear in your library or search results, it means they have been successfully removed from Google Photos.
- To be absolutely certain, you can tap on the “Trash” folder, usually located in the Menu or navigation drawer of the app. In the Trash folder, you should not see the photos that you have deleted.
If the photos that you deleted are no longer visible in both your library and the Trash folder, congratulations! You have successfully removed the backed up photos from Google Photos.
It’s worth noting that the photos you delete from Google Photos may still be stored in other devices or platforms that are synced with your Google account. Therefore, if you want to completely remove a photo from all devices and platforms, you may need to delete it from those sources as well.
Now that you have confirmed the removal of the backed up photos from Google Photos, you can enjoy the extra space on your device and a more organized photo library.
Conclusion
Removing backed up photos from Google Photos is a simple and effective way to free up storage space and keep your photo library organized. With the step-by-step guide we have provided, you can easily delete individual photos or clear out entire folders from your Google Photos library.
Remember to always double-check your selection before confirming the deletion, as deleted photos cannot be recovered once they are permanently deleted from the Trash folder.
By regularly removing unwanted and duplicate photos from Google Photos, you can ensure that your library remains clutter-free and optimized for easy navigation and retrieval of your most cherished memories.
Additionally, if you ever need to restore a deleted photo, you can do so within the 60-day window while it’s still in the Trash folder.
We hope this guide has been helpful in assisting you with removing backed up photos from Google Photos. Now you can enjoy a lighter and more organized photo library!
If you have any further questions or need assistance, feel free to reach out for help. Happy decluttering!