Introduction
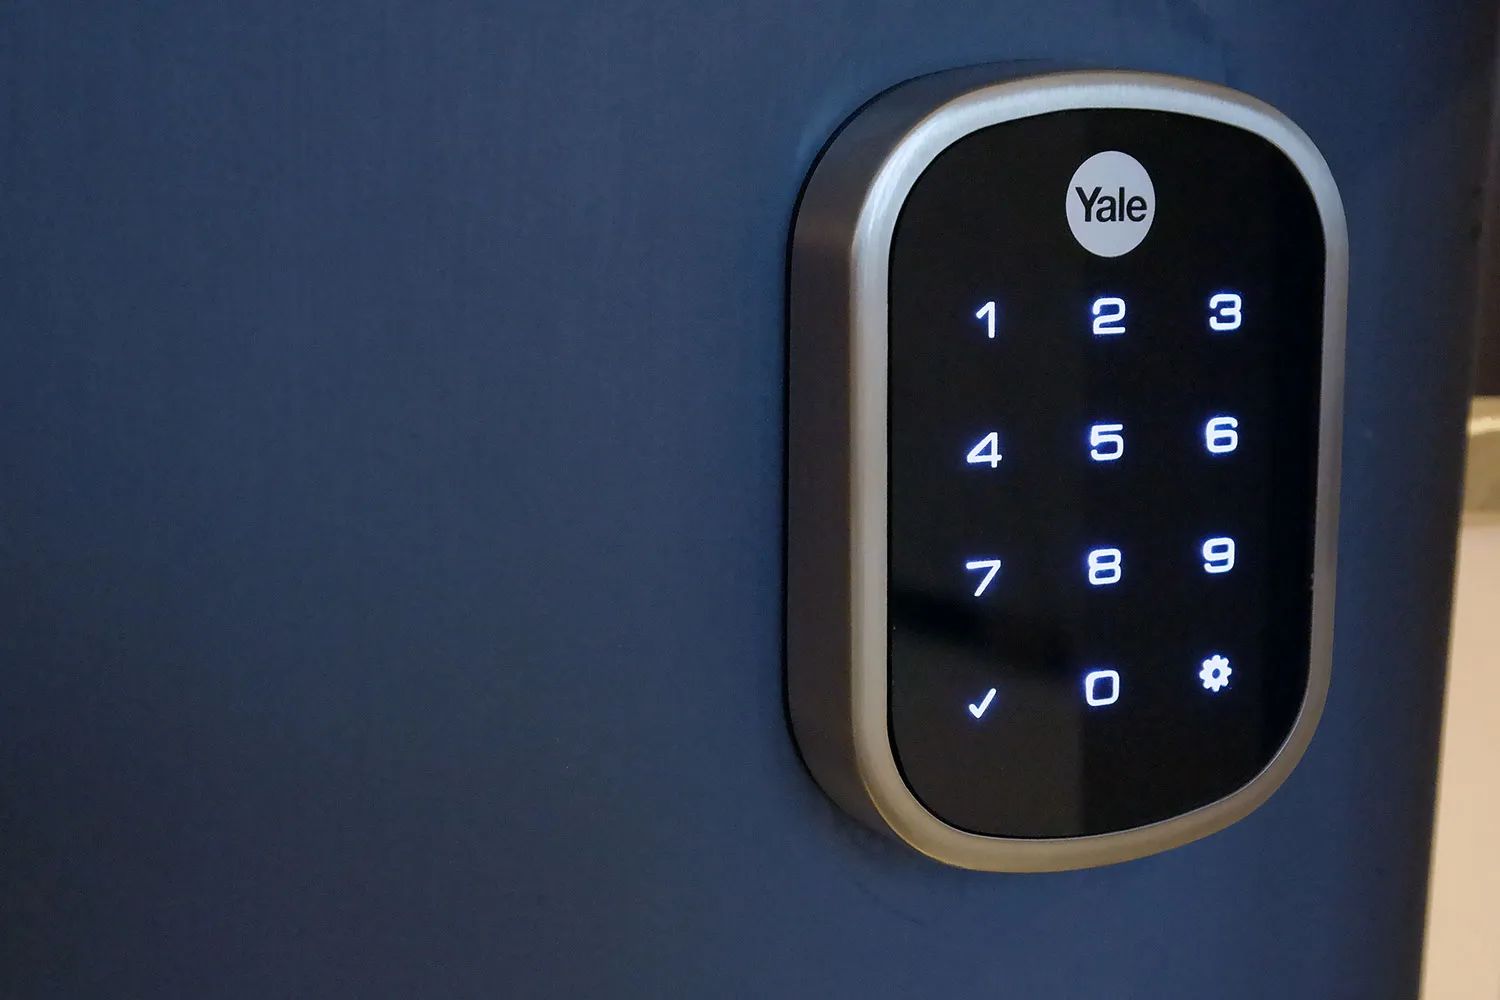
Welcome to this guide on how to remove a Yale Smart Lock! If you’re looking to uninstall your Yale Smart Lock for any reason, whether it’s to upgrade to a new lock or simply to make adjustments, you’ve come to the right place. Removing a Yale Smart Lock is a relatively straightforward process that requires some basic tools and a few simple steps.
Yale Smart Locks have become increasingly popular due to their convenience and advanced features. However, there may come a time when you need to remove the lock, either for maintenance purposes or when moving to a new house. By following our step-by-step instructions, you’ll be able to safely remove your Yale Smart Lock without any hassle.
In this guide, we will walk you through the entire process of removing a Yale Smart Lock, from preparing the necessary tools to organizing the components after removal. Each step is explained in detail to ensure that you can easily follow along and complete the task with confidence.
Before we begin, it’s important to note that every Yale Smart Lock model might have some slight variations in terms of installation and removal. Therefore, we recommend consulting the manufacturer’s instructions specific to your model to ensure accuracy. Nonetheless, this guide will provide you with a general overview of the removal process that can be applied to most Yale Smart Lock models.
Without further ado, let’s dive into the first step of preparing the necessary tools to remove a Yale Smart Lock!
Step 1: Prepare the necessary tools
Before you begin removing your Yale Smart Lock, it’s essential to gather the required tools to ensure a smooth and efficient process. Here are the tools you will need:
- Screwdriver: Depending on the model of your Yale Smart Lock, you may need either a Phillips or a flathead screwdriver. Check the lock’s user manual or inspect the screws to determine the appropriate type.
- Replacement batteries: It’s always a good idea to have fresh batteries on hand in case the existing ones are depleted or damaged.
- Container: Find a small container or a bag to store the screws and other small components during the removal process. This will help keep everything organized and prevent any items from getting lost or misplaced.
- Towel or cloth: Having a towel or cloth nearby can be handy for wiping away any dirt or debris that may accumulate during the removal process.
Once you have gathered these tools, ensure that you have a well-lit and comfortable workspace. Adequate lighting will make it easier to identify and handle the small components of the lock.
It’s important to take your time during the removal process and be mindful of any delicate parts. Rushing or applying excessive force could potentially damage the lock or surrounding area. By being prepared with the necessary tools, you’ll be well-equipped to begin safely removing your Yale Smart Lock.
Step 2: Disconnect the Yale Smart Lock from the app
Before you physically remove the Yale Smart Lock from your door, it’s important to disconnect it from any associated mobile apps or home automation systems. This step is crucial to ensure that the lock is not inadvertently controlled or accessed after removal.
To disconnect the Yale Smart Lock from the app, follow these steps:
- Open the mobile app that is connected to your Yale Smart Lock.
- If necessary, log in to your account using your credentials.
- Locate the option to manage your devices or locks within the app. This may be found under settings, devices, or a similar menu.
- Find the specific Yale Smart Lock that you want to disconnect and select it.
- Look for an option to “remove” or “delete” the lock from the app.
- Confirm your selection when prompted to ensure the disconnection is completed.
Once you have successfully disconnected the Yale Smart Lock from the app, it is no longer linked to any mobile devices or home systems. This step ensures that you have full control over the lock’s functionality during the removal process.
Keep in mind that the procedure for disconnecting the Yale Smart Lock from the app may vary depending on the specific app and version you are using. If you encounter any difficulties, consult the manufacturer’s instructions or visit their support website for further guidance specific to your lock and app combination.
With the Yale Smart Lock now disconnected from the app, you are ready to proceed to the next step and begin physically removing the lock from your door.
Step 3: Remove the battery cover
Now that you have disconnected the Yale Smart Lock from the app, it’s time to remove the battery cover. Most Yale Smart Locks are powered by batteries, so accessing and removing the batteries is an essential step in the removal process.
Follow these steps to remove the battery cover:
- Locate the battery cover on your Yale Smart Lock. It is usually located on the interior side of the lock, opposite the side with the keypad or key slot.
- Inspect the battery cover to determine the type of closure mechanism. Some locks may have screws holding the cover in place, while others may have a snap-on or slide-off cover.
- Use the appropriate tool, such as a screwdriver, to remove the screws if your lock has them. If your lock has a snap-on or slide-off cover, carefully grip the edges and gently pull or slide it away from the lock.
- Once the battery cover is loose, set it aside in a safe place. Be careful not to misplace it as it will need to be reattached if you decide to reinstall the lock in the future.
After removing the battery cover, you will have access to the battery compartment. This is where the power supply for your Yale Smart Lock resides. At this stage, you may choose to remove the batteries or leave them in place. If you decide to remove them, take note of their orientation to ensure proper reinstallation if needed.
It’s important to handle the battery cover and batteries with care, as they are delicate components. Avoid using excessive force or prying, as this could cause damage. Take your time and be gentle throughout the process.
Now that the battery cover has been successfully removed, you are one step closer to fully removing your Yale Smart Lock. The next step will focus on removing the batteries.
Step 4: Remove the batteries
With the battery cover removed, it’s time to remove the batteries from your Yale Smart Lock. Removing the batteries is an important step to ensure that the lock is completely powered off and ready for removal.
Follow these steps to remove the batteries:
- Locate the battery compartment inside your Yale Smart Lock. It is typically found behind the battery cover.
- Inspect the battery compartment to identify the type and arrangement of the batteries. In most cases, Yale Smart Locks use standard AA or AAA batteries.
- Remove the batteries one by one from the compartment. You can do this by gently pushing or pulling on the batteries to release them from their slots.
- Set the batteries aside in a safe place. If the batteries are still in good condition and have not expired, you may choose to reuse them in the lock or store them for future use.
It’s important to note that some Yale Smart Lock models may have specific battery replacement instructions or additional features related to the power supply. Refer to the lock’s user manual or manufacturer’s instructions for any model-specific details.
When removing the batteries, handle them with care and avoid touching the metal connectors or terminals. This helps to prevent contact corrosion and maintains the overall performance of the batteries.
By removing the batteries, you have now successfully powered off your Yale Smart Lock and prepared it for the next step in the removal process. The following step will guide you through the process of locating and unscrewing the mounting plate of the lock.
Step 5: Locate the mounting plate screws
Now that the batteries have been removed, the next step is to locate the mounting plate screws on your Yale Smart Lock. The mounting plate is the part of the lock that attaches to the door, securing it in place.
Follow these steps to locate the mounting plate screws:
- Inspect the perimeter of your Yale Smart Lock to identify the edges of the mounting plate. This plate is typically located on the interior side of the door, opposite the exterior side with the keypad or key slot.
- Look for any visible screws or fasteners securing the mounting plate to the door.
- Depending on the lock model, there may be one or more screws holding the mounting plate in place. These screws can usually be found on the edges or corners of the plate.
- Take note of the screw locations and their size or type. This will help you choose the appropriate screwdriver for the next step.
It’s important to mention that the number and arrangement of the mounting plate screws may vary depending on the specific Yale Smart Lock model you have. Some locks may have visible screws, while others may feature hidden screws or fasteners under decorative covers.
If you’re having trouble locating the mounting plate screws, refer to the lock’s user manual or consult the manufacturer’s instructions for guidance specific to your lock model.
By identifying and locating the mounting plate screws, you are now ready to move on to the next step and unscrew the mounting plate from the door. This will allow you to remove the Yale Smart Lock and continue with the removal process.
Step 6: Unscrew the mounting plate
With the mounting plate screws located, it’s time to unscrew the mounting plate from your Yale Smart Lock. Removing the mounting plate will allow you to detach the lock from the door.
Follow these steps to unscrew the mounting plate:
- Based on the screw locations and type identified in the previous step, choose the appropriate screwdriver for the job. It may be a Phillips or flathead screwdriver, depending on your Yale Smart Lock model.
- Insert the screwdriver into one of the mounting plate screws, ensuring a firm grip on the handle.
- Turn the screwdriver counterclockwise to loosen and remove the screw. Repeat this process for all the remaining screws on the mounting plate.
- Set the screws aside in a designated container to keep them organized and prevent them from getting lost.
- Once all the screws are removed, gently pull the mounting plate away from the door. Be cautious not to damage any surrounding surfaces or components.
While unscrewing the mounting plate, it’s important to apply steady pressure and avoid using excessive force. If a screw feels stuck, try applying slight pressure while turning to loosen it. If any of the screws are stripped or damaged, consider using alternative methods or seeking professional assistance to avoid further complications.
After removing the mounting plate, the Yale Smart Lock should be detached from the door, allowing you to proceed with the next step of removing the lock itself.
Remember to keep the mounting plate and screws in a safe place, as you may need to reassemble the lock or use them if you decide to reinstall it in the future.
Step 7: Remove the Yale Smart Lock from the door
With the mounting plate removed, it’s time to remove the Yale Smart Lock from the door itself. This step involves detaching the lock’s body from the door, allowing you to completely uninstall it.
Follow these steps to successfully remove the Yale Smart Lock:
- Gently grasp the Yale Smart Lock’s body, which is the part that contains the keypad or key slot, and carefully pull it away from the door. Apply even pressure and ensure that you do not force or twist the lock excessively.
- As you pull the lock away from the door, be mindful of any wires or cables that may be connected. If the lock is hardwired or connected to any home automation systems, disconnect these connections before fully removing the lock.
- Take note of the placement of any wires or cables, as you will need to reconnect them if you decide to reinstall the Yale Smart Lock later.
- Continue to pull the lock away from the door until it is completely detached. Be cautious not to damage any surrounding surfaces or components during this process.
If you encounter any difficulties or resistance while removing the Yale Smart Lock, double-check for any hidden screws or fasteners that may still be securing the lock to the door. Consult the lock’s user manual or manufacturer’s instructions for further guidance specific to your lock model.
Once the Yale Smart Lock is successfully removed from the door, set it aside in a safe location for cleaning, inspection, or storage. You can proceed with the next steps of cleaning and organizing the lock’s components before storing them securely.
Now that you have successfully removed the Yale Smart Lock from the door, you can move on to the next step to clean and organize the lock’s components.
Step 8: Clean and organize the components
After removing the Yale Smart Lock from the door, it’s essential to take some time to clean and organize the components before storing them. This step will help maintain the lock’s functionality and ensure that it remains in good condition for future use or reinstallation.
Follow these steps to clean and organize the components:
- Inspect the Yale Smart Lock’s body, mounting plate, and other removable parts for any dirt, dust, or debris. Use a soft, lint-free cloth or a mild cleaning solution to gently wipe away any buildup.
- Pay special attention to the keypad or key slot area, as these are high-touch areas that may accumulate dirt or fingerprints.
- If there are any stubborn stains or residue, use a gentle cleaning solution and a soft brush to carefully remove them. Avoid using abrasive cleaners or harsh chemicals that may damage the lock’s surface.
- Once the components are clean, organize them in a logical and secure manner. Store the lock’s body, mounting plate, screws, and any other small parts in a designated container or bag.
- Consider labeling the container or bag to indicate that it contains the components from the Yale Smart Lock. This will make it easier to identify and locate them in the future.
- Keep the components in a safe and dry place. Ideally, store them in a climate-controlled environment to prevent any damage from extreme temperatures or humidity.
By cleaning and organizing the components, you are taking important steps to ensure the longevity of your Yale Smart Lock. This will not only keep the lock in good condition for future use but also make the reinstallation process smoother if you choose to reinstall the lock later on.
Now that the components are cleaned and organized, you can proceed to the final step of storing the Yale Smart Lock and its components securely.
Step 9: Store the Yale Smart Lock and components safely
After cleaning and organizing the components, it’s important to store the Yale Smart Lock and its various parts in a safe and secure manner. Proper storage will help protect the lock from damage and ensure that all components are easily accessible when needed in the future.
Follow these steps to store the Yale Smart Lock and its components safely:
- Choose a designated storage container or bag that is appropriate for the size of the lock and its components. Ensure that the container provides adequate protection against dust, moisture, and physical damage.
- Place the Yale Smart Lock’s body, mounting plate, screws, and any other small parts in the storage container or bag. Arrange them in a way that prevents them from scratching or rubbing against each other.
- If possible, include the lock’s user manual or any relevant documentation in the storage container. This will ensure that you have all the necessary information readily available in the future.
- Label the storage container or bag with the name of the lock and any other relevant details. This will make it easier to identify and locate the specific Yale Smart Lock components when needed.
- Store the container or bag in a cool, dry location away from direct sunlight. Avoid areas prone to temperature fluctuations or high humidity, as this can potentially damage the lock or its components.
- Consider storing the storage container or bag in a locked cabinet or secure area to prevent any unauthorized access or tampering.
By following these storage guidelines, you are taking proactive steps to ensure the protection and longevity of your Yale Smart Lock. Proper storage will help maintain the lock’s functionality and make it easier for you to reinstall or reuse the lock in the future if desired.
With the Yale Smart Lock and its components safely stored, you have successfully completed the process of removing and storing the lock. Congratulations!
Conclusion
Removing a Yale Smart Lock may seem like a daunting task, but with the right tools, knowledge, and careful execution, it can be a straightforward process. This guide has walked you through each step, from preparing the necessary tools to safely storing the lock and its components.
By disconnecting the lock from the app, removing the battery cover, unscrewing the mounting plate, detaching the lock from the door, and cleaning and organizing the components, you have successfully completed the removal process. Taking the time to store the lock and its components safely ensures that they will be in good condition for future use if needed.
Remember, it’s important to consult the manufacturer’s instructions specific to your Yale Smart Lock model, as there may be slight variations in the removal process. Additionally, if you encounter any difficulties or are unsure about any step, it’s always wise to seek professional assistance.
We hope this guide has been helpful in assisting you with the removal of your Yale Smart Lock. Whether you are upgrading to a new lock, making adjustments, or simply storing the lock temporarily, following these steps will ensure that the process is carried out smoothly and efficiently.
Thank you for reading, and we wish you success in all your locksmithing endeavors!


