Introduction
Welcome to the world of smart home security! Simplisafe smart locks are an innovative solution that allows you to secure and control access to your home with ease. Installing a Simplisafe smart lock not only enhances the security of your home but also adds convenience to your daily life.
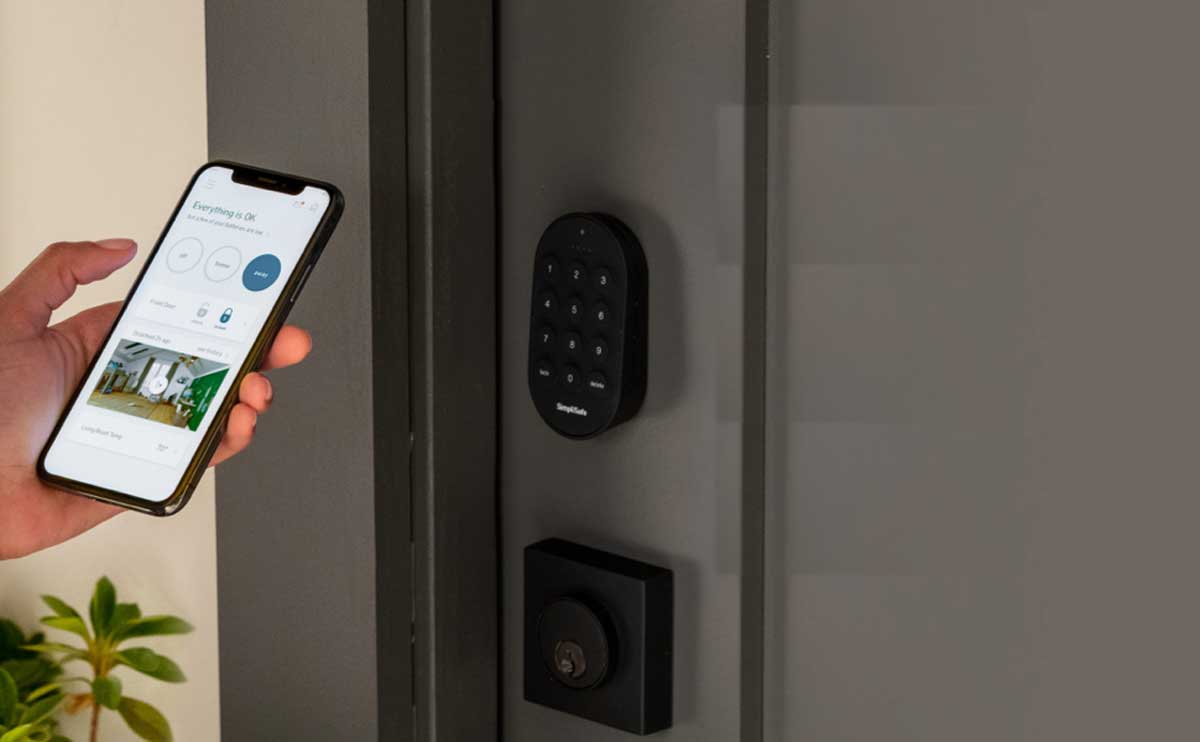
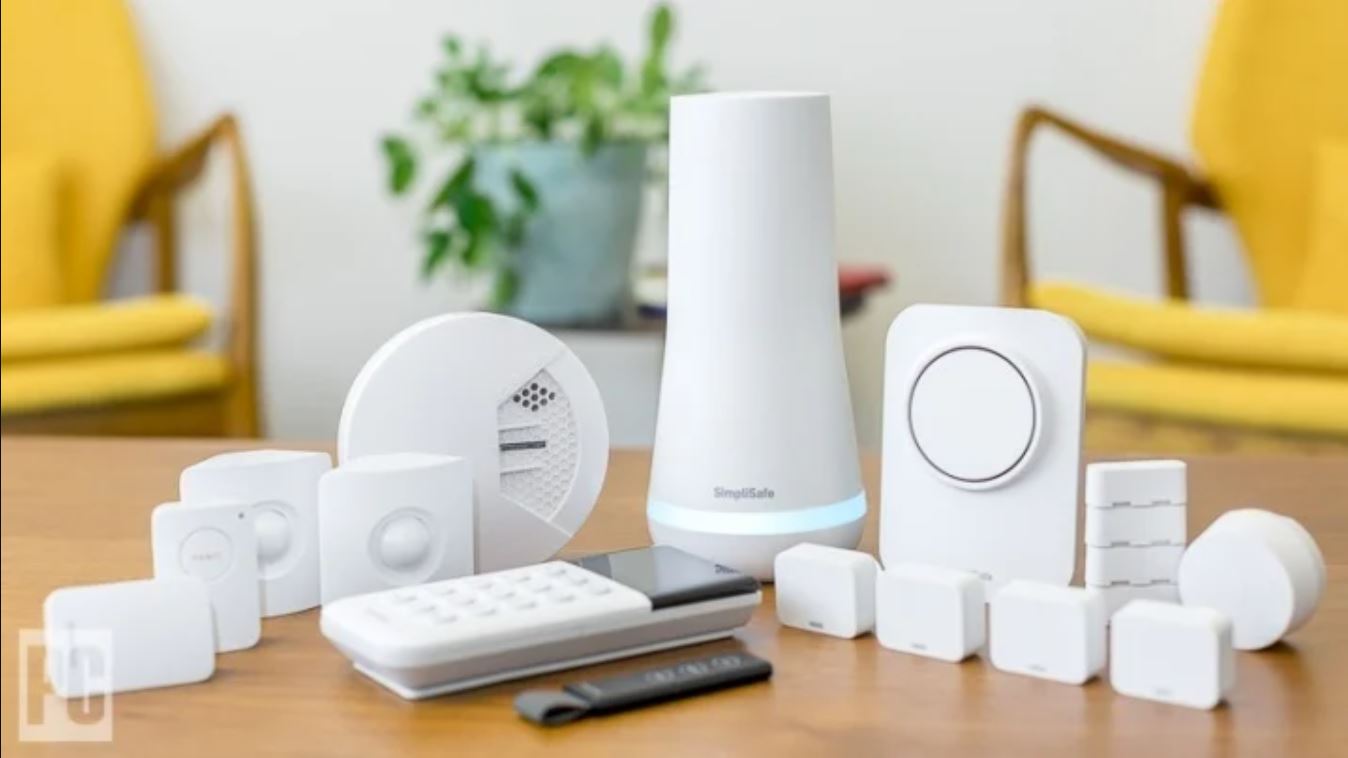
Before diving into the installation process, it is important to have a clear understanding of the features and benefits of Simplisafe smart locks. These smart locks are designed with advanced technology to provide you with a seamless and secure experience. With features like keyless entry, remote access control, and integration with your smartphone, Simplisafe smart locks offer a modern and convenient way to protect your home.
Installing a Simplisafe smart lock may seem daunting at first, but with the right information and a few simple steps, you can easily accomplish this task. In this article, we will guide you through the process of installing and setting up a Simplisafe smart lock, ensuring a smooth installation experience.
Before we begin, it is important to note that Simplisafe smart locks are compatible with most standard doors. However, it is recommended to check the compatibility of the lock with your door model and dimensions before proceeding with the installation.
In the following sections, we will cover the essential steps required to install a Simplisafe smart lock. We will provide detailed instructions, along with helpful tips and considerations, to assist you in successfully installing and setting up your smart lock.
So, without further ado, let’s get started with the installation of your Simplisafe smart lock and bring the benefits of modern security and convenience to your home!
Things to Consider Before Installing Simplisafe Smart Lock
Before diving into the installation process of your Simplisafe smart lock, there are a few important factors to consider. Taking these into account will ensure a smooth installation and optimal performance of your smart lock. Let’s explore these considerations in detail:
- Door Compatibility: First and foremost, it is crucial to ensure that your door is compatible with the Simplisafe smart lock. The lock is designed to fit most standard doors, but it’s always wise to double-check the dimensions and compatibility requirements specified by the manufacturer. If your door has any non-standard features or unique specifications, it is advisable to consult the Simplisafe support team for guidance.
- Existing Deadbolt: Take note of the type of deadbolt you currently have installed on your door. Simplisafe smart locks are designed to replace standard deadbolts, so if you have a different type of lock or a non-standard deadbolt, you might need to make adjustments or consult a professional locksmith for assistance. It’s important to ensure that the existing deadbolt is compatible with the smart lock and can be properly removed during the installation process.
- Power Source: Simplisafe smart locks are typically powered by batteries, which provide the convenience of not having to rely on external power sources. However, it’s essential to have a steady supply of reliable batteries to ensure uninterrupted operation of your smart lock. It is recommended to use high-quality batteries and keep spares on hand to avoid any inconvenience in case of battery depletion.
- Smartphone Compatibility: Simplisafe smart locks offer advanced features and the convenience of remote access control through smartphone integration. Before installing the smart lock, ensure that your smartphone is compatible with the Simplisafe app. Check the compatibility requirements and verify that your smartphone meets the necessary specifications to ensure seamless communication between the lock and the app.
- Network Connectivity: To fully utilize the features and functionalities of your Simplisafe smart lock, ensure that your home has a stable and reliable internet connection. The lock communicates with the Simplisafe app and other connected devices through your home’s Wi-Fi network. A poor or inconsistent internet connection may result in reduced functionality or a loss of remote control capabilities.
By considering these important factors before proceeding with the installation, you can ensure a smooth and successful setup of your Simplisafe smart lock. These considerations will help you overcome any potential compatibility issues and ensure that your smart lock functions optimally, providing you with enhanced convenience and security.
Step 1: Unboxing the Smart Lock
Congratulations on your new Simplisafe smart lock! Before you can start the installation process, you need to unbox the smart lock and familiarize yourself with its components. Follow these steps to unbox your smart lock:
- Gather Your Tools: Make sure you have all the necessary tools and equipment before starting the unboxing process. You will typically need a screwdriver (size may vary depending on the lock model), the included installation manual, and the Simplisafe app installed on your smartphone.
- Inspect the Package: Carefully examine the packaging for any damage during shipment. If you notice any visible damage, make sure to contact Simplisafe customer support for assistance.
- Open the Box: Gently open the box and remove the contents. Inside, you will find the smart lock itself, along with any accompanying accessories such as mounting plates, screws, batteries, and the user manual.
- Review the User Manual: Take a moment to review the user manual that came with your smart lock. Familiarize yourself with the installation steps, as well as any specific instructions or precautions provided by Simplisafe.
- Inspect the Smart Lock: Carefully examine the smart lock to ensure that there are no visible damages or defects. Check for any loose parts or broken components. If you notice any issues, contact Simplisafe customer support for guidance.
- Check the Battery: If your smart lock is battery-powered, verify that the batteries are included and in good condition. Check the battery level to ensure they have enough power for the installation process.
By following these steps, you can successfully unbox your Simplisafe smart lock and prepare for the installation process. Familiarizing yourself with the components and reviewing the user manual will help you gain a better understanding of the lock’s features and functionality. Once you have completed the unboxing process, you can proceed to the next steps of installing your smart lock.
Step 2: Preparing the Door and Frame for Installation
Now that you have unboxed your Simplisafe smart lock, it’s time to prepare the door and frame for installation. Proper preparation ensures a secure and seamless installation process. Follow these steps to prepare your door and frame:
- Remove Existing Hardware: Start by removing any existing hardware, such as the doorknob or deadbolt, from the door. Use a screwdriver to unscrew and remove the hardware, keeping the screws in a safe place for future use or disposal.
- Clean the Door and Frame: Thoroughly clean the door and frame surfaces where the smart lock and mounting components will be installed. Use a mild detergent and a clean cloth to remove any dust, dirt, or debris. Ensure that the surfaces are dry before proceeding.
- Measure and Mark: Take measurements to determine the correct placement of the smart lock on the door. Refer to the installation manual or guidelines provided by Simplisafe for specific measurements and requirements. Use a pencil or marker to mark the designated areas on the door and frame.
- Verify Alignment: Before moving forward, double-check the alignment of the marked areas on the door and frame. Ensure that they align correctly and are level to avoid any installation issues. Make adjustments if necessary.
- Check Door Thickness: Confirm the thickness of your door to ensure that it meets the requirements specified by Simplisafe. This information can usually be found in the user manual or on the packaging. If your door exceeds the recommended thickness, additional adjustment or modification may be required.
- Prepare the Frame: If necessary, prepare the door frame by cleaning and removing any obstructions that may hinder the installation process. This includes removing excess paint, debris, or any other materials that could interfere with the mounting of the smart lock.
By following these steps, you can properly prepare your door and frame for the installation of your Simplisafe smart lock. Taking the time to clean the surfaces, measure and mark the correct placement, and ensure proper alignment will contribute to a successful and secure installation. Now that the preparation is done, you are ready to move on to the next steps in the installation process.
Step 3: Removing the Existing Deadbolt
With your door and frame prepared, it’s time to remove the existing deadbolt to make way for your Simplisafe smart lock. Follow these steps to safely and effectively remove the deadbolt:
- Access the Interior: To begin, access the interior side of the door where the deadbolt is installed. This is typically the side of the door facing the inside of your home.
- Locate the Mounting Plate: Look for the mounting plate that connects the deadbolt to the door. This plate is usually located on the edge of the door, near the center. It may be secured to the door with screws.
- Remove the Mounting Plate: Use a screwdriver that is the appropriate size for the screws securing the mounting plate. Unscrew the screws and carefully remove the mounting plate from the door.
- Free the Deadbolt: Once the mounting plate is removed, you can now focus on freeing the deadbolt from the door. Depending on the type of deadbolt you have, there may be additional screws or components holding it in place. Refer to the manufacturer’s instructions or user manual for specific guidance.
- Disconnect the Deadbolt: Disconnect any connecting mechanisms that attach the deadbolt to the door. This may include screws, connectors, or other types of fasteners. Take care not to damage the door or surrounding areas during this process.
- Remove the Deadbolt: With the connecting mechanisms detached, you can now remove the deadbolt from the door. Gently pull the deadbolt straight out of the door, taking care not to damage the surrounding areas.
By following these steps, you can successfully remove the existing deadbolt from your door. It’s important to exercise caution and pay attention to the specific instructions provided by the deadbolt manufacturer. Once you have removed the deadbolt, you are now ready to proceed with the installation of your Simplisafe smart lock.
Step 4: Installing the Simplisafe Smart Lock
Now that you have removed the existing deadbolt, it’s time to install your Simplisafe smart lock. Follow these step-by-step instructions to ensure a successful installation:
- Prepare the Mounting Plate: Start by attaching the mounting plate to the door. Line up the mounting holes on the plate with the corresponding holes on the door. Use the provided screws to secure the plate in place. Ensure that the plate is level and properly aligned.
- Install the Deadbolt: Insert the Simplisafe deadbolt into the opening on the edge of the door, aligning the bolt with the hole in the frame. Push the deadbolt in until it is fully inserted. Make sure it moves freely and smoothly without any obstruction.
- Secure the Deadbolt: From the interior side of the door, attach the interior assembly (thumbturn) to the deadbolt. Align the assembly with the screw holes and use the provided screws to secure it in place. Ensure that it is snugly attached without being overly tightened.
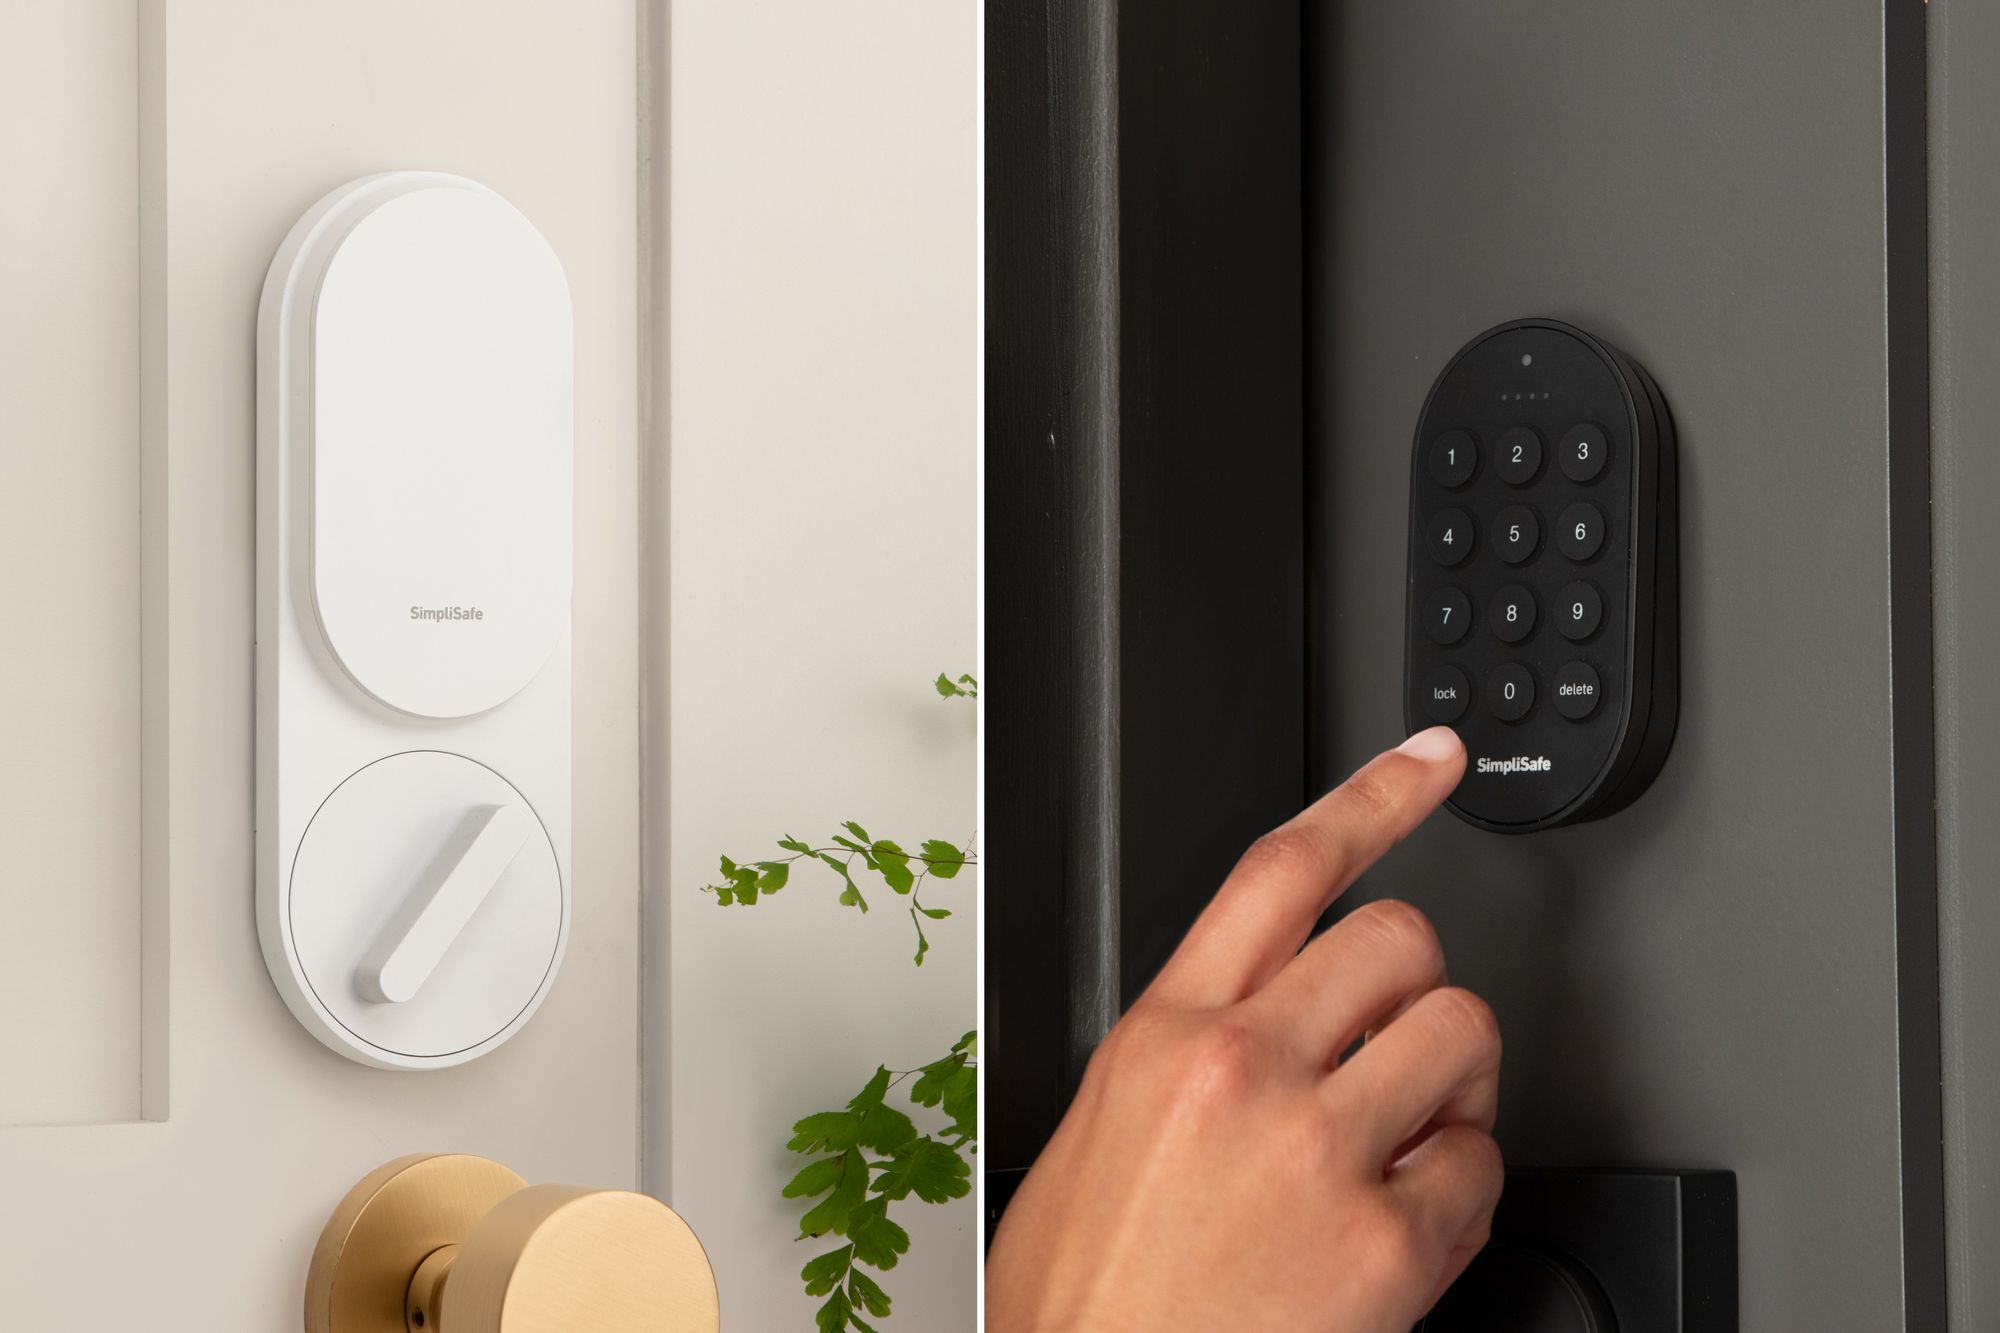
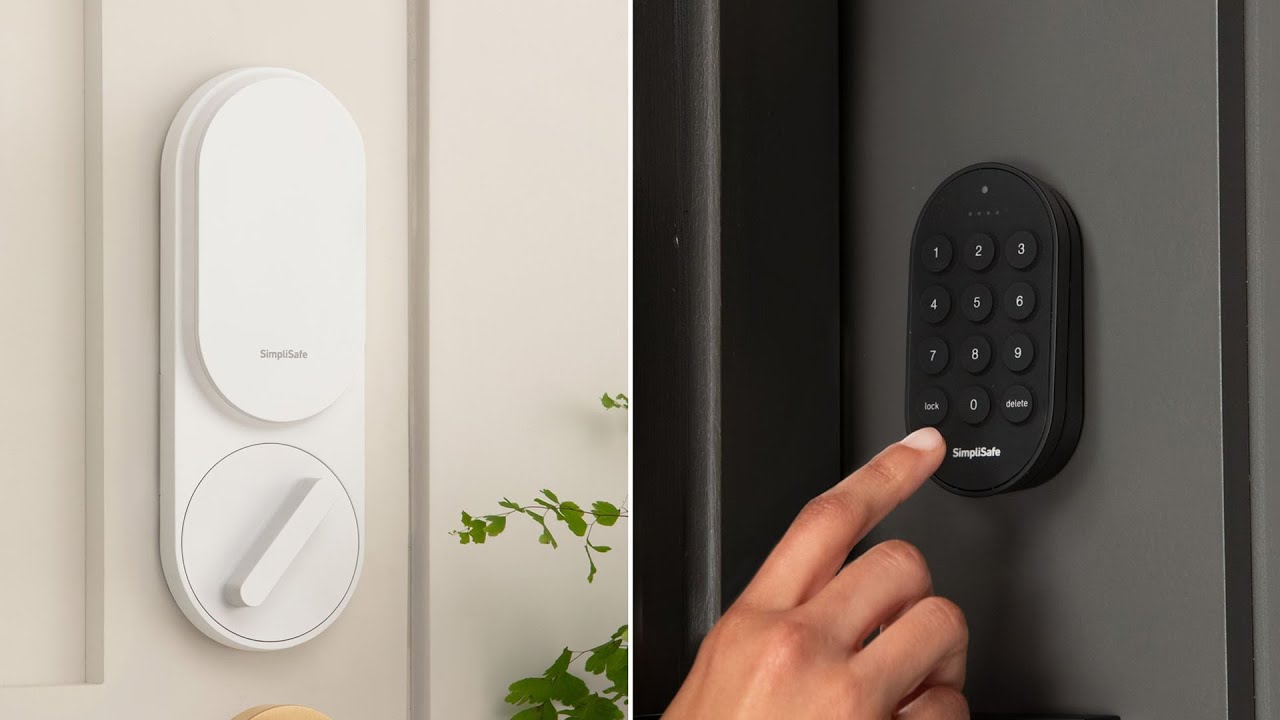
- Connect the Exterior Assembly: Attach the exterior assembly (keypad) to the deadbolt from the exterior side of the door. Line up the assembly with the screw holes and use the provided screws to secure it in place. Take care not to overtighten the screws. Ensure that the keypad is properly aligned and flush with the door surface.
- Test the Lock: Test the functionality of the lock by experimenting with locking and unlocking it using both the keypad and the interior thumbturn. Ensure that the bolt extends and retracts smoothly without any resistance. Check that the lock engages properly with the strike plate on the door frame.
- Install Batteries: If your Simplisafe smart lock is battery-powered, locate the battery compartment on the interior assembly. Install the provided batteries according to the instructions in the user manual or on the lock itself. Ensure you follow the correct polarity (+/-) for each battery.
- Complete the Configuration Process: Follow the instructions provided in the Simplisafe app to complete the configuration process. Connect the smart lock to your smartphone through the app, customize settings, and set up any additional features or preferences.
By following these step-by-step instructions, you can successfully install your Simplisafe smart lock. Take your time to ensure that each step is completed accurately and securely. Once the installation is complete, proceed with the setup and customization of your smart lock to enjoy the enhanced security and convenience it offers.
Step 5: Setting up the Smart Lock with the Simplisafe App
Now that your Simplisafe smart lock is installed, it’s time to connect and set it up with the Simplisafe app. Follow these steps to ensure a smooth setup process:
- Download and Launch the App: If you haven’t already, download the Simplisafe app from the App Store (for iOS) or the Google Play Store (for Android). Once downloaded, launch the app on your smartphone.
- Create a Simplisafe Account: If you don’t have a Simplisafe account, you will need to create one to manage your smart lock and other Simplisafe devices. Follow the instructions in the app to create a new account using your email address and password.
- Add a New Device: In the app, navigate to the device setup section and select “Add New Device” or a similar option. Follow the on-screen instructions to begin the setup process for your smart lock.
- Put the Smart Lock in Setup Mode: The app will guide you on how to put your smart lock in setup mode. This usually involves pressing and holding a specific button or combination of buttons on the lock. Follow the instructions provided to activate the lock’s setup mode.
- Connect to Wi-Fi: Once the lock is in setup mode, the app will prompt you to connect it to your home’s Wi-Fi network. Follow the instructions in the app to select your Wi-Fi network and enter the password, ensuring a secure connection.
- Pair the Lock with the App: The app will search for the smart lock and establish a connection. Ensure that your smartphone is within proximity to the lock during this process. Once the app detects the lock, follow the prompts to pair it successfully.
- Complete Setup and Customization: After successfully pairing the lock with the app, the setup process is nearly complete. The app will guide you through any remaining steps, such as naming the lock, setting up access codes, and customizing additional settings according to your preferences.
By following these steps, you can easily set up your Simplisafe smart lock with the Simplisafe app. Take your time to ensure that each step is completed accurately. Once the setup is complete, you can enjoy the convenience of controlling and monitoring your smart lock right from your smartphone.
Step 6: Customizing Settings and Preferences
With your Simplisafe smart lock successfully set up and connected to the app, it’s time to customize the settings and preferences to suit your needs. Follow these steps to personalize your smart lock experience:
- Access the App Settings: Open the Simplisafe app on your smartphone and navigate to the settings or preferences section specifically meant for your smart lock. This section may be labeled as “Lock Settings” or something similar.
- Set Access Codes: Access codes are a convenient way to grant entry to trusted individuals. Create and manage access codes for yourself, family members, or anyone you wish to authorize to unlock the door. Specify if the access code is temporary or permanent and assign unique names to easily identify each code.
- Enable Notifications: Customize the notification settings to receive alerts on your smartphone whenever the smart lock is engaged or disengaged. This feature allows you to monitor the activity of the lock, ensuring that you’re aware of who is accessing your home.
- Adjust Auto-Lock Settings: If your smart lock has an auto-lock feature, you can adjust the timer to automatically lock the door after a set period of time. Tailor this setting to your preferences, ensuring that the door remains securely locked when desired.
- Explore Additional Features: Take some time to explore any additional features and functionalities offered by your Simplisafe smart lock. This may include features like geofencing, which automatically locks or unlocks the door based on your smartphone’s GPS location, or integration with other smart home devices for enhanced automation and control.
- Test and Review: Once you have customized the settings and preferences, take the time to test the functionality and review your customization choices. Confirm that access codes work as intended, notifications are received, and any other personalized settings are functioning properly.
By following these steps, you can customize your Simplisafe smart lock to meet your specific needs and preferences. Take the time to explore the available options and settings to ensure that your smart lock enhances your home security and provides you with convenience and peace of mind.
Conclusion
Congratulations on successfully installing and setting up your Simplisafe smart lock! You have taken a significant step towards enhancing the security and convenience of your home. By following the step-by-step instructions provided in this guide, you have gained the knowledge and confidence to install your smart lock with ease.
Remember, before starting the installation process, it’s important to consider factors such as door compatibility, the type of existing deadbolt, power source, smartphone compatibility, and network connectivity. By considering these factors, you can ensure a smooth installation process and optimal performance of your smart lock.
Throughout the installation process, you have learned how to unbox the smart lock, prepare the door and frame, remove the existing deadbolt, and securely install your Simplisafe smart lock. You have also discovered how to set up the lock with the Simplisafe app and customize settings to fit your preferences.
Now that your smart lock is installed and customized, you can enjoy the benefits it brings. The convenience of keyless entry, remote access control, and the ability to monitor and manage your lock from your smartphone are just a few of the advantages Simplisafe smart locks offer.
Always remember to keep your smart lock’s batteries charged and monitor its performance regularly. If you have any questions or encounter any issues, consult the Simplisafe support team for assistance. They are there to help you with any technical concerns or inquiries you may have.
Thank you for choosing Simplisafe for your home security needs. We hope this guide has provided you with the information and guidance necessary to install and utilize your Simplisafe smart lock effectively. Enjoy the peace of mind and convenience that come with a smart home security solution!