Introduction
Welcome to our guide on how to install a Yale Smart Lock. If you’re looking to upgrade your home security system, a smart lock can be a great addition. With its advanced features and convenience, a Yale Smart Lock offers a simple yet effective way to secure your home.
Before we delve into the installation process, let’s first understand what exactly a Yale Smart Lock is and how it can benefit you. A Yale Smart Lock is a keyless entry system that allows you to lock and unlock your door using a smartphone, keypad, or even your voice. It eliminates the need for traditional keys, offering you a more secure and convenient way to access your home.
The installation process may vary depending on the specific model of the Yale Smart Lock you have, but we will guide you through the general steps that apply to most installations. Whether you’re a DIY enthusiast or a beginner, this guide will help you install your Yale Smart Lock with ease.
Before you start, make sure you have all the necessary materials and tools. These may include a screwdriver, batteries, and any additional components that come with your Yale Smart Lock. It’s important to read the manufacturer’s instructions that accompany your lock to ensure a smooth installation process.
Once you have everything ready, it’s time to remove the existing lock and prepare the door for installation. We’ll guide you through each step, from removing the old lock to connecting your Yale Smart Lock to your smartphone and customizing the settings to your preferences.
If you encounter any issues along the way, don’t worry. We’ll also cover common troubleshooting tips to help you address any common problems that may arise during the installation process.
So, get ready to enhance your home security and enjoy the convenience of a Yale Smart Lock. Let’s jump into the installation process and make your home a little smarter and safer.
What is a Yale Smart Lock?
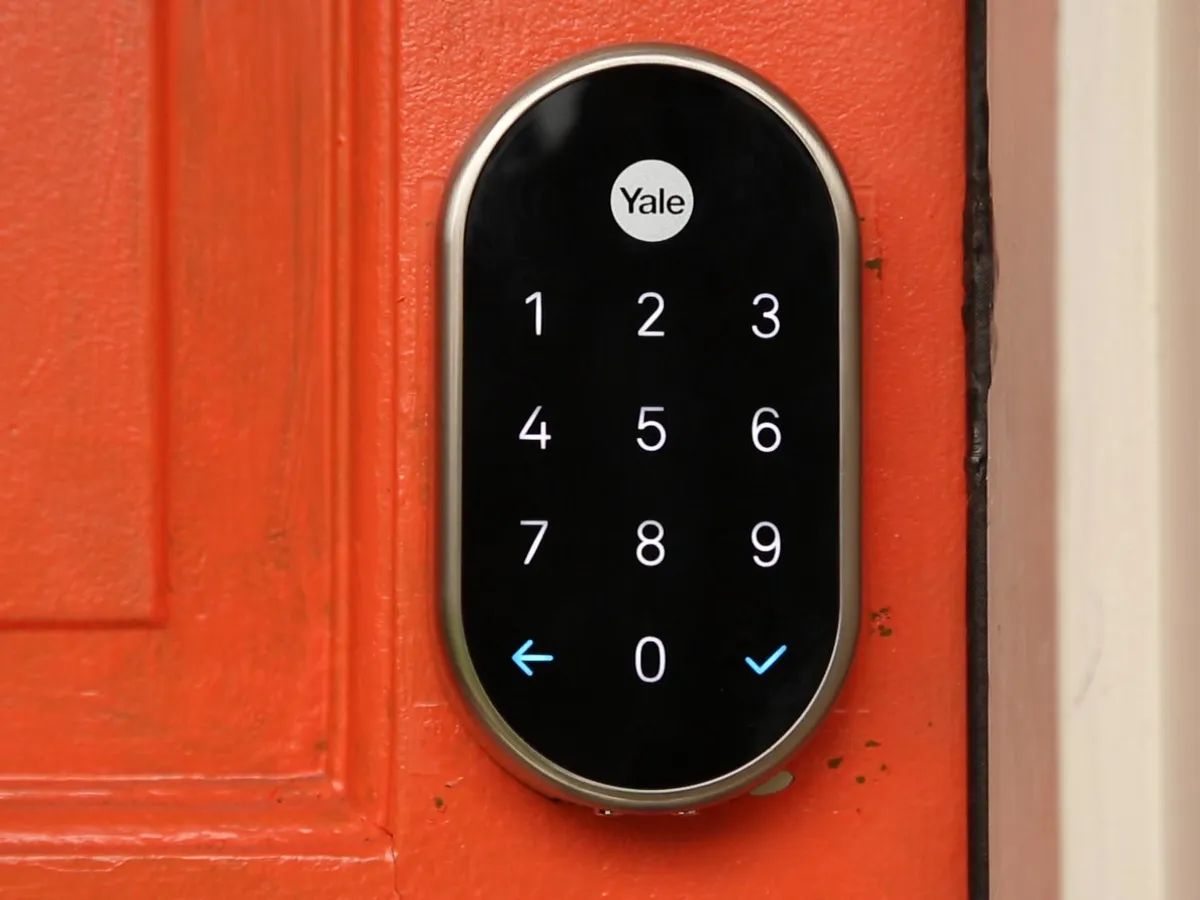
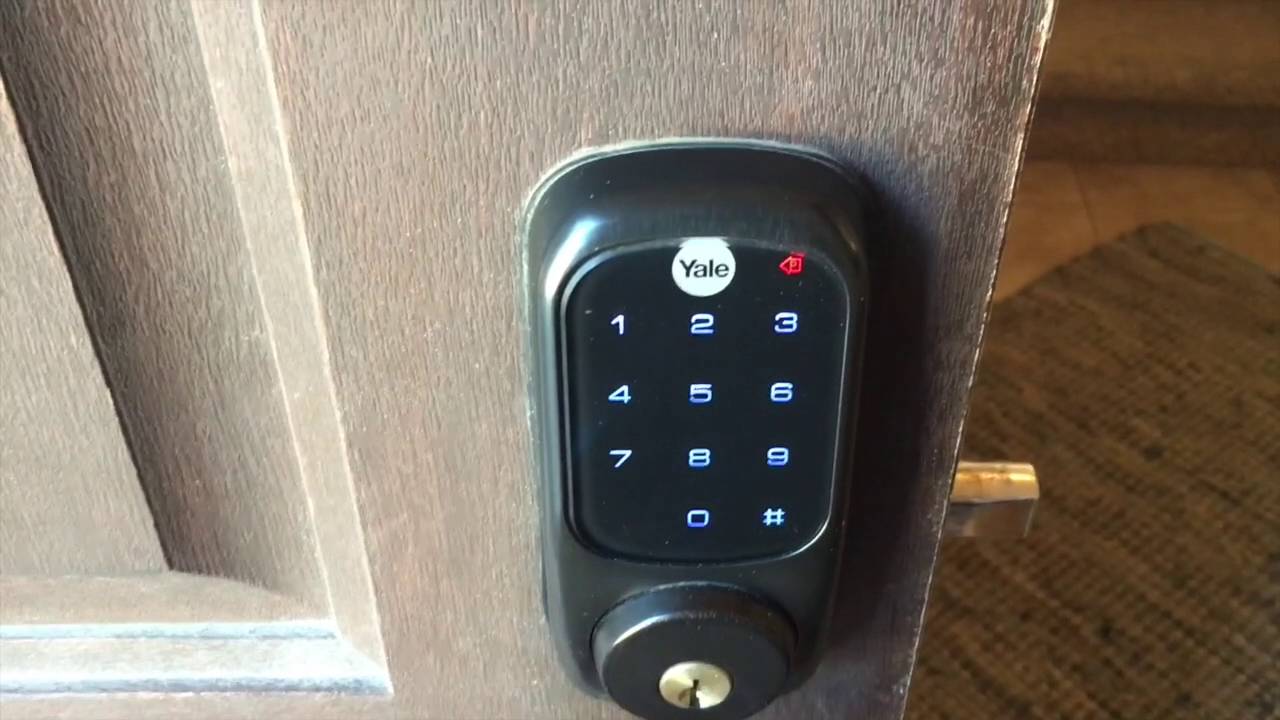
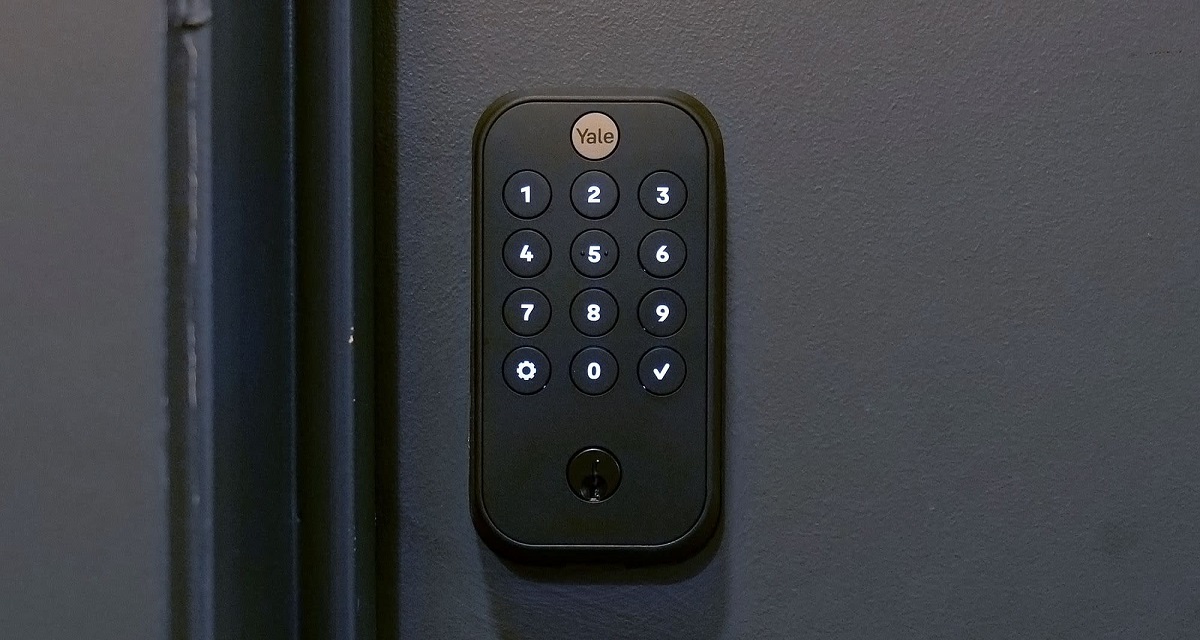
A Yale Smart Lock is a modern and innovative solution for securing your home and upgrading your traditional locking system. It combines advanced technology with convenience, offering a keyless entry system that allows you to lock and unlock your door using various methods such as a smartphone, keypad, or voice command.
With a Yale Smart Lock, you can say goodbye to the hassle of carrying around keys or worrying about losing them. Instead, you can effortlessly control access to your home with just a few taps on your smartphone or by entering a unique access code.
One of the key features of a Yale Smart Lock is its compatibility with various home automation systems such as Amazon Alexa, Google Assistant, and Apple HomeKit. This integration allows you to control your lock through voice commands or seamlessly integrate it with other smart devices in your home.
Not only does a Yale Smart Lock enhance the convenience of accessing your home, but it also greatly improves security. These locks are built with robust encryption and authentication mechanisms to ensure that only authorized individuals can gain entry. Additionally, they often come equipped with advanced features like tamper alarms and auto-locking capabilities, further enhancing the security of your home.
Yale Smart Locks are available in different variations to suit your specific needs and preferences. Some models offer additional features such as keycards or fingerprint scanners, providing even more flexibility in how you access your home.
Installation of a Yale Smart Lock is typically a straightforward process that can be done by yourself without the need for professional assistance. Most models come with detailed instructions and easy-to-follow installation procedures. However, it’s important to note that installation methods may vary depending on the specific model you have.
In the next sections, we will walk you through the steps involved in installing a Yale Smart Lock, from gathering the necessary materials to troubleshooting common issues. By the end of this guide, you’ll have the knowledge and confidence to install a Yale Smart Lock and enjoy the benefits it brings to your home security.
Step 1: Gather the necessary materials
Before you begin the installation process of your Yale Smart Lock, it’s important to gather all the necessary materials and tools. Having everything prepared beforehand will make the installation smoother and more efficient. Here are the essential items you will need:
-
Screwdriver: Depending on the model, you may require a flathead or Phillips screwdriver to remove the existing lock and install the Yale Smart Lock.
-
Batteries: Most Yale Smart Locks are battery operated, so make sure you have the correct batteries on hand. Refer to the manufacturer’s instructions for the specific battery type and quantity required.
-
Yale Smart Lock package: This includes the lock itself, keypad (if applicable), mounting plate, strike plate, screws, and any other accessories that come with your particular model. Make sure you have all the components in the package.
-
Internet connectivity: If you’re planning to connect your Yale Smart Lock to your smartphone for remote access, ensure that you have a stable internet connection available at your home.
-
Smartphone: If you intend to control your Yale Smart Lock through a smartphone app, ensure that you have a compatible smartphone with the necessary app installed and configured.
-
Additional tools: Depending on your specific situation, you may need additional tools such as a drill, measuring tape, or level to assist with the installation process. Check the manufacturer’s instructions to see if any additional tools are recommended for your particular lock.
It’s crucial to read the manufacturer’s instructions and follow their guidelines regarding the required tools and materials. This will ensure that you have everything you need and minimize any potential setbacks during the installation process.
By gathering all the necessary materials in advance, you can avoid interruptions and complete the installation smoothly. With everything in place, you’re now ready to move on to the next step, which involves removing the existing lock to prepare for the installation of your Yale Smart Lock.
Step 2: Remove the existing lock
Before you can install the Yale Smart Lock, you need to remove the existing lock from your door. Follow these steps to safely remove the old lock:
-
Begin by ensuring that the door is fully closed and locked. This will provide stability and prevent any accidental damage during the removal process.
-
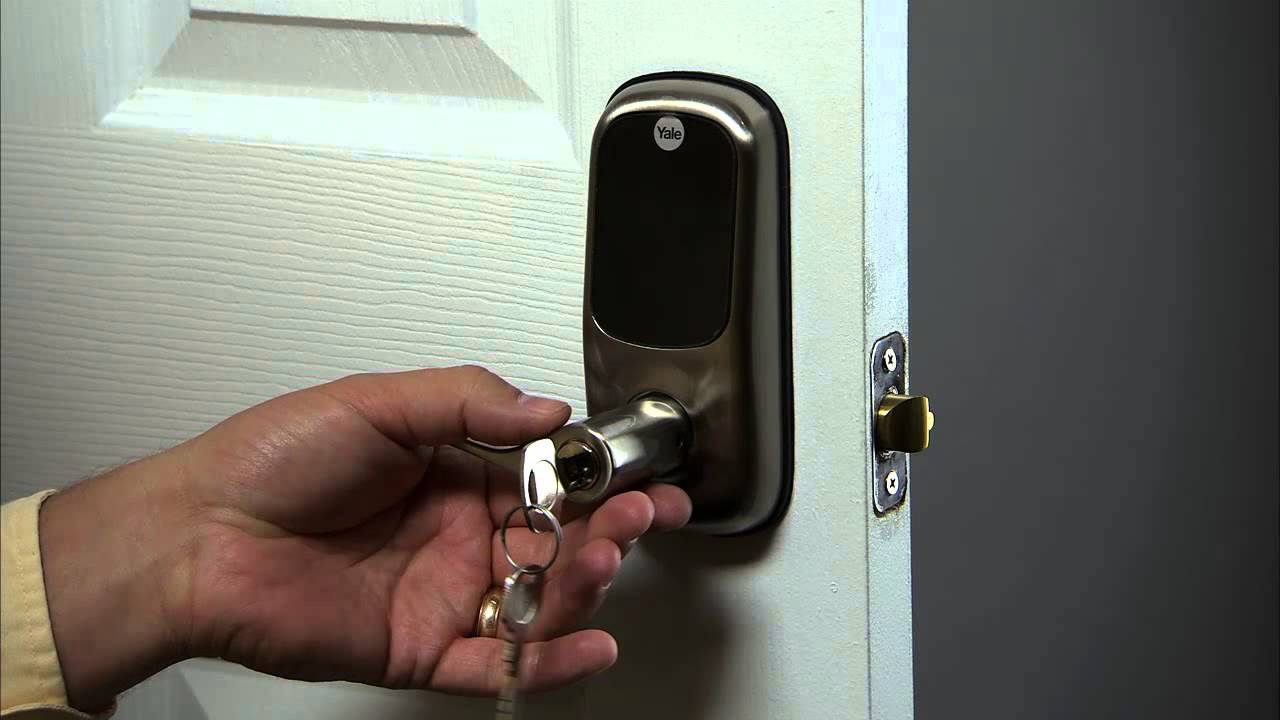
Locate the screws that secure the faceplate of the existing lock to the door. These screws are typically located on the edge of the door where the latch is positioned.
-
Using a screwdriver, slowly and carefully unscrew the screws, keeping them in a safe place. Gently remove the faceplate from the door.
-
Next, locate the screws that secure the latch mechanism into the edge of the door. Depending on the type of lock, there may be one or two screws holding it in place.
-
Using a screwdriver, carefully loosen and remove the screws that secure the latch mechanism. Once the screws are removed, the latch should come out easily. Keep the screws together with the faceplate screws.
-
Inspect the door and clean any dirt, debris, or residue left from the old lock. This will ensure a clean and smooth installation of the Yale Smart Lock.
-
Now that the old lock and latch have been removed, it’s crucial to test the door to ensure that it opens and closes smoothly without any obstructions or misalignments. This step is essential for the proper functioning of the Yale Smart Lock.
It’s important to note that the removal process may vary depending on the type of lock you have. If you encounter any difficulties or are unsure about any step, refer to the manufacturer’s instructions or seek professional assistance. Safety should always be a top priority during the removal process to avoid any accidents or damage to the door.
Once you have successfully removed the existing lock and ensured that the door is clean and functioning well, you are now ready to proceed to the next step: preparing the door for the installation of the Yale Smart Lock.
Step 3: Prepare the door for installation
After removing the existing lock, it’s important to prepare the door for the installation of the Yale Smart Lock. This step involves ensuring that the door is ready to accommodate the new lock and that all necessary adjustments are made for a proper fit. Follow these steps to prepare the door:
-
Inspect the door edge and make sure it is clean and free from any debris or obstructions. Remove any dirt or residue using a cloth or cleaning solution.
-
If your Yale Smart Lock package includes a mounting plate, align the plate with the existing holes in the door edge used by the old lock. If there are no existing holes or if they don’t align with the mounting plate, use a pencil and measuring tape to mark the appropriate positions for new holes. Ensure that the plate is level and centered properly.
-
Using a drill and the appropriate size drill bit, carefully create the holes for the mounting plate if necessary. Ensure that the drill bit matches the size of the screws provided with the Yale Smart Lock package.
-
Once the holes are drilled or if you’re using existing holes, attach the mounting plate securely to the door using the screws provided. Ensure that the plate is tightly fastened and flush against the door surface.
-
If your Yale Smart Lock package includes a strike plate, locate and mark the appropriate position on the door frame. This is usually on the edge of the frame where the latch will extend when the door is closed.
-
Using a chisel or utility knife, carefully create a recess for the strike plate to fit flush within the door frame. Ensure that the recess is deep enough for the strike plate to sit securely without any protrusions.
-
Once the recess for the strike plate is created, attach the plate to the door frame using the screws provided. Ensure that the strike plate is aligned with the latch and allows for easy and smooth engagement.
-
Finally, test the door and ensure that it opens and closes smoothly without any obstructions or misalignments. Check that the latch extends and retracts properly when the door is closed and opened.
By properly preparing the door, you are ensuring that the installation of the Yale Smart Lock will be seamless and the lock will function effectively. Taking the time to align the lock components and secure them firmly will contribute to the overall security and longevity of the lock.
With the door prepared, you can now proceed to the next step, which involves installing the Yale Smart Lock onto the door.
Step 4: Install the Yale Smart Lock
Now that you have prepared the door, it’s time to install the Yale Smart Lock. Follow these steps to ensure a successful installation:
-
Start by carefully aligning the Yale Smart Lock with the mounting plate on the door. Ensure that the lock is centered and level.
-
If your Yale Smart Lock has a separate keypad component, connect it to the main lock using the provided connector or cable. Make sure the connection is secure and the keypad is properly oriented.
-
Once the lock and keypad are connected, slide the Yale Smart Lock onto the mounting plate. It should fit snugly and securely. Some models may require you to insert and turn the lock to secure it in place.
-
Check that the lock is aligned properly with the strike plate on the door frame. The latch should easily extend and retract without any obstructions.
-
Using a screwdriver, tighten the screws provided with the Yale Smart Lock package to secure the lock onto the mounting plate. Follow the manufacturer’s instructions on the specific torque or tightness required.
-
Test the lock by manually turning the knob or lever to ensure that it locks and unlocks smoothly. The keypad or other methods of entry should also be responsive.
-
If your Yale Smart Lock requires batteries, insert them into the appropriate compartment following the manufacturer’s instructions. Ensure that the batteries are properly inserted with the correct polarity.
-
Once the lock is installed and tested, double-check that all components are securely fastened and there are no loose parts.
It’s important to refer to the manufacturer’s instructions specific to your Yale Smart Lock model as the installation process may vary. The instructions will provide detailed guidance on any additional steps or special considerations for your lock.
Once the Yale Smart Lock is installed and functioning correctly, you can proceed to the next step: connecting the lock to your smartphone for remote access and additional features.
Step 5: Connect the lock to your smartphone
Connecting your Yale Smart Lock to your smartphone allows for convenient remote access and additional features. Follow these steps to connect the lock to your smartphone:
-
Ensure that your smartphone is connected to a stable and secure internet connection, whether through Wi-Fi or mobile data.
-
Download the compatible Yale Smart Lock app from the App Store or Google Play Store, depending on your smartphone’s operating system.
-
Open the app and create an account if prompted. Follow the on-screen instructions to set up your account and provide any necessary details.
-
Once your account is set up, follow the app’s instructions to add your Yale Smart Lock to your account. This may involve scanning a QR code on the lock or entering a unique code provided with the lock.
-
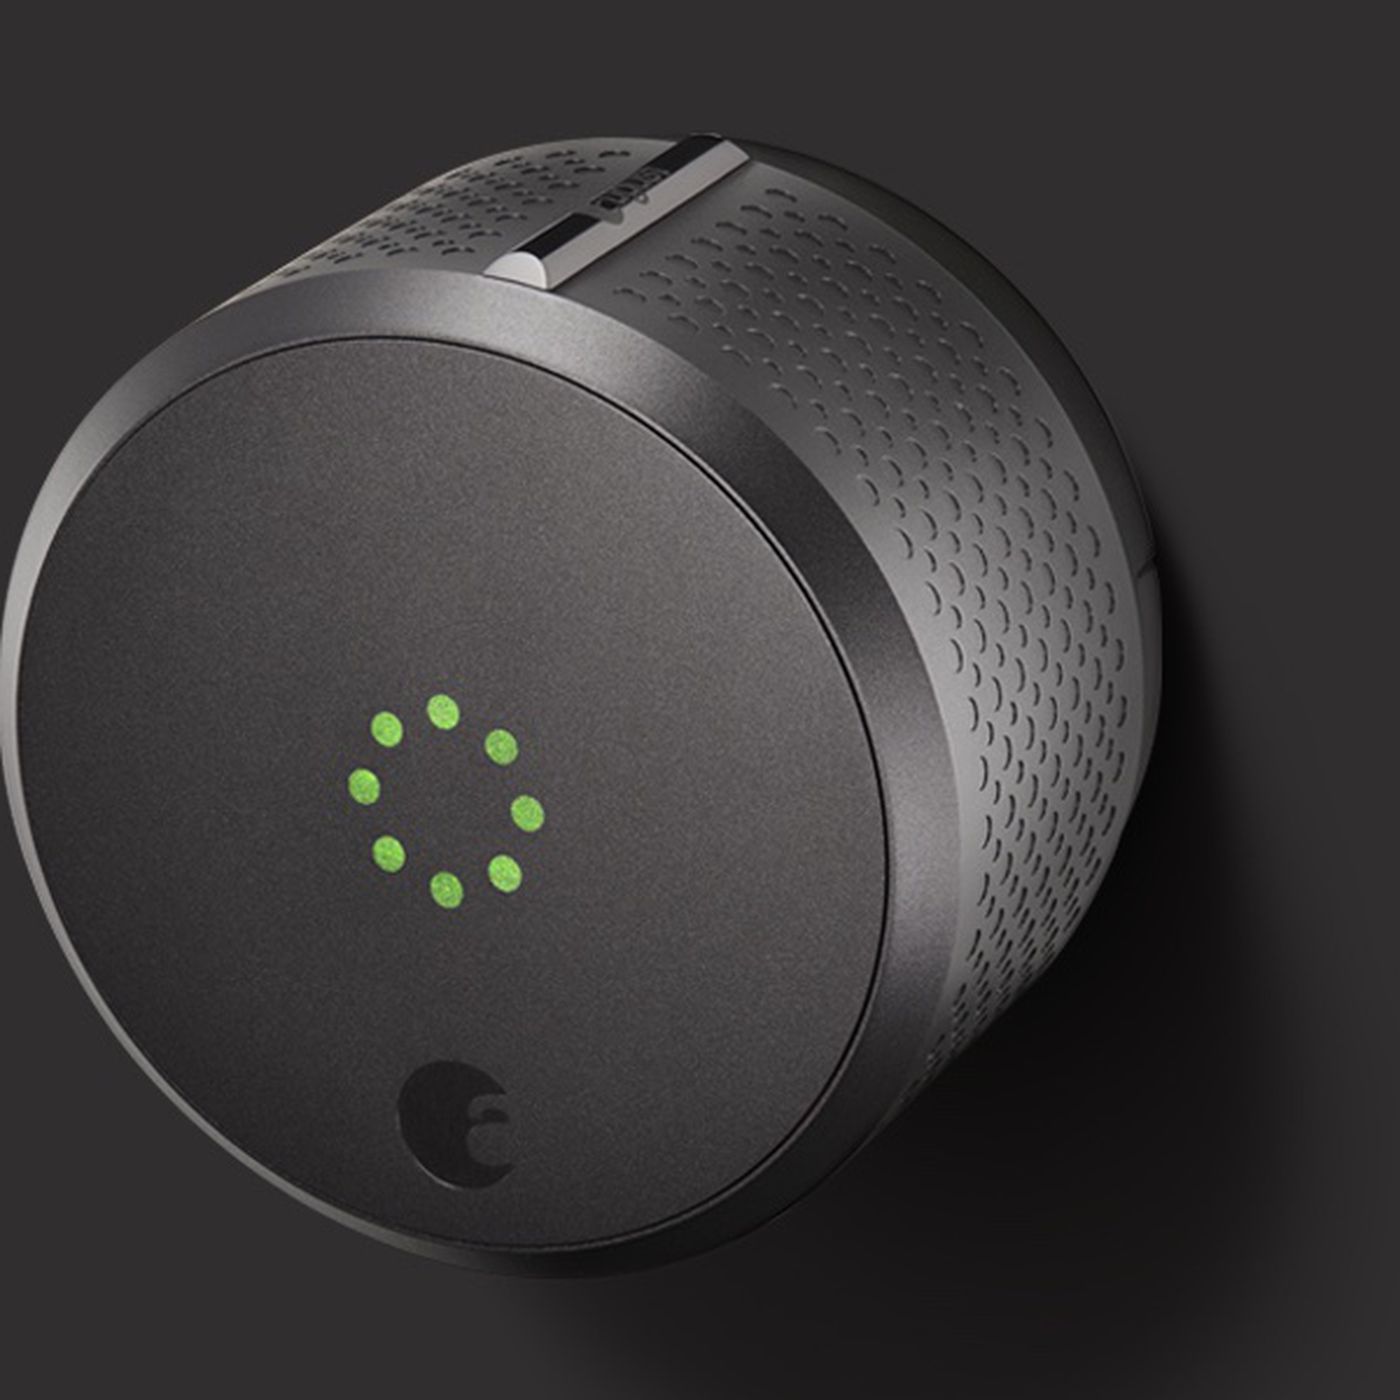
Make sure the lock is in pairing mode, as indicated by the lock or the app’s instructions. This allows your smartphone to detect and connect to the lock.
-
On your smartphone, navigate to the device settings or Bluetooth settings and ensure that Bluetooth is enabled. This is necessary for your smartphone to communicate with the lock.
-
In the app, follow the instructions to pair or connect your smartphone to the Yale Smart Lock. This may involve confirming a PIN code or entering a verification code provided by the app.
-
Once the pairing is successful, you should be able to control and monitor your Yale Smart Lock through the app. This includes features such as locking and unlocking the door remotely, creating and managing access codes, and receiving notifications.
-
Explore the app’s additional features and settings to customize your Yale Smart Lock experience according to your preferences. These may include auto-locking options, guest access settings, or integration with other smart devices.
It’s important to note that the connectivity features and functions may vary depending on your Yale Smart Lock model and the associated app. Refer to the manufacturer’s instructions and explore the app’s user guide for more specific details on the available features.
By connecting your Yale Smart Lock to your smartphone, you can enjoy the convenience and flexibility of modern smart home technology. You can now control and monitor your lock from anywhere, enhancing your home security and providing peace of mind.
Step 6: Test the lock and customize settings
After connecting your Yale Smart Lock to your smartphone, it’s important to test the lock and customize the settings according to your preferences. Follow these steps to ensure the lock is functioning properly and to personalize its features:
-
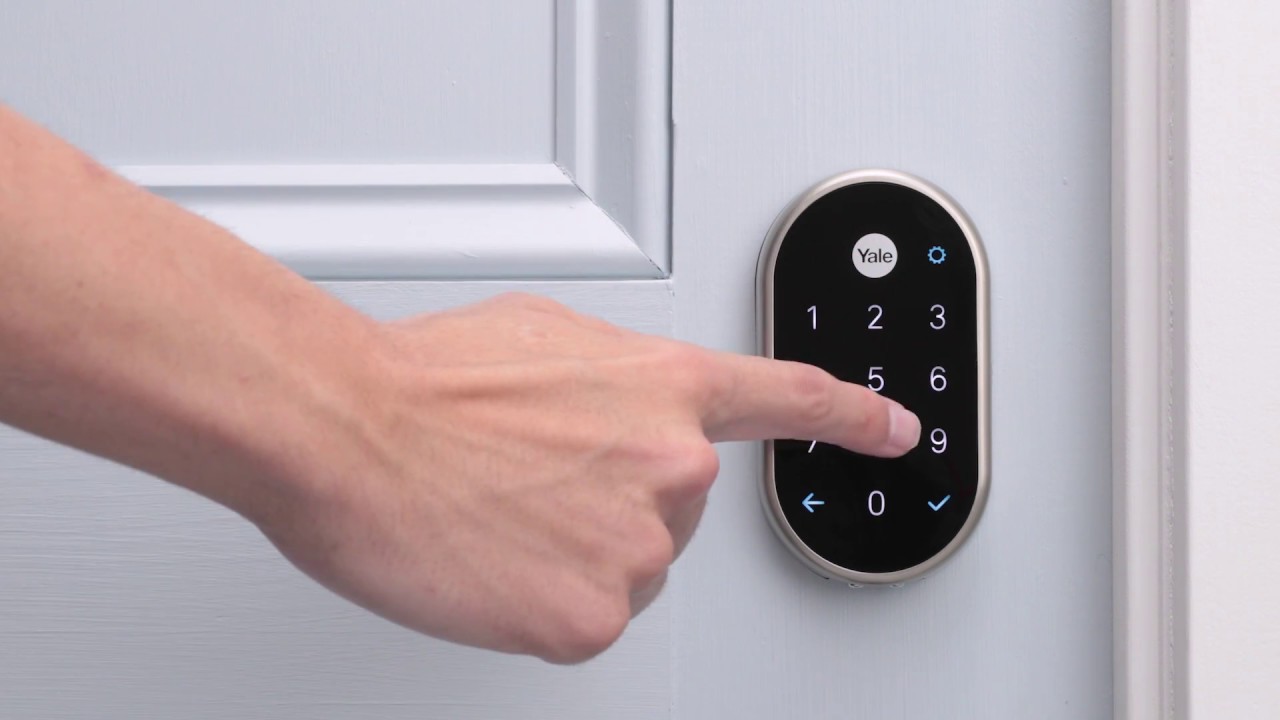
Test the lock by locking and unlocking it using different methods such as the smartphone app, keypad, or voice command if available. Verify that the lock responds promptly and operates smoothly.
-
If your Yale Smart Lock has a keypad, create a unique access code for yourself and any additional users. Follow the app’s instructions or refer to the lock’s user manual to set up and manage access codes. Test each code to confirm that they grant access as expected.
-
Explore the app and lock settings to customize features such as auto-locking, time-sensitive access, or notifications. Adjust these settings according to your preferences and needs.
-
Take some time to familiarize yourself with any additional features your Yale Smart Lock may offer. This could include features like tamper alarms, activity logs, or integration with a home automation system.
-
Consider enabling or disabling any optional features based on your requirements. For example, you may want to enable the auto-lock feature to automatically lock the door after a specified period or disable the keypad’s sounds for a quieter operation.
-
Test the lock with different scenarios and situations to ensure it meets your security needs. This could involve testing the lock from various distances using the smartphone app or checking the battery life to ensure it’s functioning optimally.
-
If you encounter any issues or have questions about specific functionalities, refer to the manufacturer’s documentation or contact their customer support for assistance.
Customizing the settings and thoroughly testing the lock will ensure that it aligns with your specific requirements and provides a seamless user experience. By exploring and leveraging the various features offered by your Yale Smart Lock, you can enjoy enhanced security and convenience for your home.
With the lock tested and settings customized, you’re now ready to enjoy the benefits of your Yale Smart Lock. However, before concluding, let’s address a crucial step in case of any issues that may arise: troubleshooting common problems.
Step 7: Troubleshooting common issues
While Yale Smart Locks are designed to be reliable and user-friendly, occasional issues or challenges may arise during the installation or operation. Here are some common problems you may encounter and steps to troubleshoot them:
-
If the lock is not responding to commands from the app or keypad, check the battery level and replace them if necessary. Ensure the batteries are inserted correctly with the correct polarity.
-
If the lock is not pairing with your smartphone, check that Bluetooth is enabled on your phone and that it’s within range of the lock. Restarting your smartphone and the lock may also help establish a connection.
-
If the lock is not locking or unlocking smoothly, ensure that the door and lock components are properly aligned. Check for any obstructions or debris that may impede the lock’s movement.
-
If the keypad entries are not registering, verify that the correct access code is being entered, and make sure the keypad is clean and free from any damage or moisture.
-
If there are issues with connectivity or remote access, ensure that your smartphone is connected to a stable internet connection. Restarting the lock or router may also help resolve connectivity issues.
-
If you are experiencing frequent battery drain, check for any unnecessary features or settings that may be consuming excessive power. Adjusting the lock’s settings or replacing the batteries may resolve the issue.
-
If you encounter any other specific issues or error messages, refer to the manufacturer’s troubleshooting guide or contact their customer support for further assistance.
Remember, troubleshooting steps may vary depending on the model and the specific issue you are facing. Always consult the manufacturer’s documentation for the most accurate and relevant troubleshooting information.
By addressing and resolving any common issues that may arise, you can ensure that your Yale Smart Lock operates smoothly and effectively, providing you with the highest level of security and convenience.
With the troubleshooting steps completed, you’ve successfully installed, configured, and troubleshooted your Yale Smart Lock. Enjoy the peace of mind and convenience that your smart lock brings to your home!
Conclusion
Congratulations! You have successfully completed the installation of your Yale Smart Lock. By following the steps outlined in this guide, you have upgraded your home security and gained the convenience of keyless entry.
A Yale Smart Lock offers advanced features such as smartphone control and remote access, allowing you to easily lock and unlock your door from anywhere. Additionally, the customization options and integration with other smart devices provide a personalized and seamless user experience.
Throughout the installation process, you gathered the necessary materials, removed the existing lock, prepared the door, installed the Yale Smart Lock, connected it to your smartphone, tested the lock, and customized the settings. You also learned how to troubleshoot common issues that may arise.
Remember to consult the manufacturer’s instructions for your specific Yale Smart Lock model, as the installation and troubleshooting steps may vary. If you encounter any difficulties or have further questions, reach out to the manufacturer’s customer support for assistance.
With your Yale Smart Lock installed and ready to use, you can enjoy the benefits of enhanced security, convenience, and peace of mind. Say goodbye to fumbling for keys and gain control over access to your home with just a few taps on your smartphone or a quick entry of a code.
Thank you for choosing Yale Smart Lock and taking the time to follow this installation guide. We hope your experience with your new smart lock exceeds your expectations and brings you increased convenience and security for years to come.