Introduction
Welcome to this guide on how to install a smart lock! If you’re looking to upgrade your home security and convenience, a smart lock is a fantastic option. With its advanced features and compatibility with smartphones, smart home systems, and virtual assistants, a smart lock provides a secure and seamless way to access your home.
Whether you’re a tech enthusiast or simply want to make your life easier, installing a smart lock can be a great DIY project. However, it’s essential to approach the installation process with caution and follow the manufacturer’s instructions to ensure a successful and trouble-free setup.
In this guide, we’ll take you through the step-by-step process of installing a smart lock on your door. We’ll cover everything from choosing the right smart lock for your needs to connecting it to your smartphone and setting up user access. By the end of this guide, you’ll have the knowledge and confidence to install a smart lock and begin enjoying the benefits it offers.
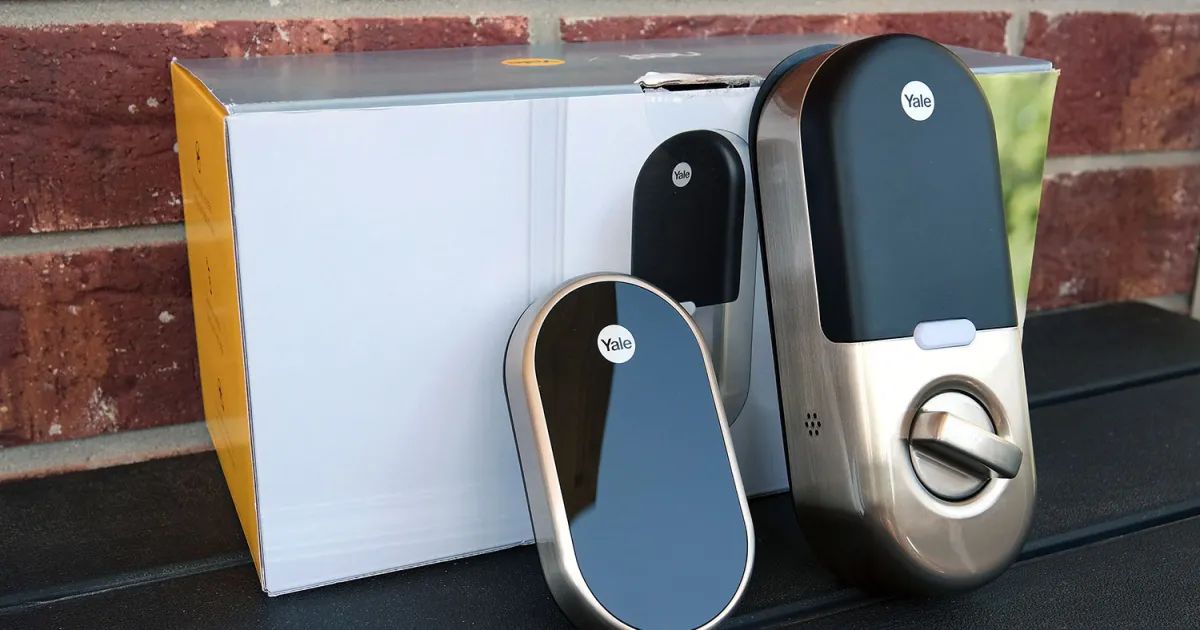
Before we dive into the installation process, let’s briefly discuss the importance of choosing the right smart lock for your home. With the wide variety of options available in the market, it’s crucial to consider factors such as compatibility, security features, and ease of use. By making an informed decision, you can ensure that the smart lock you choose will meet your specific needs and preferences.
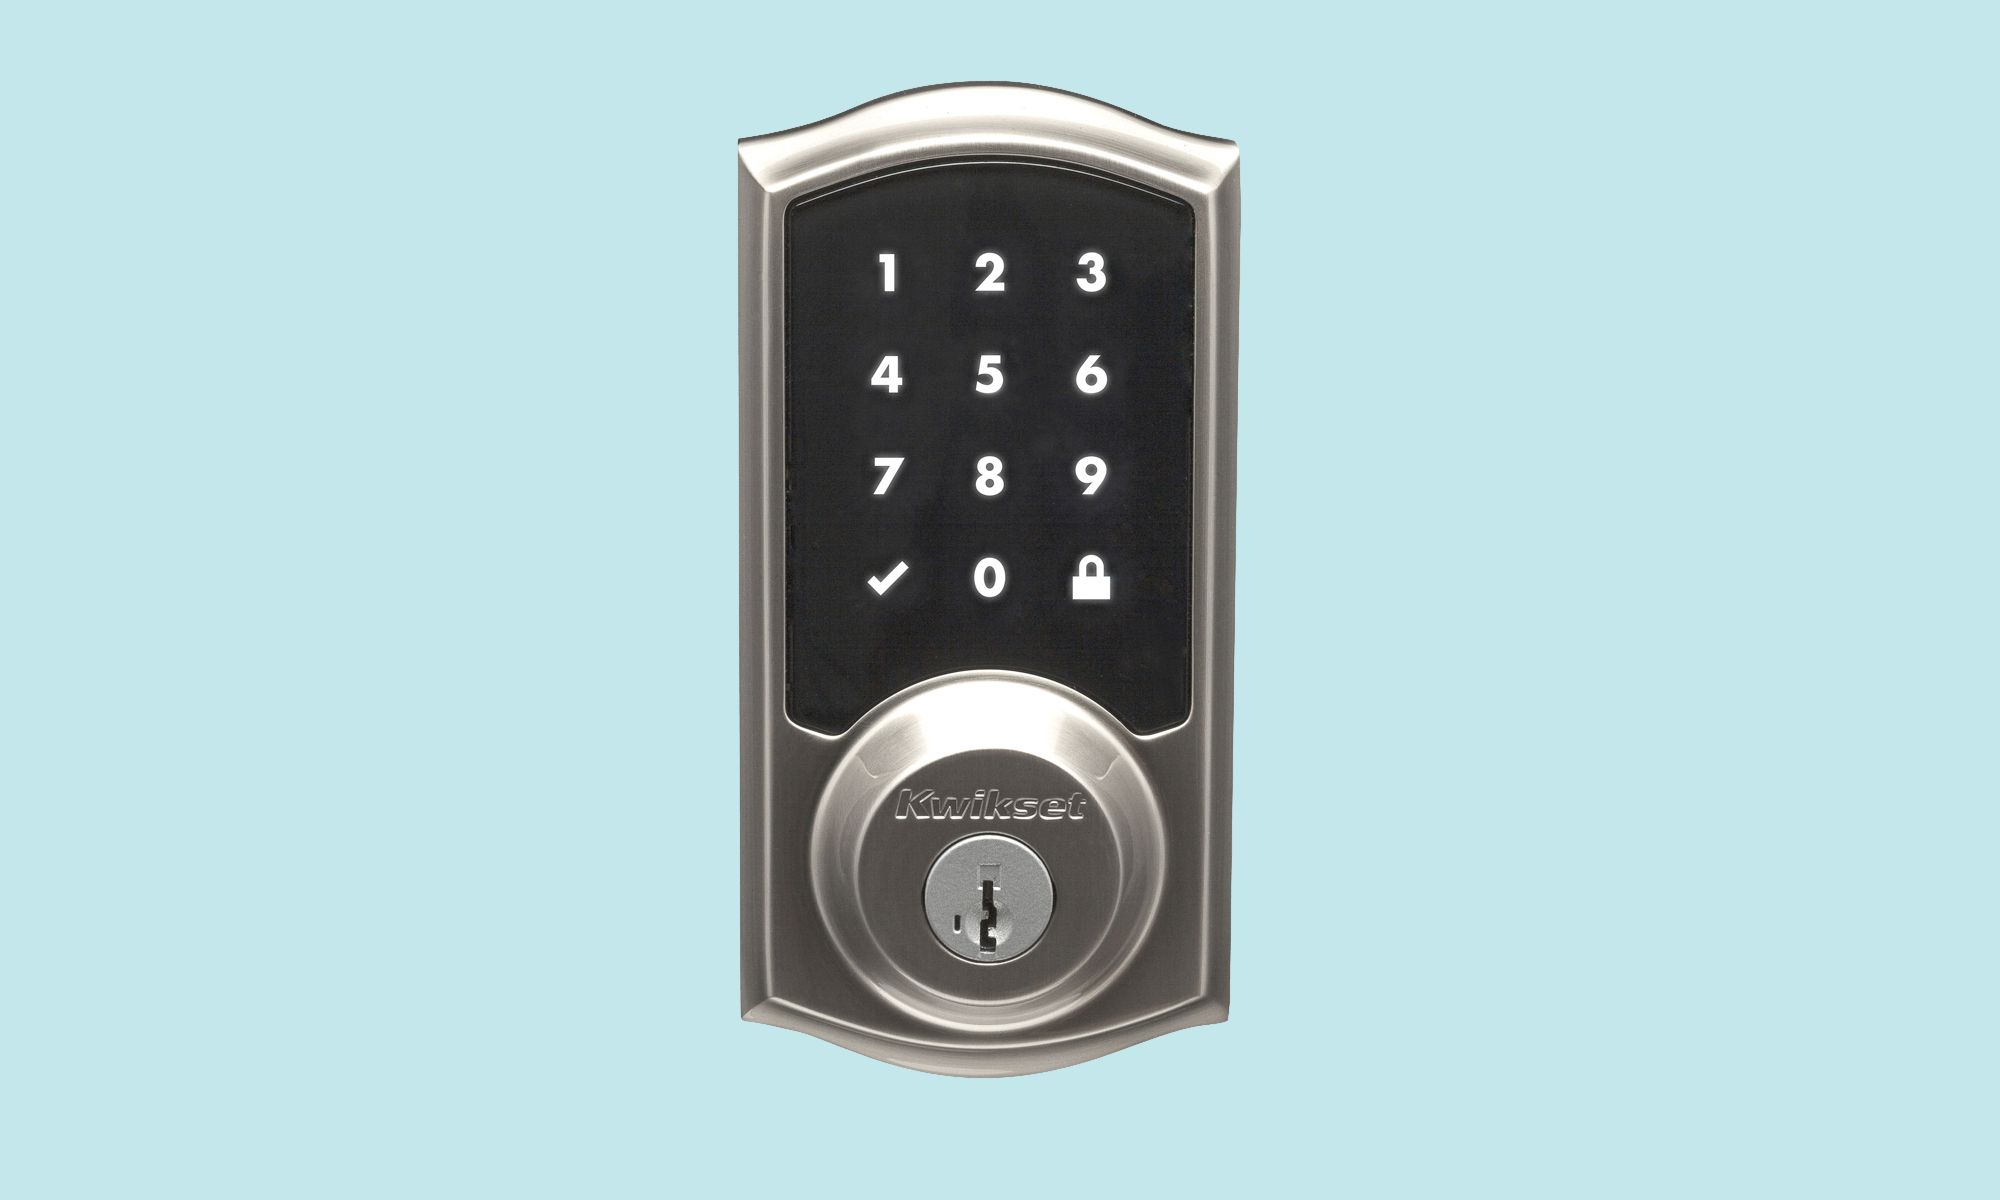
Choosing the Right Smart Lock
When it comes to choosing a smart lock, it’s essential to consider several factors to ensure you make the right decision for your home. With a wide range of options available in the market, here are some key considerations to keep in mind:
- Compatibility: Before purchasing a smart lock, it’s important to check its compatibility with your existing door. Different smart locks may have specific requirements, such as the thickness of your door and the type of deadbolt. Ensure that the smart lock you choose is compatible with your door.
- Security Features: Security is paramount when it comes to a smart lock. Look for features such as encryption protocols, two-factor authentication, and tamper-proof designs. It’s also worth considering locks that have built-in alarm systems and activity logs to provide an extra layer of security.
- Smart Home Integration: If you have a smart home ecosystem already in place, make sure the smart lock you choose is compatible with your existing devices. This will allow you to seamlessly integrate and control your lock through your smart home system or virtual assistant.
- User Access: Consider the different methods of access that the smart lock offers. Most smart locks come with options for keyless entry, such as PIN codes or fingerprint recognition, along with traditional key access as a backup. Choose a lock that provides flexible access options for both you and your family or guests.
- User-Friendly App: The smartphone app that accompanies the smart lock should be intuitive and easy to use. Look for an app that offers features like remote lock/unlock, access history, and custom user settings. A user-friendly app will enhance the overall experience of using your smart lock.
By considering these factors and doing thorough research, you can select a smart lock that meets your security needs, integrates with your existing smart home devices, and offers convenient access options. Once you have chosen the right smart lock, you’re ready to move on to the installation process.
Gathering the Necessary Tools
Before you begin the installation process, it’s important to gather all the necessary tools and materials. Having everything prepared beforehand will make the installation smoother and more efficient. Here are the essential tools and materials you will need:
- Screwdriver: A screwdriver will be needed to remove the existing deadbolt and install the new smart lock. Make sure you have a screwdriver that fits the screw heads properly to avoid any damage.
- Tape Measure: You’ll need a tape measure to take accurate measurements of your door, such as the thickness and the backset (the distance from the edge of the door to the center of the hole).
- Drill and Drill Bits: If your door doesn’t have pre-drilled holes for the smart lock, you’ll need a drill and the appropriate drill bits. Check the smart lock manufacturer’s instructions for the recommended drill bit sizes.
- Hammer: A hammer will come in handy for any small adjustments or tapping needed during the installation process.
- Pencil: Use a pencil to mark the position of the smart lock and its components on the door, ensuring accurate alignment.
- Level: A level tool will help you ensure that the smart lock is installed straight and aligned properly.
- Torx or Allen Wrench: Depending on the specific smart lock model, you may need a Torx or Allen wrench to secure the lock components in place.
- Batteries: Most smart locks are battery-operated. Check the smart lock specifications and make sure you have the required batteries on hand.
- Masking Tape: Masking tape can be useful for temporarily securing parts or protecting the door’s surface from any scratches during the installation process.
By collecting these tools and materials in advance, you’ll be well-prepared for the smart lock installation process. Double-check the manufacturer’s instructions for any additional tools or materials specific to your chosen smart lock model. With everything ready, you’re now ready to prepare your door for the installation.
Preparing Your Door
Before you can install a smart lock, it’s important to properly prepare your door. This involves a few simple steps to ensure a smooth installation process and a secure fit for your new smart lock. Follow these steps to prepare your door:
- Remove the Existing Deadbolt: If your door already has a deadbolt, you’ll need to remove it before installing the smart lock. Use a screwdriver to unscrew and remove the deadbolt from the door. Keep the screws in a safe place for possible future use.
- Clean the Door: Thoroughly clean the surface of the door where the smart lock will be installed. Remove any dirt, dust, or debris to ensure proper adhesion of the lock and smooth operation.
- Check the Door Alignment: Use a level tool to check the alignment of your door. It’s important to have a properly aligned door to ensure the smooth functioning of the smart lock. If the door is not aligned, you may need to make adjustments before proceeding with the installation.
- Measure and Mark: Use a tape measure to determine the backset (distance from the edge of the door to the center of the hole) and mark the position of the smart lock components on the door. This will help ensure accurate alignment during the installation process.
- Check Door Thickness: Verify the thickness of your door to ensure compatibility with the smart lock. Most smart locks are designed to accommodate standard door thicknesses, but it’s always good to double-check and ensure a proper fit.
By preparing your door in these steps, you’ll create a solid foundation for the smart lock installation. Take your time to ensure that the door is clean, aligned, and measured accurately. With the door fully prepared, you’re now ready to move on to the next step: installing the deadbolt.
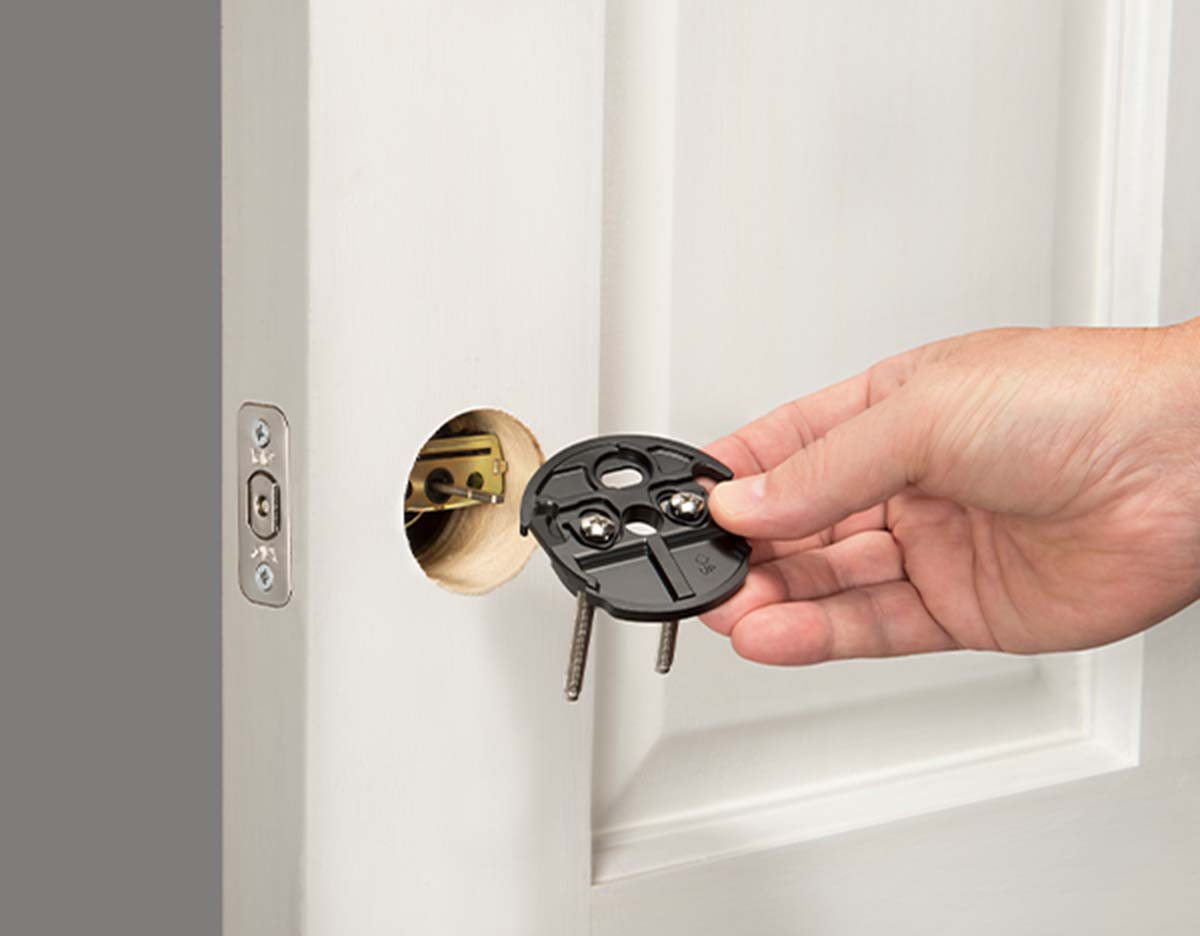
Installing the Deadbolt
Installing the deadbolt is an essential step in the process of setting up a smart lock. The deadbolt provides the physical locking mechanism for your door and works in conjunction with the smart lock. Follow these steps to install the deadbolt:
- Refer to the Manufacturer’s Instructions: Before starting the installation, carefully read the manufacturer’s instructions that came with the smart lock kit. Each smart lock may have specific requirements or steps for installing the accompanying deadbolt.
- Position the Deadbolt: Place the deadbolt assembly into the edge of your door, aligning it with the markings you made during the preparation stage. Ensure that the bolt extends and retracts smoothly without any obstructions.
- Secure the Deadbolt Plate: On the doorframe side, position the deadbolt plate on the edge of the latch hole. Use a pencil to mark the screw hole locations on the doorframe. Then, secure the deadbolt plate with screws using a screwdriver.
- Test the Deadbolt: Test the deadbolt by turning the knob or thumbturn to ensure that the bolt extends fully and retracts smoothly. Make any necessary adjustments to ensure proper alignment and functionality.
- Double-check the Alignment: Verify that the deadbolt and latch are properly aligned. They should fit securely and slide smoothly into the doorframe. If needed, make adjustments to ensure a proper fit.
It’s important to follow the manufacturer’s instructions carefully and double-check your work at each step. A properly installed deadbolt is crucial for the overall functionality and security of your smart lock. Once you have successfully installed the deadbolt, you’re ready to move on to the next step: mounting the smart lock.
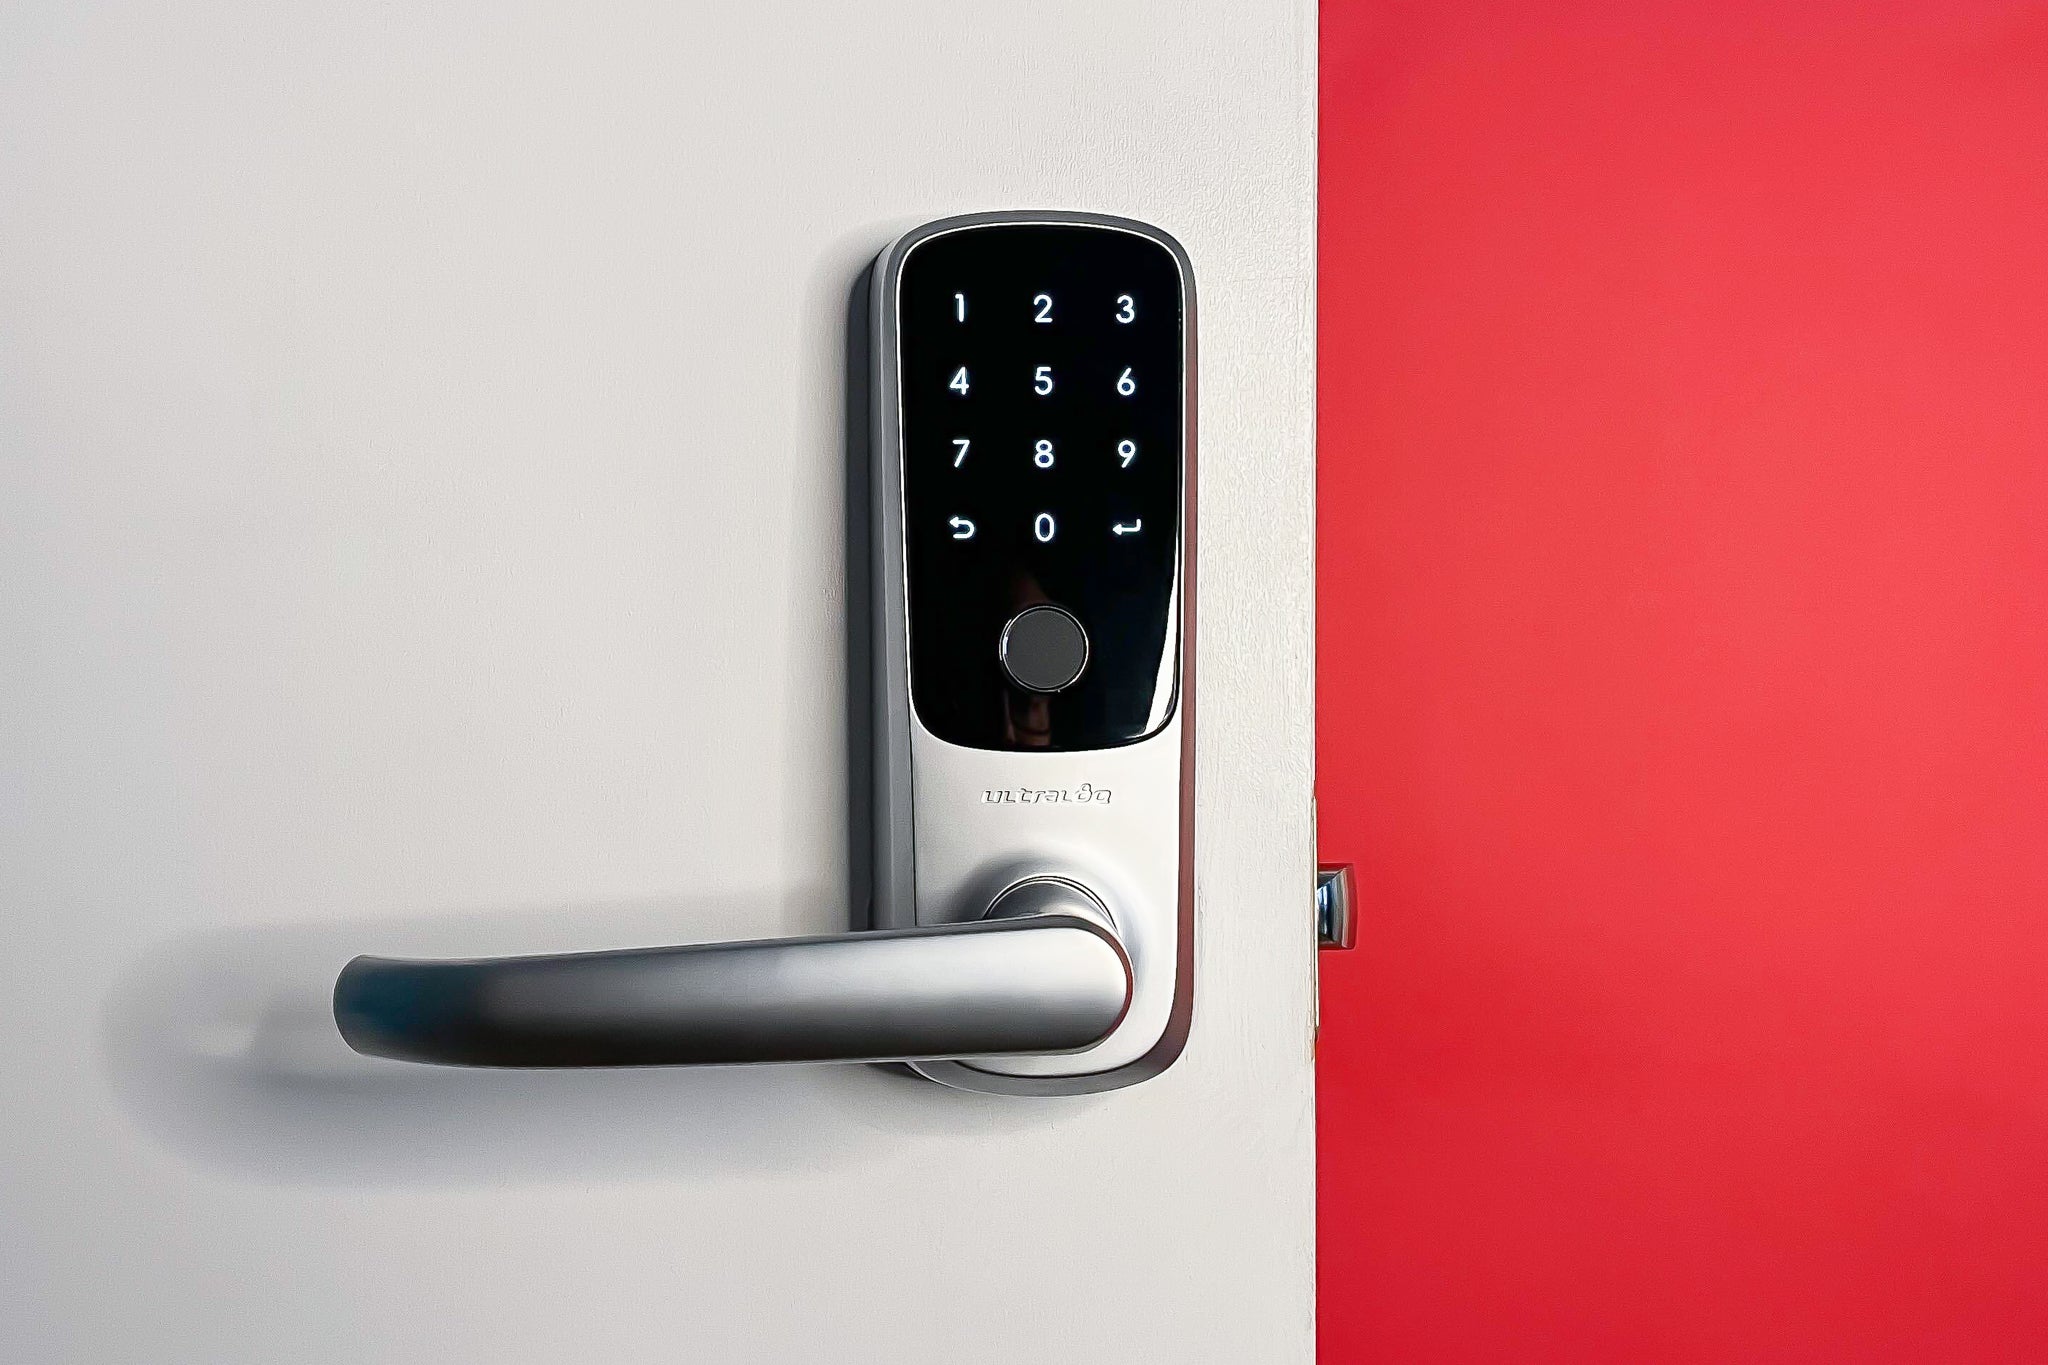
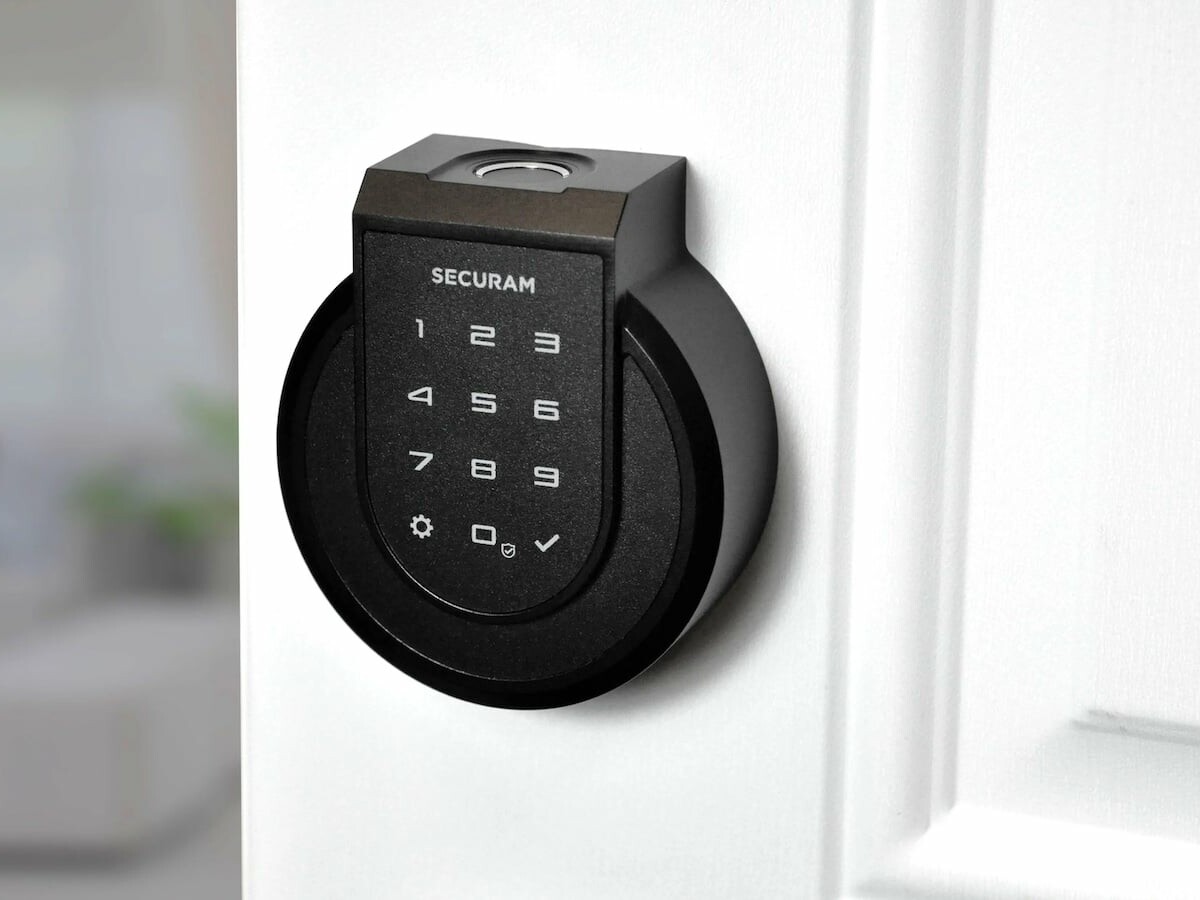
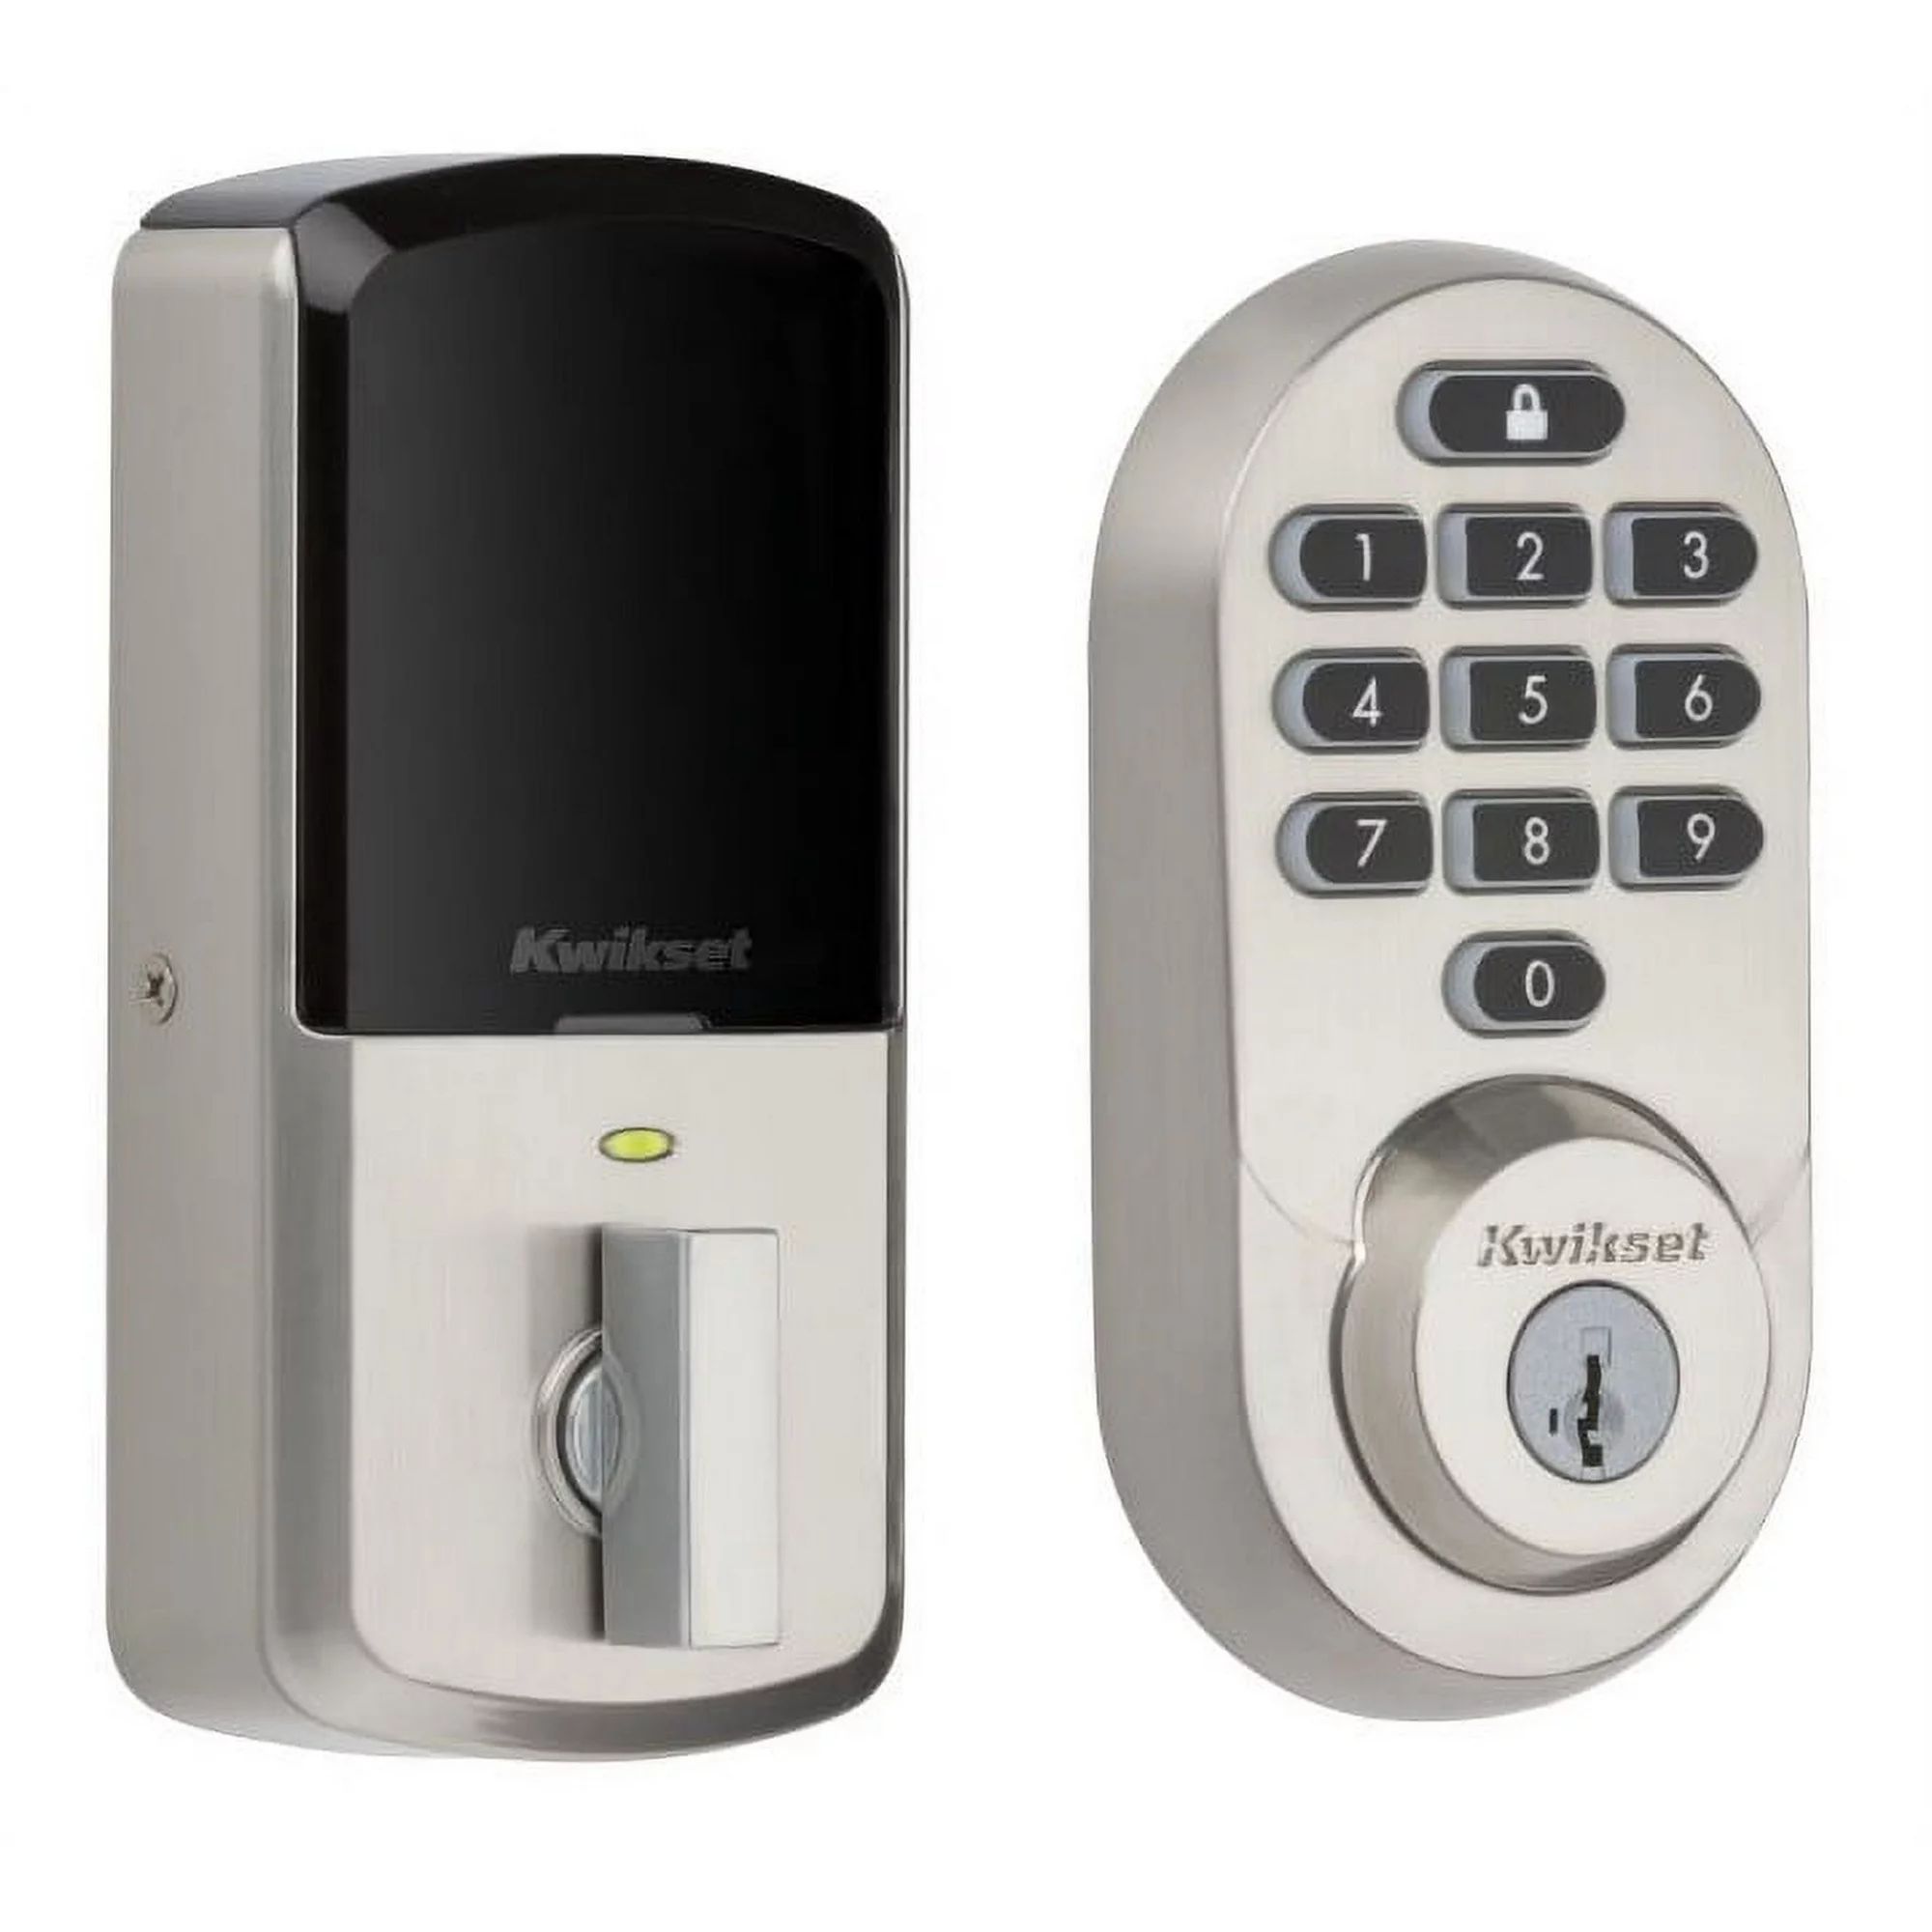
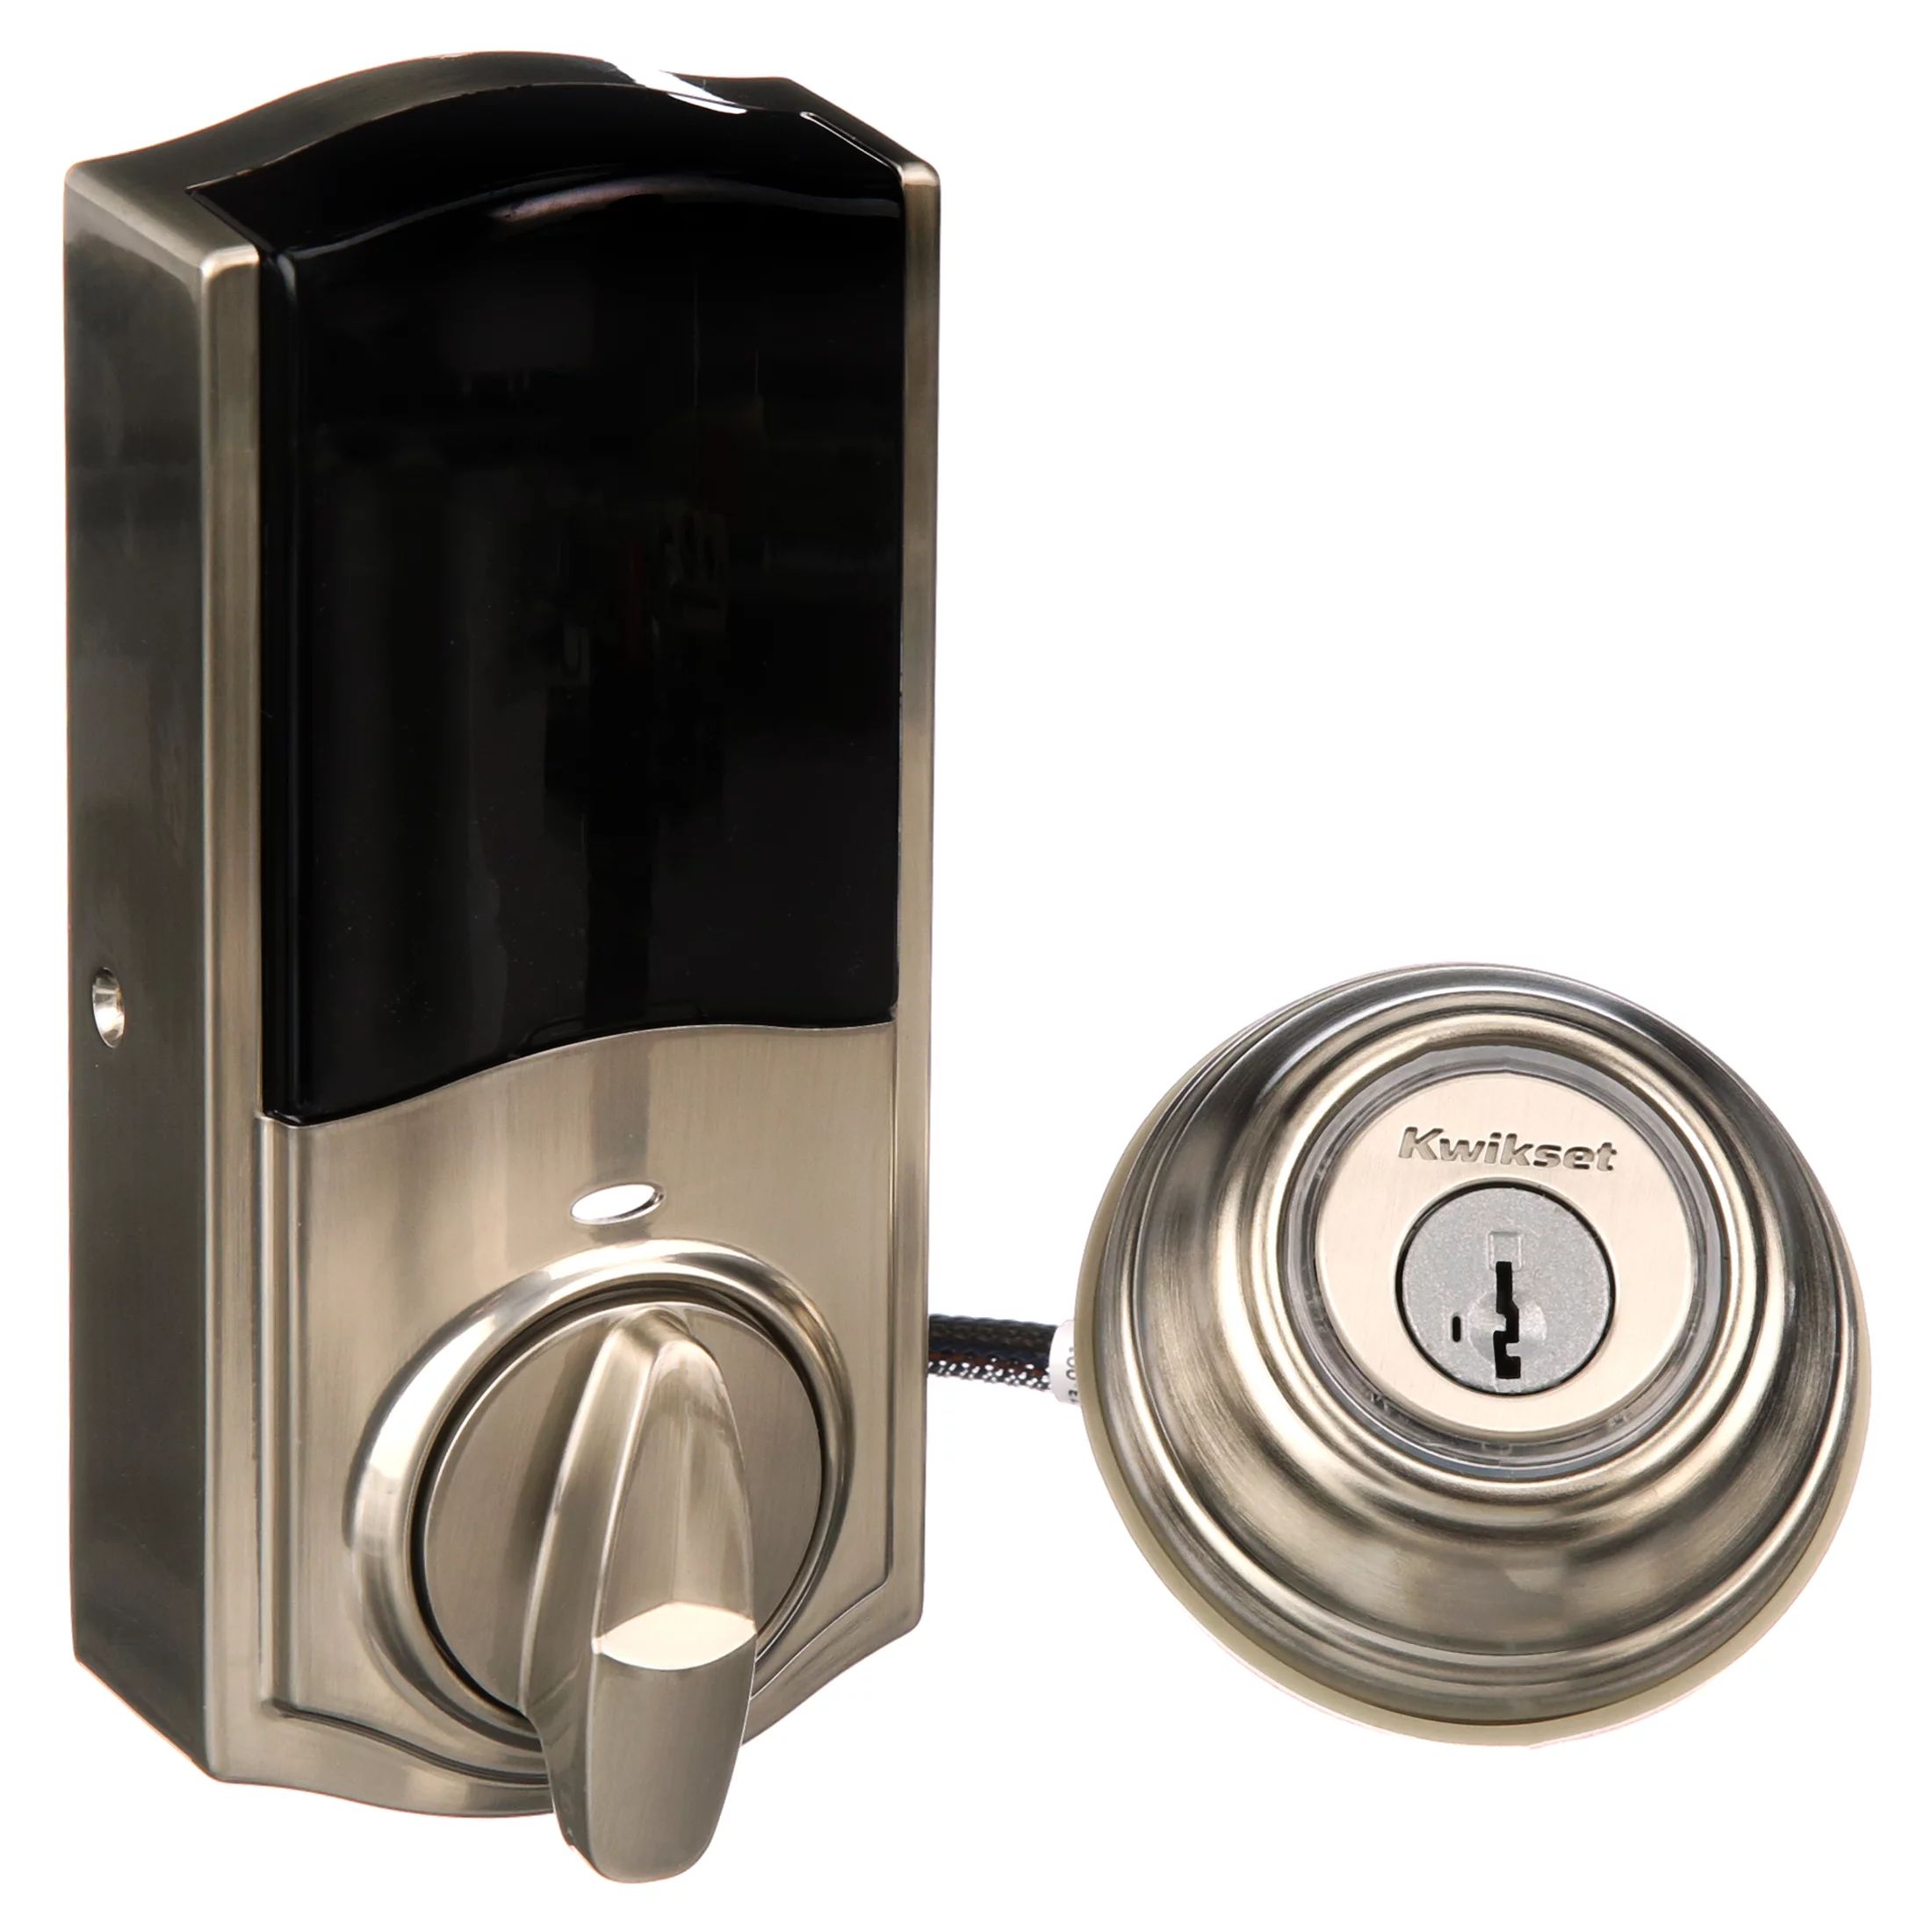
Mounting the Smart Lock
With the deadbolt installed, it’s time to mount the smart lock onto your door. The smart lock serves as the control center for your lock, allowing you to lock and unlock your door through various methods, such as a keypad or smartphone app. Follow these steps to mount the smart lock:
- Refer to the Manufacturer’s Instructions: Before proceeding with the mounting process, carefully review the manufacturer’s instructions included with the smart lock. Different smart lock models may have specific requirements and steps for installation.
- Align the Smart Lock: Position the smart lock over the deadbolt, aligning it with the markings you made during the door preparation stage. Make sure it sits flush and level with the door surface.
- Secure the Mounting Plate: Attach the mounting plate to the door using the screws provided in the smart lock kit. Use a screwdriver to securely fasten the mounting plate to the door, ensuring it is tightly in place.
- Attach the Smart Lock: Connect the smart lock unit to the mounting plate using the designated connectors or screws as specified in the manufacturer’s instructions. Follow the instructions carefully to ensure a proper connection.
- Double-check the Alignment: Once the smart lock is attached, check its alignment and make any necessary adjustments. Ensure that it is properly aligned with the door and operates smoothly.
As with the previous steps, following the manufacturer’s instructions and double-checking your work is crucial. Take your time to align the smart lock correctly and secure it firmly to the door. Once the mounting is complete, you can move on to connecting the smart lock to your smartphone or other devices.
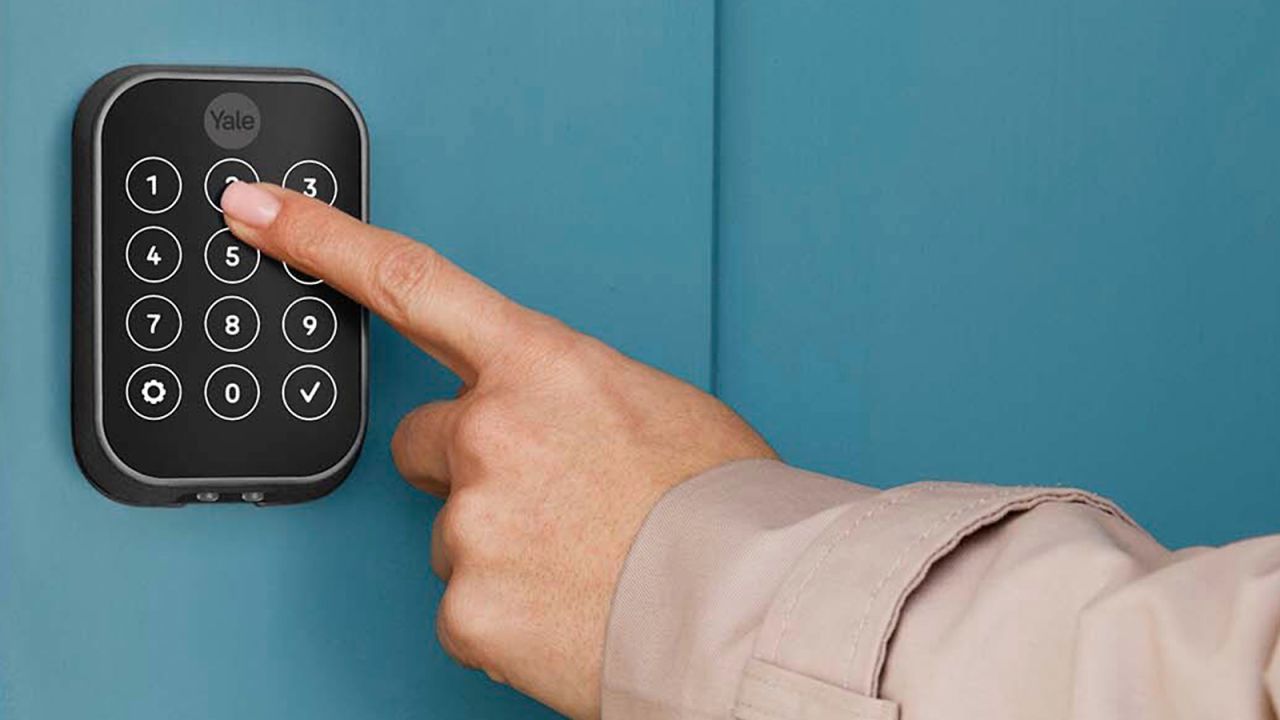
Connecting to Your Smartphone
One of the major advantages of a smart lock is the ability to control and monitor it using your smartphone. Connecting your smart lock to your smartphone allows you to lock and unlock your door remotely, receive notifications, and manage access for family members or guests. Follow these steps to connect your smart lock to your smartphone:
- Download and Install the App: Visit the app store on your smartphone and search for the app associated with your smart lock brand. Download and install the app onto your device.
- Create an Account: Open the app and create a new account. You may need to provide some personal information and create login credentials.
- Follow App Instructions: The app will guide you through the process of adding your smart lock to your account. It may involve scanning a QR code, entering a unique code provided with the smart lock, or following specific pairing instructions.
- Pairing the Smart Lock: Once the app prompts you to pair the lock, follow the instructions provided. This typically involves putting the smart lock into pairing mode and waiting for it to be discovered by the app.
- Test the Connection: After the pairing process is completed, test the connection between the smart lock and your smartphone. Use the app to lock and unlock the door remotely to ensure that the communication is working properly.
- Set Up Additional Features: Explore the app’s settings to customize additional features, such as granting access to family members or setting up notifications for specific events, such as when the door is unlocked or if the battery is low.
Remember to follow the instructions provided with your specific smart lock and app while connecting to your smartphone. Once the smart lock is successfully connected, you’ll have the convenience and control of managing your lock from the palm of your hand.
Setting Up User Access
Setting up user access for your smart lock allows you to grant entry to family members, friends, and trusted individuals without the need for physical keys. You can specify different access levels and schedules to provide flexibility and security. Follow these steps to set up user access on your smart lock:
- Access the App: Open the app associated with your smart lock on your smartphone.
- Add New Users: Look for the option to add new users or manage access within the app. This may be labeled as “Manage Users” or something similar.
- Enter User Information: When adding a new user, enter their information, such as name and email address. Some smart lock apps may also allow you to assign unique PIN codes or digital keys for each user.
- Set Access Levels: Specify the access level for each user. This can range from full access to limited access, depending on your preferences. You may also have the option to set schedules for when specific users have access to the lock.
- Send Invitation: Once the user information and access levels are set, send an invitation to the user through the app. They may receive an email or notification with instructions on how to accept the invitation and set up their access.
- Test User Access: After the user accepts the invitation and sets up their access, test their access by having them lock and unlock the door using their assigned method, such as a PIN code or digital key.
- Review and Manage Access: Regularly review and manage user access to ensure it stays up-to-date. Remove access for individuals who no longer need it and consider changing access codes periodically for added security.
Take advantage of the flexibility and convenience that user access provides with your smart lock. By setting up user access, you can easily manage and control who has permission to enter your home, enhancing both security and convenience.
Testing and Troubleshooting
After completing the installation and setup process, it’s important to test your smart lock and address any potential issues that may arise. Testing and troubleshooting ensures that your smart lock functions properly and provides the level of security and convenience you expect. Follow these steps to test and troubleshoot your smart lock:
- Test Locking and Unlocking: Use your smartphone app, PIN code, or any other designated method to lock and unlock the door multiple times. Check if the lock responds promptly and operates smoothly without any sticking or jamming.
- Verify Smartphone Connectivity: Ensure that your smartphone is consistently connected to the smart lock and can communicate properly. Test the lock’s response time when sending lock/unlock commands from your phone.
- Check Battery Life: Monitor the battery life of your smart lock regularly. Most smart locks provide notifications or indicators when the battery is running low. Replace the batteries as needed to ensure uninterrupted functionality.
- Address Connectivity Issues: If you experience connectivity issues between your smart lock and smartphone, try troubleshooting steps advised by the manufacturer. This might involve resetting the lock, checking your Wi-Fi or Bluetooth connections, or restarting your smartphone.
- Update Firmware and App: Regularly check for firmware updates for your smart lock and app. Keeping them up to date ensures that you have the latest features, bug fixes, and security enhancements. Follow the manufacturer’s instructions to update the firmware and app.
- Contact Support if Needed: If you encounter persistent problems or issues that you cannot resolve, reach out to the manufacturer’s customer support. Provide them with detailed information about the problem you’re facing for further assistance.
By thoroughly testing and troubleshooting your smart lock, you can identify any potential issues or areas that require adjustment. This ensures that your smart lock operates reliably and provides the convenience and security you desire for your home. With all the necessary tests and troubleshooting done, you can confidently enjoy the benefits of your newly installed smart lock.
Conclusion
Congratulations! You have successfully learned how to install a smart lock and enjoy the convenience and security it brings to your home. By following the step-by-step instructions provided in this guide, you have gained the knowledge and skills required to complete the installation process with confidence.
Choosing the right smart lock, gathering the necessary tools, preparing your door, installing the deadbolt, mounting the smart lock, connecting it to your smartphone, setting up user access, and testing and troubleshooting are all essential steps in the installation process. By thoroughly understanding and executing each step, you can ensure a smooth and successful installation experience.
Remember to always refer to the manufacturer’s instructions specific to your smart lock model. This will ensure that you follow the correct procedures and make the most of the features provided by your chosen smart lock.
As you enjoy the convenience of a smart lock, make sure to periodically review and update user access, test its functionality, and address any troubleshooting issues that may arise. Regular maintenance, such as replacing batteries and keeping firmware and apps up to date, will help ensure the continued smooth operation of your smart lock.
We hope this guide has been helpful and that you feel empowered to install your own smart lock. Enjoy the enhanced security, convenience, and peace of mind that comes with the seamless integration of technology into your home security system.