Introduction
Welcome to our guide on how to remove a monitor stand. Whether you’re looking to upgrade your monitor stand or simply need to reposition your monitor, removing the stand is a straightforward process that can be done with a few simple tools and a little bit of know-how.
Having a sturdy and adjustable monitor stand is crucial for optimal ergonomics and productivity. However, there may come a time when you need to remove the stand, whether it’s to mount your monitor on a wall, switch to a different stand, or for any other reason. By following the steps outlined in this guide, you’ll be able to safely and efficiently remove the monitor stand without causing any damage to your monitor.
Before we jump into the removal process, it’s important to gather the necessary tools. You will need a Phillips screwdriver, a flathead screwdriver, and a soft cloth or towel to protect the monitor’s screen. Make sure to unplug all cables connected to the monitor before proceeding with the removal process.
Removing a monitor stand may vary slightly depending on the make and model of your monitor, so it’s always a good idea to consult the manufacturer’s instructions or website for any specific guidelines. However, the steps outlined in this guide will serve as a general reference point and should be applicable to most monitors.
Now that we have the necessary tools and a basic understanding of the process, let’s move on to the first step: unplugging all cables from the monitor.
Step 1: Gather the necessary tools
Before you begin removing the monitor stand, it’s essential to gather the necessary tools. Having the right tools on hand will ensure a smoother and more efficient removal process. Here are the tools you will need:
- A Phillips screwdriver: This is a common type of screwdriver with a cross-shaped tip. It is used for removing screws that hold the monitor stand in place.
- A flathead screwdriver: This is another essential tool you’ll need. It has a flat, narrow tip and is useful for prying open any clips or levers that secure the stand.
- A soft cloth or towel: It’s crucial to have a soft cloth or towel on hand to protect the monitor’s screen during the removal process. This will prevent any scratches or damage from occurring.
It’s essential to use the correct size and type of screwdriver to avoid stripping the screws or causing any damage. Ensure that the screwdrivers you have are appropriate for the size and type of screws used to secure the monitor stand.
Before you start disassembling the monitor stand, it’s a good idea to familiarize yourself with the make and model of your monitor. Some monitors may have specific instructions or unique mechanisms for removing the stand. Check the manufacturer’s website or the user manual for any specific guidelines.
Once you have gathered all the necessary tools and are familiar with your monitor’s specifications, you’re ready to proceed to the next steps. In the following sections, we will guide you through the process of removing the monitor stand step by step.
Step 2: Unplug all cables
Before you start removing the monitor stand, it’s important to unplug all cables connected to the monitor. This will prevent any accidental damage to the cables or the monitor itself.
Start by turning off your monitor and then disconnecting the power cable from the power outlet. Next, locate the cable that connects your monitor to your computer or any other devices. Carefully unplug this cable from both the monitor and the computer.
If you have any other cables connected to your monitor, such as HDMI or DisplayPort cables, remove them as well. Take your time to ensure that all cables are completely disconnected.
It’s crucial to handle the cables with care and avoid pulling on them forcefully. Gently wiggle the connectors back and forth while pulling them out to avoid any damage to the ports or the cables themselves.
Remember to keep the cables organized as you unplug them. You can use twist ties or cable management solutions to keep them neatly in place. This will make the reassembly process much easier when you’re ready to reconnect everything.
Once all the cables are unplugged and neatly set aside, you’re now ready to proceed with the next steps. Keep in mind that it’s essential to handle the monitor with care throughout the removal process to avoid any accidental damage.
In the next step, we will guide you on how to adjust the tilt and height of your monitor, which may make the removal process easier.
Step 3: Adjust the tilt and height of the monitor
Before you proceed with removing the monitor stand, it’s a good idea to adjust the tilt and height of the monitor to a comfortable position. This will make the removal process easier and safer.
Start by adjusting the tilt of the monitor. Most monitors have a built-in mechanism that allows you to tilt the screen up or down. Look for the tilt adjustment buttons or levers located on the back or bottom of the monitor. Use these controls to find the tilt angle that suits your preference.
Next, adjust the height of the monitor. Some monitors have a height-adjustable stand that allows you to raise or lower the screen. Look for the height adjustment buttons or levers and use them to position the monitor at a comfortable height for your viewing needs. This can help reduce strain on your neck and eyes.
Take your time to find the optimal tilt angle and height that provides you with the best viewing experience. It’s important to make these adjustments before removing the monitor stand, as it can be more difficult to maneuver the monitor once the stand is detached.
If your monitor does not have tilt or height adjustment features, you can still proceed with the removal process. Just make sure to position the monitor in a way that allows you easy access to the stand’s screws or levers.
Once you’ve adjusted the tilt and height of the monitor, you’re ready to move on to the next step: locating the screws or levers that hold the stand in place.
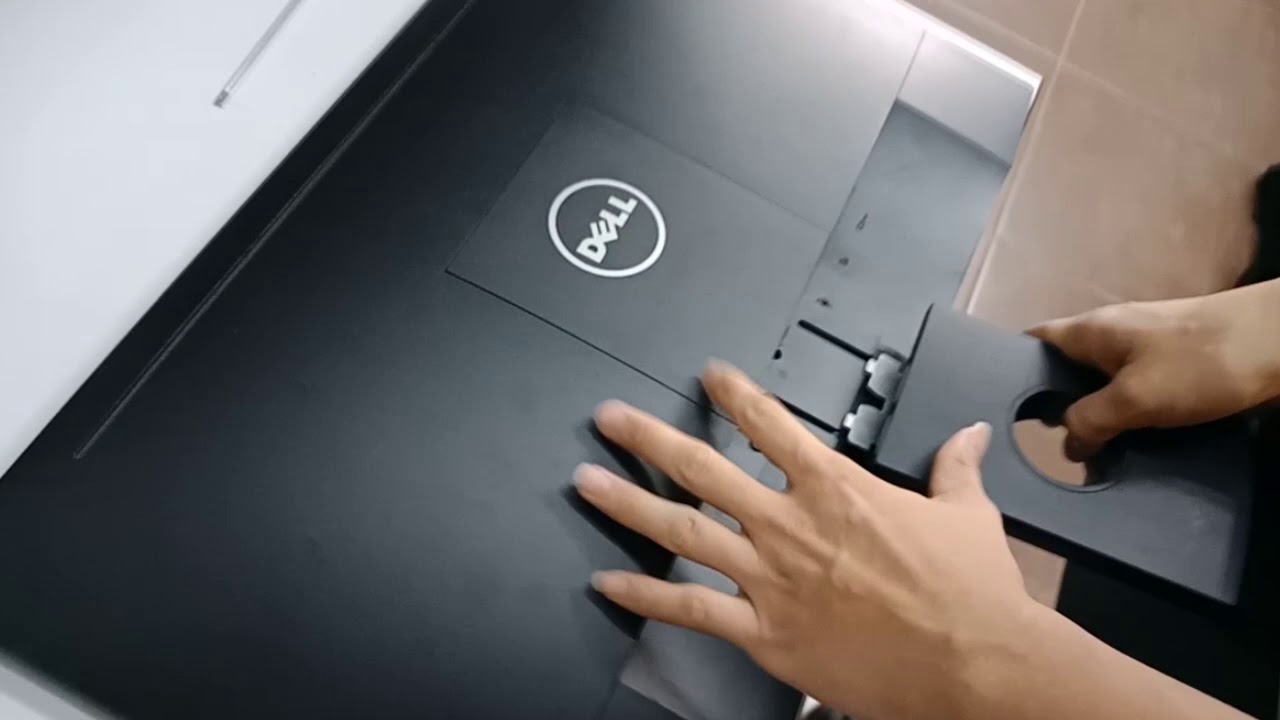
Step 4: Locate the screws or levers holding the stand
Now that you have adjusted the tilt and height of your monitor, it’s time to locate the screws or levers that hold the stand in place. These screws or levers will vary depending on the make and model of your monitor, so it’s important to refer to the manufacturer’s instructions or user manual for specific guidance.
Generally, you will find the screws or levers on the back of the monitor near the bottom or on the sides of the stand. Some monitors may use screws that require a Phillips screwdriver, while others may utilize levers that can be released by hand or with a flathead screwdriver.
Inspect your monitor carefully to locate these fasteners. If you see any plastic covers or panels, gently remove them to access the screws or levers. Pay attention to any markings or labels that indicate the location of the stand removal mechanism.
If your monitor uses screws, use the appropriate size Phillips screwdriver to loosen them counterclockwise. Be cautious not to overtighten the screws when reattaching the monitor to a new stand in the future.
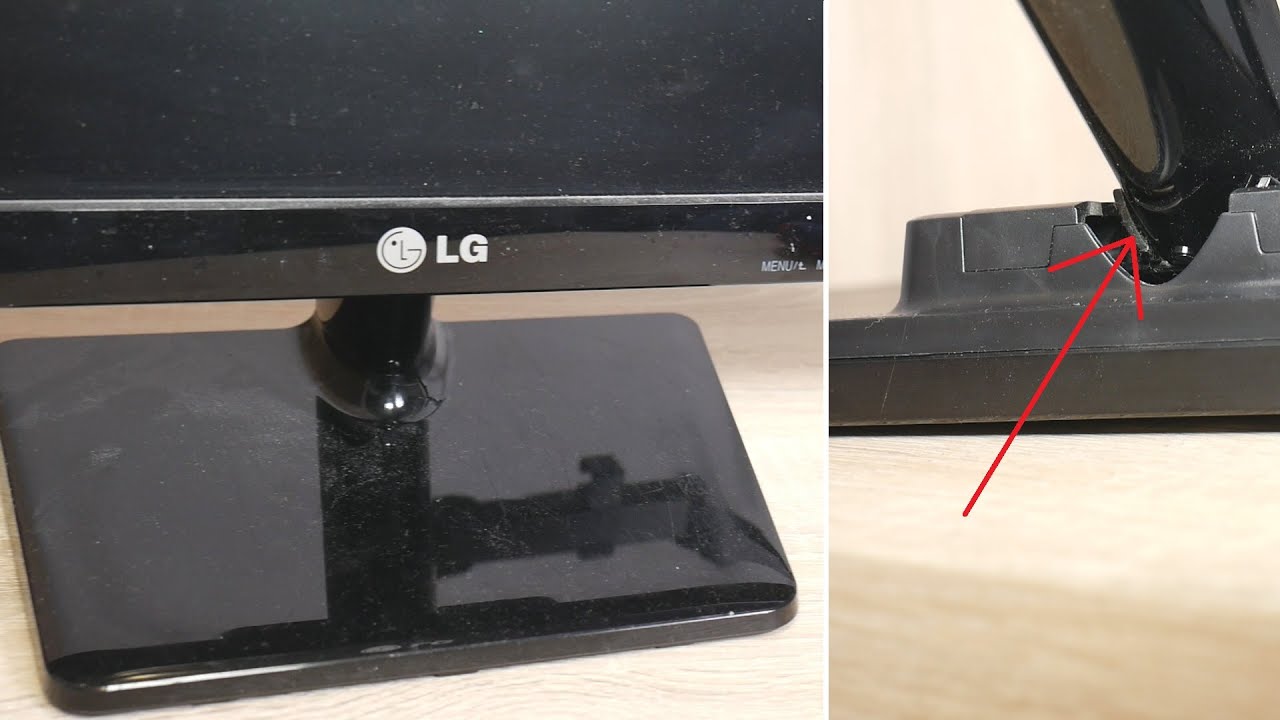
If your monitor uses levers, find the levers near the stand’s connection point. Use a flathead screwdriver to pry open the levers or release them according to the manufacturer’s instructions.
It’s important to exercise caution while dealing with these screws or levers to avoid applying excessive force or causing any damage. If you encounter any difficulties or are unsure about the removal process, consult the manufacturer’s instructions or seek assistance.
Once you have located the screws or levers holding the stand in place, you’re ready to proceed to the next step: unscrewing or releasing the stand from the monitor.
Step 5: Unscrew or Release the Stand from the Monitor
With the screws or levers located, it’s time to unscrew or release the stand from the monitor. Follow the instructions below based on the type of fasteners used on your monitor.
If your monitor uses screws:
- Using the appropriate size Phillips screwdriver, rotate each screw counterclockwise to loosen it.
- As you unscrew the screws, be sure to support the monitor with your other hand to prevent it from falling.
- Continue loosening all the screws until they are completely removed.
- Set the screws aside in a safe place, as you may need them for future use.
If your monitor uses levers:
- Using a flathead screwdriver, gently pry open or release the levers according to the manufacturer’s instructions.
- Ensure that you hold onto the monitor with your other hand to prevent any accidental falls.
- Once the levers are released, carefully lift the monitor away from the stand.
As you remove the stand, keep an eye out for any additional clips or connectors that may still be attached. Some monitors have additional clips or cables that need to be disconnected before the stand can be fully removed. If you encounter any of these, follow the manufacturer’s instructions to disconnect them properly.
Once you have successfully unscrewed or released the stand from the monitor, set the stand aside for future use or disposal. Be careful not to drop the stand or damage any components while handling it.
Now that the stand is removed from the monitor, you can proceed to the next step: actually removing the stand from the monitor.
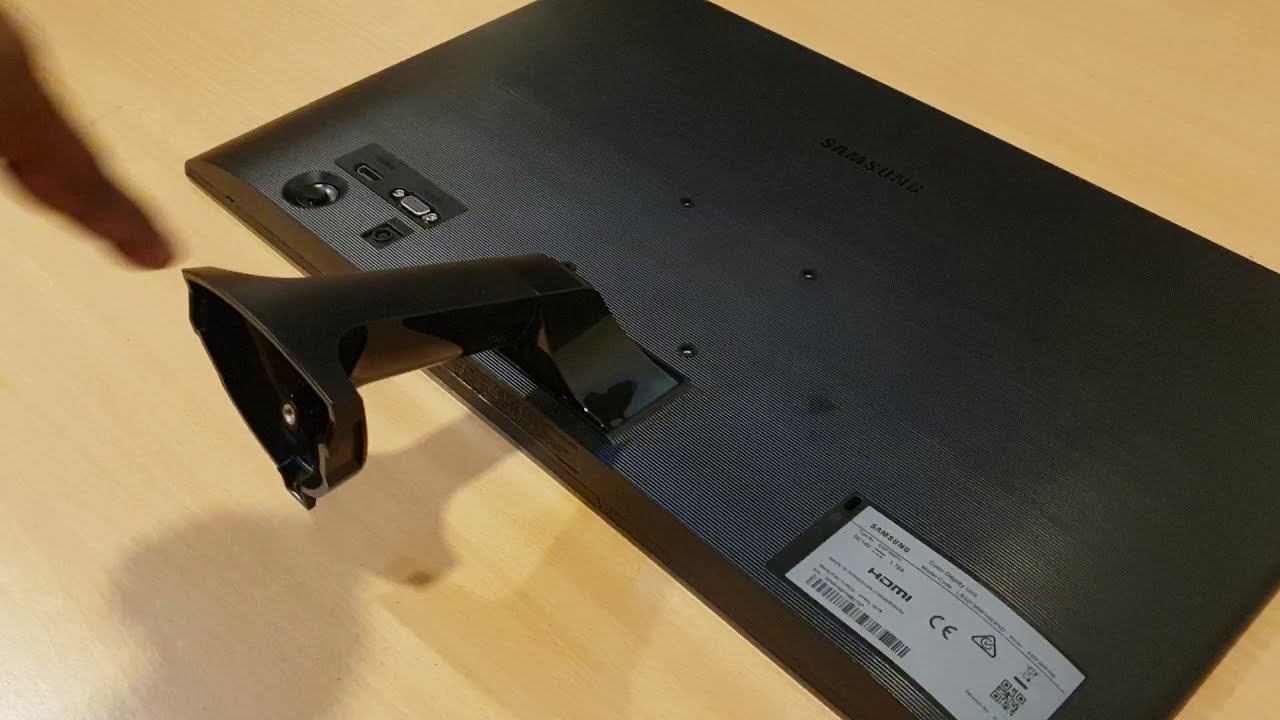
Step 6: Remove the Stand from the Monitor
Now that the stand is detached from the monitor, it’s time to remove the stand completely. Follow the steps below to safely remove the stand from your monitor.
- Carefully lift the monitor upwards, ensuring you have a firm grip and supporting it with both hands.
- Slowly and steadily, slide the monitor off the stand, making sure you are holding it securely.
- Set the monitor down on a soft and stable surface, such as a clean table or a padded mat.
- Inspect the stand attachment area on the back of the monitor to ensure no cables or connectors are still attached. If you find any, disconnect them according to the manufacturer’s instructions.
- If you plan to dispose of the stand, do so responsibly by recycling it or following the proper electronic waste disposal guidelines in your area. If you intend to keep the stand for future use, safely store it in a designated space.
Removing the stand from your monitor opens up possibilities for alternative mounting options, such as wall mounting or using a different monitor stand. Before proceeding with any other modifications or installations, ensure you have all the necessary equipment and follow the proper guidelines to avoid damage or accidents.
Congratulations! You have successfully removed the stand from your monitor. In the next step, we will cover the importance of cleaning the monitor base and checking for any damage.
Step 7: Clean the Monitor Base and Check for Any Damage
Now that the stand has been removed from your monitor, it’s a good idea to take the time to clean the monitor base and check for any signs of damage. Follow these steps to ensure your monitor is in optimal condition:
- Using a soft cloth or towel, gently wipe down the monitor base to remove any dust, fingerprints, or smudges. Avoid using harsh chemicals or abrasive cleaners, as these can damage the monitor’s finish.
- In addition to cleaning the exterior of the monitor base, check the ventilation ports and any other openings for dust or debris. You can use a can of compressed air or a soft brush to carefully remove any build-up.
- Inspect the monitor base for any visible signs of damage, such as cracks, loose parts, or frayed cables. Pay attention to the cable connectors and ensure they are secure and undamaged.
- If you notice any damage or suspect any internal issues with your monitor, it’s best to consult a professional technician or contact the manufacturer for assistance.
- Once you have cleaned the monitor base and checked for damage, reconnect any cables you disconnected earlier. Ensure they are securely attached to the appropriate ports.
- If you are planning to mount your monitor on a new stand or wall, refer to the manufacturer’s instructions or seek professional guidance to ensure a proper installation.
By regularly cleaning your monitor base and checking for damage, you can prolong the lifespan of your monitor and maintain its functionality. Keeping your monitor in good condition will ensure optimal performance and prevent any potential issues down the line.
With the monitor base cleaned and inspected, you have completed the necessary steps to remove the monitor stand and prepare your monitor for any further modifications or installations.
Conclusion
Removing a monitor stand may seem like a daunting task, but with the right tools and step-by-step guidance, it can be accomplished smoothly and safely. By following the steps outlined in this guide, you can easily remove your monitor stand and explore alternative mounting options or upgrade to a new stand.
We started by gathering the necessary tools, including a Phillips screwdriver and a flathead screwdriver, to ensure a hassle-free removal process. Next, we learned how important it is to unplug all cables connected to the monitor to avoid any damage.
Adjusting the tilt and height of the monitor allowed for a more comfortable and accessible removal process. We then located the screws or levers that held the stand in place, ensuring we were familiar with the make and model of our monitor.
With the screws or levers found, we safely unscrewed or released the stand from the monitor. The stand was then carefully removed, and the monitor base was cleaned and inspected for any damage. Taking these steps will help maintain the functionality and longevity of your monitor.
Remember, it’s crucial to consult the manufacturer’s instructions or seek professional guidance if you encounter any difficulties or have specific concerns related to your monitor. Each monitor may have unique specifications and removal processes.
Once you have successfully removed the stand and ensured the cleanliness and integrity of your monitor base, you can now explore different mounting options or use a different stand that suits your preferences and needs.
We hope this guide has provided valuable insights and guidance on how to remove a monitor stand. With this newfound knowledge, you are now ready to take the necessary steps to remove your monitor stand confidently. Happy monitor stand removal!