Introduction
When it comes to gaming, having the right equipment can make a significant difference in your overall experience. One important component that can greatly enhance your gaming setup is a high-quality monitor. ASUS is a well-known brand in the gaming industry, offering a wide range of monitors tailored specifically for gamers.
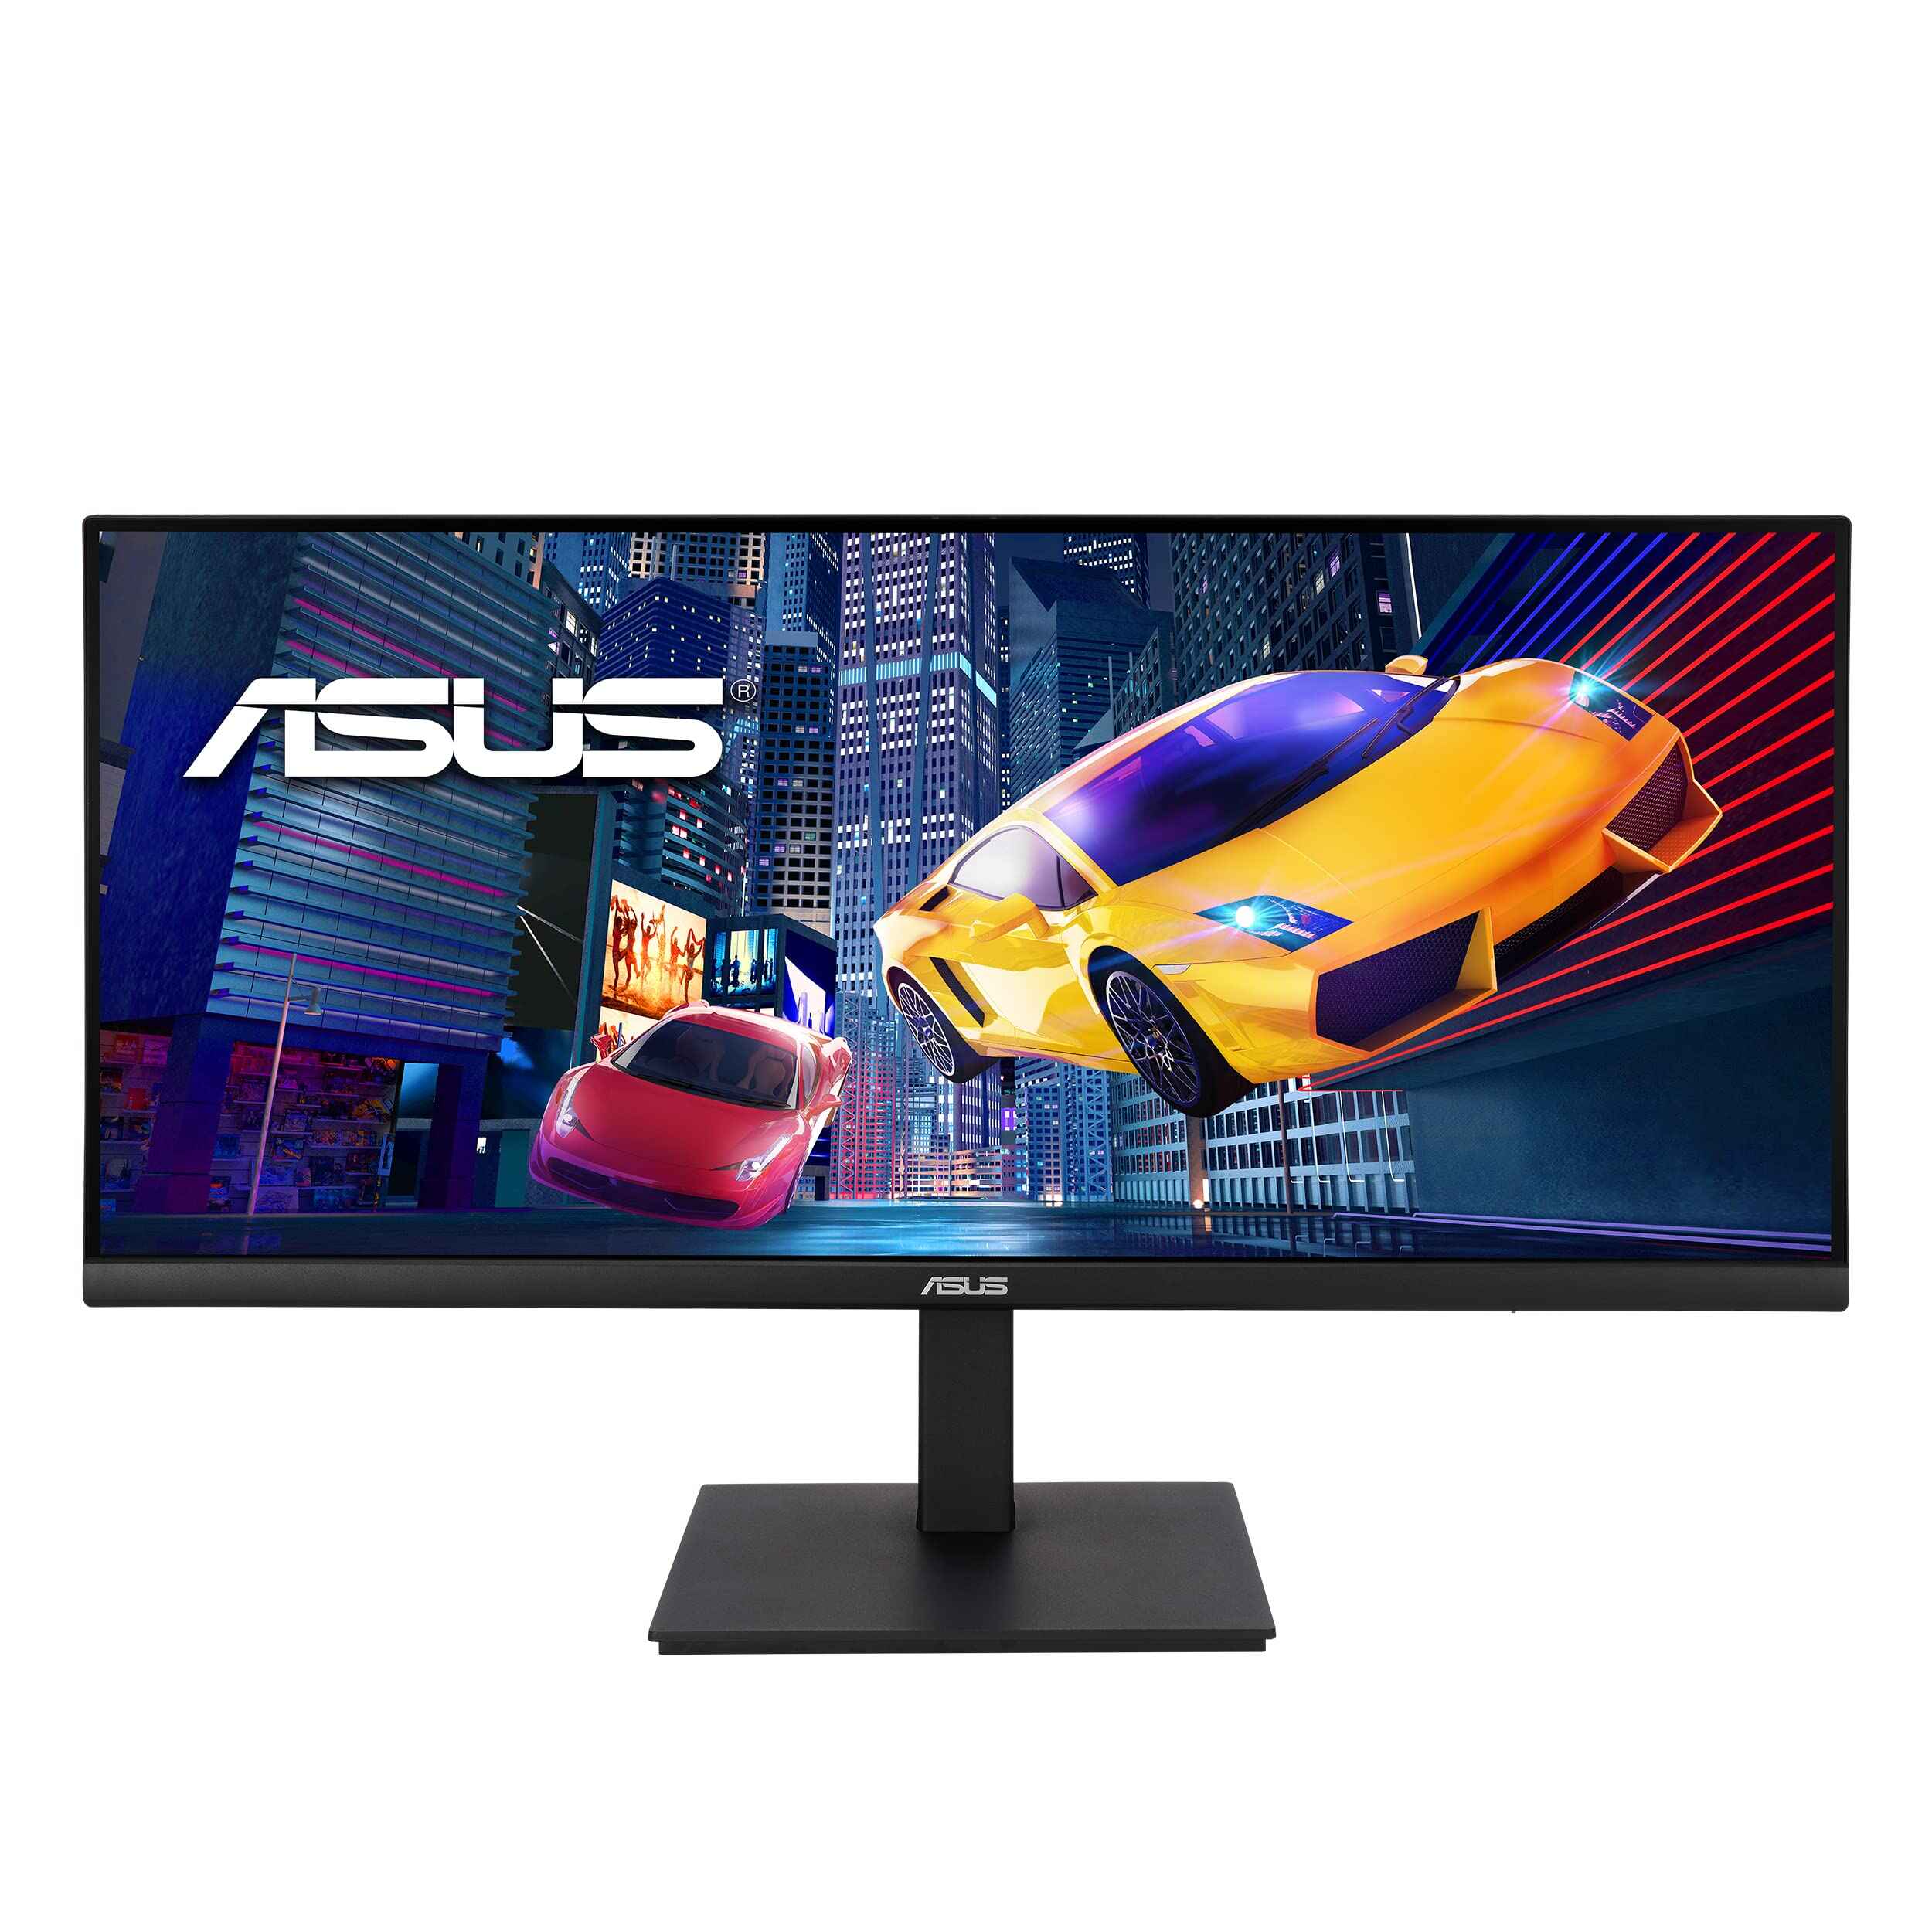
One popular option from ASUS is their ultrawide gaming monitor. This monitor provides gamers with a wider field of view, allowing for a more immersive gaming experience. Whether you’re playing fast-paced first-person shooters or exploring vast open-world environments, an ultrawide gaming monitor can truly take your gaming sessions to the next level.
However, sometimes you may want to remove the stand that comes with your ASUS ultrawide gaming monitor. There are a variety of reasons why you might want to do this. Perhaps you want to save space on your desk by mounting the monitor on a wall or using a different stand. Or maybe you simply prefer the aesthetic of a monitor without a stand. Whatever the reason may be, removing the stand from your ASUS ultrawide gaming monitor is a relatively straightforward process.
In this article, we will walk you through the step-by-step process of removing the stand from your ASUS ultrawide gaming monitor. We will also provide recommendations on how to adjust the VESA mount adapter and attach a VESA stand or wall mount. By the end of this guide, you’ll have all the information you need to transform your gaming monitor setup and optimize your gaming experience.
Why Remove the Stand?
There are several reasons why you might want to remove the stand from your ASUS ultrawide gaming monitor:
- Space-saving: By removing the stand, you can free up valuable desk space. This is especially beneficial if you have a smaller desk or if you want to optimize your gaming setup by having more room for other peripherals like a keyboard, mouse, or speakers.
- Aesthetics: Some gamers prefer the sleek and minimalistic look of a monitor without a stand. By removing the stand, you can achieve a cleaner aesthetic and make your gaming station look more streamlined.
- Flexibility: Removing the stand allows you to explore other mounting options. You can attach your ASUS ultrawide gaming monitor to a VESA stand or wall mount, giving you the flexibility to adjust the height, angle, and positioning of the monitor to suit your needs.
- Ergonomics: Mounting your monitor on a VESA stand or wall mount allows you to position it at the optimal eye level, helping to reduce strain on your neck and eyes during long gaming sessions. This can greatly improve your comfort and overall gaming experience.
It’s important to note that removing the stand from your ASUS ultrawide gaming monitor will not affect its performance or functionality. The stand is simply a convenient accessory that allows you to place the monitor on a flat surface. By removing it, you open up a world of possibilities in terms of customization and flexibility.
Now that you understand the benefits of removing the stand, let’s dive into the step-by-step process of how to do it.
Tools Needed
Before you begin the process of removing the stand from your ASUS ultrawide gaming monitor, it’s important to gather the necessary tools. Here are the tools you will need:
- Phillips screwdriver: You will need a Phillips head screwdriver to loosen and remove any screws that may be holding the stand in place. Make sure you have a screwdriver that is the appropriate size for the screws on your monitor.
- VESA mount adapter (optional): If you plan on mounting your monitor using a VESA stand or wall mount, you may need a VESA mount adapter. This adapter allows you to attach the monitor to VESA-compatible stands or wall mounts.
- Wall mount or VESA stand (optional): If you decide to remove the stand from your ASUS ultrawide gaming monitor, you may want to have a wall mount or VESA stand ready to replace it. This will allow you to securely attach the monitor to a wall or another stand of your choice.
It’s essential to have the appropriate tools before you begin the process. Trying to remove the stand without the proper tools can be challenging and may result in damage to your monitor. Take the time to gather all the necessary tools to ensure a smooth and successful removal process.
Now that you have the tools prepared, let’s move on to the step-by-step instructions for removing the stand from your ASUS ultrawide gaming monitor.
Step 1: Power Off and Unplug the Monitor
Before you begin removing the stand from your ASUS ultrawide gaming monitor, it’s crucial to ensure your safety and prevent any potential damage to the monitor. To do this, follow these steps:
- Power off the monitor: Press the power button on the monitor to turn it off. This will prevent any electrical mishaps while you’re working on removing the stand.
- Unplug the monitor: Once the monitor is powered off, unplug the power cord from the electrical outlet. This will eliminate the risk of an electric shock and allow you to work on the monitor safely.
By powering off the monitor and unplugging it, you ensure that there is no electrical current running through the device. This is a crucial safety measure that should never be skipped or overlooked.
Once you’ve completed step 1, you’re ready to move on to the next step: locating the stand lock.
Step 2: Locate the Stand Lock
With the monitor powered off and unplugged, you can now proceed to locate the stand lock. The stand lock is a mechanism that secures the stand to the monitor and prevents it from being removed accidentally.
The location of the stand lock may vary depending on the model of your ASUS ultrawide gaming monitor. However, in most cases, you can find the stand lock near the bottom of the stand, close to where it connects to the back of the monitor.
To locate the stand lock, follow these steps:
- Inspect the bottom of the stand for any visible levers, buttons, or lock indicators.
- Refer to your monitor’s user manual or online documentation for specific instructions on locating the stand lock.
- If you’re unable to find the stand lock, try gently lifting or tilting the monitor to see if there are any hidden release mechanisms.
Once you have successfully located the stand lock, you’re ready to move on to the next step: unlocking the stand.
Step 3: Unlock the Stand
Now that you have located the stand lock, it’s time to unlock the stand from your ASUS ultrawide gaming monitor. Follow these steps to unlock the stand:
- Identify the mechanism used to lock the stand in place. This can be a lever, button, or slider.
- Depending on the mechanism, press, slide, or lift it to release the lock. You may need to apply some pressure or use a gentle twisting motion.
- Keep in mind that some stands may have multiple lock points, especially if they offer height adjustment or swivel functionality. Make sure to unlock all the necessary points.
- Once the stand lock is released, you should feel or hear a click indicating that the stand is now unlocked.
It’s important to handle the unlocking process with care and follow the manufacturer’s instructions for your specific ASUS ultrawide gaming monitor. This will ensure that you unlock the stand without causing any damage to the monitor or the stand itself.
Once you have successfully unlocked the stand, it’s time to move on to the next step: detaching the stand from the monitor.
Step 4: Detach the Stand
After unlocking the stand, you can now proceed to detach it from your ASUS ultrawide gaming monitor. Follow these steps to safely detach the stand:
- Hold the stand firmly with one hand to stabilize it.
- With your other hand, gently lift the monitor from the stand, applying equal pressure on both sides.
- If the stand has any remaining screws or fasteners, use a Phillips screwdriver to remove them. Be sure to keep track of any screws or fasteners for future use or storage.
- Once all the screws or fasteners are removed, carefully separate the stand from the monitor.
- Place the stand aside in a safe and secure location, as you may need it in the future if you wish to reattach it to the monitor.
It’s important to handle the stand and monitor with care during this process, ensuring that you don’t drop or damage either component. Take your time and be gentle when detaching the stand to avoid any accidents.
Once the stand is detached, you can proceed to the next step: adjusting the VESA mount adapter (if necessary).
Step 5: Adjusting the VESA Mount Adapter
If you plan on mounting your ASUS ultrawide gaming monitor using a VESA stand or wall mount, you may need to adjust the VESA mount adapter. The VESA mount adapter allows you to attach the monitor to VESA-compatible stands or wall mounts. Follow these steps to adjust the VESA mount adapter:
- Inspect the VESA mount adapter and locate the adjustment screws or slots.
- Refer to your monitor’s user manual or online documentation to determine the specific adjustment method for your model.
- If needed, use a Phillips screwdriver to loosen the adjustment screws or slide the VESA mount adapter into the appropriate slots.
- Adjust the VESA mount adapter to align with the mounting holes on the back of your ASUS ultrawide gaming monitor.
- Once aligned, tighten the adjustment screws or ensure that the VESA mount adapter is securely positioned.
It’s important to follow the manufacturer’s instructions for adjusting the VESA mount adapter, as the process may vary depending on your specific ASUS ultrawide gaming monitor model. Taking the time to properly adjust the VESA mount adapter will ensure a secure and stable mounting of your monitor.
With the VESA mount adapter adjusted, you can now proceed to the next step: attaching a VESA stand or wall mount.
Step 6: Attach a VESA Stand or Wall Mount
Now that you have adjusted the VESA mount adapter, it’s time to attach a VESA stand or wall mount to your ASUS ultrawide gaming monitor. Follow these steps to securely attach a VESA stand or wall mount:
- Identify the mounting holes on the back of your ASUS ultrawide gaming monitor. These holes are typically arranged in a square or rectangular pattern.
- Align the VESA stand or wall mount brackets with the mounting holes on the monitor.
- If using a stand, ensure that it is positioned securely and that any necessary screws or fasteners are tightened. If using a wall mount, follow the manufacturer’s instructions for properly installing it.
- Double-check that the VESA stand or wall mount is securely attached to the monitor, and ensure that it can support the weight of the monitor safely.
It’s important to use the appropriate VESA stand or wall mount that is compatible with your ASUS ultrawide gaming monitor. Refer to the manufacturer’s specifications or consult the user manual to determine the correct VESA mount size and ensure a proper fit.
Once you have successfully attached the VESA stand or wall mount, you can proceed to the final step: reassembling and testing your ASUS ultrawide gaming monitor.
Step 7: Reassemble and Test
After attaching the VESA stand or wall mount to your ASUS ultrawide gaming monitor, it’s time to reassemble and test the setup. Follow these final steps to complete the process:
- If you have made any adjustments to the VESA mount adapter, double-check that it is securely positioned and aligned with the VESA stand or wall mount.
- Gently lower the monitor onto the VESA stand or wall mount, ensuring that the mounting holes on the monitor align with the screws or brackets on the stand or mount.
- If using a stand, tighten any necessary screws or fasteners to securely attach the monitor to the VESA stand. If using a wall mount, ensure that the monitor is securely mounted according to the manufacturer’s instructions.
- After reassembling the monitor, plug the power cord back into the electrical outlet.
- Power on the monitor and double-check that it’s functioning properly. Ensure that the screen is displaying correctly and that all settings are adjusted to your preferences.
- Test the stability and adjustability of the VESA stand or wall mount to ensure that the monitor is positioned comfortably for your gaming needs.
By following these steps, you have successfully removed the stand from your ASUS ultrawide gaming monitor and replaced it with a VESA stand or wall mount. Enjoy the enhanced flexibility, space-saving benefits, and improved ergonomics that come with this setup.
Remember to refer to the user manual or consult the manufacturer’s instructions for any specific details or precautions related to your ASUS ultrawide gaming monitor model. Now, you’re all set to dive into your favorite games with an optimized gaming setup!
Conclusion
Removing the stand from your ASUS ultrawide gaming monitor can greatly enhance your gaming setup by providing more desk space, a cleaner aesthetic, and increased flexibility for mounting options. By following the step-by-step process outlined in this guide, you can easily remove the stand and replace it with a VESA stand or wall mount.
Throughout the process, it’s important to prioritize safety by powering off and unplugging the monitor before starting. Take your time and handle the stand and monitor with care to avoid any damage.
By adjusting the VESA mount adapter and attaching the VESA stand or wall mount, you can customize the positioning of your monitor to achieve optimal viewing angles and reduce strain during extended gaming sessions.
Remember to consult your monitor’s user manual or online documentation for specific instructions related to your ASUS ultrawide gaming monitor model. This will ensure that you follow the manufacturer’s guidelines and avoid any potential risks or complications.
With the stand removed and the VESA stand or wall mount installed, you’re now ready to enjoy an immersive and ergonomic gaming experience. Take advantage of the extra desk space, improved aesthetics, and enhanced flexibility that come with this setup.
Now it’s time to level up your gaming session and immerse yourself in the world of your favorite games with your ASUS ultrawide gaming monitor mounted in the way that suits you best!