Introduction
A solid-state drive (SSD) is a critical component in modern computing devices, offering faster speeds and improved performance compared to traditional hard disk drives. However, like any electronic device, SSDs can sometimes fail and result in data loss. When an SSD fails and becomes unresponsive, it can be a stressful and frustrating situation for users who have valuable data stored on the drive.
In this article, we will explore the process of recovering data from a dead SSD. We will discuss the common reasons for SSD failure, the precautions to take before attempting data recovery, and the step-by-step process to recover data from a dead SSD. Please note that data recovery from a dead SSD can be a complex task and may require advanced technical knowledge. If you are not comfortable performing the steps outlined in this article, it is highly recommended to seek professional assistance from a data recovery service.
Understanding the causes of SSD failure is essential in preventing potential data loss. SSD failures can occur due to a variety of factors, including physical damage, electrical issues, firmware corruption, or logical errors. These failures can render the SSD unresponsive, making it inaccessible, or result in data corruption. It is crucial to be aware of these potential issues and take precautions to minimize the risk of data loss.
In the following sections, we will guide you through the steps to recover data from a dead SSD. It is important to note that the success of data recovery depends on various factors, including the nature of the SSD failure and the extent of damage to the drive. It is always advisable to have a backup of your critical data to avoid the possibility of permanent data loss.
Reasons for SSD Failure
SSD failures can be attributed to various factors, ranging from hardware issues to software malfunctions. Understanding the common reasons for SSD failure can help users prevent potential data loss and take necessary precautions. Here are some of the most prevalent causes of SSD failure:
- Physical Damage: Physical damage to an SSD can occur due to mishandling, accidental drops, or exposure to extreme temperatures or liquids. Such damage can result in the malfunctioning of the drive and render it inaccessible.
- Electrical Issues: Power surges or sudden voltage fluctuations can cause damage to the electronic components of an SSD. Excessive heat generated by the drive or a faulty power supply can also lead to electrical failures.
- Firmware Corruption: Firmware is a software program embedded in the SSD that manages its functionality. Corruption in the firmware can occur due to software bugs, improper firmware updates, or malware infections. When the firmware becomes corrupt, the SSD may fail to boot or recognize attached storage.
- Logical Errors: Logical errors can result from file system errors, software conflicts, or improper shutdowns. When a logical error occurs, the SSD may become unresponsive, and data stored on the drive may become inaccessible.
- Wear and Tear: SSDs have a limited lifespan characterized by a finite number of program/erase cycles. Over time, this wear and tear can lead to the degradation of the SSD’s performance and ultimately result in failure.
It is important to note that these reasons for SSD failure are not exhaustive and can vary depending on the specific circumstances. It is recommended to perform regular backups of your important data to minimize the risk of permanent loss in the event of an SSD failure.
Precautions to Take Before Data Recovery
Before attempting to recover data from a dead SSD, it is crucial to take certain precautions to ensure the safety of your data and the drive itself. By following these steps, you can minimize the risk of further damage and increase the chances of successful data recovery:
- Disconnect and Isolate the SSD: If your SSD has failed and is no longer recognized by the operating system, it is important to disconnect it from the computer to prevent any accidental writes or potential damage. Remove the SSD from the computer and avoid connecting it to any power source until you are ready to begin the recovery process.
- Handle with Care: SSDs are delicate electronic devices, and even a small amount of physical stress can cause further damage. Handle the dead SSD with extreme care, avoiding any drops, impacts, or excessive pressure on the drive.
- Antistatic Precautions: Electrostatic discharge (ESD) can damage the sensitive components of an SSD. Before handling the SSD, it is recommended to take antistatic precautions, such as wearing an antistatic wristband or grounding yourself by touching a metallic object.
- Backup Important Data: If you have a backup of your important data, ensure that it is up to date before attempting any recovery steps. This will minimize the risk of permanent data loss in case the recovery process does not yield the desired results or causes further damage to the SSD.
- Consult Professionals: Data recovery from a dead SSD can be a complex and challenging task. If you are not confident in your technical skills or if the data stored on the SSD is extremely valuable, it is advisable to seek professional assistance from a reputable data recovery service. These professionals have the expertise and specialized tools to handle complex recovery scenarios.
By taking these precautions, you can ensure that you are maximizing the chances of successful data recovery while minimizing the risk of further damage to the failed SSD.
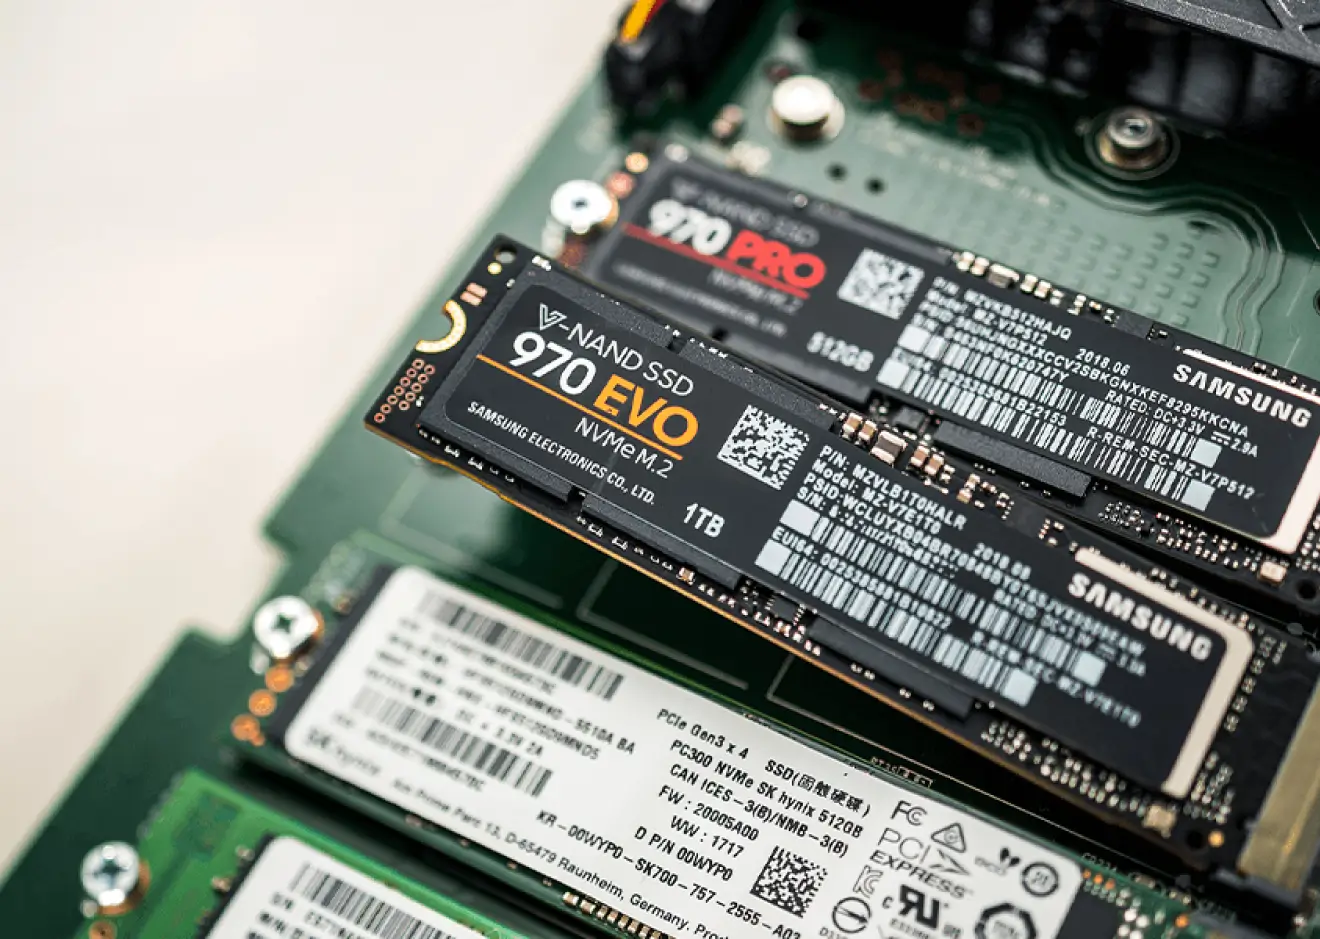
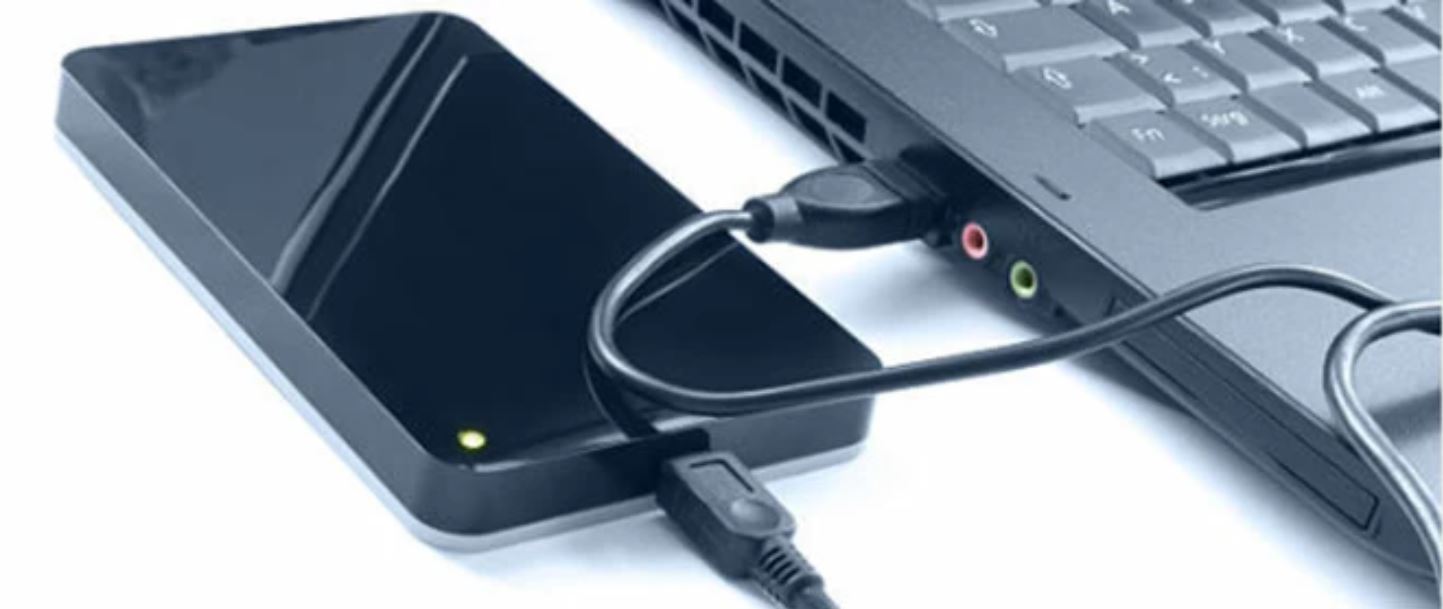
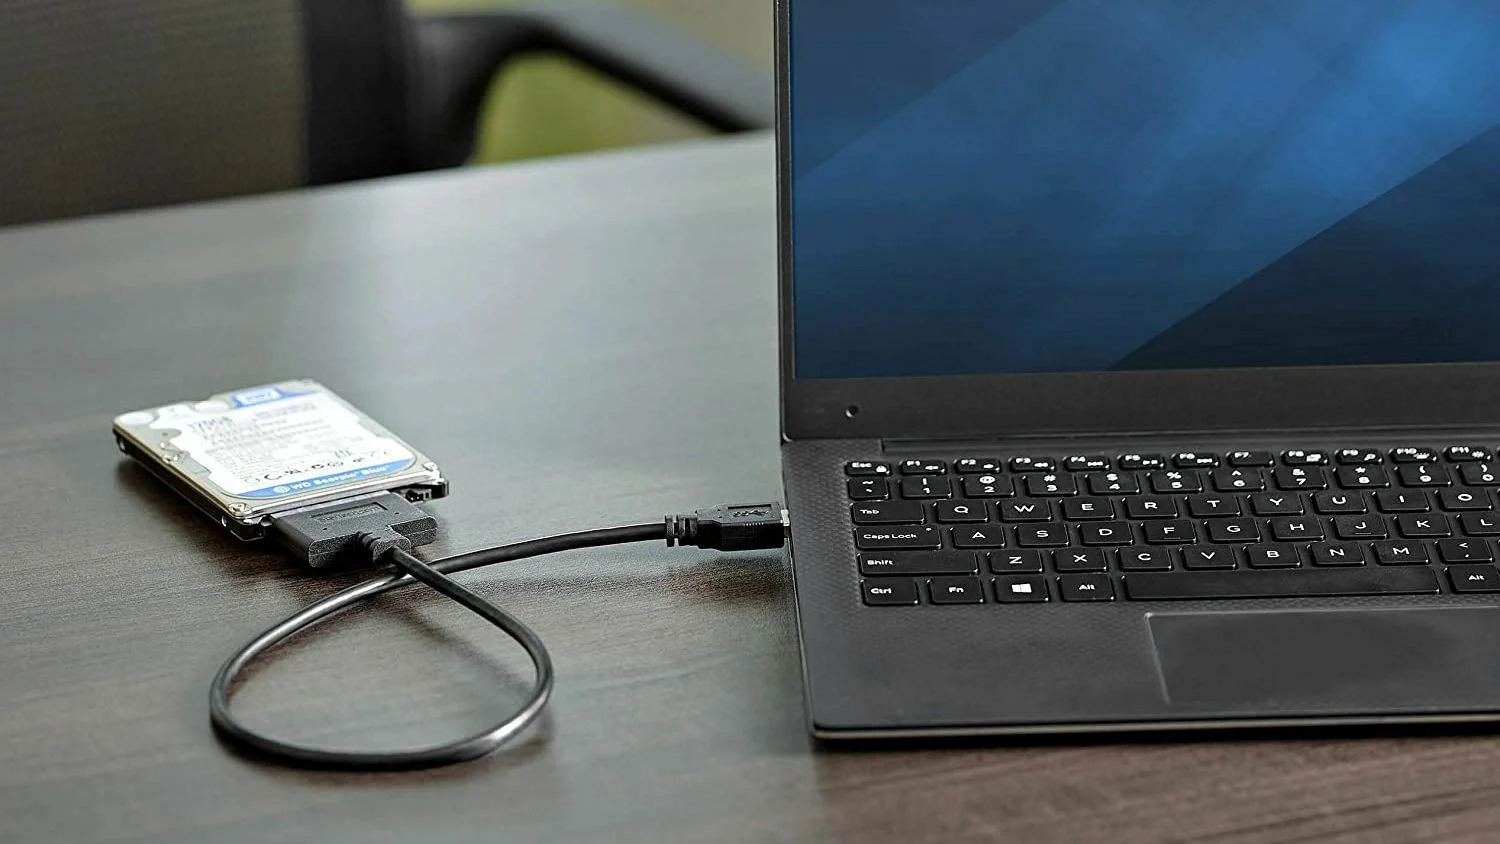
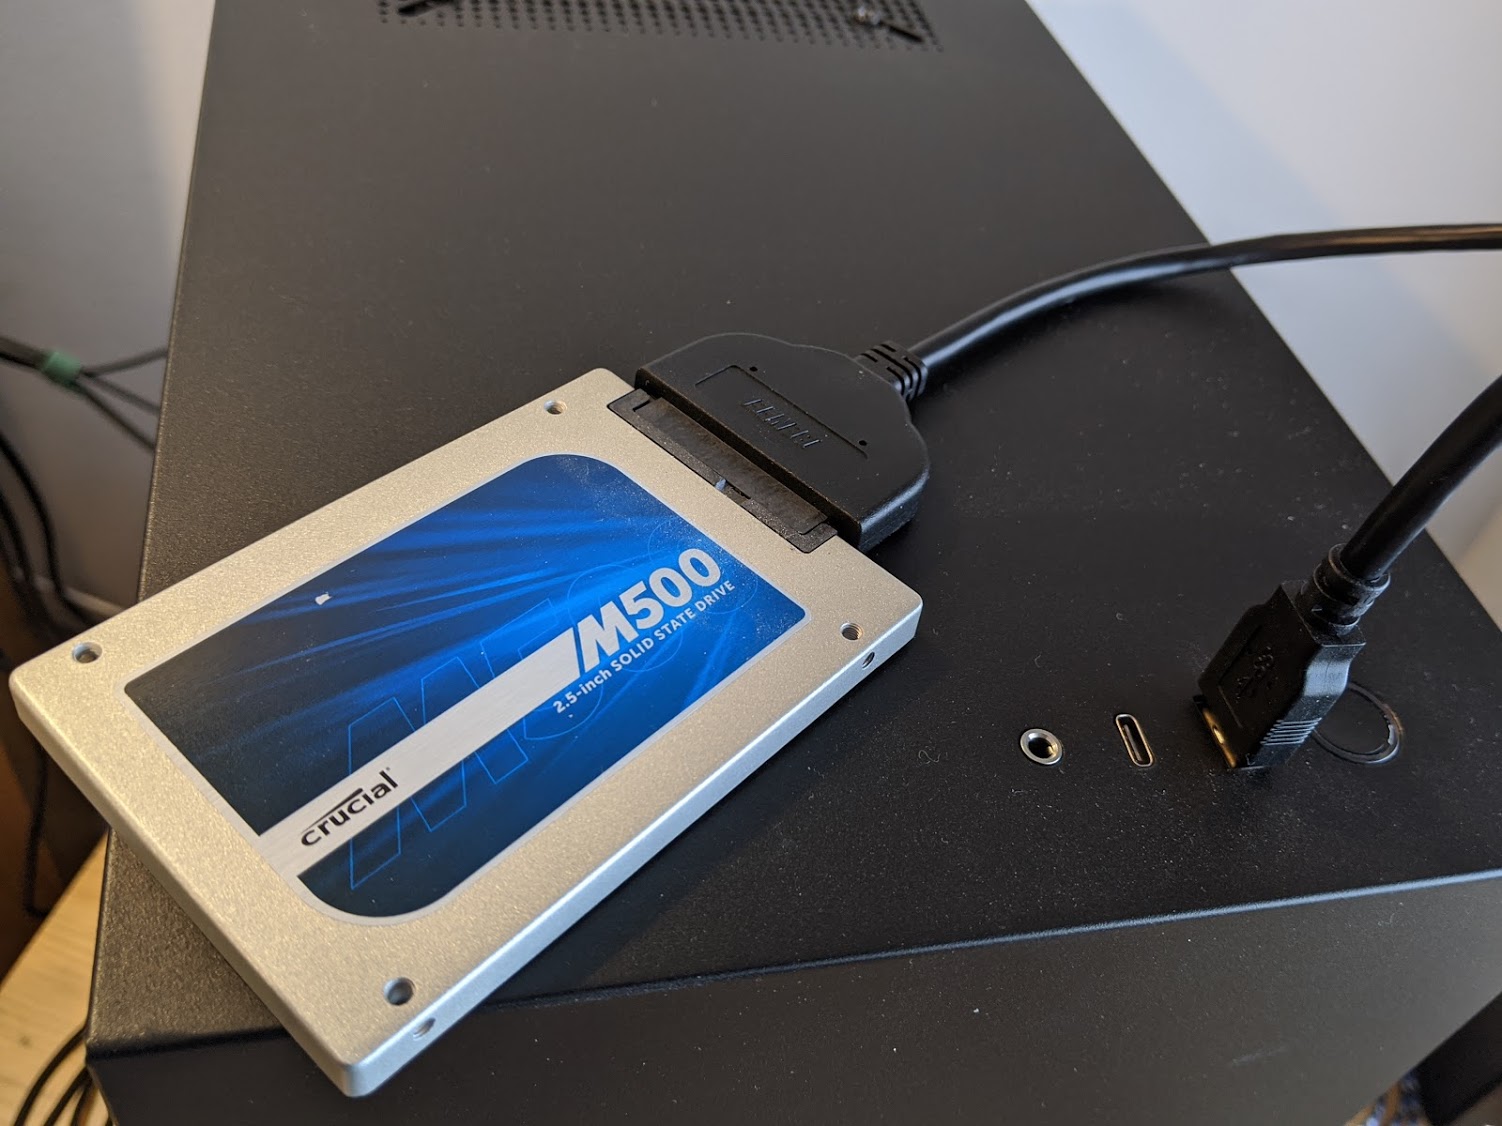
Step 1: Connect the Dead SSD to a Working Computer
The first step in recovering data from a dead SSD is to connect the drive to a working computer. By doing so, you can attempt to access the SSD and retrieve the data stored on it. Follow these steps to connect the dead SSD to a working computer:
- Prepare a Compatible Connection: Identify the type of connection your dead SSD requires. Most SSDs use either a SATA (Serial ATA) or an M.2 (NGFF) connector. Make sure you have a compatible cable or adapter to connect the SSD to the working computer.
- Power Off and Disconnect the Working Computer: Before making any connections, it is essential to power off and disconnect the working computer from any power source. This precautionary measure ensures safety and prevents any accidental damage during the process.
- Open the Computer Case: If your working computer is a desktop, you may need to open the computer case to access the internal connections. Follow proper procedures and precautions, such as wearing an antistatic wristband and ensuring the computer is powered off and unplugged before proceeding.
- Locate an Available SATA or M.2 Slot: Depending on the type of connection required by your dead SSD, locate an available SATA or M.2 slot on the motherboard of the working computer. Consult the computer’s documentation or manufacturer’s website if needed.
- Connect the Dead SSD: Connect the dead SSD to the available SATA or M.2 slot on the motherboard. Ensure that the connection is secure and properly aligned. If using a SATA connection, also connect the power cable to the SSD.
- Close the Computer Case: Once the dead SSD is successfully connected, close the computer case and secure any screws or latches to ensure proper alignment and stability.
- Power On the Working Computer: Reconnect the power cord and turn on the working computer. The operating system should detect the connected dead SSD as a new storage device.
Once you have successfully connected the dead SSD to a working computer, you can proceed to the next step of the data recovery process. It is important to handle the SSD with care and avoid any physical stress during the connection process to minimize the risk of further damage to the drive.
Step 2: Use Data Recovery Software
After connecting the dead SSD to a working computer, the next step in the data recovery process is to use data recovery software. Data recovery software is designed to scan the connected storage devices, identify lost or inaccessible files, and restore them to a safe location. Follow these steps to use data recovery software:
- Select a Reliable Data Recovery Software: Research and select a reputable data recovery software that supports SSD recovery. There are several options available, both free and paid, such as EaseUS Data Recovery Wizard, Recuva, and Stellar Data Recovery.
- Install and Launch the Data Recovery Software: Once you have chosen the software, download and install it on the working computer. Launch the software and ensure that the connected dead SSD is recognized as a storage device.
- Select the Dead SSD as the Target Drive: In the data recovery software, select the dead SSD as the target drive for the recovery process. The software may display a list of available drives – make sure to choose the correct one to avoid mistakenly scanning other drives.
- Choose the Recovery Mode: Data recovery software usually offers different recovery modes. Select the appropriate mode based on the nature of the SSD failure and the type of data you wish to recover. Common recovery modes include quick scan, deep scan, or RAW recovery.
- Initiate the Scan: Start the scan process by clicking on the “Scan” or similar button within the software. The software will then analyze the drive and scan for recoverable files, including deleted or corrupted data.
- Review and Select the Recoverable Files: Once the scan is complete, the data recovery software will display a list of recoverable files. Preview the files, if possible, and select the files you want to recover. You can usually filter the results based on file types, file names, or file sizes.
- Specify the Recovery Location: Choose a safe location on the working computer or an external storage device to save the recovered files. Avoid saving the files back to the dead SSD to prevent overwriting and potential permanent data loss.
- Initiate the Recovery Process: Start the recovery process by clicking on the “Recover” or similar button within the data recovery software. The software will begin restoring the selected files to the specified recovery location.
Once the data recovery software completes the recovery process, you can proceed to the next steps to ensure a secure and successful data recovery from the dead SSD.
Step 3: Create a Disk Image
Creating a disk image is an important step in the data recovery process, especially when dealing with a dead SSD. A disk image is a sector-by-sector copy of the entire SSD, including all the data and the file system structure. This disk image serves as a backup and provides a safeguard in case of any data recovery failures or further damage to the SSD. Follow these steps to create a disk image:
- Select a Reliable Disk Imaging Tool: Choose a reputable disk imaging tool that supports creating disk images from SSDs. Some popular options include Clonezilla, Acronis True Image, and Macrium Reflect.
- Install and Launch the Disk Imaging Tool: Download and install the disk imaging tool on the working computer. Launch the software and ensure that the connected dead SSD is recognized as the source drive.
- Choose the Dead SSD as the Source Drive: In the disk imaging tool, select the dead SSD as the source drive for creating the disk image. This ensures that an exact copy of the SSD will be made.
- Select the Destination Drive: Specify a destination drive where you want to save the disk image. It is advisable to choose a different drive than the dead SSD to avoid overwriting any data and to ensure the integrity of the disk image.
- Configure the Disk Imaging Settings: Set any specific settings or options as required by the disk imaging tool. This may include compression options, encryption, or verification settings.
- Start the Disk Imaging Process: Initiate the disk imaging process by clicking on the “Start” or similar button within the disk imaging tool. The tool will begin creating a sector-by-sector copy of the dead SSD and save it as a disk image on the specified destination drive.
- Verify the Disk Image: Once the disk imaging process is complete, it is essential to verify the integrity of the disk image. Some disk imaging tools provide built-in verification methods, or you can use separate verification tools to ensure the reliability of the disk image.
Creating a disk image provides an additional layer of protection and allows you to work with a copy of the data rather than directly accessing the dead SSD. This ensures that you can attempt data recovery processes without the risk of further damaging the original SSD.
Step 4: Recover Data from the Disk Image
Once you have successfully created a disk image of the dead SSD, the next step is to recover data from the disk image. Recovering data from a disk image is a safer approach as it prevents any potential damage to the original SSD. Follow these steps to recover data from the disk image:
- Mount the Disk Image: Use a disk imaging tool or virtual drive software to mount the disk image you created in the previous step. This will make the disk image accessible as a virtual drive on your working computer.
- Explore the Mounted Disk Image: Open the mounted disk image and navigate through its file structure to locate the files and folders you want to recover. You can browse the disk image as if it were a physical drive or external storage device.
- Copy the Recoverable Files: Select the files and folders you want to recover from the mounted disk image. Copy them to a safe location on your working computer or an external storage device. It is recommended to create a new folder specifically for the recovered files to keep them organized.
- Verify the Recovered Data: After copying the recoverable files, it is crucial to verify their integrity. Open the files and ensure they can be accessed and viewed without any issues. If any files are corrupted or unreadable, consider using data recovery software to attempt further recovery or consult professional data recovery services.
- Create Backups: Once you have successfully recovered the desired data from the disk image, it is essential to create backups of the recovered files. Store the backups on multiple storage devices or cloud storage to ensure redundancy and minimize the risk of data loss in the future.
Recovering data from a disk image provides an alternative approach that minimizes the risk of further damaging the original SSD. By following these steps, you can retrieve the important files and folders that were stored on the dead SSD and maintain the integrity of the original image for future data recovery attempts, if necessary.
Step 5: Copy Recovered Data to a Safe Location
After successfully recovering the desired files from the disk image, the next step is to copy the recovered data to a safe location. This ensures that your valuable files are stored securely and can be easily accessed in the future. Follow these steps to copy the recovered data to a safe location:
- Create a New Folder: On your working computer or an external storage device, create a new folder to store the recovered data. Give the folder a descriptive name that indicates the contents of the recovered files.
- Select the Recovered Files: Navigate to the location where you saved the recovered files from the disk image. Select all the files and folders that you want to copy to the safe location.
- Copy the Recovered Data: Right-click on the selected files and folders, then choose the “Copy” option. Navigate to the newly created folder and right-click inside it, then choose the “Paste” option. The recovered data will be copied to the specified location.
- Verify the Copied Data: Once the copying process is complete, it is essential to verify the integrity of the copied data. Open a few files from the copied data to ensure they can be accessed and viewed without any issues.
- Create Additional Backups: To further ensure the safety of your recovered data, consider creating additional backups. Copy the recovered data to multiple storage devices, such as external hard drives, USB flash drives, or cloud storage services. This redundancy helps protect against data loss due to hardware failure or other unforeseen circumstances.
- Organize and Manage the Recovered Data: Take the time to organize the recovered data in the newly created folder. Create subfolders, if necessary, and give them descriptive names. This will help you easily locate specific files from the recovered data in the future.
By copying the recovered data to a safe and secure location, you can ensure that your valuable files are protected and easily accessible. Regularly back up the recovered data to multiple storage devices to maintain redundancy and minimize the risk of future data loss.
Step 6: Fix the Dead SSD or Replace It
Once you have successfully recovered the data from the dead SSD, the next step is to address the issue with the SSD itself. Depending on the nature of the failure, you may attempt to fix the SSD or consider replacing it. Follow these steps to determine the best course of action:
- Assess the Damage: Evaluate the extent of the SSD failure and the potential causes. If the failure is due to physical damage or electrical issues, such as a broken connector or fried components, it may be challenging to repair the SSD. On the other hand, if the failure is due to logical errors or firmware corruption, there may be potential solutions to fix the SSD.
- Consult Manufacturer’s Support: Check the warranty status of the SSD and contact the manufacturer’s support for assistance. They may offer troubleshooting guidance or recommend specific repair procedures if the SSD is still under warranty.
- Consider Professional Data Recovery Services: If the data recovery process was unsuccessful or if the SSD failure is severe, it is advisable to consult professional data recovery services. They have the expertise, specialized tools, and cleanroom environments to recover data from physically damaged SSDs. They may also provide advice or options for repairing the SSD.
- Attempt DIY Repairs (Advanced Users Only): If you have the technical skills and knowledge, you may attempt DIY repairs on the SSD. However, be aware that this can be risky and may void any existing warranties. Only pursue DIY repairs if you fully understand the potential risks and have exhausted all other options.
- Consider SSD Replacement: If all repair attempts fail or if the cost of repair outweighs the value of the SSD, it may be more practical to replace the dead SSD with a new one. Ensure compatibility with your system and consider upgrading to a newer and more reliable SSD to prevent future failures.
- Securely Dispose of the Dead SSD: If you decide to replace the dead SSD, it is important to securely dispose of the old one. Follow proper procedures for data destruction to protect your privacy and prevent any potential data leakage.
Assessing the damage, consulting manufacturer support, considering professional data recovery services, attempting DIY repairs (if appropriate), and ultimately deciding whether to repair or replace the dead SSD are crucial steps to ensure the functionality and longevity of your storage solution.
Conclusion
Recovering data from a dead solid-state drive (SSD) can be a challenging process, but with the right approach and precautions, it is possible to retrieve your valuable files. By following the steps outlined in this guide, you can increase your chances of successfully recovering data from a dead SSD:
- Connect the dead SSD to a working computer.
- Use data recovery software to scan and recover files.
- Create a disk image of the dead SSD for backup purposes.
- Recover data from the disk image.
- Copy the recovered data to a safe location.
- Resolve the issue with the dead SSD by attempting repairs or replacing it.
It is important to note that the success of data recovery depends on various factors, including the nature of the SSD failure and the extent of damage to the drive. Taking proper precautions, such as disconnecting the SSD, handling it with care, and using antistatic measures, can minimize the risk of further damage and increase the likelihood of successful recovery.
However, it is always recommended to have a backup of your critical data to avoid the possibility of permanent data loss. Regularly backing up your files ensures that even if the SSD fails, you still have a copy of your important data stored on a separate storage device.
If you are not comfortable performing the data recovery steps outlined in this guide or if the data on the dead SSD is extremely valuable, seeking professional assistance from a reputable data recovery service is highly advisable. These professionals have the expertise, tools, and experience to handle complex recovery scenarios and maximize the chances of successful data retrieval.
Remember, prevention is always better than cure. Regularly backing up your data, performing regular maintenance on your SSD, and keeping your system and firmware up to date can help prevent potential data loss and ensure the longevity of your storage solution. By being proactive and taking necessary precautions, you can safeguard your data and mitigate the impact of SSD failures.