Introduction
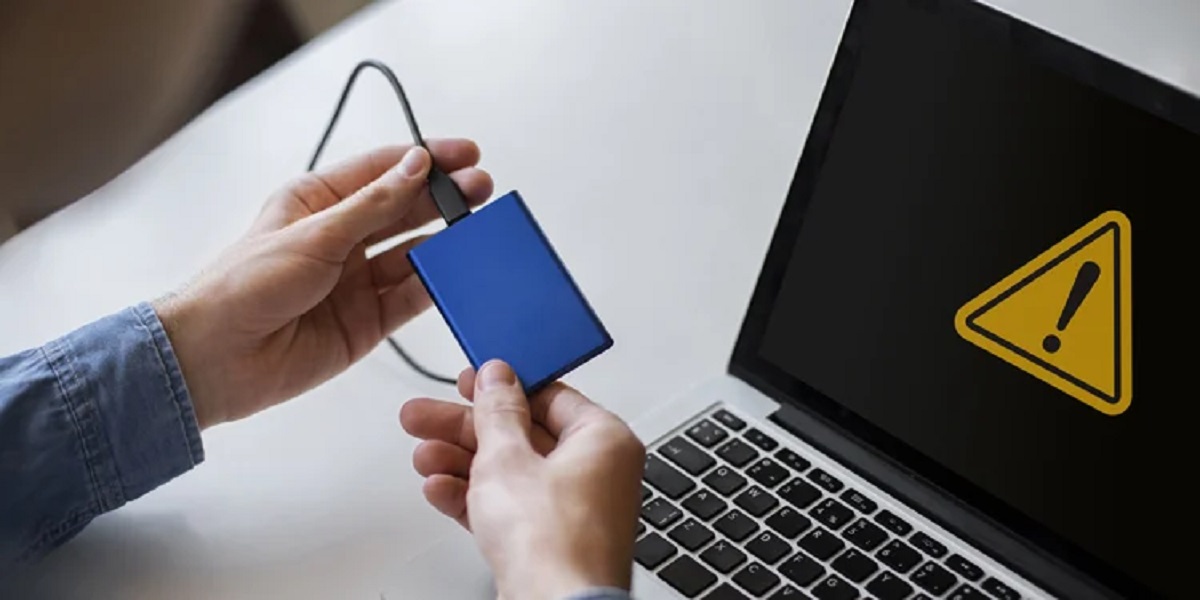
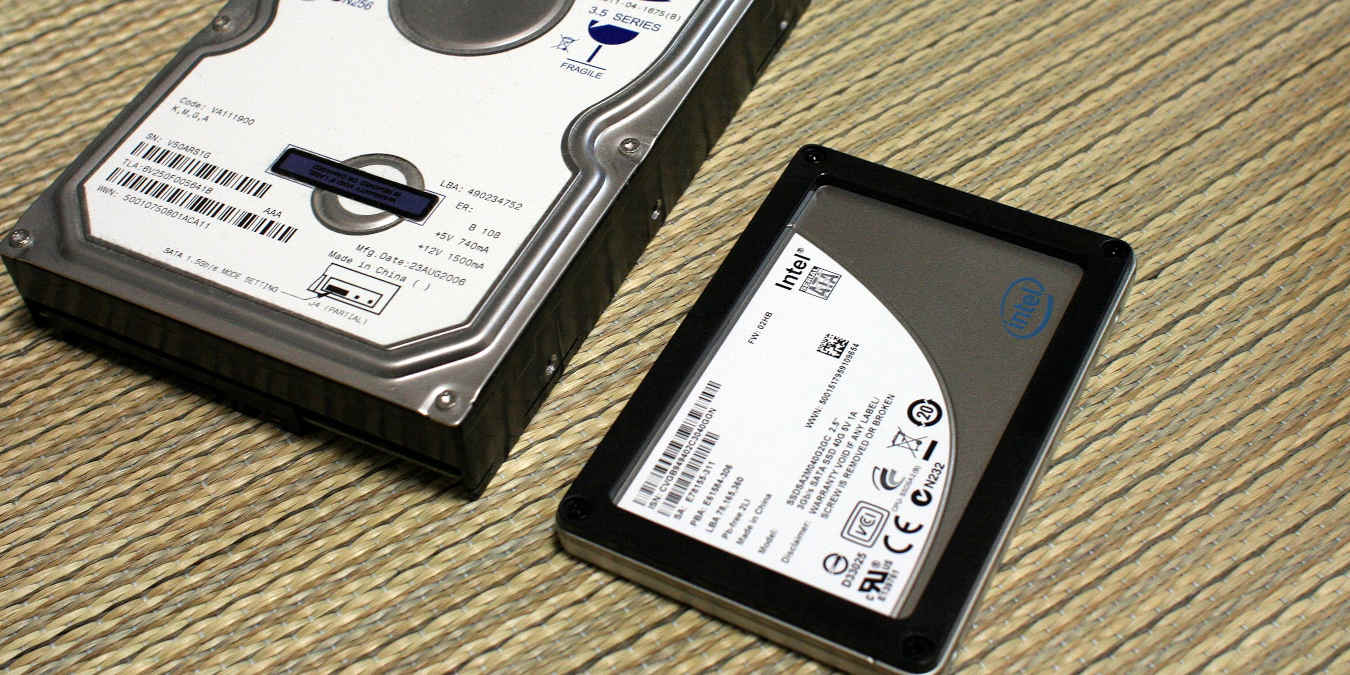
A Solid State Drive (SSD) is a popular storage solution due to its fast performance and reliability. However, like any other electronic device, SSDs can sometimes fail, causing data loss and inconvenience. Fortunately, in many cases, it is possible to recover a failed SSD and retrieve your valuable data.
SSD failures can occur due to various reasons, including physical damage, firmware issues, power related problems, or logical errors. In order to successfully recover a failed SSD, it is important to understand the common causes of failure and take necessary precautions before attempting any recovery methods.
This article will guide you through different methods you can try to recover a failed SSD, starting with simple troubleshooting steps and progressing to more advanced techniques. By following these steps, you may be able to restore access to your data and potentially fix the underlying issues causing the failure.
It’s worth noting that while these methods can be effective in many cases, there may be situations where the damage is too severe or the data loss is irrecoverable. If you have valuable or critical data on your SSD and you’re unable to recover it on your own, it may be necessary to seek professional data recovery services.
Now, let’s explore the common causes of SSD failure and the precautions you should take before attempting any recovery methods.
Common Causes of SSD Failure
Understanding the common causes of SSD failure can help you diagnose the issue and choose the most appropriate recovery method. Here are some of the most common reasons why SSDs fail:
- Physical Damage: SSDs are built with delicate components, and physical damage can occur due to drops, bumps, or excessive heat. Damaged connectors, circuit boards, or memory chips can render the SSD unresponsive or result in data corruption.
- Firmware Issues: Firmware is the software embedded in the SSD that controls its functioning. Outdated or corrupt firmware can cause stability problems or prevent the drive from being recognized by the computer.
- Power Related Problems: Power surges or fluctuations can damage the SSD’s components, leading to failure. Improper handling of the SSD during power on/off cycles, such as sudden disconnections or forceful shutdowns, can also contribute to failure.
- Logical Errors: Logical errors can occur when the file system becomes corrupted or when there are bad sectors on the SSD. This can result from improper shutdowns, sudden power loss, or other software-related issues.
- Overheating: Excessive heat can shorten the lifespan of an SSD and cause performance degradation. If the drive is not adequately cooled or the ventilation in the computer is insufficient, it can lead to failure.
- Manufacturer Defects: Although rare, manufacturing defects can cause SSD failure. These defects are typically covered under warranty, and contacting the manufacturer can help resolve the issue.
Understanding the potential causes of SSD failure is essential for determining the most suitable recovery method. By identifying the root cause, you can avoid potential risks during the recovery process and select the right approach to restore your failed SSD.
Precautions to Take Before Attempting Recovery
Before you begin any recovery attempts on your failed SSD, it is important to take certain precautions to protect your data and avoid further damage to the drive. Here are some essential steps to consider:
- Backup Your Data: If possible, create a backup of your important data before attempting any recovery methods. This way, even if the recovery process fails or causes further damage, you will still have a copy of your data.
- Disconnect Your SSD: If your failed SSD is still connected to your computer, disconnect it immediately. This will prevent any further damage from occurring and ensure that the drive remains in its current state until you are ready to attempt recovery.
- Avoid DIY Repairs: Unless you have expertise in SSD repair, it is recommended to avoid opening or attempting to repair the drive yourself. Doing so can void the warranty, cause irreparable damage, or make the recovery process more challenging for professionals.
- Work in a Clean Environment: If you are attempting any physical troubleshooting or repair, make sure to work in a clean and static-free environment. This will minimize the risk of electrostatic discharge or introducing foreign particles to the SSD, which can cause further damage.
- Seek Professional Help if Necessary: If you are not comfortable or confident in your ability to recover the failed SSD on your own, it is best to seek professional assistance. Professional data recovery services have the necessary expertise and equipment to handle complex SSD failures and maximize the chances of successful recovery.
By following these precautions, you can minimize the risk of data loss or further damage to your failed SSD. Remember that data recovery can be a delicate process, and taking the necessary precautions will increase your chances of a successful recovery.
Method 1: Check Power and Connections
When your SSD fails, the first step is to check the power and connections to ensure that there are no issues with the hardware. Follow these steps to verify the power and connections:
- Check Power Supply: Make sure that the power supply to your computer or external enclosure is functioning properly. Try connecting the SSD to a different power source or using a different power cable to eliminate the possibility of a power-related problem.
- Inspect Data Cable: Examine the data cable that connects your SSD to your computer or external enclosure. Ensure that the cable is securely connected and not damaged. If necessary, try using a different data cable to rule out any problems with the cable itself.
- Try Different Ports: If your SSD is connected internally, try connecting it to a different SATA port on your motherboard. Sometimes, using a different port can resolve issues with the original port that may be causing the failure.
- Test with Another Computer: If possible, connect your SSD to another computer to determine if the issue is specific to your computer or if it is a problem with the SSD itself. If the SSD works on another computer, it indicates that there might be compatibility or driver issues on your original computer.
By checking the power supply, data cable, and trying different ports or computers, you can identify and potentially resolve any power or connection issues that may be causing the SSD failure. If these steps do not solve the problem, proceed to the next method to explore further recovery options.
Method 2: Use Data Recovery Software
If your failed SSD is still recognized by your computer, but you are unable to access your data, using data recovery software can be a viable solution. Follow these steps to recover your data using data recovery software:
- Choose Reliable Software: Research and select reputable data recovery software that is specifically designed for SSDs. Look for software that has positive reviews, supports your file system, and offers SSD-specific recovery features.
- Install and Run the Software: Download and install the data recovery software on a working computer. Connect your failed SSD to the computer as an external drive or via a USB adapter. Launch the software and follow the on-screen instructions to initiate the recovery process.
- Select the SSD for Recovery: Once the software is running, it should detect the connected SSD. Select the SSD as the target device for recovery and choose the types of files you want to recover. You may have the option to select specific file formats or perform a full scan to retrieve all possible files.
- Scan and Recover Data: Start the scanning process to search for recoverable files on the SSD. Depending on the size of the drive and the amount of data stored, this process may take some time. Once the scan is complete, preview the recovered files and select the ones you want to recover. Save the recovered files to a different storage device to prevent overwriting any lost data.
- Repeat or Seek Professional Help: If the software does not recover all of your data, you can try using different data recovery software or consider seeking professional data recovery services. Professional services have specialized tools and techniques to recover data from severely damaged or non-functional SSDs.
Using data recovery software can be an effective method to recover data from a failed SSD. However, it is important to note that successful data recovery depends on the extent of the failure and the condition of the SSD. If you are unable to retrieve your data using software, do not attempt any further troubleshooting without professional guidance.
Method 3: Use a Different Computer
If your failed SSD is not recognized or inaccessible on your current computer, trying the SSD on a different computer can help determine if the issue is specific to your computer or if it is a problem with the SSD itself. Follow these steps to use a different computer for SSD recovery:
- Find a Spare Computer: Locate a spare computer that you can use for testing the failed SSD. It can be a friend’s computer, a family member’s computer, or even a public computer with permission.
- Disconnect Other Drives: If the spare computer already has an operating system installed on its own drive, disconnect that drive temporarily. This will prevent any conflicts or interference with the failed SSD during the testing process.
- Connect the Failed SSD: Connect the failed SSD to the spare computer using the appropriate data and power cables. Make sure the connections are secure.
- Boot and Check Recognition: Power on the spare computer and boot into the operating system. Check if the failed SSD is recognized and accessible on the different computer. If it is, you may be able to recover your data directly from the SSD.
- Backup Your Data: If the failed SSD is detected on the different computer, immediately create a backup of your important data. This way, even if the SSD fails completely later on, you will still have a copy of your data.
- Try Recovery Options: With the failed SSD recognized by the different computer, you can explore different recovery options such as copying your important files to another storage device, using data recovery software specific to SSDs, or seeking professional data recovery services.
Using a different computer can help determine if the issue lies with your original computer or if it is a problem with the failed SSD itself. If the SSD is recognized on the different computer, it opens up possibilities for data recovery. However, if the SSD is still not recognized or accessible, it may indicate a more severe failure that requires advanced recovery techniques.
Method 4: Try a Different SATA/Power Cable
If your failed SSD is not responding or being detected by your computer, there may be an issue with the SATA or power cable connected to the drive. Trying a different cable can help determine if the cable itself is causing the problem. Follow these steps to try a different SATA/power cable:
- Obtain a Replacement Cable: Obtain a known-working SATA data cable and power cable that are compatible with your SSD. You can borrow them from another device or purchase new cables if necessary.
- Disconnect Existing Cables: Carefully disconnect the current SATA data cable and power cable from your failed SSD. Take note of how they were connected for ease of reinstallation later.
- Connect the Replacement Cables: Connect the replacement SATA data cable and power cable to your failed SSD securely. Ensure that they are properly aligned and fully inserted into the respective connectors.
- Power On and Test: Power on your computer and check if the failed SSD is now recognized and accessible. If the SSD is detected, you can proceed with data recovery or other troubleshooting methods.
- Revert or Seek Professional Help: If the failed SSD is still not recognized or accessible after trying different cables, it is recommended to revert to the original cables or consider seeking professional data recovery services. This indicates that the issue may be beyond a cable-related problem.
Trying a different SATA data cable and power cable can help identify if the cables are the cause of the SSD failure. Sometimes, faulty or damaged cables can prevent the SSD from being recognized or cause intermittent connectivity issues. By replacing the cables, you can rule out this potential cause and focus on other recovery options if necessary.
Method 5: Attempt a Firmware Update
If your failed SSD is experiencing stability issues or is not being recognized by your computer, performing a firmware update may help resolve the problem. Firmware updates can address compatibility issues, improve performance, and fix bugs. Here is how you can attempt a firmware update on your SSD:
- Check Manufacturer’s Website: Visit the website of your SSD manufacturer and navigate to the support or downloads section. Look for firmware updates specifically designed for your SSD model.
- Read Firmware Release Notes: Before proceeding with the firmware update, carefully review the release notes provided by the manufacturer. This will inform you of any specific instructions or prerequisites for the update and help you determine if the update addresses the issues you are experiencing.
- Backup Your Data: Before performing any firmware update, it is essential to back up your data to ensure its safety in case of any unforeseen issues during the update process. This step prevents the risk of data loss in the event of a failed update.
- Download and Install Firmware Utility: Download the firmware update utility provided by the manufacturer. Follow the instructions provided to install the utility on your computer.
- Connect and Update: Connect your failed SSD to your computer using the appropriate data and power cables. Open the firmware update utility and select your SSD as the target device. Follow the on-screen instructions to initiate the firmware update process.
- Wait for Completion: Allow the firmware update process to complete. This may take a few minutes. Do not interrupt or power off your computer during the update, as this can cause irreversible damage to your SSD.
- Reboot and Test: After the firmware update is successfully completed, restart your computer and check if the SSD is now recognized and functioning properly. Test its performance and stability to ensure the firmware update resolved the previous issues.
- Seek Professional Help: If the firmware update does not fix the issue or if the firmware update process fails, it is recommended to seek professional help or contact the SSD manufacturer’s support for further assistance. They may be able to provide additional guidance or offer alternative solutions to recover your SSD.
Performing a firmware update can help resolve stability issues and improve the performance of your SSD. However, it is crucial to follow the manufacturer’s instructions carefully and backup your data before proceeding. If the firmware update does not resolve the issue, it is best to explore other recovery methods or seek professional assistance.
Method 6: Perform a Secure Erase
If your failed SSD is experiencing persistent issues or is not being recognized, performing a secure erase can be a potential solution. Secure erase is a process that clears all data on the SSD and restores it to its factory default state. Here is how you can perform a secure erase on your SSD:
- Backup Your Data: Before proceeding with a secure erase, backup any important data on the SSD to prevent permanent loss.
- Identify the Manufacturer’s Tool: Research and download the secure erase utility provided by your SSD manufacturer. Visit their website and look for the appropriate utility specifically designed for your SSD model.
- Create Bootable Media: Follow the manufacturer’s instructions to create a bootable USB drive or CD/DVD containing the secure erase utility. This media will be used to boot your computer and perform the secure erase.
- Boot from the Media: Connect the bootable media to your computer and restart it. Access your computer’s BIOS/UEFI settings and set the boot priority to the media containing the secure erase utility. Save the changes and restart the computer.
- Perform Secure Erase: Boot your computer from the media and run the secure erase utility. Select the SSD you wish to erase and follow the prompts carefully. This process will permanently erase all data on the SSD, so double-check that you have made a backup of your important files.
- Wait for Completion: Allow the secure erase process to complete. This may take some time depending on the size of the SSD. During the process, do not interrupt or power off your computer to prevent any potential damage.
- Reboot and Reinstall Operating System: After the secure erase is successfully completed, remove the bootable media and reboot your computer. You will need to reinstall the operating system and restore your data from the backup you made earlier.
- Confirm Recognition and Performance: Once the operating system is reinstalled, check if the SSD is now recognized and functioning properly. Monitor its performance and stability to ensure that the secure erase resolved the previous issues.
- Seek Professional Help: If performing a secure erase does not solve the problem or if the SSD remains inaccessible, it is advisable to seek professional assistance or contact the SSD manufacturer’s support for further guidance.
Performing a secure erase can help eliminate persistent issues and restore your SSD to its factory default state. However, it is crucial to back up your data before proceeding, as the process will permanently erase all data on the SSD. If the secure erase does not resolve the issue, it is best to consider other recovery methods or consult with a professional for further assistance.
Method 7: Utilize Professional Data Recovery Services
If all the methods mentioned above fail to recover your failed SSD, or if you are not comfortable performing the recovery steps on your own, it may be time to seek professional data recovery services. Professional data recovery specialists have the knowledge, experience, and specialized equipment to recover data from severely damaged SSDs. Here’s what you should consider when utilizing professional data recovery services:
- Research Reputable Data Recovery Companies: Look for reputable data recovery companies that specialize in SSD recovery. Read customer reviews, check their success rate, and ensure that they have experience with the specific model and type of SSD you have.
- Contact Multiple Companies for Quotes: Reach out to several data recovery companies and request quotes for their services. Inquire about their process, the estimated time required for recovery, and the cost involved.
- Evaluate the Data Recovery Process: Determine the recovery process each company follows. Look for companies that have cleanrooms to prevent further damage to the SSD, employ skilled technicians, and prioritize data privacy and security.
- Consider Data Confidentiality: Data recovery companies should have strict policies in place to protect the confidentiality of your data. Inquire about their data security measures, confidentiality agreements, and compliance with relevant regulations.
- Weigh the Cost and Success Rate: Evaluate the cost of data recovery services against the value of the data you need to recover. Take into consideration the success rate of the company and whether they offer a “no recovery, no fee” policy.
- Provide Relevant Information: When engaging a professional data recovery service, provide them with as much relevant information about the SSD failure as possible. This can include the steps you have taken, error messages encountered, and any specific circumstances surrounding the failure.
- Follow Instructions from the Recovery Service: Once you have chosen a data recovery company, carefully follow their instructions for shipping the failed SSD to their facility. Safely package the SSD to prevent further damage during transit.
- Review Recovered Data and Payment Policy: After the data recovery service completes the recovery process, carefully review the recovered data to ensure its integrity and completeness. Discuss the payment policy and only proceed with the payment if you are satisfied with the recovered data.
Professional data recovery services can be a last resort when all other attempts to recover your failed SSD have been unsuccessful. While these services come at a cost, they offer the expertise and advanced tools necessary to recover data from even the most challenging SSD failures. Take the time to research and select a reputable data recovery company to increase the chances of a successful recovery.
Conclusion
Recovering a failed Solid State Drive (SSD) can be a challenging task, but it is not impossible. By following the methods outlined in this guide, you can increase your chances of recovering your valuable data and getting your SSD back in working condition.
We started by understanding the common causes of SSD failure, which include physical damage, firmware issues, power-related problems, logical errors, overheating, and manufacturer defects. Identifying the root cause is crucial for determining the appropriate recovery method.
Before attempting any recovery methods, it is important to take precautions to protect your data and avoid further damage to the SSD. These precautions include backing up your data, disconnecting the SSD, avoiding DIY repairs, working in a clean environment, and seeking professional help if necessary.
Next, we explored various recovery methods, including checking power and connections, using data recovery software, trying a different computer, using a different SATA/power cable, attempting a firmware update, performing a secure erase, and utilizing professional data recovery services.
Each method provides a different approach to recovering a failed SSD, depending on the specific situation. It is important to follow the steps carefully and evaluate the results before proceeding to the next method.
In cases where the DIY recovery methods are unsuccessful or if you feel uncomfortable performing the recovery steps on your own, professional data recovery services can provide expertise and advanced techniques to recover data from severely damaged SSDs.
It is worth emphasizing that prevention is always better than recovery. Regularly backing up your data and taking proactive measures to maintain the health and stability of your SSD can help minimize the risk of failure and data loss.
In conclusion, recovering a failed SSD requires patience, caution, and the willingness to seek professional assistance when necessary. By following the methods outlined in this guide and considering the specific circumstances of your SSD failure, you can increase the likelihood of a successful recovery and regain access to your valuable data.