Introduction
Welcome to our comprehensive guide on how to record credit card payments in QuickBooks Online. Managing your credit card accounts effectively is crucial for maintaining accurate financial records and ensuring the smooth operation of your business. QuickBooks Online offers a user-friendly platform that streamlines the process of recording credit card transactions and payments.
In this guide, we will walk you through the step-by-step process of setting up a credit card account, connecting it to QuickBooks Online, recording credit card charges, entering credit card payments, and reconciling your credit card transactions. Whether you are a small business owner or an accounting professional, this guide will equip you with the knowledge and skills necessary to manage your credit card accounts efficiently.
By accurately recording credit card payments in QuickBooks Online, you will gain better insights into your cash flow, track your expenses more effectively, and ensure that your financial statements are up to date. We understand that the process of recording credit card payments can sometimes be confusing, but fear not! This guide will simplify the process and provide clear instructions for each step.
Throughout this guide, we will provide detailed instructions, screenshots, and tips to help you navigate the process smoothly. We will also troubleshoot common issues that may arise along the way. Whether you are new to QuickBooks Online or seeking to enhance your knowledge, this guide is your go-to resource.
So, let’s dive in and explore the best practices for recording credit card payments in QuickBooks Online. By the end of this guide, you will be equipped with the tools and knowledge to manage your credit card accounts effectively and streamline your financial record-keeping process.
Step 1: Set up a credit card account in QuickBooks Online
Before you can record credit card payments in QuickBooks Online, you need to set up a credit card account. By creating a dedicated account for each of your credit cards, you can easily track your expenses and payments associated with each card. Follow the steps below to set up a credit card account:
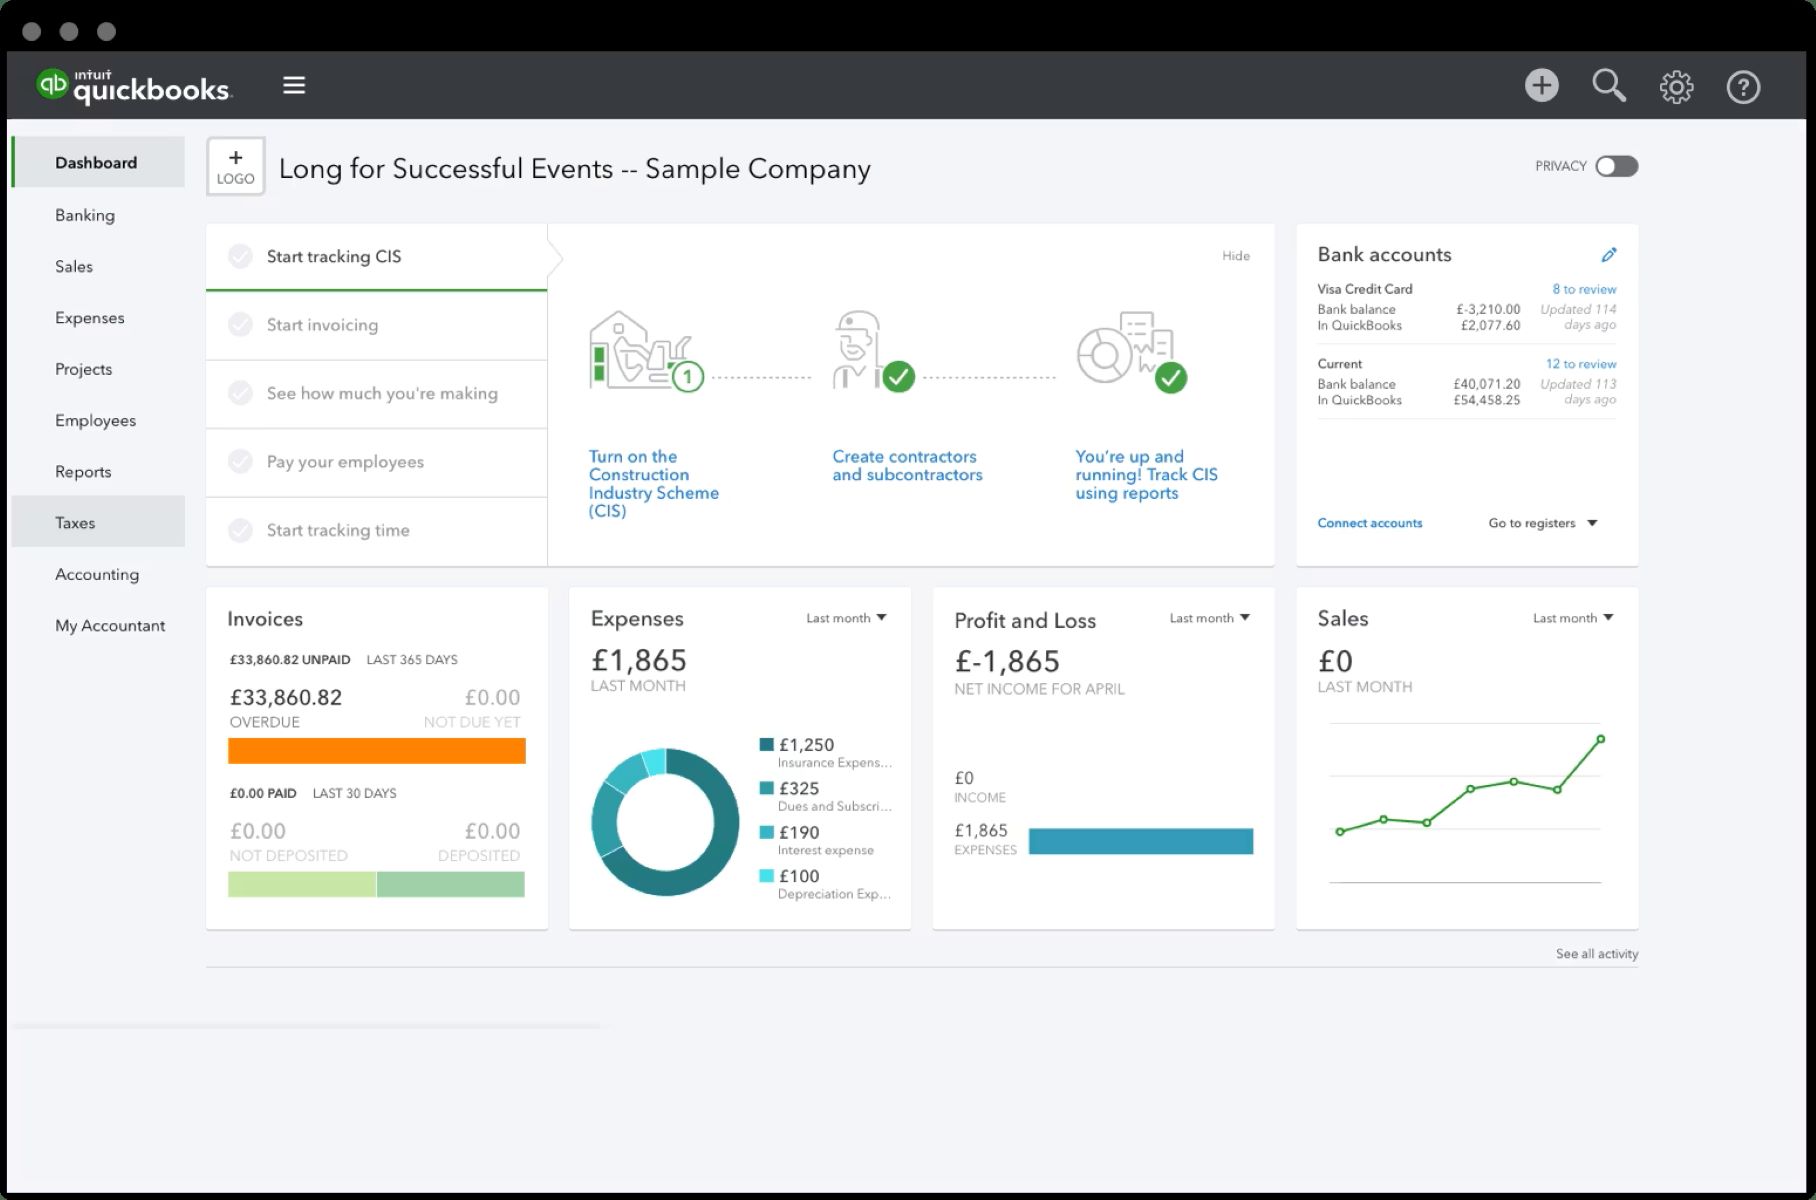
- Log in to your QuickBooks Online account and navigate to the dashboard.
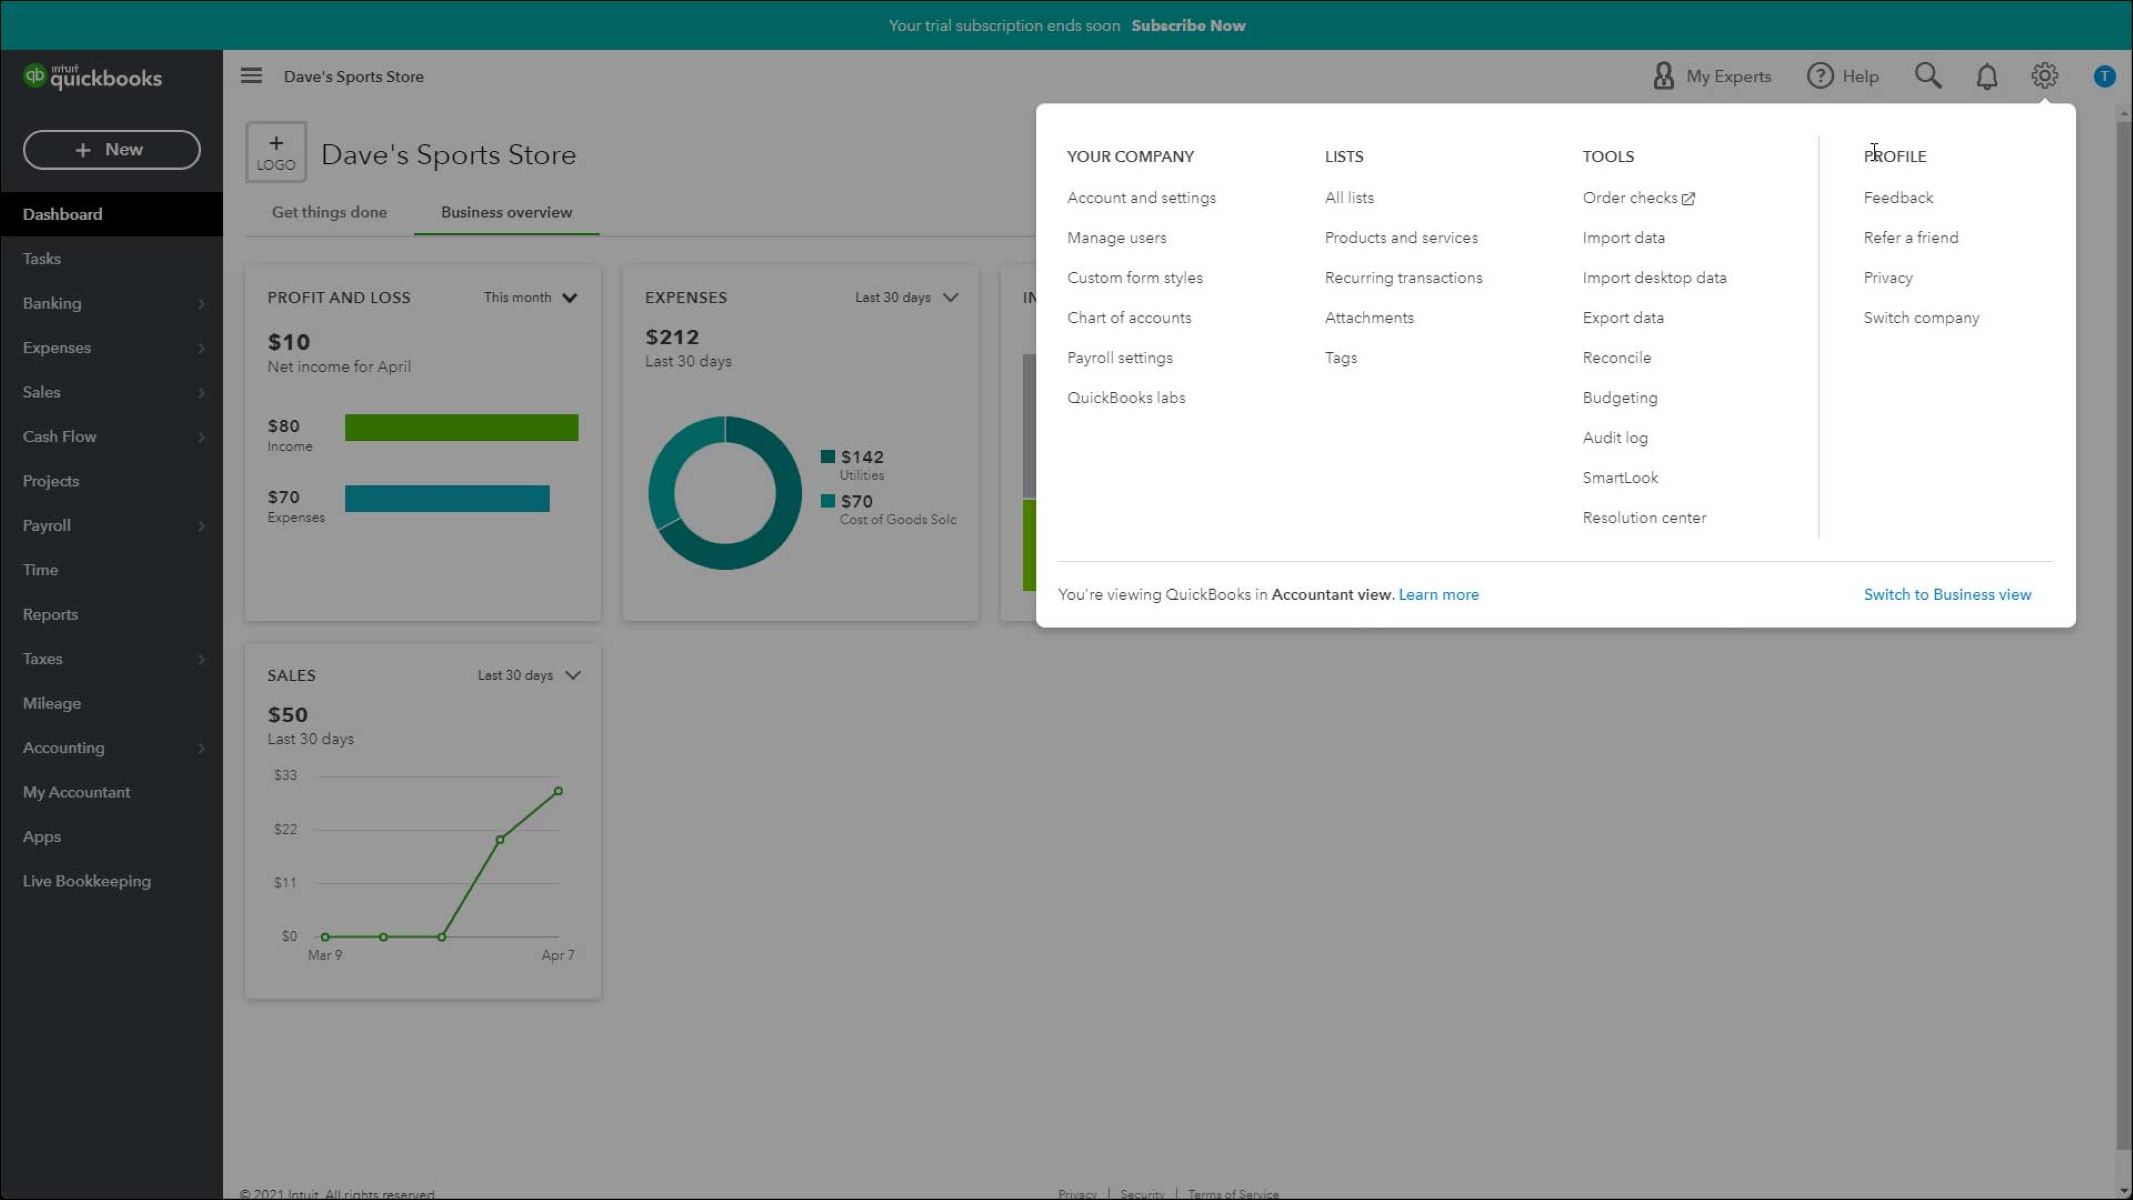
- Click on the “Accounting” tab on the left-hand side menu and select “Chart of Accounts.”
- On the Chart of Accounts page, click on the “New” button located in the upper right corner.
- Choose the appropriate account type for your credit card (usually “Credit Card”).
- Enter a unique name for the credit card account, such as “Visa” or “Mastercard.”
- Assign an account number or keep it blank if you prefer.
- Fill in the other required information, such as the description and the opening balance (if applicable).
- Click “Save and Close” to create the credit card account.
Once you have set up your credit card account, it will be listed within your chart of accounts. From here, you can easily access the account to record credit card charges and payments.
It’s important to note that you should create a separate credit card account for each individual credit card you use for business purposes. This allows you to accurately track expenses and payments associated with each card.
Now that you have successfully set up a credit card account in QuickBooks Online, you are ready to move on to the next step: connecting your credit card account to QuickBooks Online.
Step 2: Connect your credit card account to QuickBooks Online
Once you have set up your credit card account in QuickBooks Online, the next step is to connect it to your actual credit card account. This will allow QuickBooks Online to import your credit card transactions automatically, saving you time and ensuring accuracy in your records. Follow these steps to connect your credit card account:
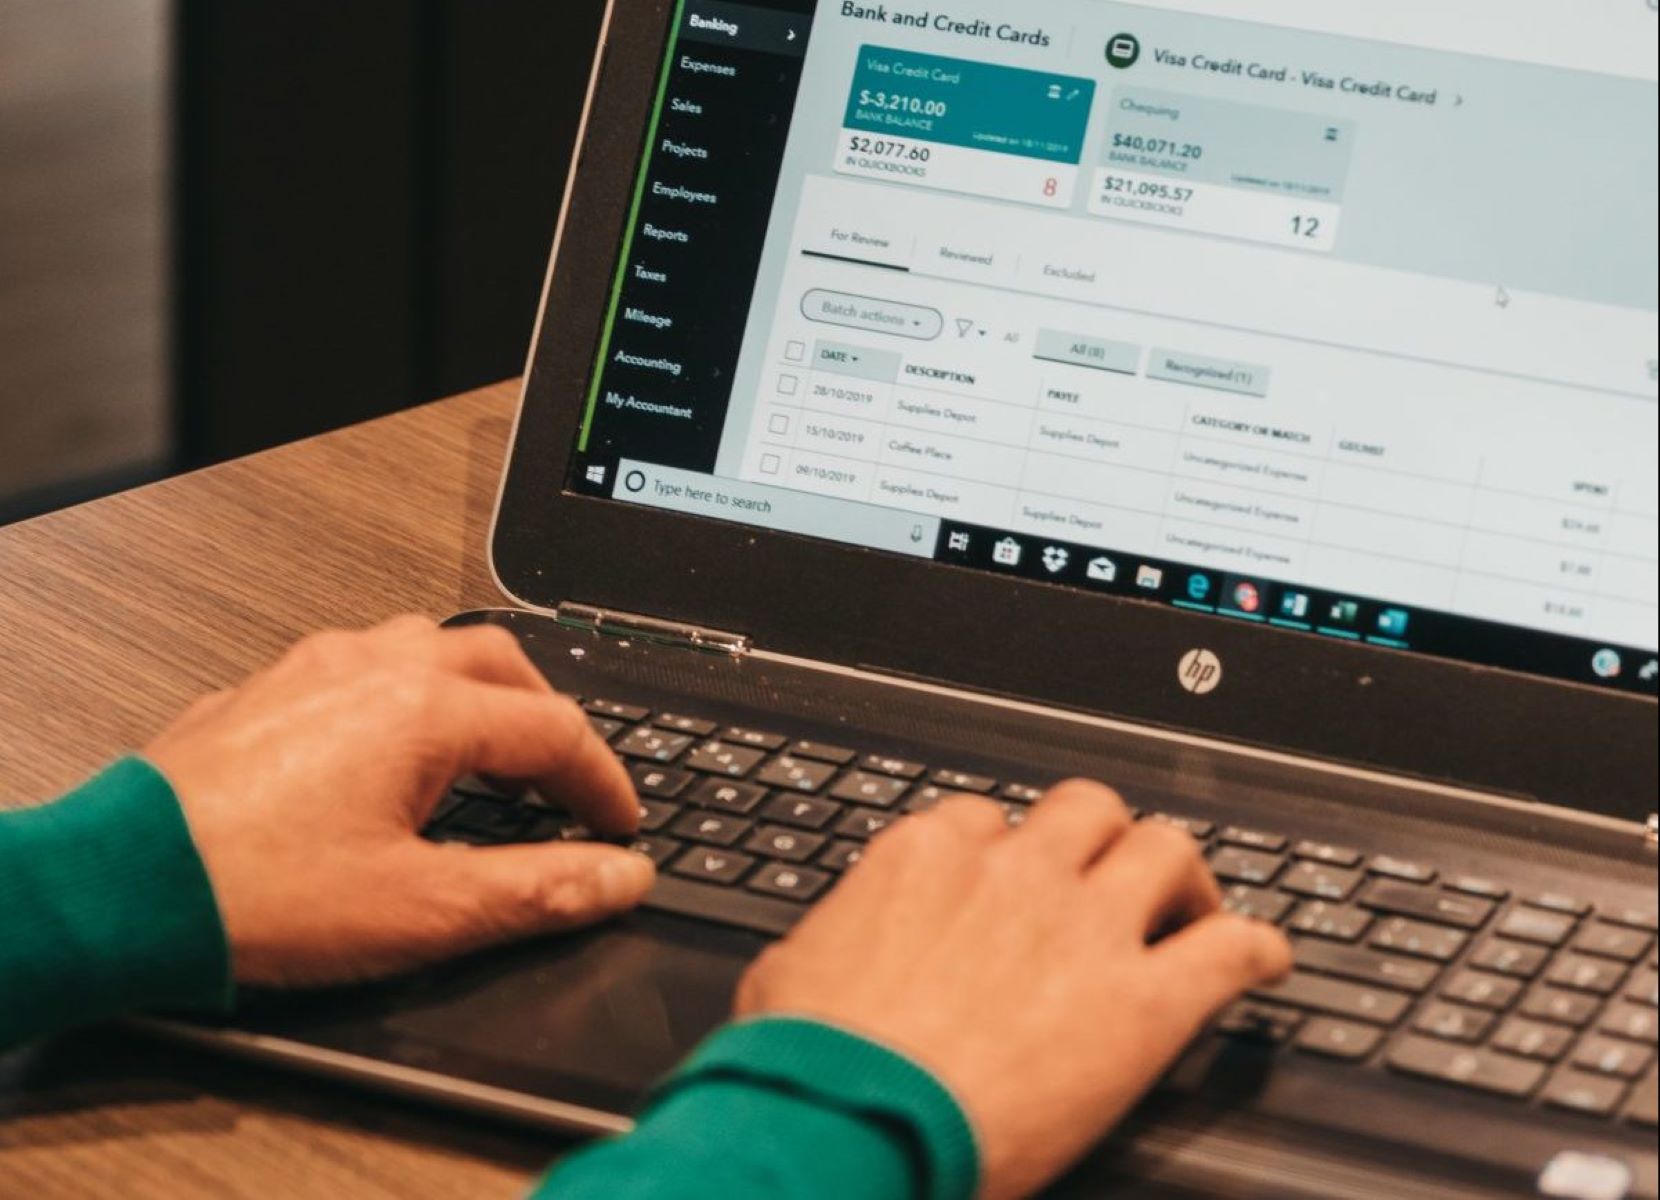
- From the dashboard in QuickBooks Online, click on the “Banking” tab on the left-hand side menu.
- In the Banking section, click on the “Add Account” button in the upper right corner.
- A search box will appear. Enter the name of your credit card provider (e.g., Chase, American Express) and click the appropriate suggestion when it appears on the list.
- Next, you will need to sign in to your credit card account using your login credentials.
- Follow the instructions provided by your credit card provider to authorize QuickBooks Online to access your credit card account.
- Once authorized, QuickBooks Online will establish a secure connection with your credit card account and import your transactions automatically.
It’s worth noting that QuickBooks Online can only import transactions from the date the connection was established. Any transactions made prior to the connection being created will need to be entered manually.
After connecting your credit card account, it may take a few minutes or a couple of hours for QuickBooks Online to import your transactions. You can check the progress by clicking on the “Banking” tab and selecting the account you just connected. Once your transactions are imported, they will be available for you to review and categorize.
Connecting your credit card account to QuickBooks Online not only saves you time but also improves the accuracy of your financial records. With automated transaction imports, you can easily reconcile your credit card transactions and ensure that your books are up to date.
Now that you have successfully connected your credit card account to QuickBooks Online, you are ready to move on to the next step: recording credit card charges.
Step 3: Record credit card charges
Recording credit card charges in QuickBooks Online is an essential step in keeping accurate financial records and tracking your expenses. By following the steps below, you can ensure that all credit card charges are properly recorded:
- From the dashboard in QuickBooks Online, click on the “+ New” button located in the upper right corner.
- Select “Expense” from the drop-down menu.
- In the “Payee” field, enter the name of the vendor or supplier from whom you made the purchase.
- If the vendor is not already in your QuickBooks Online vendor list, you can add them by clicking the “+ Add” link next to the “Payee” field.
- In the “Payment account” field, select the appropriate credit card account that you want to track the charge under.
- Enter the amount of the charge in the “Amount” field.
- Select the appropriate expense category for the charge.
- You can add a memo or additional notes in the “Memo” field if desired, though it is optional.
- Attach any relevant documents, such as receipts or invoices, by clicking the “Attach File” button.
- Click “Save and close” to record the credit card charge.
By following these steps, you can record credit card charges in QuickBooks Online accurately. It’s important to categorize each charge correctly to ensure that your expense reports and financial statements are accurate. QuickBooks Online also allows you to split charges among different expense categories if necessary, which is helpful when a single charge includes multiple expense items.
It’s worth noting that if you made a credit card purchase that includes both business and personal expenses, you should only record the portion of the charge that is related to your business. Personal expenses should not be recorded in QuickBooks Online as they can distort your financial reports.
With this step complete, your credit card charges are accurately recorded in QuickBooks Online. Next, let’s move on to step 4: recording credit card payments.
Step 4: Record credit card payments
Recording credit card payments in QuickBooks Online is crucial for maintaining accurate financial records and tracking your outstanding balances. Follow the steps below to record credit card payments:
- From the dashboard in QuickBooks Online, click on the “+ New” button located in the upper right corner.
- Select “Expense” from the drop-down menu.
- In the “Payee” field, enter the name of the credit card company or bank that issued the credit card.
- Choose the appropriate payment account, typically the bank account from which you made the payment.
- Enter the payment amount in the “Amount” field.
- Now, select the credit card account under “Category” so that the payment is applied to the correct credit card balance.
- Any necessary date adjustments can be made in the “Payment Date” field. By default, QuickBooks Online will populate the current date.
- Click “Save and close” to record the credit card payment.
When recording credit card payments, it’s crucial to ensure that the payment is categorized using the appropriate credit card account. This ensures that the payment is applied correctly and reduces discrepancies in your financial reports.
If you made a payment that covers multiple credit card accounts, you can split the payment among the various credit card accounts. Simply click on the “Split” button and allocate the payment amount to each credit card account accordingly.
It’s worth noting that you should record credit card payments as soon as they are made to keep your records accurate and up to date. This will also help you reconcile your credit card balances with your bank statements more efficiently.
With this step complete, your credit card payments are accurately recorded in QuickBooks Online. Now, let’s move on to step 5: reconciling your credit card transactions.
Step 5: Reconcile your credit card transactions
Reconciling your credit card transactions in QuickBooks Online is a vital step to ensure the accuracy of your financial records and identify any discrepancies or errors. By following the steps below, you can effectively reconcile your credit card transactions:
- From the dashboard in QuickBooks Online, click on the “Accounting” tab on the left-hand side menu.
- Select “Chart of Accounts.”
- Locate and click on the credit card account you want to reconcile.
- Click on the “Reconcile” button located next to the account name.
- Enter the statement date and ending balance from your credit card statement.
- Review the transactions displayed in QuickBooks Online against the transactions listed on your credit card statement.
- Place a checkmark next to each transaction that matches the transactions on your statement.
- If there are any transactions that don’t match or are missing, investigate and adjust them accordingly.
- Once all transactions are checked and reconciled, click on the “Finish Now” button to complete the reconciliation.
During the reconciliation process, QuickBooks Online will automatically calculate the “Difference” between the statement balance and the QuickBooks balance based on the checked transactions. This “Difference” should ideally be zero if all transactions are accurately recorded and reconciled.
If the “Difference” is not zero, it indicates that there may be discrepancies between your credit card statement and your QuickBooks transactions. In such cases, carefully review the transactions and compare them to your credit card statement to identify any errors or missing entries.
It’s recommended to reconcile your credit card transactions regularly, preferably on a monthly basis. This ensures that your credit card balances are accurate and up to date, allowing you to monitor your expenses and identify any fraudulent activities or discrepancies promptly.
By successfully reconciling your credit card transactions in QuickBooks Online, you can have confidence in the accuracy of your financial records and make informed financial decisions for your business.
Congratulations! You have now completed all the steps necessary to record credit card payments and reconcile your credit card transactions in QuickBooks Online. Following these steps will help you effectively manage your credit card accounts and maintain accurate financial records for your business.
Conclusion
Managing credit card payments and transactions is a crucial aspect of maintaining accurate financial records for your business. QuickBooks Online provides a user-friendly platform that simplifies the process of recording credit card charges, entering payments, and reconciling transactions.
In this comprehensive guide, we have walked you through the step-by-step process of setting up a credit card account, connecting it to QuickBooks Online, recording credit card charges, entering credit card payments, and reconciling your credit card transactions. By following these steps, you can effectively track your credit card expenses, monitor your cash flow, and ensure the accuracy of your financial records.
Remember to set up a separate credit card account for each individual card you use for business purposes. This allows you to accurately track expenses and payments associated with each card.
Connecting your credit card account to QuickBooks Online enables the automatic import of transactions, saving you time and reducing errors. Make sure to record credit card charges with the correct payee, payment account, and expense category to keep your records organized.
Recording credit card payments in QuickBooks Online ensures that your outstanding balances are accurately tracked and reconciled. Splitting payments among multiple credit card accounts is possible, providing flexibility for various payment scenarios.
Lastly, reconciling your credit card transactions regularly helps identify any discrepancies or errors and ensures the accuracy of your financial records. Carefully review transactions and reconcile them against statements to maintain financial integrity.
By following these best practices and utilizing QuickBooks Online, you can streamline credit card management, gain better insights into your business’s financial health, and make informed decisions based on accurate data.
We hope this guide has empowered you with the knowledge and skills necessary to effectively record credit card payments in QuickBooks Online. Remember that managing your credit card accounts efficiently is essential for maintaining a healthy and thriving business.
Thank you for choosing QuickBooks Online as your financial management solution!


