Introduction
Welcome to this guide on how to put Windows on an external hard drive. In today’s digital age, the demand for portable and flexible solutions is ever-increasing. Whether you need to work on multiple computers, want a backup for your operating system, or simply want to carry your personalized Windows setup with you, installing Windows on an external hard drive can be a great solution.
By having Windows on an external hard drive, you can enjoy the convenience of using your preferred operating system on any computer without making any permanent changes to the host machine. It gives you the flexibility to work or play on your own personalized setup while using different devices.
There are several benefits to using an external hard drive for Windows. Firstly, it offers portability, allowing you to carry your operating system and all your important files with you wherever you go. This is especially useful for professionals who need to work on multiple computers or students who want to access their work and study materials from various locations. Secondly, it provides an extra layer of security and backup. By having Windows on an external hard drive, you can easily recover your operating system in case of a computer crash or malware attack. Lastly, it allows you to have a separate installation of Windows for specific purposes, such as gaming or multimedia editing, without cluttering up your main system.
Before embarking on the journey of installing Windows on an external hard drive, there are a few things to consider. Firstly, make sure the external hard drive you choose has sufficient storage capacity to accommodate the Windows installation files and any additional software you plan to install. Secondly, check the system requirements for the version of Windows you wish to install to ensure compatibility with the host machine. Finally, keep in mind that installing Windows on an external hard drive may slightly impact the performance compared to running it directly from the computer’s internal storage.
In the upcoming sections, we will guide you through the step-by-step process of putting Windows on an external hard drive, from selecting the right external hard drive to finalizing the installation. So let’s dive in and unlock the flexibility and convenience of having Windows on an external hard drive!
Benefits of using an external hard drive for Windows
There are several compelling reasons why you should consider using an external hard drive for your Windows installation. Let’s explore some of the key benefits:
- Portability: One of the biggest advantages of having Windows on an external hard drive is the ability to carry your operating system with you. You can easily plug in your external hard drive into any compatible computer and boot into your personalized Windows setup. This is particularly useful for professionals who frequently work on different machines or students who need access to their files and applications wherever they go.
- Flexibility: By installing Windows on an external hard drive, you gain the flexibility to use your preferred operating system on any computer without making any permanent changes to the host machine. This means that you can enjoy the familiarity and customization of your own Windows setup, complete with your preferred applications, settings, and files, regardless of the device you’re using.
- Backup and Security: Having Windows on an external hard drive provides an additional layer of backup and security. In the event of a computer crash, hardware failure, or malware attack, your important files and applications will remain safe on the external hard drive. You can easily recover your operating system and data by connecting the external hard drive to a new computer or repairing the existing one.
- Separate Installation: Another advantage of using an external hard drive for Windows is the ability to have a separate installation for specific purposes. For example, you can create a separate Windows setup focused on gaming, multimedia editing, or specialized work applications. This allows you to keep your main system clean and optimized for your everyday tasks, while having a dedicated installation for your specific needs.
- Easy Upgrades and Maintenance: Installing Windows on an external hard drive simplifies the process of upgrading or changing your operating system. If you want to try out a new version of Windows or switch to a different operating system, you can simply connect the external hard drive to your desired machine and boot into the new setup. It eliminates the need to reinstall Windows on the computer’s internal storage.
Overall, using an external hard drive for Windows offers unparalleled portability, flexibility, backup, and customization options. It allows you to take your personalized operating system with you wherever you go, streamline your workflow across multiple computers, and secure your important files and applications. Furthermore, it provides the flexibility to have separate installations for different purposes without interfering with your main system. By harnessing the power of an external hard drive, you can unlock a world of convenience and efficiency in your computing experience.
Things to consider before starting
Before you embark on the process of installing Windows on an external hard drive, there are a few important factors to consider:
- Storage Capacity: Ensure that the external hard drive you choose has sufficient storage capacity to accommodate the Windows installation files, as well as any additional software, applications, and files you plan to have on your Windows setup. It is recommended to select an external hard drive with ample storage space to avoid running into storage limitations in the future.
- System Requirements: Check the system requirements for the version of Windows you wish to install on the external hard drive. Ensure that the host computer meets these requirements to ensure compatibility and optimal performance. Additionally, consider the specific hardware requirements for any specialized software or applications you intend to use on your Windows installation.
- Performance Impact: Keep in mind that running Windows from an external hard drive may have a slight impact on performance compared to running it directly from the computer’s internal storage. The speed of the external hard drive, as well as the connection type (such as USB 3.0 or Thunderbolt), can affect the data transfer rate and overall performance. While newer external hard drives offer faster speeds, it’s important to manage your expectations and ensure that the performance meets your needs.
- Data Backup: Prior to installing Windows on an external hard drive, it’s crucial to backup all your important files and data from the host computer. While the installation process should not affect the computer’s internal storage, it’s always recommended to be cautious and have a secure backup to protect against any unexpected issues or data loss.
- External Power Supply: Some external hard drives may require external power to function properly. Ensure that you have access to an adequate power supply, such as a power outlet or a powered USB hub, if needed. This will ensure that the external hard drive receives sufficient power to perform reliably during the installation and usage process.
- Software Compatibility: Consider the compatibility of any third-party software applications or drivers that you plan to install on your Windows setup. Verify that they are compatible with the version of Windows you intend to use. In some cases, you may need to find updated versions or alternative software that is compatible with your chosen Windows installation.
By taking these factors into account, you can ensure a smoother installation process and a better overall experience with Windows on your external hard drive. It’s important to plan and prepare adequately to avoid any potential issues or complications that may arise during or after the installation.
Requirements for installing Windows on an external hard drive
Before you begin the process of installing Windows on an external hard drive, make sure you have the following requirements in place:
- External Hard Drive: You will need an external hard drive with sufficient storage capacity to accommodate the Windows installation files and any additional software or files you plan to have on your Windows setup. It is recommended to have at least 64GB of storage space to ensure a smooth installation process and allow for future updates and software installations.
- Windows Installation Media: Obtain a copy of the Windows installation media, such as an ISO file or a bootable USB drive. You can download the ISO file directly from the Microsoft website or create a bootable USB drive using the Media Creation Tool provided by Microsoft. The installation media is required to install Windows on the external hard drive.
- Host Computer: You will need access to a computer that meets the minimum system requirements for the version of Windows you wish to install. This computer will be used to prepare the external hard drive, configure the BIOS settings, and perform the initial installation of Windows on the external hard drive.
- Internet Connection: An internet connection is recommended to download the necessary drivers and updates during the installation process. This will ensure that your Windows installation is up-to-date and running smoothly. Additionally, having an internet connection will allow you to activate Windows and download any essential software or applications directly to your external hard drive.
- Backup and Recovery: Before proceeding with the installation, it’s highly recommended to back up all important files and data from the host computer. While the installation process should not affect the computer’s internal storage, having a backup ensures that your data is safe in case of any unforeseen issues or complications during the installation process.
- Knowledge and Patience: Installing Windows on an external hard drive requires some technical knowledge and patience. It is advisable to have a good understanding of the installation process and be comfortable with BIOS settings and disk management. Take your time to carefully follow the instructions and ensure a successful installation.
By ensuring that you have these requirements in place, you can proceed confidently with installing Windows on your external hard drive. Having the necessary hardware, software, and knowledge will set you up for a smooth and successful installation process.
Step 1: Selecting the right external hard drive
Choosing the right external hard drive is crucial for successfully installing Windows and ensuring optimal performance. Here are some factors to consider when selecting an external hard drive:
- Storage Capacity: The first consideration is the storage capacity of the external hard drive. Ensure that it has enough space to accommodate the Windows installation files, applications, and any other files you plan to have on your Windows setup. It’s generally recommended to choose an external hard drive with at least 64GB of storage space to allow for future updates and installation of additional software.
- Speed and Data Transfer Rate: The speed of the external hard drive can directly affect the performance of Windows. Look for an external hard drive that offers fast data transfer rates to ensure smooth operations. Consider solid-state drives (SSDs) or external hard drives with USB 3.0 or Thunderbolt connectivity for faster data transfer speeds.
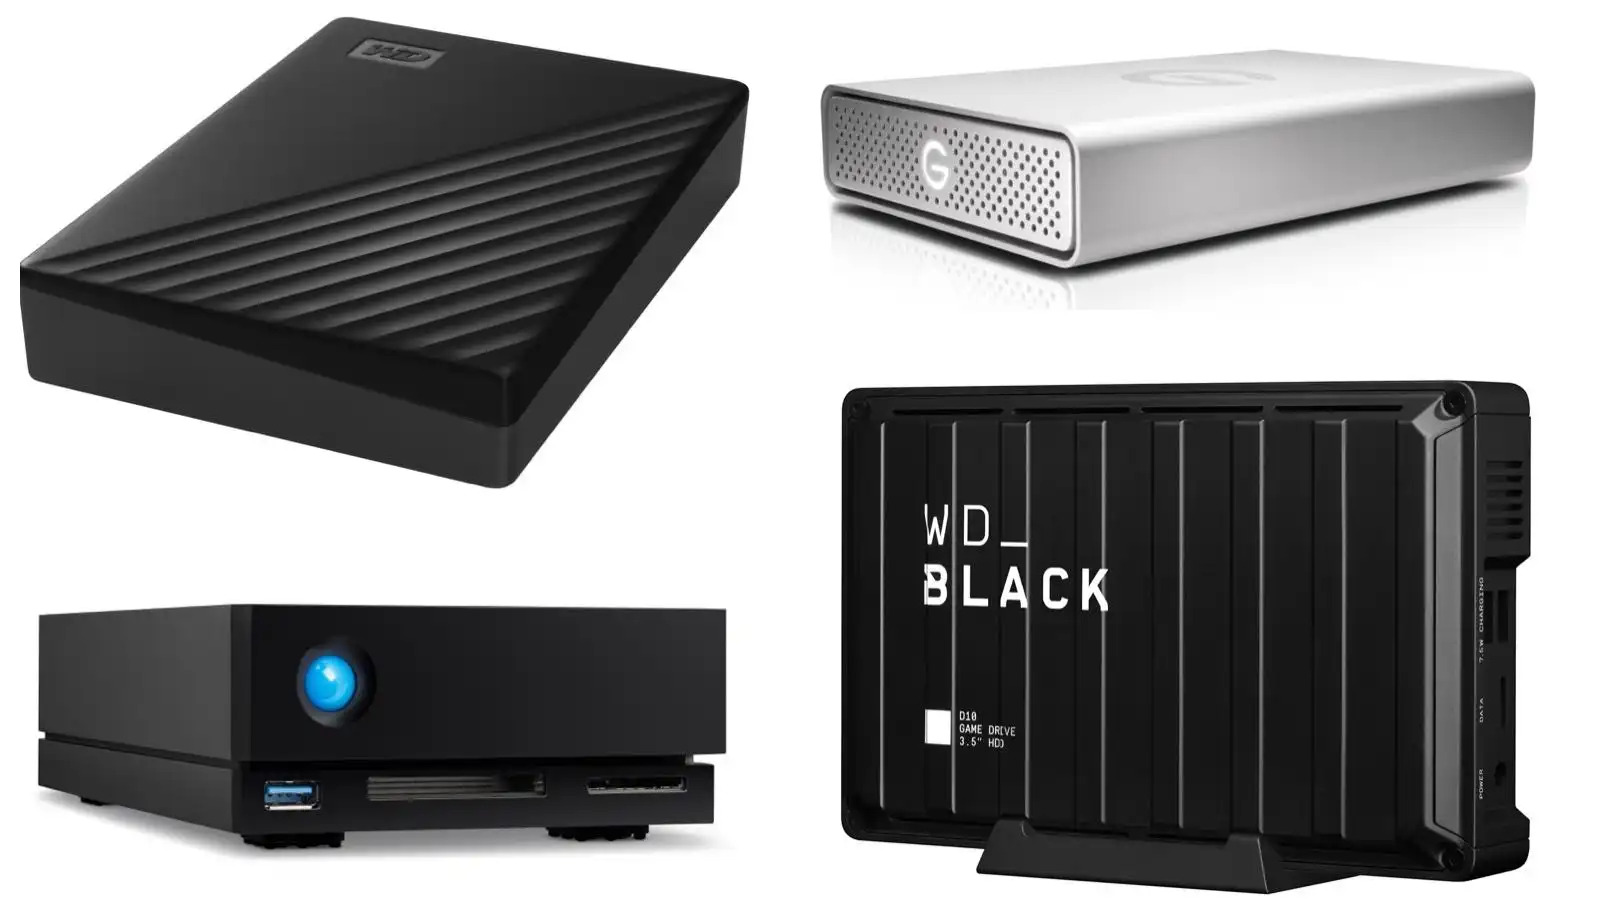
- Reliability and Durability: Ensure that the external hard drive you choose is reliable and durable. Look for reputable brands known for producing high-quality and long-lasting storage devices. It’s important to have a reliable external hard drive to ensure the safety of your data and prevent any unexpected failures or crashes.
- Compatibility: Verify that the external hard drive is compatible with the host computer where you plan to install Windows. Check for compatibility with the operating system, available ports, and connection types. Ensure that the external hard drive is compatible with the USB ports on the computer or has the necessary adapters to connect to the host machine.
- Power Source: Some external hard drives draw power from the host computer, while others require external power sources. Consider your preferred power setup and choose an external hard drive accordingly. If you plan to use the external hard drive with multiple devices or on the go, opting for a model that receives power solely through the USB connection can provide added convenience.
- Price and Budget: Finally, take into account your budget and the price range of the external hard drives you are considering. Set a budget that aligns with your needs and prioritize the features that are most important to you. Compare prices across different brands and models to get the best value for your investment.
By considering these factors, you can select the right external hard drive that meets your requirements for installing Windows. A reliable, compatible, and adequately sized external hard drive will ensure a smooth installation process and optimal performance of your Windows setup.
Step 2: Preparing the external hard drive
Now that you have selected the right external hard drive for your Windows installation, it’s time to prepare it for the installation process. Follow these steps to get your external hard drive ready:
- Backup your data: Before proceeding with any modifications to the external hard drive, backup any important data or files stored on it. This will ensure that your data is safe in case of any accidental data loss during the preparation process.
- Connect the external hard drive: Connect the external hard drive to your host computer using the appropriate cable or connector. Make sure the connection is secure and that the external hard drive is recognized by the computer.
- Partition the external hard drive: Open the Disk Management tool on your computer. Locate the external hard drive in the list of available disks and select it. Right-click on it and choose the option to “Delete Volume” or “Format.” Follow the on-screen prompts to partition and format the external hard drive. It is recommended to choose the NTFS file system for Windows installations.
- Assign a drive letter: Once the external hard drive is partitioned and formatted, right-click on the newly created partition and choose the option to “Change Drive Letter and Paths.” Assign a unique drive letter to the partition to easily identify it during the installation process.
- Make the external hard drive bootable: To make the external hard drive bootable, you will need to create a bootable USB drive with the Windows installation media. Use a third-party tool or the official Windows Media Creation Tool to create the bootable USB drive. Once the USB drive is ready, copy all the files from the Windows installation media to the root directory of the external hard drive.
- Test the bootable external hard drive: Restart your computer and access the BIOS settings. Ensure that the computer is set to boot from the external hard drive. Save the changes and reboot the computer. If everything is set up correctly, your computer will boot from the external hard drive, and you will see the Windows installation screen.
By following these steps, you will prepare the external hard drive for the Windows installation process. It involves partitioning, formatting, making it bootable, and verifying that the computer can successfully boot from the external hard drive. Once the preparation is complete, you are ready to move on to the next step: creating a Windows installation media.
Step 3: Creating a Windows installation media
To install Windows on your external hard drive, you will need to create a Windows installation media. Follow these steps to create the installation media:
- Download the Windows ISO file: Visit the official Microsoft website and download the Windows ISO file for the version you wish to install on your external hard drive. Make sure to select the correct version and edition that matches your product key or licensing agreement.
- Use the Windows Media Creation Tool: Alternatively, you can use the Windows Media Creation Tool provided by Microsoft. Download and run the tool, then follow the on-screen instructions to create a bootable USB drive with the Windows installation files. The tool will automatically download the necessary files and create the bootable USB drive.
- Choose the USB drive: Connect a USB drive with sufficient storage capacity to your host computer. Ensure that it is empty or that you have backed up any important data on it, as the process will erase all existing data on the USB drive.
- Run the Windows Media Creation Tool: Launch the Windows Media Creation Tool on your computer. Select the option to create installation media for another computer and choose the USB drive as the destination for the installation files.
- Download and prepare the installation files: The Windows Media Creation Tool will download the necessary files and prepare the USB drive as a bootable Windows installation media. This process may take some time, depending on your internet connection speed.
- Verify the bootable USB drive: Once the Windows installation media is created, restart your computer and access the BIOS settings. Ensure that the computer is set to boot from the USB drive. Save the changes and reboot the computer. If everything is set up correctly, your computer will boot from the USB drive, and you will see the Windows installation screen.
By following these steps, you will create a bootable Windows installation media on a USB drive. This media will be used in the next steps to install Windows on your external hard drive. Ensure that you have the necessary product key or licensing information ready, as it will be required during the installation process. With the installation media prepared, you are now ready to move on to the next step: configuring the BIOS settings.
Step 4: Configuring the BIOS settings
To install Windows on your external hard drive, you need to configure the BIOS settings of your host computer. Follow these steps to properly configure the BIOS settings:
- Restart your computer: Start by restarting your computer. During the restart process, keep an eye on the screen for any prompts that indicate the key to access the BIOS settings. The key may vary depending on your computer manufacturer, but commonly used keys include F2, F10, or Delete.
- Access the BIOS settings: Once you determine the correct key, press it immediately when prompted to enter the BIOS settings. This usually happens before the Windows logo appears on the screen. If you miss the prompt, restart your computer again and try the key again.
- Navigate to the boot options: Once you are in the BIOS settings, navigate to the “Boot” or “Boot Options” section. Use the arrow keys on your keyboard to move between different options.
- Change the boot order: Look for the option to change the boot order or boot sequence. Move the external hard drive to the top of the boot order list. This ensures that the computer will attempt to boot from the external hard drive first, before trying other devices.
- Save and exit: After modifying the boot order, save the changes and exit the BIOS settings. Typically, you can do this by pressing the F10 key and then confirming the changes. The computer will restart automatically.
- Verify the boot from the external hard drive: When your computer restarts, it should boot from the Windows installation media on the external hard drive. You should see the Windows installation screen, indicating that the configuration was successful.
By properly configuring the BIOS settings, you ensure that the computer prioritizes booting from the external hard drive. This step is important to initiate the Windows installation process from the installation media. Once you save and exit the BIOS settings, your computer will restart and be ready for the next step: installing Windows on the external hard drive.
Step 5: Installing Windows on the external hard drive
Now that you have configured the BIOS settings, you can proceed with installing Windows on your external hard drive. Follow these steps to install Windows on the external hard drive:
- Wait for the Windows setup to load: After booting from the Windows installation media, the Windows setup will load. You might need to select your language preferences and other settings along the way.
- Select “Install Now”: When you reach the main installation screen, click on the “Install Now” button to begin the installation process.
- Enter your product key: If prompted, enter the product key for your Windows installation. This key is typically found in the packaging or email associated with your copy of Windows. Click “Next” to proceed.
- Accept the license terms: Read through the license terms and conditions, then check the box to accept them. Click “Next” to continue.
- Select “Custom Installation”: Choose the “Custom: Install Windows only (advanced)” option to have more control over the installation process.
- Select the external hard drive: On the next screen, you will see a list of available disks. Choose the partition on the external hard drive and click “Next” to begin the installation. If necessary, you can format or delete existing partitions on the external hard drive during this step.
- Follow the on-screen prompts: The installation process will begin, and your computer will copy the necessary installation files to the external hard drive. Follow the on-screen prompts to customize your Windows installation, such as choosing your language preferences, creating a user account, and selecting privacy settings.
- Wait for the installation to complete: The installation process may take some time to complete. Your computer may restart several times during this process. Be patient and let the installation process finish.
- Set up Windows: Once the installation is complete, your computer will boot into the newly installed Windows on the external hard drive. Follow the on-screen prompts to set up Windows, such as personalizing your settings, connecting to a network, and installing necessary drivers or updates.
By following these steps, you will successfully install Windows on your external hard drive. It’s important to note that the installation process may vary slightly depending on your specific Windows version and configuration settings. Ensure that you carefully read and follow the on-screen instructions to complete the installation process. With Windows installed on the external hard drive, you can now move on to the final step: finalizing the installation.
Step 6: Finalizing the installation
With Windows successfully installed on your external hard drive, there are a few final steps to ensure the smooth functioning of your Windows setup. Follow these steps to finalize the installation:
- Install necessary drivers: After Windows boots up on the external hard drive, you may need to install drivers for specific hardware components, such as graphics cards, printers, or network adapters. Use the installation discs or download the latest drivers from the manufacturer’s website to ensure compatibility and optimal performance.
- Activate Windows: Activate your copy of Windows using the product key provided with your installation. Open the Activation settings and enter the product key to authenticate your copy of Windows. If you do not activate Windows, you may face limitations and reminders to activate in the future.
- Update Windows: Check for and install any available Windows updates to ensure that your operating system has the latest security patches and software improvements. Open the Windows Update settings and let the system search for updates. Install any recommended or important updates found.
- Install additional software: Install any additional software or applications that you need on your Windows setup. This may include productivity tools, media players, or specialized software for your specific needs. Download and install these programs from trusted sources and ensure they are compatible with your version of Windows.
- Create a system backup: Once your Windows setup is complete and all necessary software is installed, create a system backup of your external hard drive. This will allow you to restore your Windows setup in case of any future issues, such as hardware failures or system crashes. Use backup software or built-in Windows features to create a backup image of your external hard drive.
- Test and troubleshoot: Take some time to test your Windows installation on the external hard drive. Ensure that all hardware components are functioning properly, software applications are running smoothly, and your files are accessible. If you encounter any issues, consult official troubleshooting guides or contact customer support for assistance.
By following these final steps, you will complete the installation process and ensure that your Windows setup on the external hard drive is fully functional. It’s important to regularly update Windows, keep your drivers up to date, and maintain backups to ensure the security and stability of your installation. Enjoy the flexibility and convenience of having Windows on your external hard drive!
Conclusion
Congratulations! You have successfully learned how to put Windows on an external hard drive. This guide has provided you with a step-by-step process to install Windows on an external hard drive, offering flexibility, portability, and convenience in your computing experience.
By installing Windows on an external hard drive, you can carry your personalized operating system with you wherever you go. Whether you need to work on different computers, access your files and applications on the go, or have a separate Windows installation for specific purposes, this setup allows you to have your own customized environment at your fingertips.
We explored the benefits of using an external hard drive for Windows, such as portability, flexibility, backup, security, and the ability to have separate installations. Additionally, we discussed important considerations before starting the process and the hardware and software requirements for a successful installation.
We then detailed the step-by-step process, including the selection of the right external hard drive, preparing the external hard drive, creating a Windows installation media, configuring the BIOS settings, installing Windows on the external hard drive, and finalizing the installation. Each step was explained to help you successfully navigate through the process.
Remember to follow best practices, such as backing up your data, verifying compatibility, and following the instructions carefully during each step. Take the time to ensure that everything is set up correctly to avoid any potential issues or complications.
By successfully completing these steps, you have now unlocked the flexibility and convenience of having Windows on an external hard drive. Customize your setup, install additional software, and enjoy the portability of your personalized Windows environment on any compatible computer.
Thank you for following this guide, and we hope that this information has been valuable to you. Embrace the possibilities and make the most of your Windows installation on an external hard drive!