Introduction
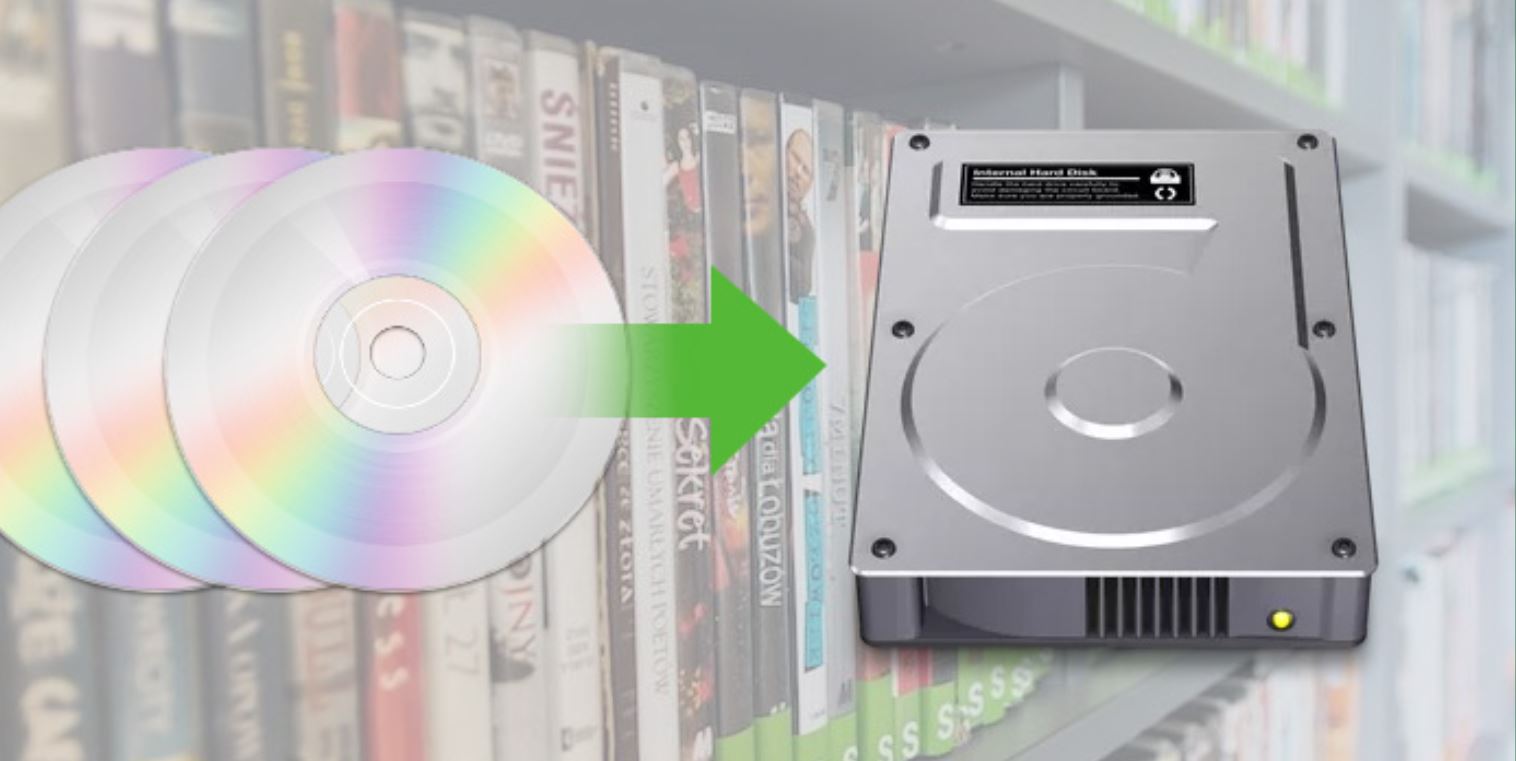
Do you have a growing collection of movies and limited storage space on your computer? If so, transferring your movies to an external hard drive is a great solution. It allows you to free up space on your computer while still having easy access to your favorite films. Plus, with the added portability of an external hard drive, you can take your movie collection with you wherever you go.
In this guide, we will walk you through the steps of putting movies on an external hard drive. From choosing the right hard drive to playing your movies, we will cover everything you need to know to complete the process successfully.
Before we dive into the steps, it’s essential to understand that the process may vary slightly depending on your computer’s operating system. However, the general principles remain the same. Whether you’re using a Windows PC, Mac, or Linux machine, this guide will provide you with the necessary information to transfer your movies to an external hard drive.
So let’s get started and take your movie collection to the next level!
Step 1: Choosing the Right External Hard Drive
When it comes to selecting an external hard drive for storing your movie collection, there are a few key factors to consider. Let’s take a closer look at each one:
- Storage Capacity: The first thing to consider is the storage capacity of the external hard drive. Movies can take up a significant amount of space, especially if you have a large collection. Therefore, it’s important to choose a hard drive that has enough storage to accommodate your movies, as well as any future additions. A good rule of thumb is to look for a hard drive with at least 1 terabyte (TB) of storage, although larger capacities, such as 2TB or 4TB, are also widely available.
- Connectivity Options: Another crucial factor to consider is the connectivity options of the external hard drive. The most common options are USB 3.0 and USB-C. USB 3.0 provides fast data transfer speeds, making it ideal for transferring large movie files. USB-C, on the other hand, offers faster data transfer rates and is compatible with newer devices. It’s worth noting that backward compatibility with USB 2.0 is also essential if you plan to connect the hard drive to older devices.
- Portability: If you plan on taking your external hard drive with you on the go, portability is a crucial consideration. Look for a compact and lightweight hard drive that is easy to transport. Some external hard drives even come with rugged casings to protect against drops and other accidents. Additionally, it’s worth checking if the hard drive is bus-powered, which means it draws power from the device it’s connected to, eliminating the need for an additional power source.
- Reliability and Durability: Since your movie collection is valuable, you’ll want to choose an external hard drive that is reliable and durable. Look for hard drives from reputable manufacturers that have a good track record for longevity and data integrity. Reading customer reviews can also provide insights into the reliability of different models.
By considering these factors and finding the right balance between storage capacity, connectivity options, portability, and reliability, you can choose the perfect external hard drive to store your movie collection.
Step 2: Formatting the External Hard Drive
Before you can start transferring your movies to the external hard drive, it’s crucial to format it correctly. Formatting prepares the hard drive for use and ensures compatibility with your operating system. Here’s how to format your external hard drive:
- Backup Your Data: Formatting erases all data on the external hard drive, so it’s essential to back up any important files or documents before proceeding. This step ensures that you don’t lose any valuable data during the formatting process.
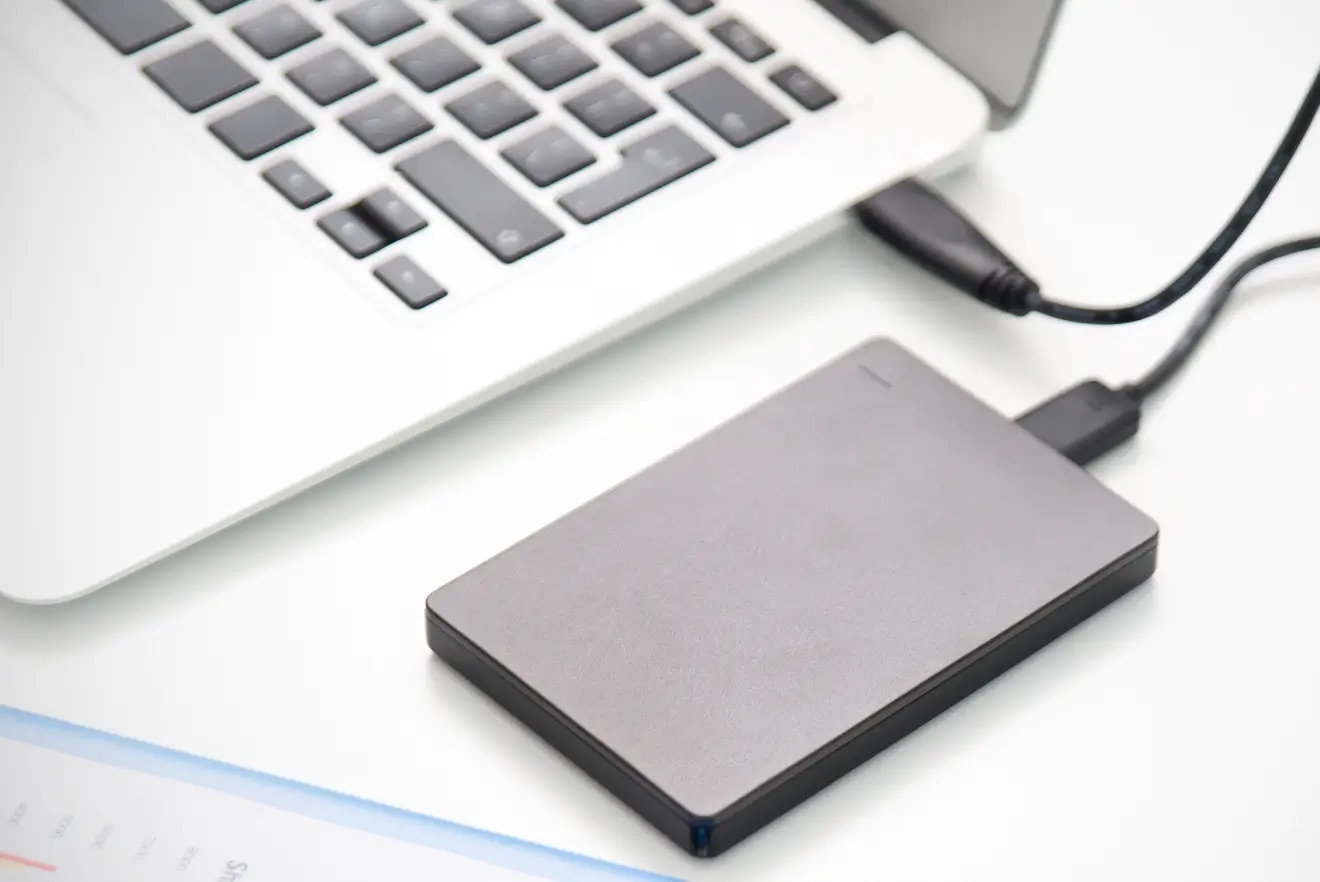
- Connect the External Hard Drive: Plug in your external hard drive to your computer using the appropriate cable. Make sure the hard drive is properly connected and detected by your operating system.
- Open Disk Utility (Mac) or Disk Management (Windows): On a Mac, you can find the Disk Utility by going to “Applications” > “Utilities” > “Disk Utility.” On a Windows PC, you can access the Disk Management tool by right-clicking on the Start button and selecting “Disk Management.”
- Select Your External Hard Drive: In the Disk Utility or Disk Management window, locate your external hard drive in the list of available drives. Be cautious and select the correct one to avoid formatting the wrong drive, which can result in data loss.
- Format the External Hard Drive: Once you’ve selected the correct drive, choose the option to format it. On a Mac, click on the “Erase” tab, select the file system (typically Mac OS Extended or APFS), give the drive a name, and click “Erase.” On a Windows PC, right-click on the drive, select “Format,” choose the file system (typically NTFS), assign a name to the drive, and click “Format.”
- Confirm the Format: You will typically see a warning message stating that formatting erases all data on the drive. Double-check that you have backed up any important data and confirm that you want to proceed with the formatting process.
- Wait for Formatting to Complete: The formatting process may take some time depending on the size of the drive. Be patient and avoid disconnecting the drive during formatting to prevent any potential data corruption.
- Eject the External Hard Drive: Once the formatting is complete, safely eject the external hard drive from your computer. This step ensures that any pending read/write operations are completed, reducing the risk of data loss.
After completing these steps, your external hard drive is formatted and ready to be used for storing your movie collection. Now you can move on to the next step of transferring your movies to the drive!
Step 3: Transferring Movies to the External Hard Drive
Now that you have your external hard drive formatted and ready, it’s time to transfer your movies onto it. Follow these steps to ensure a smooth and successful transfer:
- Connect the External Hard Drive: Plug in your formatted external hard drive to your computer using the appropriate cable. Ensure that it is properly connected and recognized by your operating system.
- Select the Movies: Locate the movies you want to transfer to the external hard drive on your computer. This could be a single movie file or an entire folder containing multiple movies.
- Copy and Paste or Drag and Drop: There are a few ways to move the movies to your external hard drive. You can right-click on the movie file or folder, select “Copy,” navigate to the external hard drive, right-click in the desired location, and select “Paste.” Alternatively, you can also drag and drop the movie files or folder from your computer to the external hard drive. Choose the method that feels most comfortable to you.
- Monitor the Transfer: Depending on the size of the movies and the transfer speed of your computer and hard drive, the transfer process may take some time. Stay patient and keep an eye on the progress bar or transfer status, if available, to ensure that the files are copying successfully.
- Verify the Transfer: Once the transfer is complete, navigate to the external hard drive and verify that the movies have been successfully copied. Double-check that all files are intact and play correctly to confirm that the transfer was successful.
It’s worth noting that you can transfer movies in bulk, copy them individually, or organize them into separate folders based on genre, year, or any other criteria you prefer. This step allows you to customize the organization of your movie collection, making it easier to locate specific films in the future.
By following these steps, you can move your movies from your computer’s storage to the external hard drive, freeing up valuable space and ensuring easy access to your film library.
Step 4: Organizing Movies on the External Hard Drive
Now that you have transferred your movies to the external hard drive, it’s time to organize them for easy access and enjoyment. Here are some tips to help you effectively organize your movie collection:
- Create Folders or Categories: Consider organizing your movies into folders based on genres, directors, or any other categorization that makes sense to you. This can help you quickly locate specific movies and maintain a well-structured collection.
- Naming Conventions: Use consistent naming conventions for your movie files to easily identify them. Include the title, year, and maybe even the resolution or format. For example, “Movie Title (Year) [Resolution].” This will make it simpler to browse and search for specific films on the external hard drive.
- Add Metadata: To further enhance the organization and visual appeal of your movie collection, consider adding metadata to your movie files. Metadata includes information like movie posters, synopses, cast, and crew details. Various media management software can help you automatically fetch and add metadata to your movie files, making your collection more visually appealing and easy to navigate.
- Create Playlist Files: If you prefer to watch specific movie collections in a particular order or create themed playlists, consider creating playlist files (.m3u or .m3u8) on your external hard drive. These playlist files contain a list of movie files or folders in a specific order, allowing you to easily play them in sequence using media players that support playlists.
- Regular Maintenance: As your movie collection grows, it’s essential to periodically review and update your organization scheme. Remove any duplicate files, reorganize as needed, and update metadata to ensure your movie collection remains current and well-maintained.
By incorporating these organizing techniques, you can transform your external hard drive into a well-structured and easily navigable movie library. Whether you’re in the mood for a specific genre or want to create a themed movie night, finding and enjoying your favorite films will be a breeze.
Step 5: Playing Movies from the External Hard Drive
Now that you have successfully organized your movie collection on the external hard drive, it’s time to enjoy watching your favorite films. Here are a few methods to play movies directly from the external hard drive:
- Media Players: Most modern media players, such as VLC, Windows Media Player, or QuickTime, allow you to play movies directly from external storage devices. Simply open the media player on your computer, navigate to the external hard drive, and select the movie you want to watch. The media player will then play the movie directly from the external hard drive.
- Smart TVs or Media Streaming Devices: If you have a smart TV or a media streaming device connected to your television, you can often plug in the external hard drive directly to the USB port. Access the media player on your TV or streaming device and navigate to the external hard drive to play your movies on the big screen.
- Home Theater Systems: If you have a home theater system, you can connect the external hard drive to the media player or receiver using a USB cable. Navigate through the menu to locate the external hard drive and choose the movie you want to watch. Your home theater system will play the movie on your TV or projector.
- Laptops or Tablets: If you prefer a portable movie-watching experience, connect your external hard drive to your laptop or tablet. Open your preferred media player or movie app and access the movies on the external hard drive to start playback. This method is great for long flights, road trips, or simply enjoying movies on the go.
- Streaming Devices with USB Ports: Some streaming devices, such as the Amazon Fire TV Stick, have USB ports that allow you to connect an external hard drive. Install a media player app on your streaming device, connect the external hard drive, and access your movies for playback on your TV.
Remember to select the correct movie file and enjoy watching your movies directly from the external hard drive. This eliminates the need for transferring files back to your computer, saving valuable storage space and providing convenient access to your movie collection.
Keep in mind that the specific steps and methods may vary depending on your setup and devices. Consult the user manuals or online resources for specific instructions on playing movies from an external hard drive for your particular equipment.
Conclusion
Transferring your movies to an external hard drive is a practical and efficient way to free up space on your computer while keeping your film collection organized and easily accessible. By following the steps outlined in this guide, you can successfully put movies on an external hard drive and enjoy watching them from any compatible device. Let’s recap the essential steps:
- Choose the right external hard drive, considering factors like storage capacity, connectivity options, portability, and reliability.
- Format the external hard drive to prepare it for use with your operating system.
- Transfer your movies to the external hard drive by copying and pasting or dragging and dropping the movie files or folders.
- Organize your movies on the external hard drive by creating folders, using consistent naming conventions, adding metadata, and creating playlist files if desired.
- Play your movies directly from the external hard drive using media players on your computer, smart TVs, home theater systems, laptops, tablets, or streaming devices.
By following these steps, you can enjoy a clutter-free computer and have your movie collection readily available whenever and wherever you want to watch them. With the increased storage capacity and portability of an external hard drive, you can easily expand and enjoy your movie library without worrying about limited space on your computer.
Remember to handle your external hard drive with care, back up your movie collection regularly, and keep your organization scheme up to date to maintain the longevity and accessibility of your films. Now, go ahead and elevate your movie-watching experience with the convenience and flexibility of an external hard drive!