Introduction
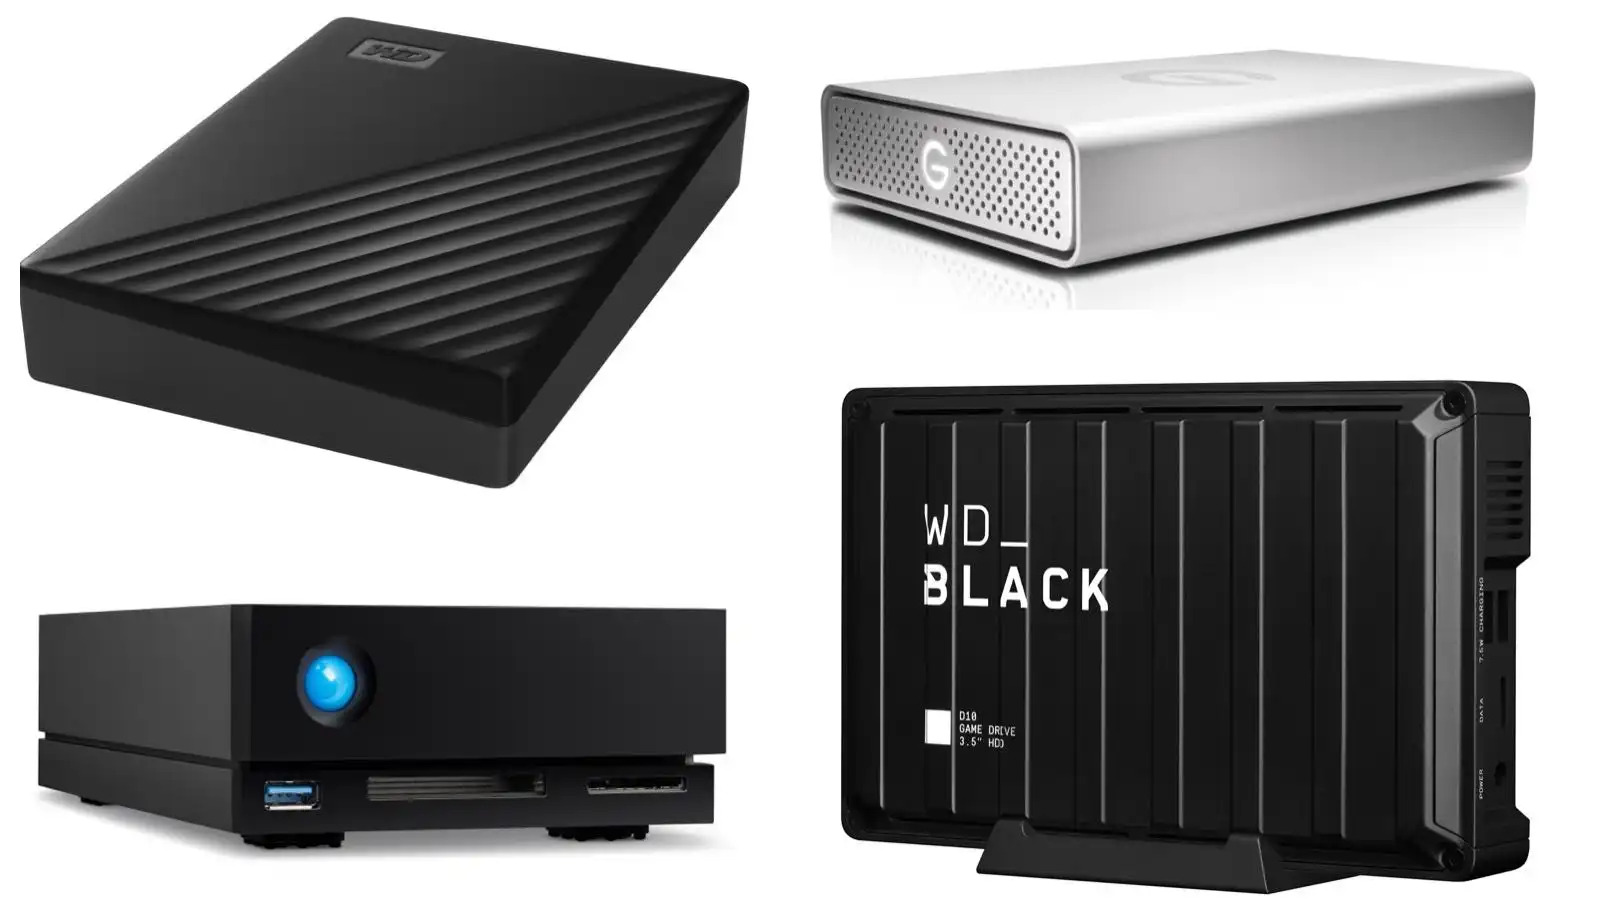
Are you running out of space on your computer? Do you have important files and documents that you want to keep safe? It’s time to consider using an external hard drive. An external hard drive is a portable device that allows you to store and backup your files, freeing up space on your computer’s internal storage.
In this guide, we will walk you through the simple process of how to put files on an external hard drive. Whether you’re a beginner or a seasoned computer user, this step-by-step guide will help you transfer files quickly and efficiently.
Using an external hard drive has multiple benefits. Not only does it provide additional storage space, but it also offers a convenient way to backup your important files. This ensures that your data is protected in case of computer malfunctions or data loss. Furthermore, an external hard drive allows you to easily transport files between different devices, making it a versatile storage solution.
Before we dive into the steps of putting files on an external hard drive, it’s important to note that the process may slightly vary depending on the operating system you’re using. However, the overall concept remains the same, and we will cover the general steps that apply to most operating systems.
Now, let’s get started on transferring your files to an external hard drive!
Step 1: Connect the external hard drive
The first step in putting files on an external hard drive is to connect the device to your computer. Most external hard drives use a USB cable to establish a connection.
Start by locating an available USB port on your computer. These ports are typically located on the sides or back of the computer tower, or on the sides of a laptop. Once you find the USB port, carefully plug the USB cable into it. Make sure the connection is secure.
Next, locate the other end of the USB cable and connect it to the external hard drive. The port on the hard drive is usually labeled “USB” or “HDD,” but the exact location may vary depending on the manufacturer and model.
Once the external hard drive is connected to your computer, the operating system will recognize the device and configure it automatically. This process may take a few moments as the computer installs the necessary drivers.
It’s important to note that some external hard drives require a power source in addition to the USB connection. In such cases, make sure to plug in the power adapter provided by the manufacturer to ensure the device is powered on.
Now that your external hard drive is connected, you’re ready to move on to the next step.
Step 2: Open File Explorer
After connecting the external hard drive to your computer, the next step is to open File Explorer. File Explorer is a built-in file management tool in most operating systems, including Windows and macOS.
In Windows, you can open File Explorer by clicking on the folder icon in the taskbar, typically located at the bottom of the screen. Alternatively, you can press the Windows key + E on your keyboard to open File Explorer quickly.
If you’re using a Mac, you can open Finder by clicking on the smiley face icon located in the Dock at the bottom of the screen. Alternatively, you can press Command + Spacebar to open Spotlight, and then type “Finder” and hit Enter.
Once File Explorer or Finder is open, you will see a list of folders and drives on your computer. Look for the external hard drive, which is usually displayed under the “Devices and Drives” section.
If you’re having trouble finding the external hard drive, take note of the drive’s label or name. Sometimes, the drive may be listed with a generic name like “Removable Disk” or “External Storage.” You can also check the drive’s capacity to confirm that it is the correct device.
Click on the external hard drive to open it. You will now see the contents of the external hard drive displayed in the main File Explorer or Finder window.
With File Explorer or Finder opened and the external hard drive selected, you’re now ready to proceed to the next step.
Step 3: Select the files you want to transfer
Now that you have File Explorer or Finder open and the external hard drive selected, it’s time to choose the files you want to transfer.
Navigate to the location where your files are stored. This could be your Documents folder, Pictures folder, or any other folder where you have saved your important files.
To select multiple files, hold down the Ctrl key (Windows) or Command key (Mac) on your keyboard while clicking on the individual files you want to transfer. If you want to select a range of files, click on the first file, hold down the Shift key, and then click on the last file in the range.
If you want to transfer an entire folder, simply click on the folder once to select it. Keep in mind that transferring folders may preserve the folder structure and hierarchy on the external hard drive.
As you select files or folders, you will notice that they are highlighted or appear selected. This indicates that you have successfully chosen the files you want to transfer.
If you’re unsure about which files to transfer, you can create a new folder on your external hard drive and organize your files within it. This will help keep your files organized and easily accessible when you connect the external hard drive to another computer.
Once you have selected the files or folders you want to transfer, you’re ready to move on to the next step.
Step 4: Copy the files
After selecting the files or folders you want to transfer, it’s time to copy them to the external hard drive.
To copy the files, right-click on one of the selected files or folders. A contextual menu will appear with a list of options.
In Windows, hover over the “Send to” option and then select the name of your external hard drive from the submenu.
In macOS, hover over the “Copy” option and then select your external hard drive from the submenu.
Alternatively, you can use keyboard shortcuts to copy the files. For Windows, press Ctrl + C on your keyboard. For Mac, press Command + C.
Once you have copied the selected files or folders, you can close File Explorer or Finder if you’re no longer using them.
Keep in mind that the copying process may take some time depending on the size and number of files being transferred. It’s important not to interrupt the process to avoid any potential data loss or corruption.
Copying the files simply duplicates them from their original location to the external hard drive. The original files will still remain on your computer’s internal storage.
Now that you’ve successfully copied the files, it’s time to move on to the next step and paste them onto the external hard drive.
Step 5: Paste the files onto the external hard drive
With the files or folders copied, it’s time to paste them onto the external hard drive.
Open File Explorer or Finder again and navigate to the external hard drive. Make sure it’s selected and open so that you can see its contents.
To paste the files, right-click on an empty area within the external hard drive window. The contextual menu will appear.
In Windows, hover over the “Paste” option and then click on it. Alternatively, you can use the keyboard shortcut Ctrl + V to paste the files.
In macOS, hover over the “Paste Item” option and then click on it. Alternatively, you can use the keyboard shortcut Command + V to paste the files.
The files will start copying from your computer’s internal storage and onto the external hard drive. The time it takes to complete the process will depend on the size and number of files being transferred.
It’s crucial to ensure that you have enough space available on the external hard drive for the files you’re pasting. If the external hard drive doesn’t have sufficient space, you may need to free up some space or consider using a larger capacity external hard drive.
Once the files have finished pasting, you can close File Explorer or Finder and safely disconnect the external hard drive.
Remember to safely eject the external hard drive to avoid any potential data corruption. In Windows, right-click on the external hard drive and select “Eject” from the contextual menu. In macOS, click on the eject button (an upward-pointing arrow) next to the external hard drive’s name in Finder.
With the files successfully pasted onto the external hard drive and the device safely disconnected, you have completed the process of putting files on an external hard drive. Your files are now securely stored, and you can access them whenever you need them.
Step 6: Safely remove the external hard drive
Before physically disconnecting the external hard drive from your computer, it’s important to follow the proper procedure to ensure that your files are not corrupted and that no data loss occurs.
First, make sure all file transfer operations to or from the external hard drive have completed. This includes copying or moving files, as well as any open file operations.
In Windows, locate the “Safely Remove Hardware and Eject Media” icon in the system tray, which is usually positioned at the bottom-right corner of the screen. Click on the icon to open the list of removable devices connected to your computer.
From the list, find the name of your external hard drive and click on it. Windows will provide a notification when it’s safe to remove the device.
In macOS, locate the external hard drive icon on your desktop or in Finder. Click on the eject button (an upward-pointing arrow) next to the external hard drive’s name. Alternatively, you can right-click on the external hard drive and select “Eject” from the contextual menu.
Once you receive the notification or see that the external hard drive has been ejected, it is now safe to physically disconnect the device from your computer.
Carefully remove the USB cable or disconnect the power source, if applicable, from the external hard drive. Ensure that you do not forcefully remove the cable or power source to avoid any damage to the device.
With the external hard drive safely removed, you have successfully completed the process of putting files on the device.
Remember to keep your external hard drive in a safe place and handle it with care to avoid any accidental damage. Regularly back up your files to the external hard drive to ensure that your important data is protected.
Now that you have successfully transferred your files and safely removed the external hard drive, you can enjoy the newfound storage space on your computer.
Conclusion
Transferring files to an external hard drive is a straightforward process that can provide numerous benefits. By following the simple steps outlined in this guide, you can easily free up space on your computer’s internal storage and securely store your important files.
An external hard drive offers not only additional storage capacity but also a portable and convenient way to backup your data. It allows you to easily transfer files between different devices and ensures that your files remain safe in the event of computer malfunctions or data loss.
Remember to connect the external hard drive to your computer, open the file management tool such as File Explorer or Finder, select the files you want to transfer, copy them, and then paste them onto the external hard drive. Finally, safely remove the external hard drive following the proper procedure to avoid any potential data corruption.
Using an external hard drive is a reliable and efficient way to manage your files and keep them organized. It provides a secure and portable storage solution for your documents, photos, videos, and other important data.
With the increased storage capacity and easy data transfer offered by an external hard drive, you can confidently continue your digital ventures, knowing that your files are safely stored and accessible whenever you need them.
So, what are you waiting for? Give yourself the gift of extra space and peace of mind by putting your files on an external hard drive today!


