Introduction
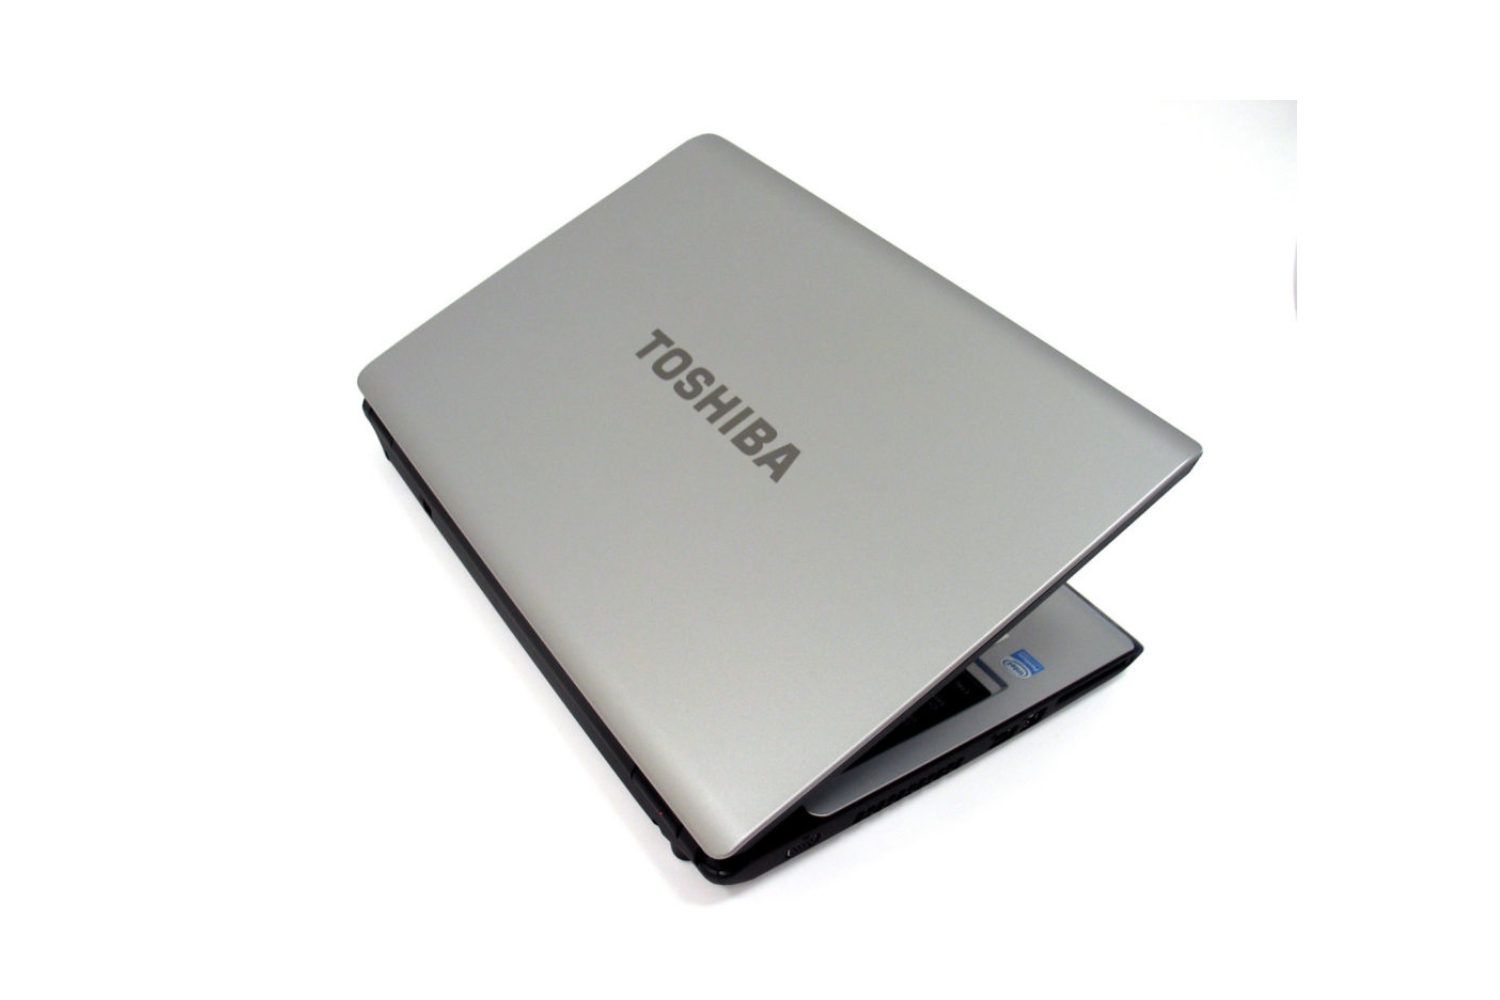
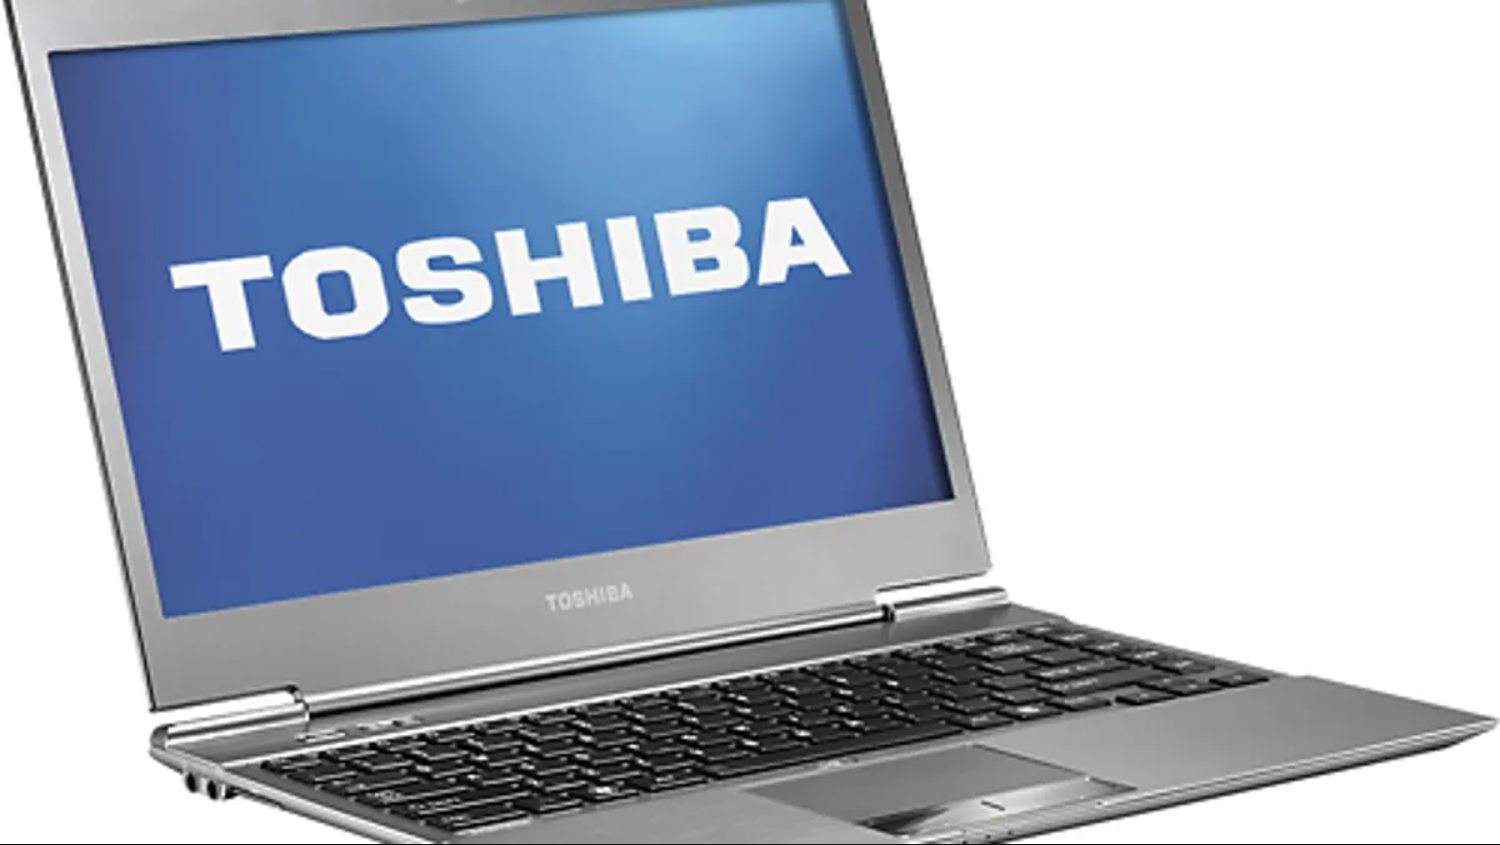
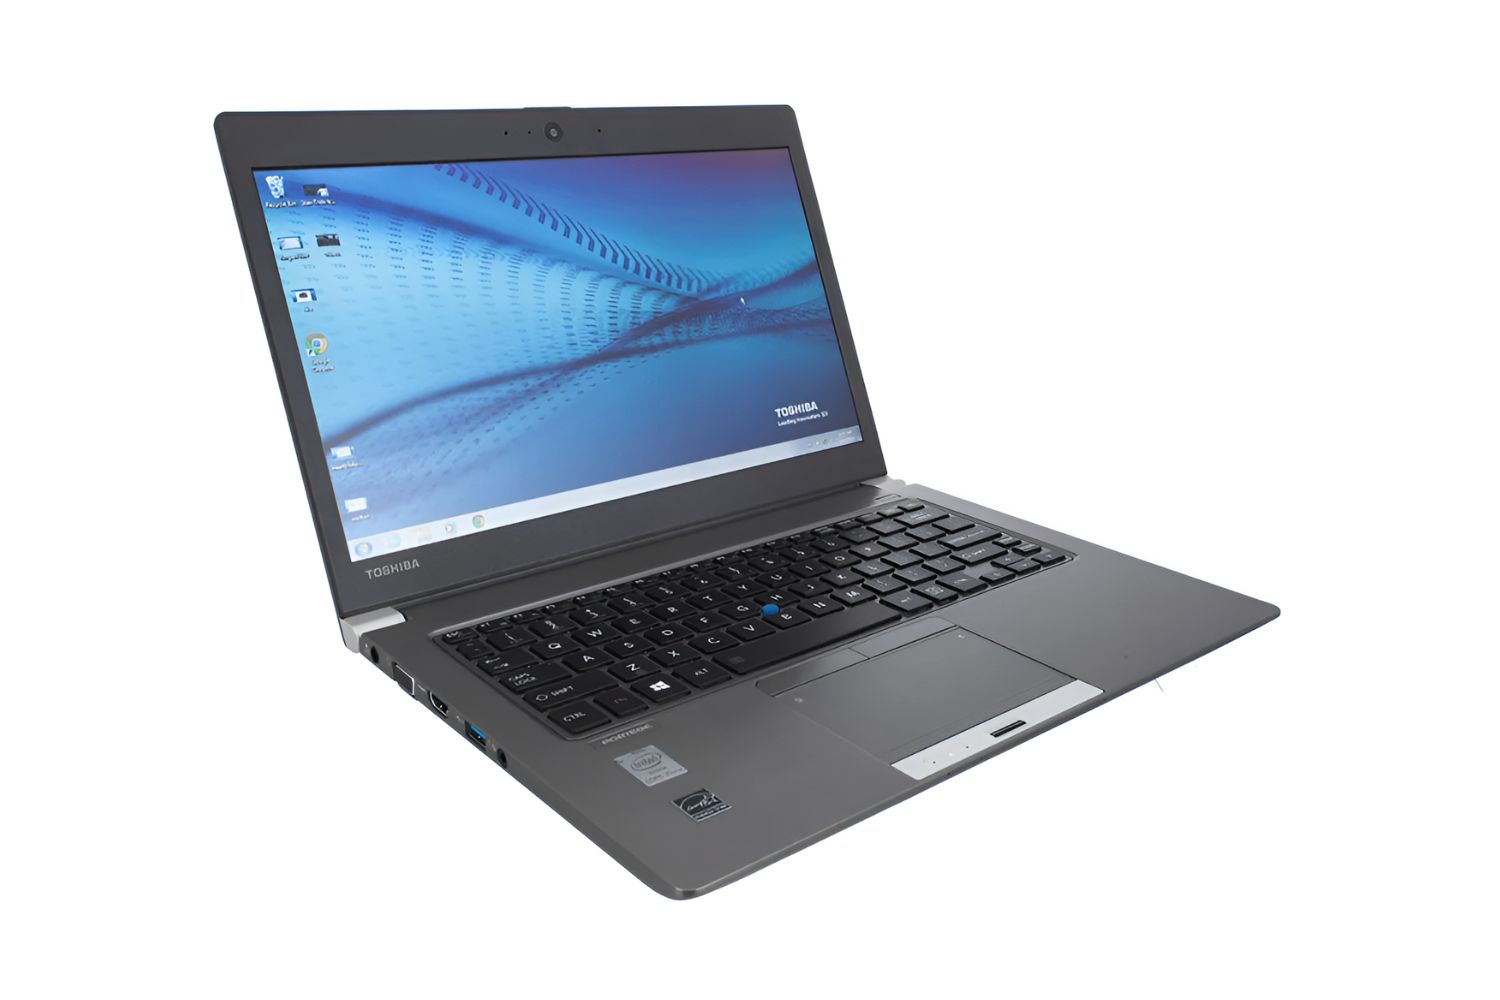
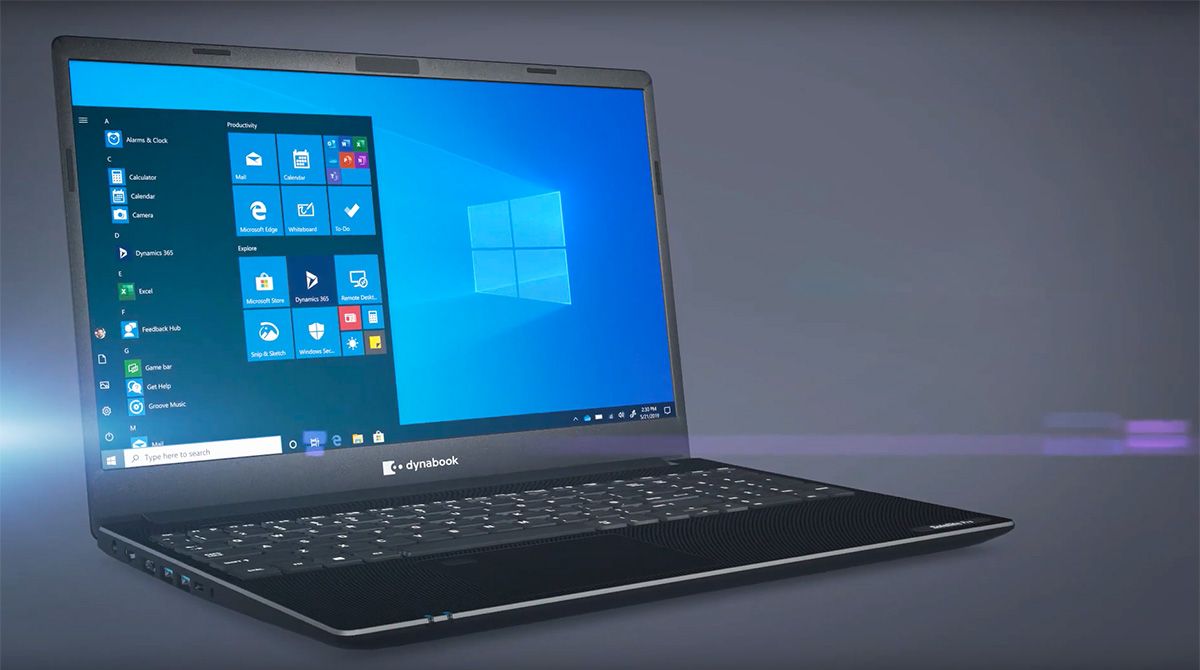
The Toshiba Satellite Ultrabook is a powerful and versatile device that offers a range of features and capabilities. However, like any electronic device, it can encounter issues that may require a recovery process. Whether you have accidentally deleted important files or want to restore your Ultrabook to its factory settings, having access to recovery files is crucial.
In this article, we will guide you through the steps to put back recovery files in your Toshiba Satellite Ultrabook. By following these steps, you can ensure that you have a backup of essential files and be prepared for any unexpected events.
Before we proceed, it is important to note that the recovery files we are referring to in this article are specific to Toshiba Satellite Ultrabooks. These files are stored in a separate partition on your device’s hard drive, which allows you to restore the factory settings or recover specific files, depending on your needs.
Now that we have an understanding of what recovery files are and their importance, let’s dive into the step-by-step process of putting back recovery files in your Toshiba Satellite Ultrabook.
Step 1: Connect External Storage Device
The first step in putting back recovery files in your Toshiba Satellite Ultrabook is to connect an external storage device. This device will be used to store the recovery files and ensure that they are easily accessible when needed.
You have various options for external storage, such as a USB flash drive, an external hard drive, or even a cloud storage service. Choose the option that best suits your needs in terms of storage capacity and convenience.
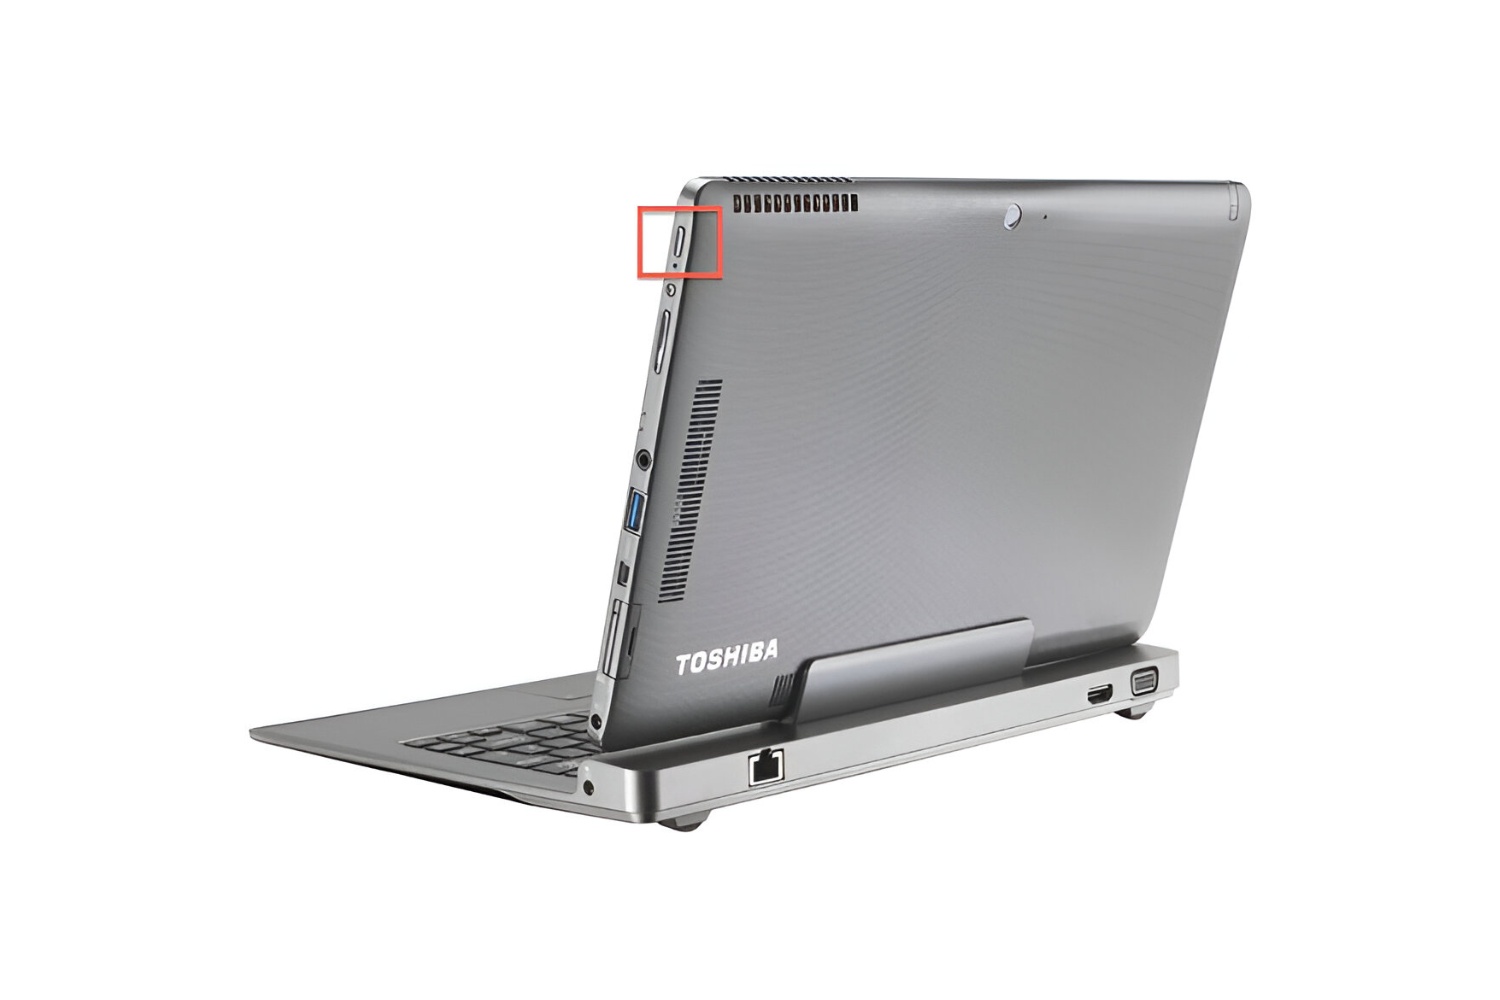
To connect the external storage device, locate the USB or other appropriate port on your Toshiba Satellite Ultrabook. Insert the USB drive or connect the external hard drive using the appropriate cable. Ensure that the device is properly connected and recognized by your Ultrabook.
It is essential to have enough free space on the external storage device to accommodate the recovery files. Check the size of the recovery file folder to determine the necessary storage capacity.
Once the external storage device is connected and ready, you are now prepared to move on to the next step in the process.
Step 2: Access the Recovery Partition
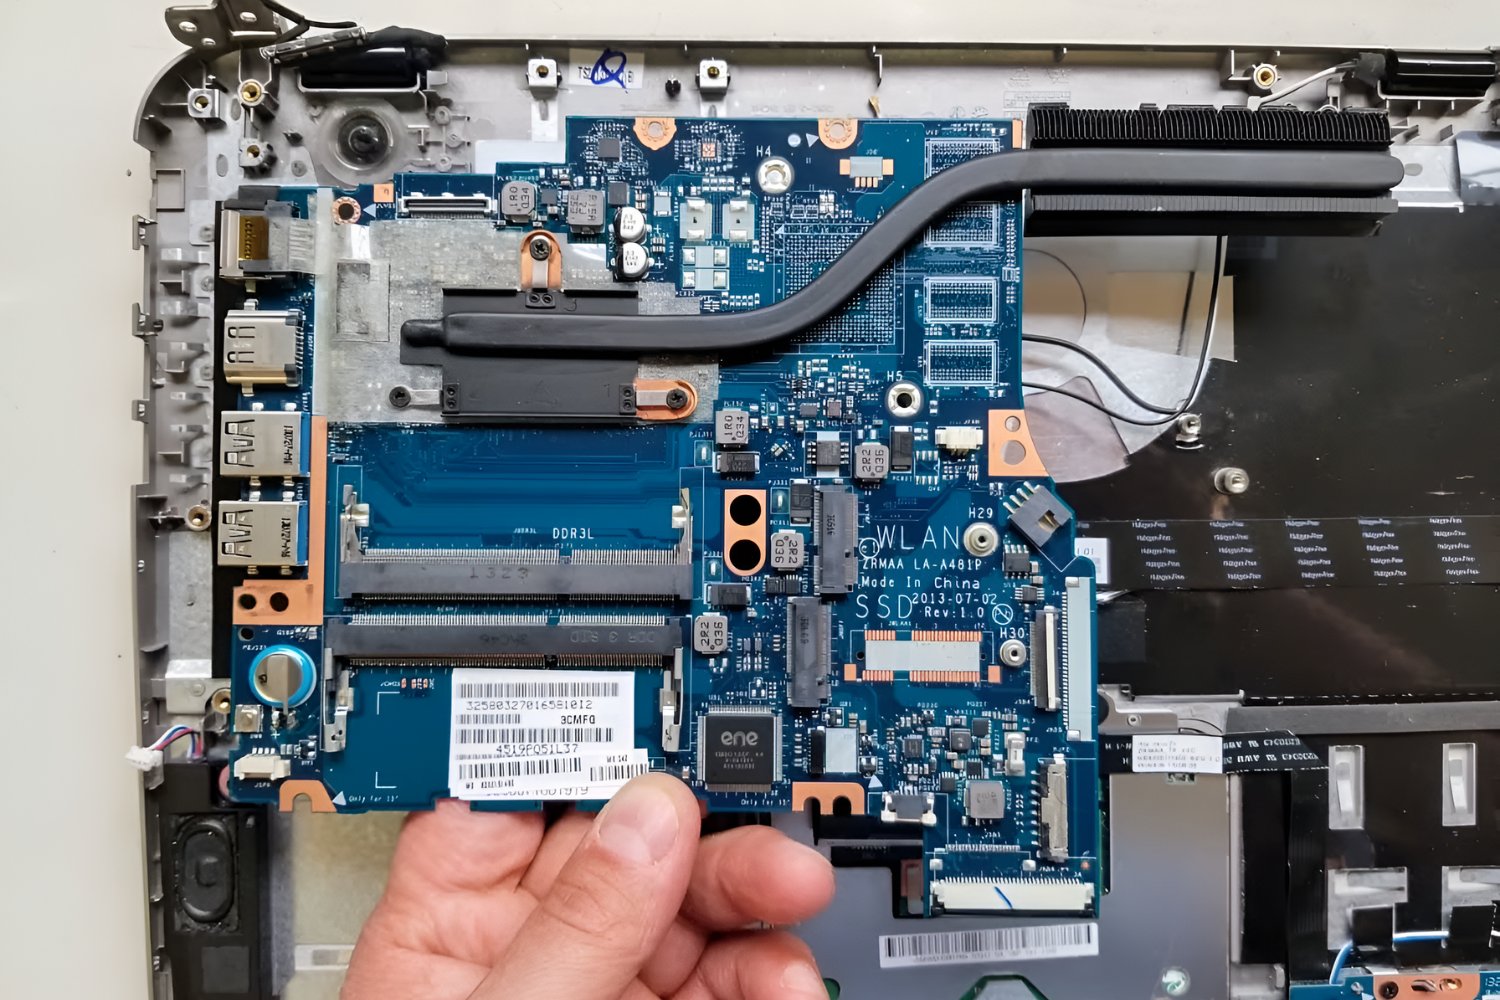
To put back recovery files in your Toshiba Satellite Ultrabook, you need to access the recovery partition on your device. The recovery partition contains the necessary files and tools to recover your Ultrabook to its original state.
To access the recovery partition, start by turning on your Toshiba Satellite Ultrabook. As the device is booting up, press the appropriate key to access the boot menu or BIOS setup. The key may vary depending on your model, but commonly used keys include F2, F12, or Esc.
Once you access the boot menu or BIOS setup, navigate to the “Recovery” or “Advanced” options. From there, select the option to access the recovery partition. The exact steps may differ slightly depending on the specific BIOS setup of your Toshiba Satellite Ultrabook.
After selecting the recovery partition, the device will begin to load the recovery environment. This may take a few moments, so be patient. Once the recovery environment is loaded, you will have access to the various recovery options and tools.
It is crucial to note that accessing the recovery partition may require administrator privileges. Therefore, ensure that you are logged in as an administrator or have the necessary credentials to proceed with accessing the recovery partition.
With the recovery partition successfully accessed, you can now proceed to the next step and copy the recovery files to your external storage device.
Step 3: Copy Recovery Files
Now that you have successfully accessed the recovery partition on your Toshiba Satellite Ultrabook, it’s time to copy the recovery files to your external storage device. These files will serve as a backup, allowing you to restore your Ultrabook to its factory settings or recover specific files when needed.
Within the recovery environment, navigate to the “Backup” or “Copy Recovery Files” option. This option may be located in different sections, depending on your Toshiba model and the version of the recovery environment.
Once you locate the “Backup” or “Copy Recovery Files” option, select it to begin the process. You may be prompted to choose the destination for the recovery files—select the external storage device that you connected in Step 1. Ensure that there is sufficient free space on the device to accommodate the recovery files.
The copying process may take some time, depending on the size of the recovery files and the speed of your Toshiba Satellite Ultrabook. During this time, it is essential not to interrupt the process or disconnect the external storage device.
Once the copying process is complete, you will have successfully copied the recovery files from the recovery partition to your external storage device. It is recommended to double-check the external storage device to verify that all the necessary files have been copied correctly.
With the recovery files safely copied, you are now ready to proceed to the next step and paste the recovery files into the external storage device for safekeeping.
Step 4: Paste the Recovery Files in External Storage
After copying the recovery files from the recovery partition of your Toshiba Satellite Ultrabook, the next step is to paste them into your external storage device. This will ensure that you have a backup of the recovery files that can be easily accessed whenever required.
Open the file explorer on your Toshiba Satellite Ultrabook and navigate to the location where the recovery files were copied. This is typically in a designated folder or directory on the Ultrabook’s hard drive.
Connect the external storage device that you used in Step 1 to your Ultrabook if it is not already connected. Once connected, open a new file explorer window and navigate to the external storage device.
In the external storage device file explorer window, create a new folder to hold the recovery files. Right-click on a blank space within the file explorer window, select “New,” and then choose “Folder.” Give the folder a descriptive name that indicates it contains the recovery files.
Next, navigate back to the folder where the recovery files are located on your Toshiba Satellite Ultrabook. Select all the recovery files by either pressing Ctrl + A or by clicking and dragging the mouse cursor to select all files.
With the recovery files selected, right-click on one of the selected files and choose the “Copy” option from the context menu.
Now, navigate to the folder you created on your external storage device and right-click inside the folder. Select the “Paste” option from the context menu to paste the recovery files into the folder.
The copying process may take some time, depending on the size and number of files being transferred. It is important not to interrupt the process or disconnect the external storage device while the files are being pasted.
Step 5: Restore Recovery files to the Ultrabook
After successfully pasting the recovery files into your external storage device, you are now ready to restore these files to your Toshiba Satellite Ultrabook when needed. Restoring the recovery files will allow you to recover your Ultrabook’s factory settings or specific files and programs.
Start by ensuring that the external storage device containing the recovery files is connected to your Ultrabook. Insert the USB drive or connect the external hard drive that you used in Step 1.
Turn on your Toshiba Satellite Ultrabook and access the boot menu or BIOS setup by pressing the appropriate key during the startup process. Navigate to the “Recovery” or “Advanced” options, similar to Step 2, to enter the recovery environment.
Within the recovery environment, locate the option to restore the Ultrabook’s factory settings. This option may be labeled as “Restore to Factory Settings” or “Reset to Default.” Select this option to initiate the restoration process.
When prompted, choose the external storage device as the source for the recovery files. This will ensure that the files from the external storage device are used for the restoration.
Follow the on-screen instructions to confirm your selection and initiate the restoration process. Be aware that the restoration process may take some time, depending on the size of the recovery files and the performance of your Toshiba Satellite Ultrabook.
Once the restoration process is complete, your Ultrabook will be restored to its original factory settings or any saved data and programs that were selected for recovery. Ensure that you carefully read and follow any additional prompts or instructions that may appear during the restoration process.
After the restoration is finished, you can disconnect the external storage device from your Toshiba Satellite Ultrabook. Your Ultrabook is now back to its original state, and you can continue using it as desired.
Remember to keep the external storage device with the recovery files in a safe place for future use, and periodically update the backup to include any changes or updates made to your Ultrabook’s configuration.
Conclusion
Putting back recovery files in your Toshiba Satellite Ultrabook is a crucial step in ensuring that you have a backup of important files and the ability to restore your device to its original state when needed. Through the step-by-step process outlined in this article, you can easily copy and store the recovery files from the recovery partition on your Ultrabook.
By connecting an external storage device, accessing the recovery partition, copying the recovery files, pasting them into the external storage, and learning how to restore them to your Ultrabook, you have gained valuable knowledge on managing recovery files effectively.
Remember to regularly update your recovery files on the external storage device to include any changes or updates made to your Ultrabook. This ensures that you always have the most up-to-date backup available.
By following these steps, you can have peace of mind knowing that you have a reliable backup of your important files and the ability to restore your Toshiba Satellite Ultrabook whenever necessary.
Now that you are equipped with this knowledge, you can confidently manage and protect your Ultrabook’s recovery files, ensuring the longevity and functionality of your device for years to come.