Introduction
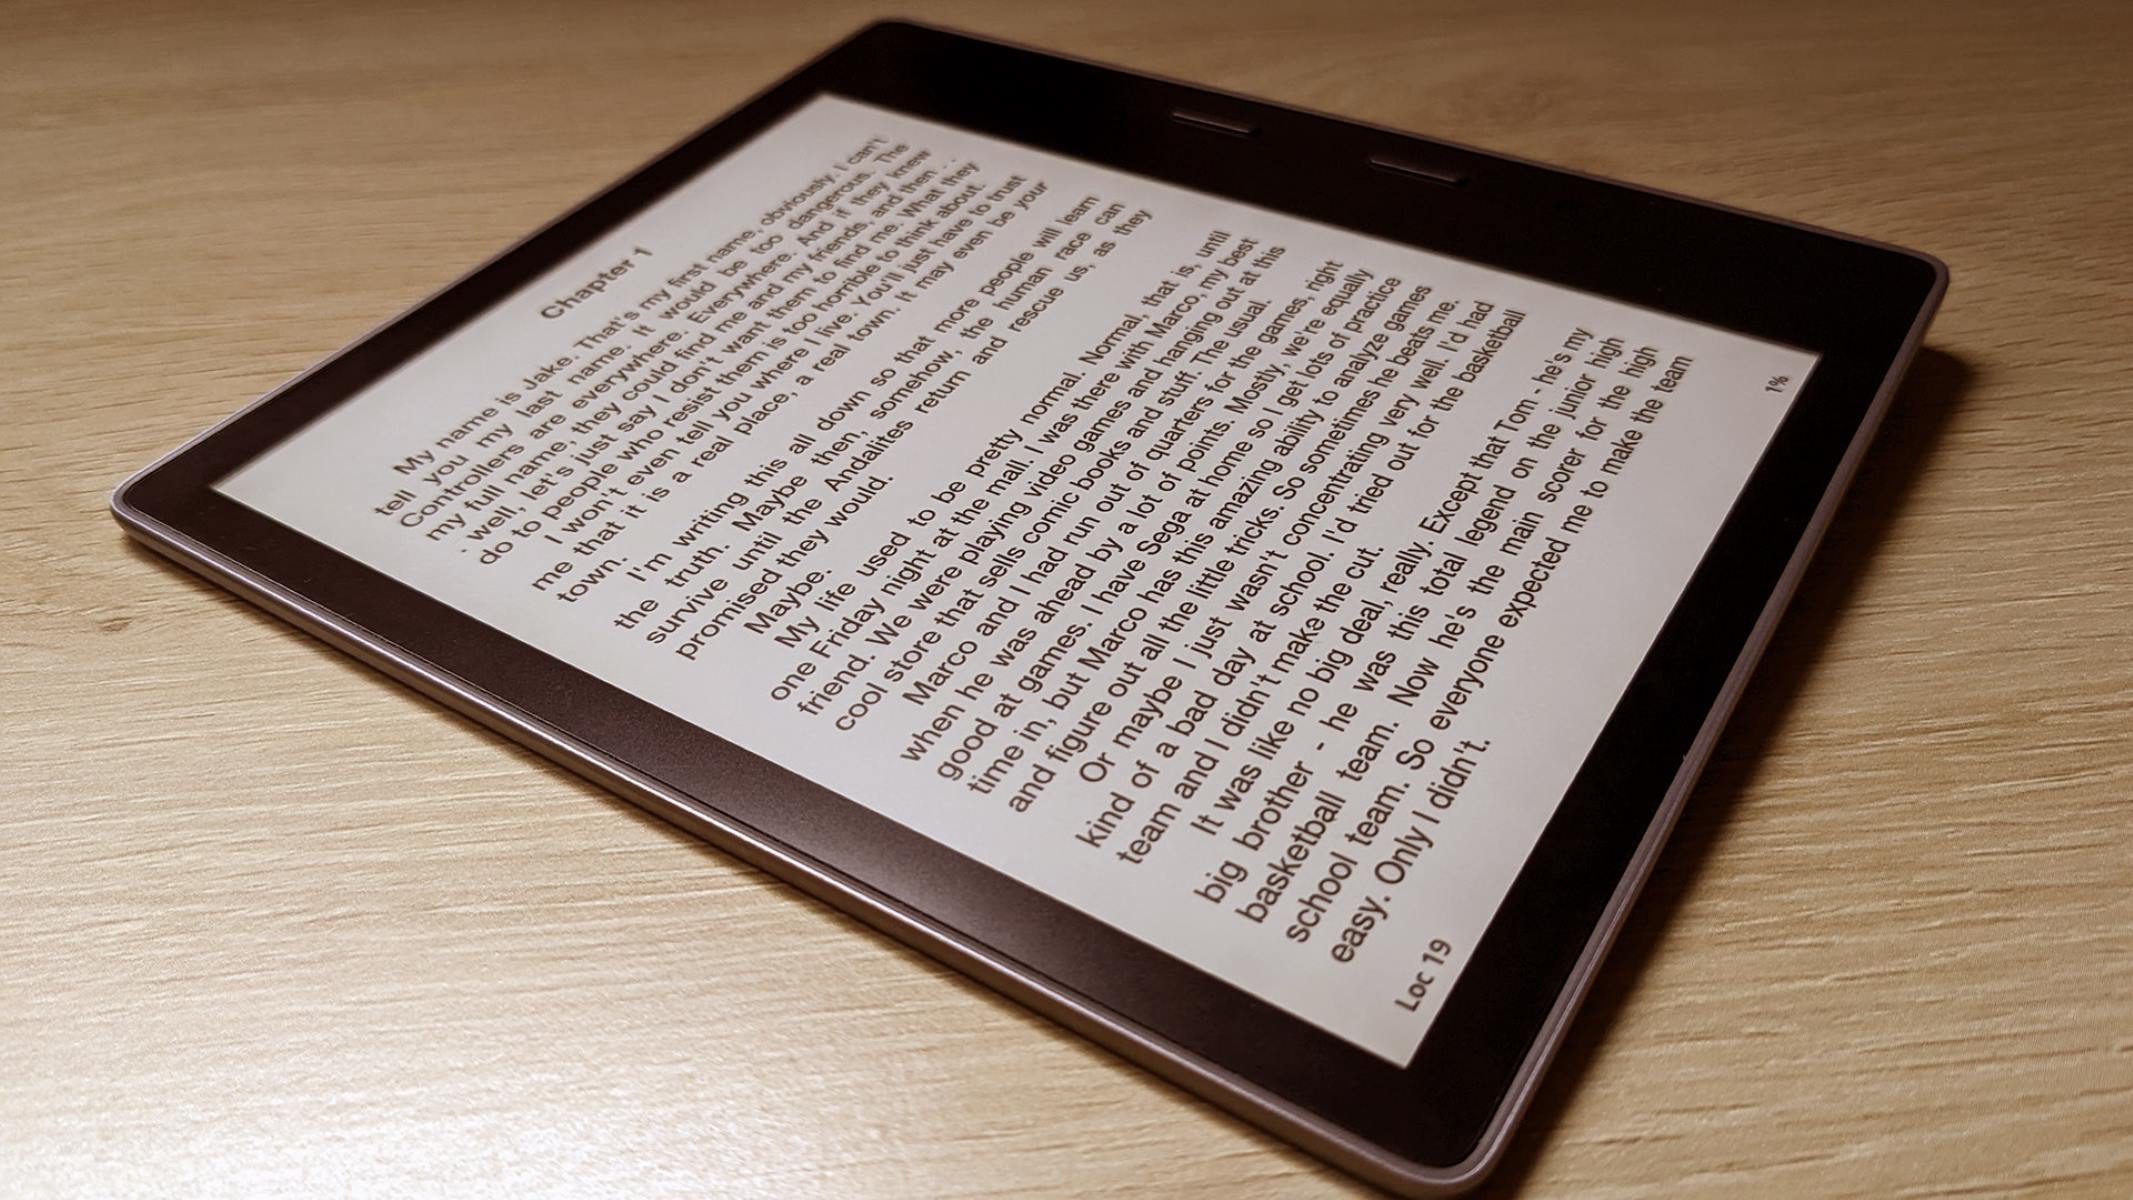
Welcome to the world of e-books, where countless stories, knowledge, and inspiration are just a click away. However, there are times when you may want to enjoy the tactile experience of holding a physical book in your hands. In these instances, printing an e-book becomes a convenient option.
Printing an e-book allows you to delve into the pages, highlight your favorite passages, and feel the satisfaction of turning physical pages. Whether it’s a novel you can’t put down, a reference guide you want to annotate, or a cookbook you want to bring into the kitchen, printing an e-book can provide a different reading experience.
In this guide, we will walk you through the step-by-step process of printing an e-book. From converting the e-book into a printable format to choosing the right paper and binding, we’ll cover all the necessary details. By the end of this guide, you’ll be equipped with the knowledge to transform your digital collection into a tangible library.
Before we dive into the details, it’s important to note that printing an entire e-book might not be feasible or legal in some cases. Many e-books come with copyright restrictions that limit or prohibit printing. Always ensure you have the necessary rights and permissions before proceeding with the printing process. Additionally, consider the environmental impact of printing, as it may be more responsible to read digitally to save on paper and resources.
Now, let’s embark on this printing journey together and discover how to bring your e-books to life on paper.
Step 1: Convert eBook to a printable format
The first step in printing an e-book is to convert it into a format that is suitable for printing. Most e-books are saved in formats such as EPUB or MOBI, which are optimized for digital reading. To print an e-book, you’ll need to convert it into a compatible format, such as PDF, that preserves the layout and formatting.
There are several tools available that can help you convert your e-book to a printable format. One popular option is the use of online conversion websites, where you can upload your e-book file and download the converted PDF file. These websites usually provide a straightforward interface and allow you to customize the conversion settings according to your preferences.
Alternatively, you can use dedicated e-book management software that supports conversion to PDF. Programs like Calibre or Adobe Digital Editions offer the ability to convert e-books and provide advanced options for adjusting the layout, font size, and images.
Once you have chosen a conversion method, follow the instructions to convert your e-book to PDF. Make sure to select the appropriate settings, such as page size and orientation, to ensure the best possible output. After the conversion is complete, save the converted PDF file to your preferred location on your computer.
It’s important to note that the quality of the converted PDF may vary depending on the complexity of the e-book’s formatting. Some e-books may contain interactive elements or multimedia content that may not translate perfectly to the printed version. Take the time to preview the converted PDF and make any necessary adjustments or edits before moving on to the next step.
Now that you’ve successfully converted your e-book to a printable format, you’re ready to move on to the next step: choosing the right paper and binding for your printed e-book.
Step 2: Choose the right paper and binding
Choosing the right paper and binding is crucial for creating a quality printed e-book. The paper and binding will not only affect the visual aesthetics but also determine the durability and overall reading experience of your printed book.
When it comes to selecting paper, consider factors such as thickness, weight, and finish. Opt for a paper weight that is sturdy enough to withstand frequent handling without tearing or wrinkling. A smooth finish can enhance the readability of the text and the vibrancy of any images or illustrations.
For most printed e-books, a standard brightness paper (around 80-90 GSM) will suffice. However, if you prefer a more premium look and feel, you could choose a higher quality paper with a higher GSM. Keep in mind that thicker paper may affect the overall thickness and weight of the finished book.
Next, consider the binding options for your printed e-book. The binding not only holds the pages together but also determines how easily the book can be opened and read. There are several common binding methods to choose from:
- Perfect Binding: This is the most common type of binding used for paperback books. Pages are glued together along the spine, creating a clean and professional look.
- Saddle Stitch: Ideal for thinner books, saddle stitch binding involves stapling the pages together along the fold line.
- Spiral Binding: Also known as coil binding, this method uses a plastic or metal coil that runs through holes punched along the edge of the pages. Spiral binding allows the book to lay flat when open, making it a popular choice for workbooks and manuals.
- Hardcover Binding: If you want to give your printed e-book a more luxurious and durable feel, consider opting for hardcover binding. This involves attaching a hard case cover to the book, providing added protection and a professional appearance.
Consider the purpose and usage of your printed e-book when selecting the binding method. Paperback binding may be more suitable for casual reading, while hardcover binding may be preferred for books that will be displayed or kept for a long time.
Take your time to explore different paper types and binding options before making a decision. You can visit local print shops, stationery stores, or online printing services to get samples or seek expert advice on the best paper and binding choices for your printed e-book.
With the right paper and binding selected, you’re now ready for the next step: adjusting the margins and page settings of your e-book to ensure optimal printing.
Step 3: Adjust margins and page settings
Once you have your e-book converted to a printable format and have chosen the right paper and binding, it’s time to adjust the margins and page settings to ensure that your printed e-book looks clean and professional. Properly adjusted margins and page settings can enhance readability and help avoid text or images being cut off during printing.
Start by opening your converted PDF file using a PDF reader software such as Adobe Acrobat Reader. Look for the “Page Setup” or “Print Setup” option, which will allow you to modify the margins, page size, and orientation of the document.
Consider the page size you want for your printed e-book. The most common sizes are A4 and letter size (8.5″ × 11″), but you can choose any size that suits your preference. Keep in mind that larger page sizes may require larger paper and can affect the overall thickness and weight of the printed book.
Adjust the margins to ensure that there is enough white space around the text and images. This will prevent important content from being cut off during printing. It’s recommended to have a larger margin on the binding side to account for the binding process.
If your e-book contains any headers, footers, or page numbers, make sure they are positioned correctly and do not interfere with the readability of the text. You may need to adjust their location or font size to maintain a balanced layout.
While adjusting the margins and page settings, take the time to preview the pages to ensure that all elements, such as images, graphics, and tables, are aligned properly. Pay attention to any page breaks or awkward spacing that may affect the flow of the content.
Remember that the goal is to create a visually appealing and easy-to-read printed e-book, so take the necessary time to fine-tune the margins and page settings to achieve the desired result. Once you are satisfied with the adjustments, save the changes and proceed to the next step: printing the e-book.
Step 4: Print the eBook
Now that you have adjusted the margins and page settings, it’s time to print your eBook and bring it to life on paper. Follow these steps to ensure a successful printing process:
- Ensure that your printer is connected and has enough ink or toner to complete the print job. Check the printer settings to confirm that it is configured to print in the desired paper size and orientation.
- Open the PDF file of your converted eBook. Go to the “Print” option, usually found under the “File” menu or by pressing Ctrl + P.
- In the printing window, review the settings and make any necessary adjustments. Select the specific pages or page range you want to print, set the number of copies, and choose the desired print quality.
- If available, select the option to print double-sided to save on paper. This is especially useful for longer eBooks with multiple pages.
- Preview the print layout to ensure that everything appears as expected. Check for any formatting issues or missing content that may require further adjustments.
- Once you are satisfied with the settings and preview, click the “Print” button to start the printing process.
- Allow the printer to complete the print job. Depending on the length of your eBook and the printer speed, this may take some time.
- Once the printing is complete, carefully collect the printed pages and check for any print quality issues, such as smudging or alignment problems. If necessary, reprint specific pages or adjust the print settings to achieve the desired results.
Congratulations! You have successfully printed your eBook. Take a moment to flip through the pages and admire your work. If you are printing multiple copies, repeat the printing process for each set of pages.
Remember to save an electronic copy of your converted eBook and the printing settings for future reference. This will allow you to reproduce or make further adjustments if needed.
With the eBook printed, you’re one step closer to holding your favorite stories, valuable information, or treasured recipes in your hands. The final step is to bind the printed pages to create a complete and functional book, which we will explore in the next section.
Step 5: Bind the printed pages
Now that you have all the pages of your eBook printed, it’s time to bind them together to create a cohesive and organized book. The binding method you choose will depend on factors such as the number of pages, the desired durability, and the overall look and feel you want to achieve.
If you opted for perfect binding during the paper and binding selection process, you can skip this step as the pages are already glued together along the spine. However, if you chose a different binding method such as saddle stitch, spiral, or hardcover, follow the corresponding instructions below.
- Saddle Stitch Binding: For thinner books, saddle stitch binding can be a simple and cost-effective option. Align the printed pages and use a long-arm stapler to staple along the center fold line. Make sure the staples are positioned evenly and securely fasten the pages together.
- Spiral Binding: If you prefer a book that lays flat when open, spiral binding is a popular choice. Use a spiral binding machine or take your printed pages to a print shop that offers this service. They will punch holes along the edge of the pages and insert a plastic or metal coil to secure the pages together.
- Hardcover Binding: For a more professional and durable finish, consider hardcover binding. This involves attaching a hard case cover to your printed pages. You can do this yourself using a bookbinding kit or take it to a professional bookbinder who will expertly bind your pages into a hardcover book.
Remember to handle the printed pages with care to avoid smudging or damaging the ink. Take your time to ensure that each page is aligned correctly and the binding method is applied accurately. If you are unsure about any aspect of the binding process, seek guidance from a local print shop or bookbinding service.
Once the binding is complete, carefully flip through the pages to ensure they are securely held together and there are no loose or detached pages. Enjoy the satisfying feeling of holding a complete book in your hands, ready to be read and cherished.
With your eBook now printed and bound, you are closing in on the final step: reviewing and editing the printed copy, as we will explore in the next section.
Step 6: Review and edit if necessary
Now that you have your eBook printed and bound, it’s time to take a careful look at the final product and make any necessary edits or adjustments. Reviewing and editing your printed eBook will ensure the accuracy, readability, and overall quality of the content.
Start by flipping through each page, examining the text, images, and formatting. Look for any printing errors, such as smudges, streaks, or faded areas. If you come across any issues, consider reprinting the affected pages or seeking assistance from a professional printing service to rectify the problem.
Take the opportunity to review the overall layout and design of your printed eBook. Ensure that the margins are consistent, the images are clear, and the text is legible. Pay attention to any formatting inconsistencies, such as inconsistent font sizes, incorrect line spacing, or misplaced elements.
Carefully read through the content of your printed eBook, keeping an eye out for any spelling errors, grammar mistakes, or formatting issues. Use a pen or pencil to mark any corrections or amendments directly on the pages. If you spot significant errors, consider making the necessary changes in the original digital file and reprinting the affected pages.
Additionally, consider the flow and organization of the content. Ensure that the chapters, sections, or headings are correctly labeled and in the desired order. Check that any page breaks occur at appropriate locations and that long passages of text are not split between pages.
Once you have completed the review and editing process, make the necessary corrections to improve the quality and readability of your printed eBook. This attention to detail will enhance the reader’s experience and provide a professional and polished final product.
Remember, editing is an ongoing process, and even the most carefully prepared e-books may have room for improvement. Take the time to review and edit your printed copy as thoroughly as possible to ensure that it meets your standards and surpasses your readers’ expectations.
With the review and editing process complete, your printed eBook is now ready to be enjoyed or shared with others. Embrace the satisfaction that comes from holding your own professionally printed book and relish in the accomplishment of bringing your digital work into the physical world.
Conclusion
Congratulations on successfully printing your eBook! You have transformed a digital collection of words and ideas into a tangible and immersive reading experience. By following the step-by-step process outlined in this guide, you have learned how to convert your eBook to a printable format, choose the right paper and binding, adjust margins and page settings, print the eBook, bind the printed pages, and review and edit the final copy.
Printing an eBook can provide a different level of engagement and satisfaction, allowing you to fully appreciate the content while enjoying the tactile experience of holding a book. Whether it’s for personal enjoyment, sharing with others, or even self-publishing, printed eBooks offer a unique way to bring stories, knowledge, and inspiration to life.
Remember to always adhere to copyright laws and obtain the necessary permissions before printing any copyrighted material. Additionally, consider the environmental impact of printing and carefully choose what eBooks warrant a physical copy versus being read digitally.
With the knowledge and skills you have acquired, you can now embark on future printing projects with confidence. Explore different paper types, binding methods, and formatting options to create personalized and visually appealing books.
Thank you for joining us on this printing journey. We hope this guide has been helpful and has inspired you to explore the world of printed eBooks. Happy printing!


