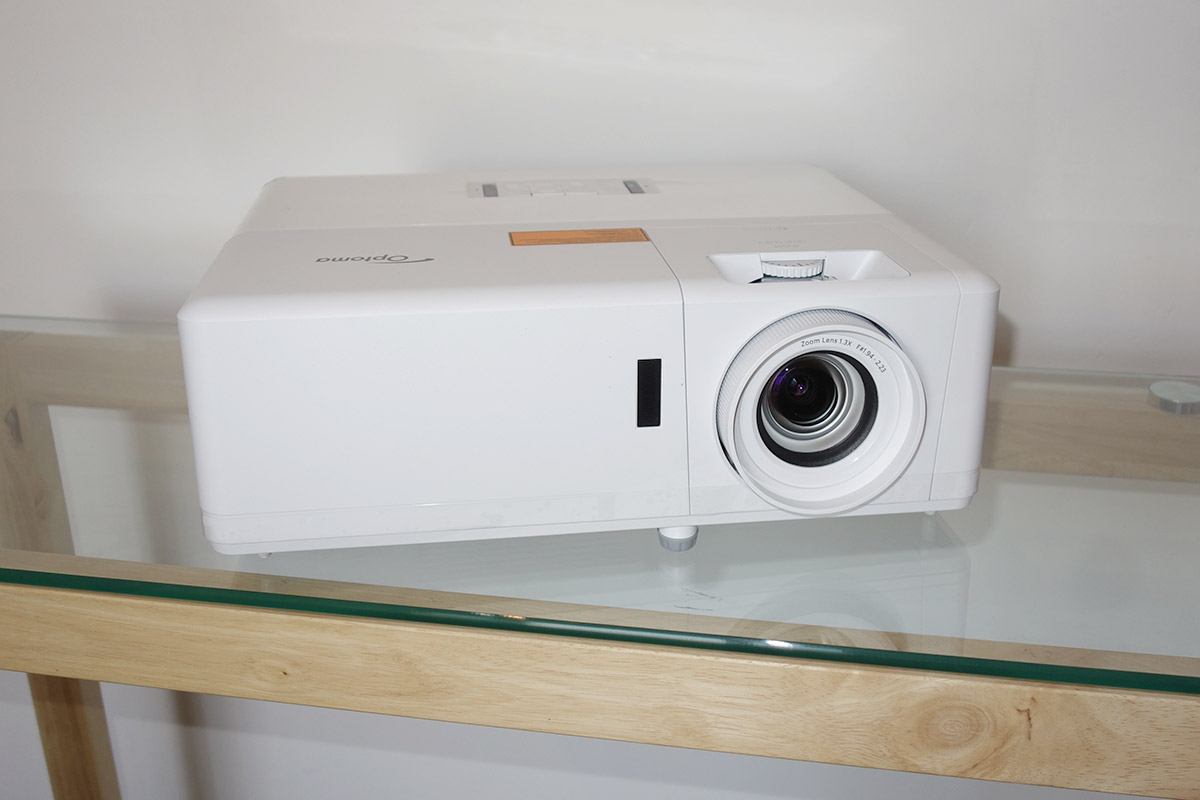
Introduction
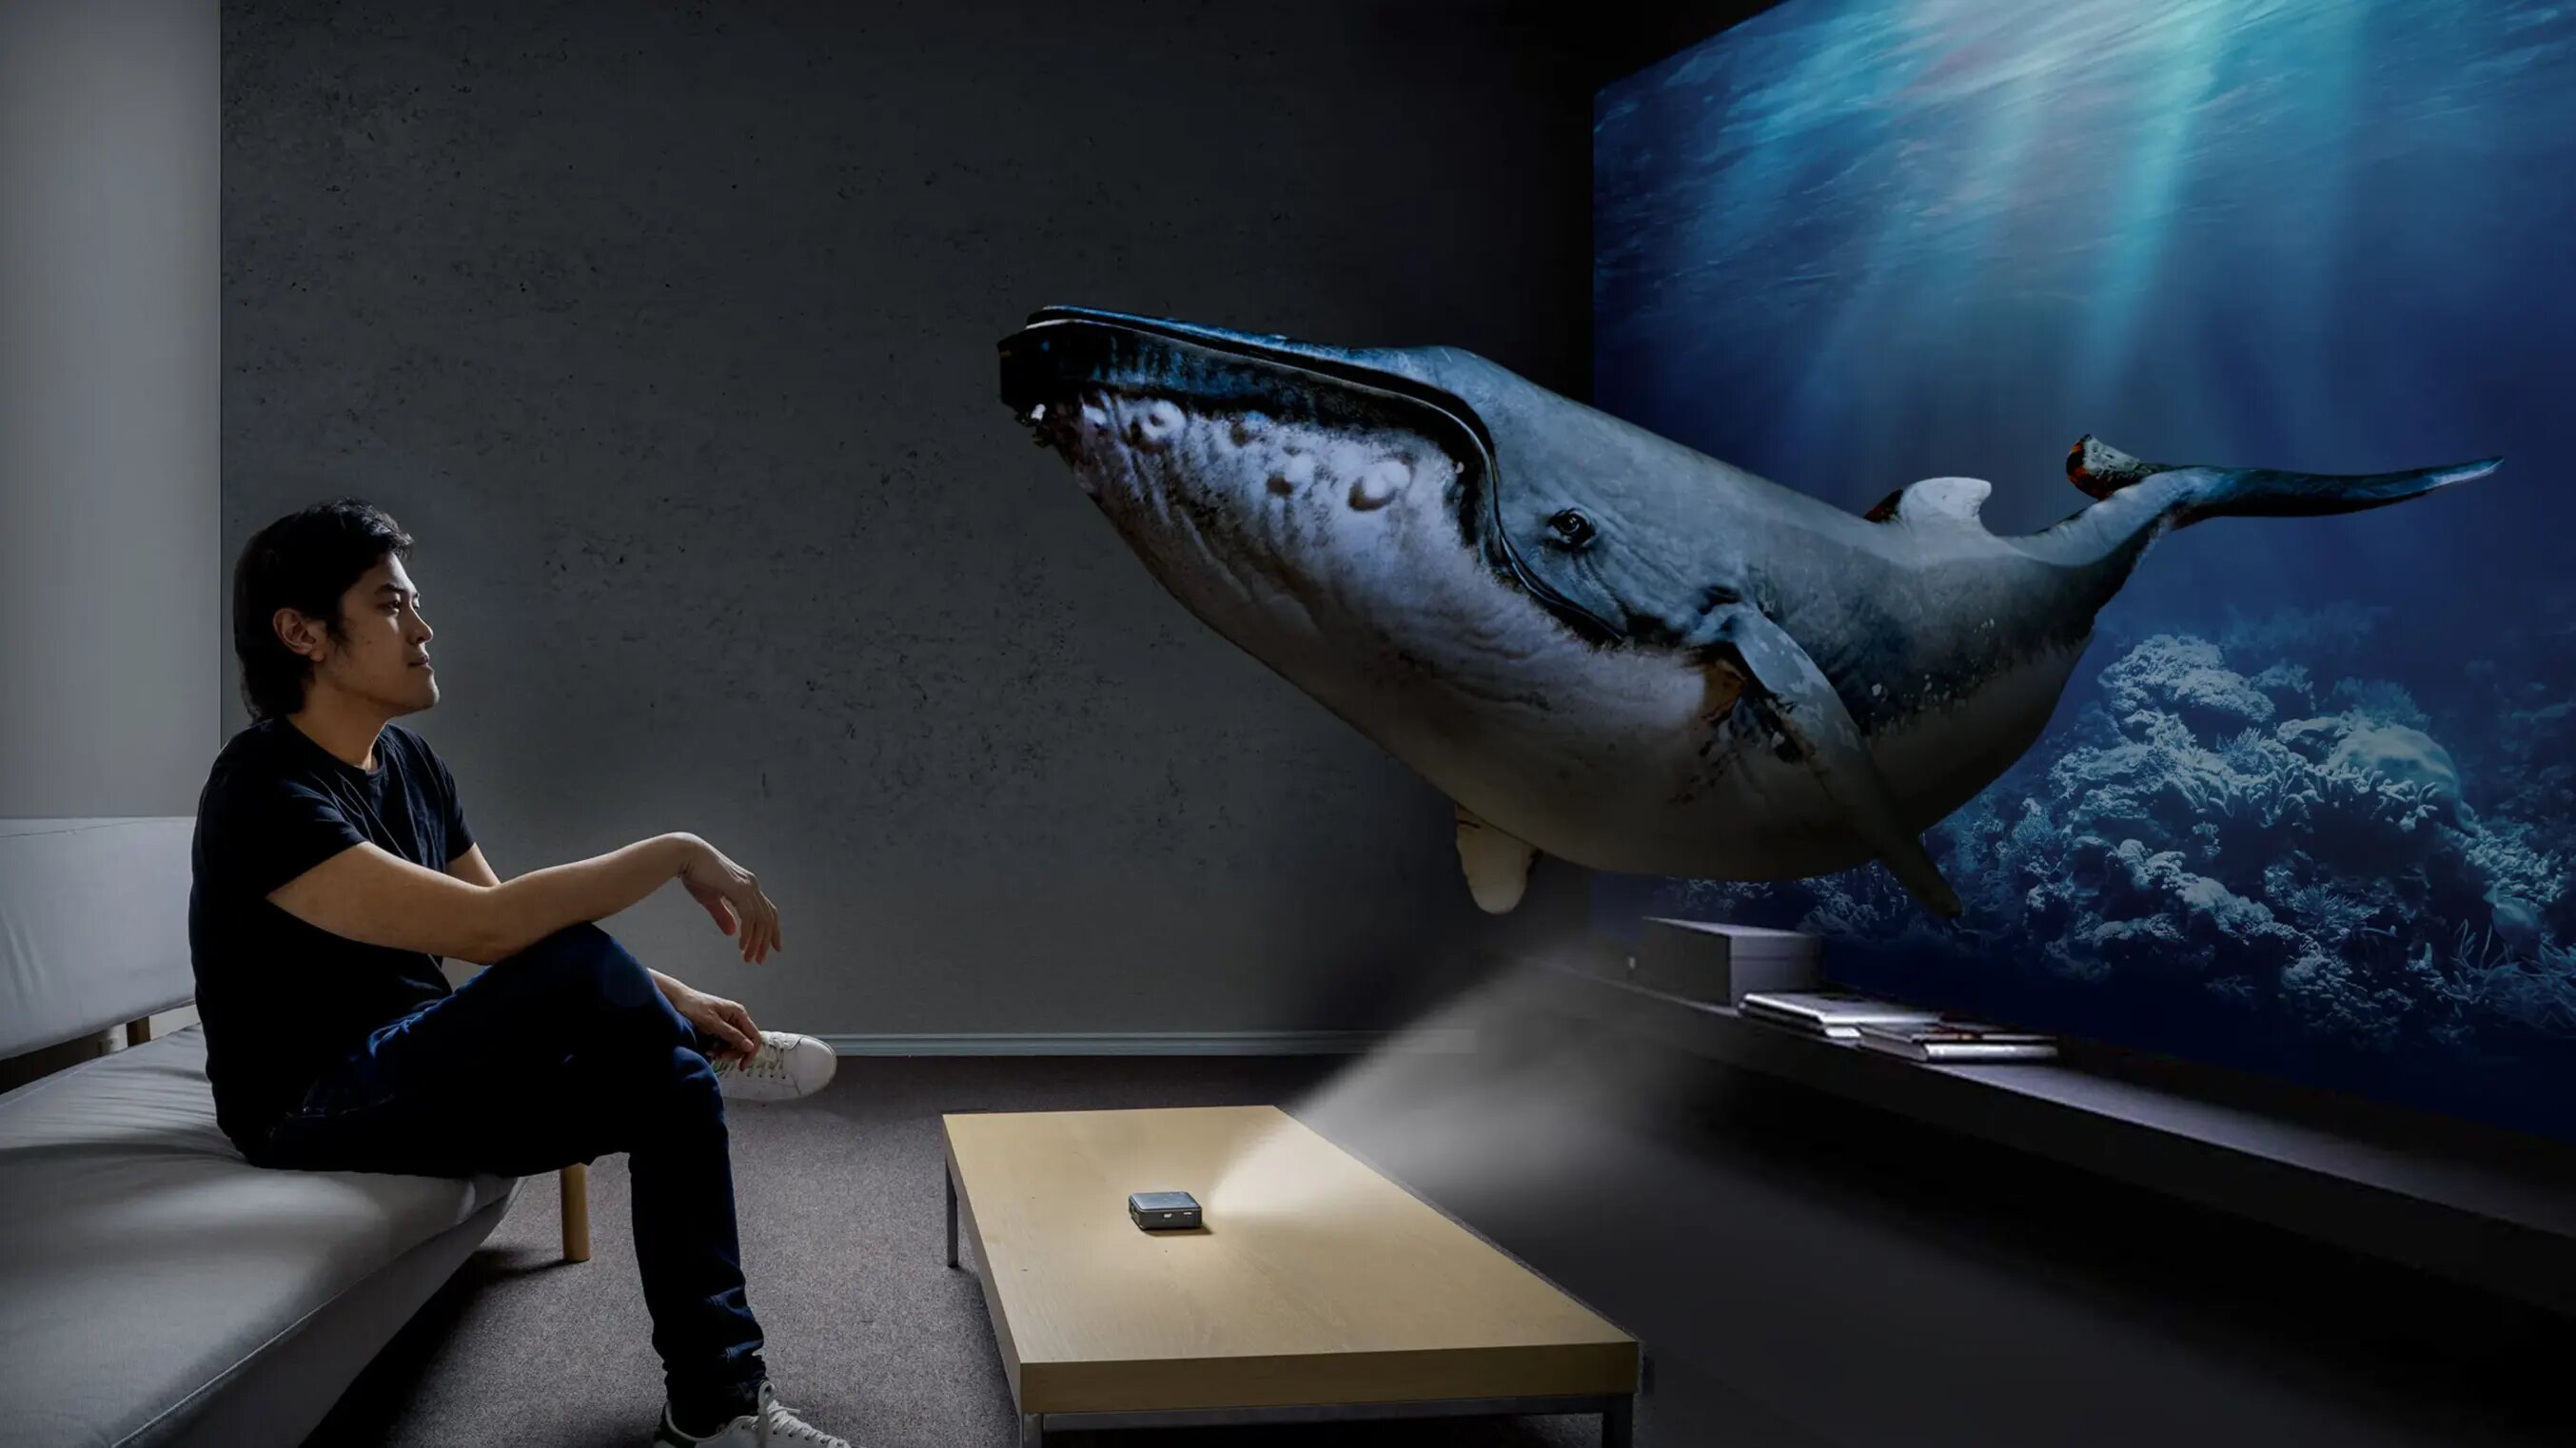
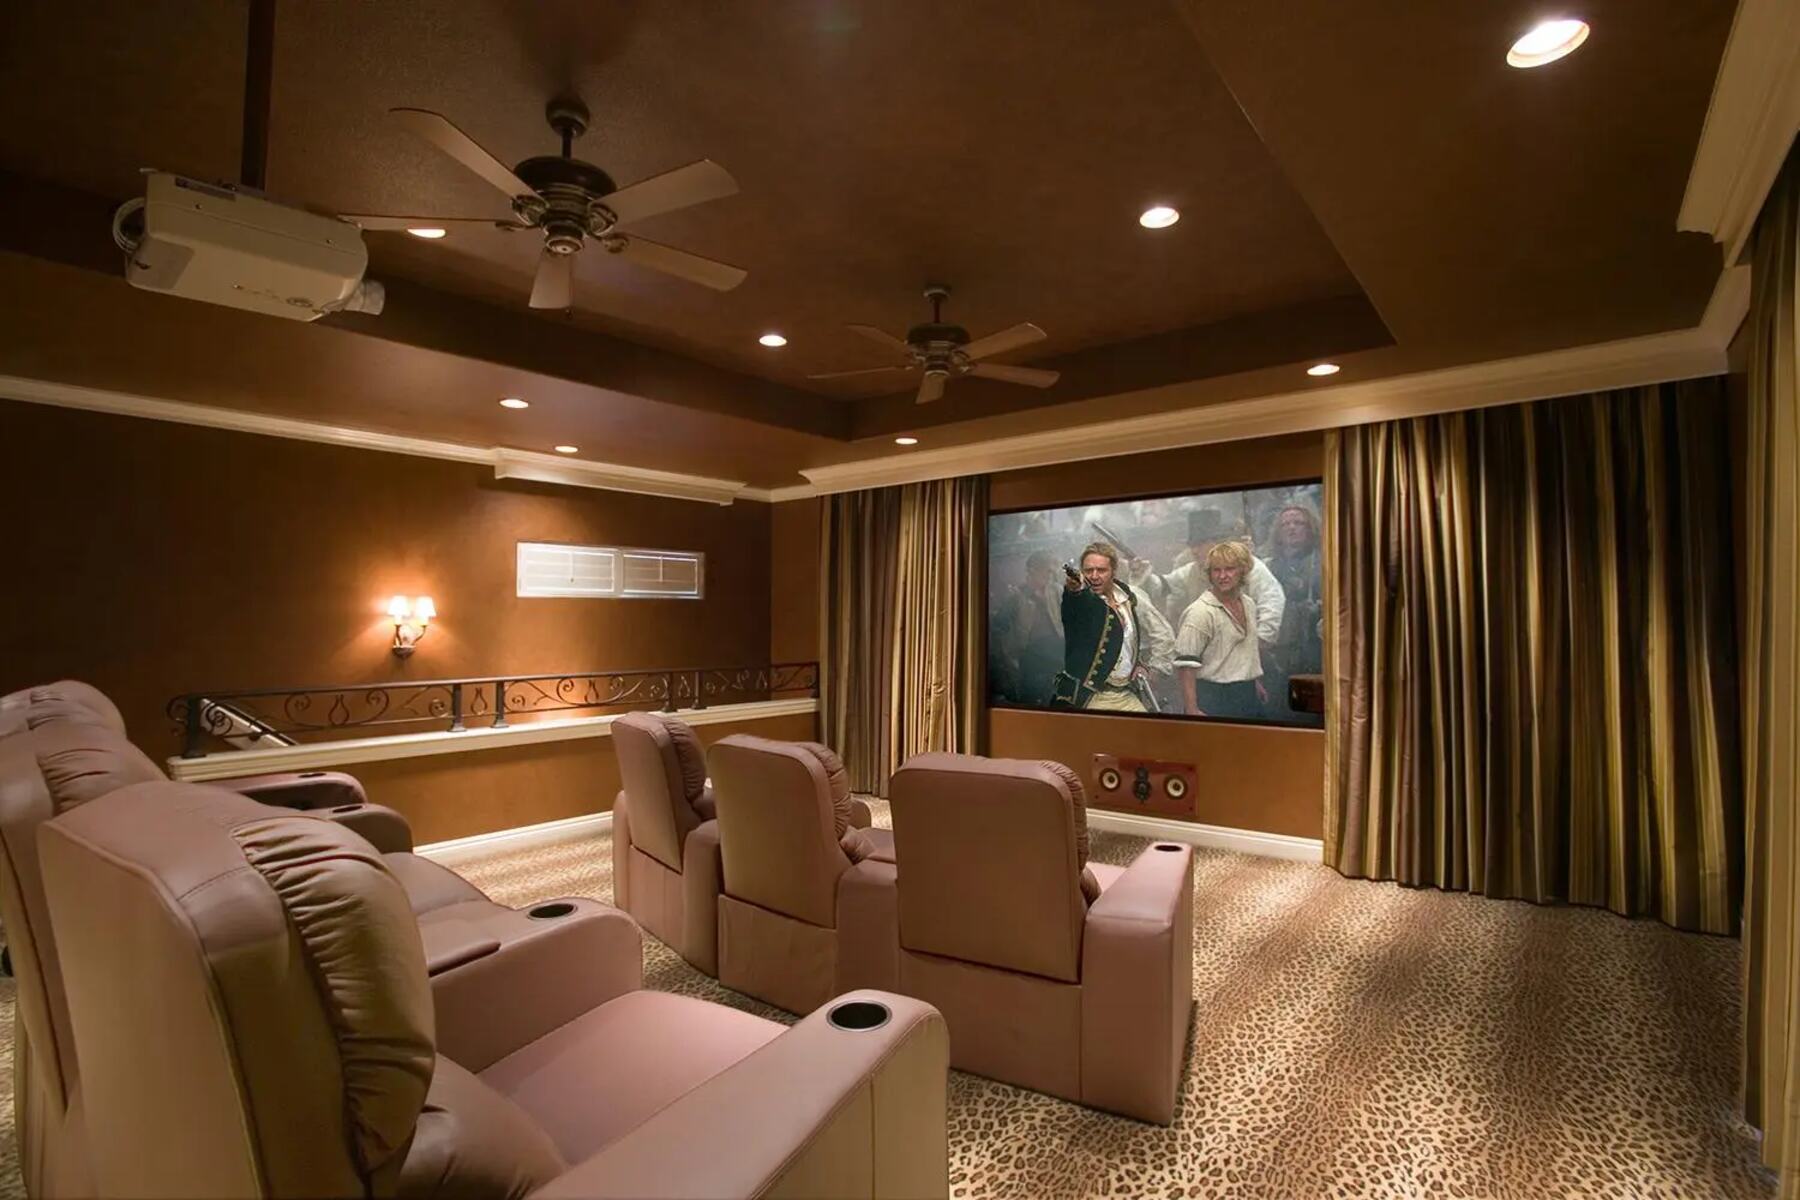
Welcome to the world of immersive entertainment! 3D movies have revolutionized the way we experience films, bringing characters and scenes to life right before our eyes. Watching 3D movies on a projector takes the viewing experience to a whole new level, as the larger screen size and enhanced image quality make you feel like you’re a part of the action.
In this article, we will walk you through the process of playing 3D movies on a projector, ensuring that you get the most out of your movie-watching experience. Whether you already own a projector or are considering purchasing one, this guide will provide you with valuable insights and step-by-step instructions.
Before we dive into the details, it’s important to have a basic understanding of what 3D movies are. Unlike regular movies, which are displayed in 2D (two-dimensional), 3D movies create an illusion of depth by rendering images on a screen that appear to have height, width, and depth. This effect is achieved through the use of special glasses that enable each eye to see a slightly different image, stimulating the brain to perceive depth and dimension.
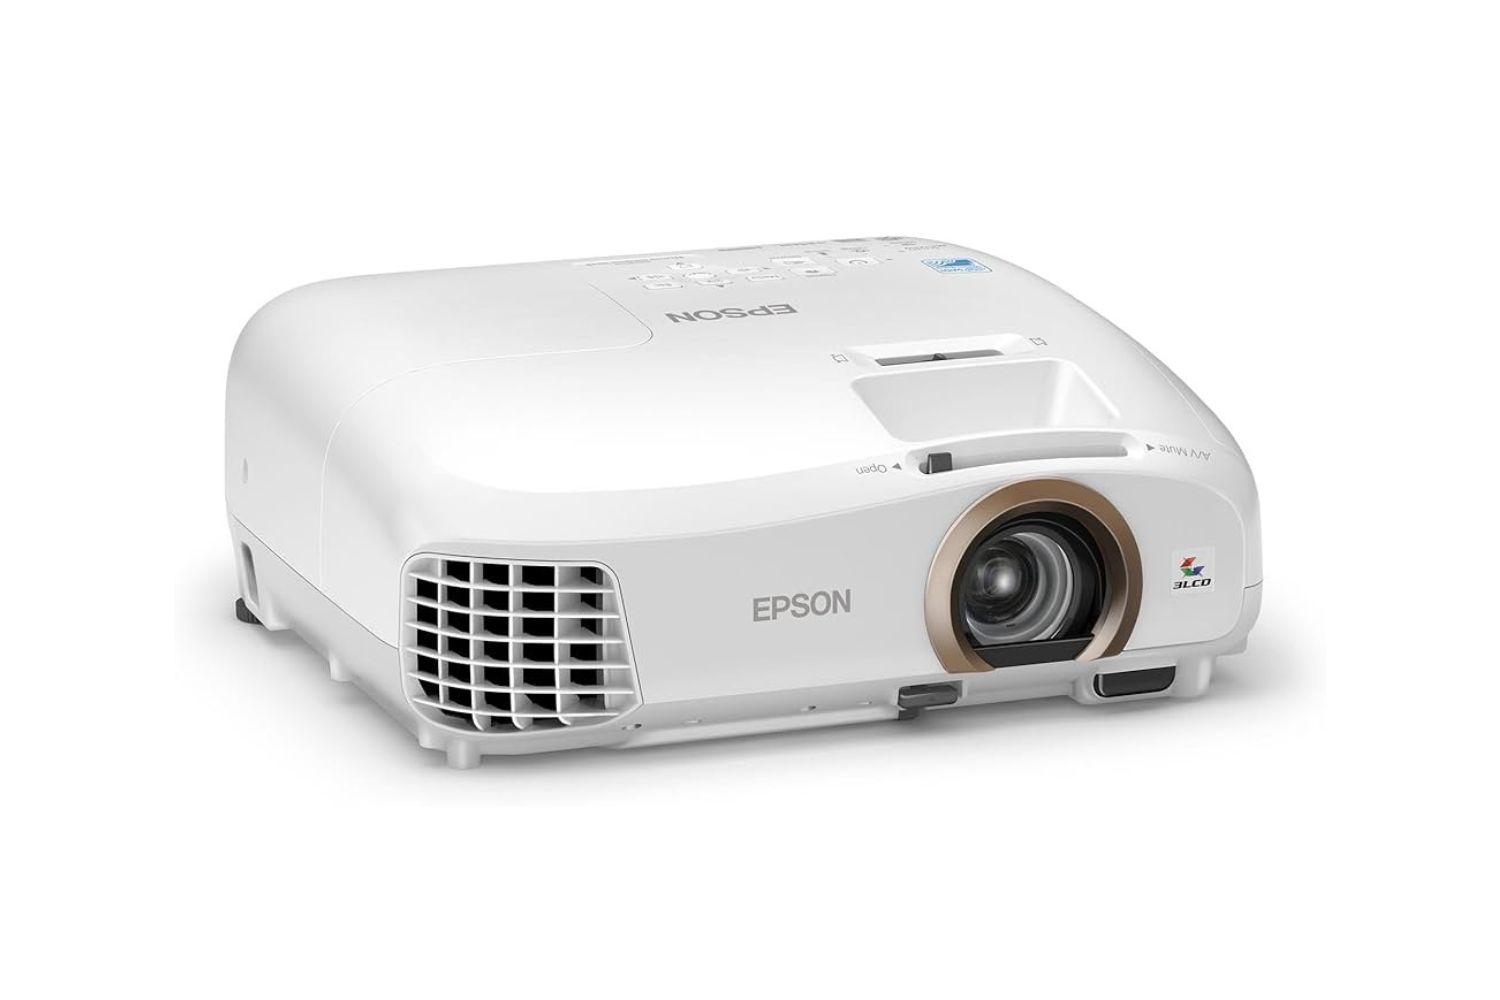
Now that you are familiar with the concept of 3D movies, let’s explore the different types of 3D projectors available in the market. Understanding the features and specifications of these projectors will help you make an informed decision when selecting the one that suits your needs.
Understanding 3D Movies
3D movies offer an immersive cinematic experience that transports viewers into the world of the film. To fully appreciate and enjoy 3D movies, it’s essential to understand the technology behind them.
The basic principle of 3D movies is to present two different images to each eye, creating the illusion of depth and dimension. These images are typically rendered using one of two methods: polarized or active shutter.
In polarized 3D, the projector emits two images that are polarized differently, usually with the use of specialized filters. The viewer wears passive polarized glasses that filter out one of the images for each eye, ensuring that each eye perceives a slightly different image. This method is commonly used in cinemas and some home theaters.
Active shutter 3D, on the other hand, involves a different approach. The projector displays the images alternately at a high frequency, while the viewer wears active shutter glasses. These glasses sync with the projector and rapidly open and close the lenses, allowing each eye to see the corresponding image at the right time. This method provides a more vivid and immersive 3D experience but requires compatible projectors and glasses.
It’s important to consider the 3D movie format before playing it on your projector. Common formats include side-by-side (SBS), top-and-bottom (TAB), and frame sequential. Side-by-side and top-and-bottom formats compress the two images together, with each image taking up half of the screen. Frame sequential, on the other hand, delivers the left and right images alternately in full resolution.
Now that you have a better understanding of 3D movies and the different technologies used, let’s move on to exploring the various types of 3D projectors available in the market and how to choose the right one for your needs.
Types of 3D Projectors
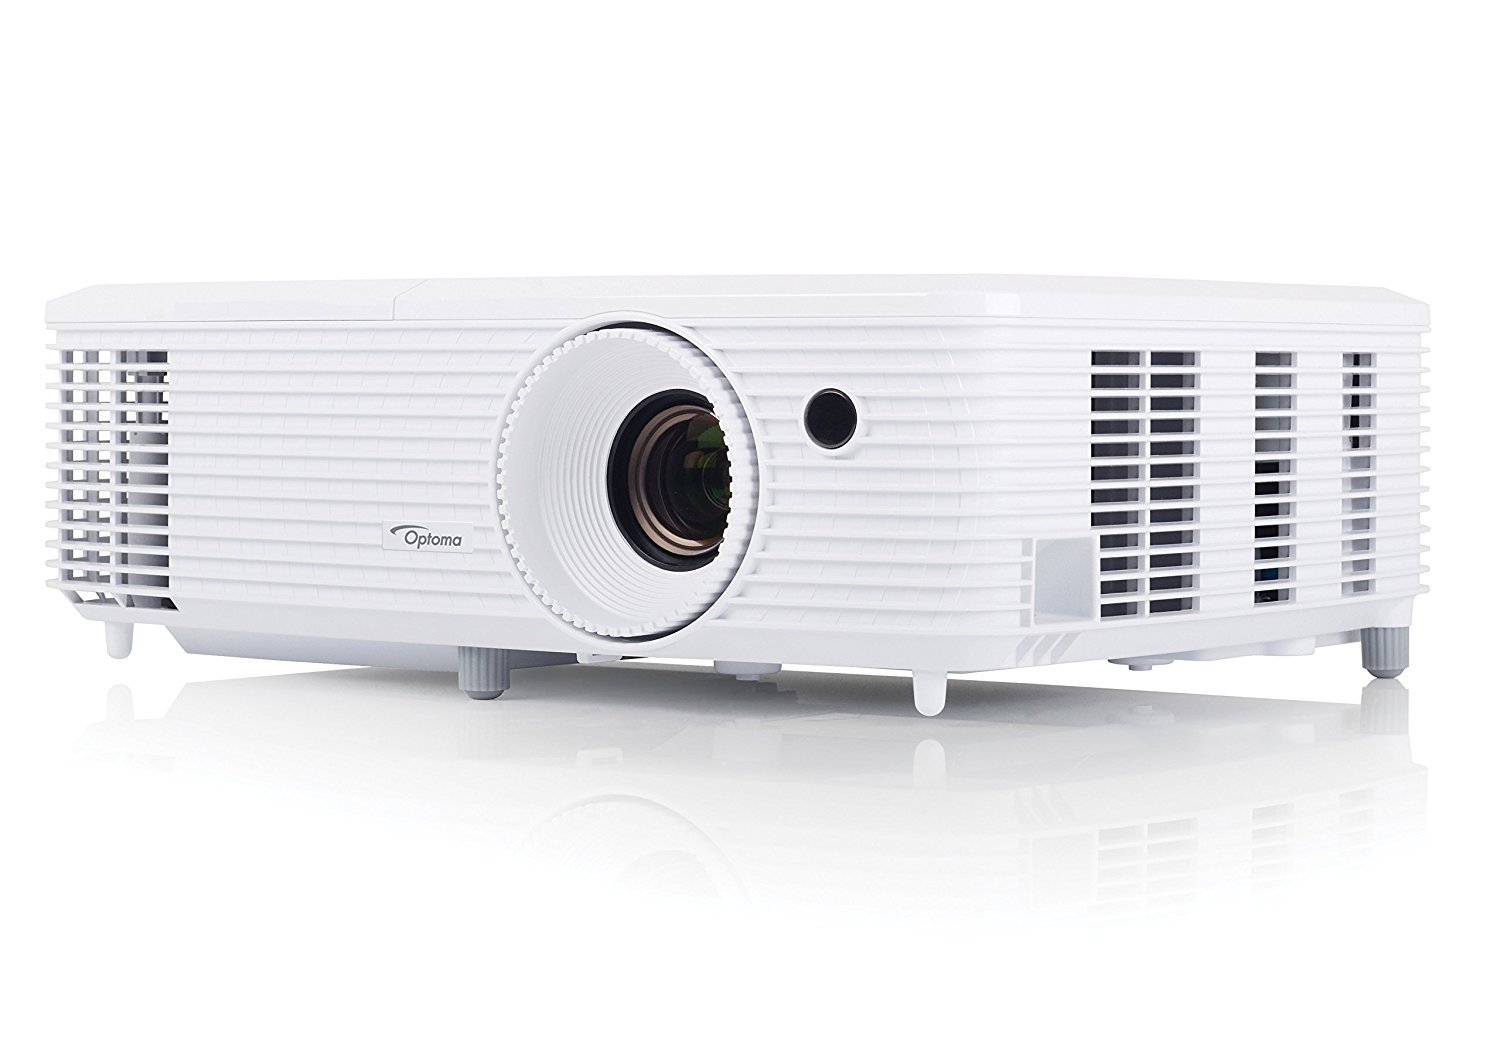
When it comes to 3D projectors, there are several types available, each with its own features and capabilities. Understanding the different types will help you choose the right projector for your specific needs and budget.
1. DLP (Digital Light Processing) Projectors: DLP projectors use a chip with microscopic mirrors to project images. They are known for their excellent contrast, fast response time, and ability to deliver smooth and sharp 3D images. DLP projectors are widely used in home theaters and offer a great balance between cost and performance.
2. LCD (Liquid Crystal Display) Projectors: LCD projectors use liquid crystal panels to display images. They are known for their vibrant color reproduction and high brightness levels. LCD projectors are a popular choice for 3D movie enthusiasts as they offer good value for money and are ideal for both home theaters and professional settings.
3. LCoS (Liquid Crystal on Silicon) Projectors: LCoS projectors combine the advantages of both DLP and LCD technologies. They use liquid crystals on a mirror-like surface, resulting in deep blacks, high contrast ratios, and smooth images. LCoS projectors are considered high-end and deliver exceptional image quality, making them a preferred choice for cinephiles and professional applications.
4. Laser Projectors: Laser projectors use laser light sources instead of traditional lamps, offering superior color accuracy, brightness, and energy efficiency. They are capable of delivering stunning 3D visuals with sharp details and deep color saturation. While laser projectors are more expensive than other types, they are perfect for large venues, like cinemas and auditoriums.
In addition to the technology, you’ll want to consider other factors such as resolution, brightness, throw ratio, and connectivity options when choosing a 3D projector. Higher resolution projectors will deliver sharper and more detailed images, while brightness is crucial for well-lit rooms or large screens. The throw ratio determines the projection size and distance, so ensure it matches your space. Lastly, consider the available HDMI and USB ports for seamless connectivity to your devices.
Now that you have a good understanding of the various types of 3D projectors, let’s move on to the next section, where we’ll explore how to choose the right 3D movie format for your projector.
Choosing the Right 3D Movie Format
When it comes to watching 3D movies on your projector, choosing the right movie format is crucial for a seamless and enjoyable viewing experience. Different projectors support different 3D formats, and understanding these formats will help you make the right choice.
One of the most common 3D movie formats is side-by-side (SBS), where the left and right eye images are compressed horizontally and displayed side by side on the screen. This format is widely supported by 3D projectors and is compatible with most 3D content available today.
Another popular format is top-and-bottom (TAB), which compresses the left and right eye images vertically and displays them one on top of the other. TAB format is commonly used with 3D Blu-ray discs and is also supported by many projectors.
Frame sequential is a format that delivers the left and right eye images alternately in full resolution. This format provides the highest image quality but requires a compatible projector and a 3D source that supports it.
When choosing a 3D movie format, take into consideration the capabilities of your projector and the source device you’ll be using. Ensure that both support the selected format for the best results.
Additionally, some projectors offer 2D to 3D conversion, which can enhance the depth perception in regular 2D movies. Although the effect may not be as pronounced as true 3D content, it can still provide an immersive experience. However, keep in mind that the quality of the converted 3D effect may vary depending on the projector’s capabilities.
Now that you understand the different 3D movie formats and their compatibility with projectors, let’s move on to the next section, where we’ll learn how to connect your projector to a 3D source.
Connecting Your Projector to a 3D Source
Now that you have your 3D projector and a 3D movie ready to go, it’s time to connect your projector to a compatible 3D source. This step is crucial to ensure that the 3D content is properly displayed on the big screen.
The most common 3D sources include Blu-ray players, gaming consoles, media players, and computers. Here’s a step-by-step guide on how to connect your projector to a 3D source:
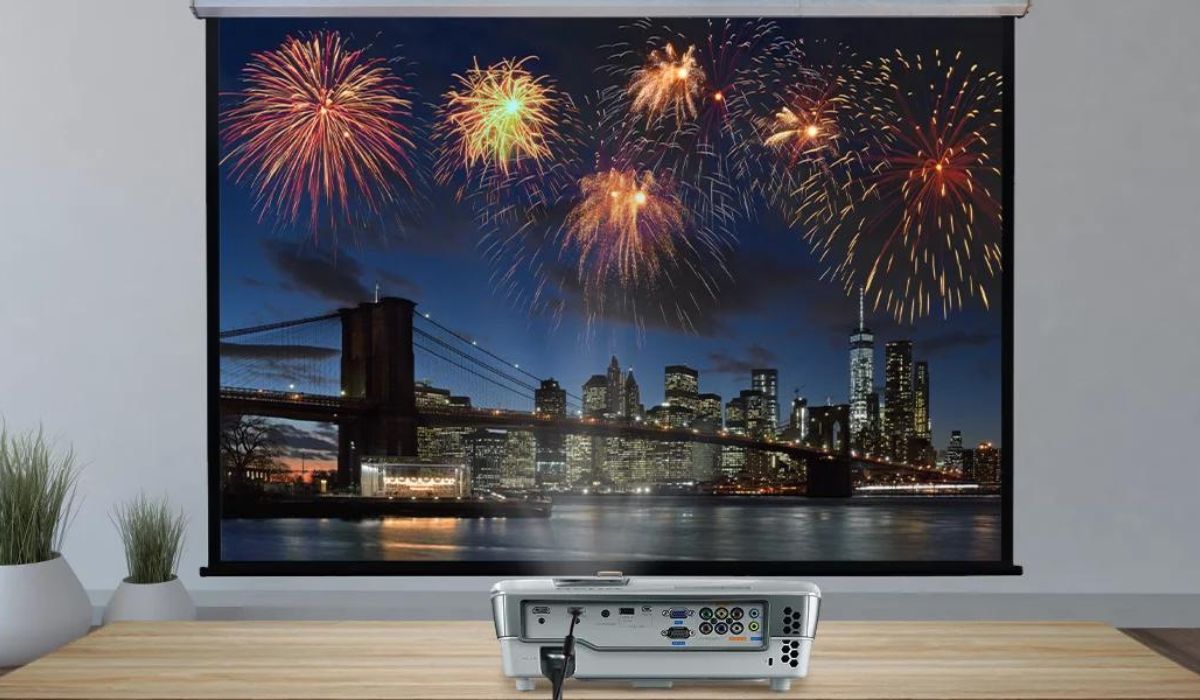
1. Check the available connection ports on your projector and the 3D source. Most projectors have HDMI ports, which are the preferred option for high-quality 3D content. If your source device doesn’t have HDMI, you may need to use other compatible ports such as VGA, DVI, or DisplayPort, while keeping in mind the limitation in image quality.
2. Use a high-speed HDMI cable to connect the HDMI output of your 3D source to the HDMI input of your projector. Make sure to securely insert the HDMI plugs into the respective ports on both devices.
3. Power on your 3D source and projector. Check the input settings on your projector to ensure that it is set to the correct HDMI input. The source device should automatically detect the projector and set the appropriate resolution and 3D settings.
4. Set the 3D mode on your projector based on the content and your personal preference. Most projectors have a dedicated 3D mode or menu where you can adjust the depth, convergence, and other 3D settings.
5. Start playing the 3D content on your source device. If everything is properly connected and configured, you should see the 3D content displayed on the large screen of your projector, creating an immersive viewing experience.
While HDMI is the preferred connection for 3D content, some projectors may also support other connection options like component video, composite video, or VGA. However, keep in mind that using these analog connections may result in a loss of image quality or limited 3D compatibility.
Now that your projector is connected to a 3D source, let’s move on to the next section, where we’ll explore how to adjust the settings on your projector for the best 3D viewing experience.
Adjusting the Settings on Your Projector
Now that your projector is connected to a 3D source, it’s time to fine-tune the settings on your projector to optimize the 3D viewing experience. Adjusting the settings on your projector can help enhance the depth, clarity, and overall quality of the 3D images displayed on the screen.
Here are some key settings to consider:
1. Brightness: Adjust the brightness level of your projector to achieve the desired balance between image brightness and overall picture quality. Keep in mind that a brighter image may result in reduced contrast and black levels, while a darker image may enhance depth and color saturation.
2. Contrast: Fine-tune the contrast settings to achieve a better balance between bright and dark areas in the 3D image. This can enhance the overall clarity and depth perception of the visuals.
3. Color Temperature: Depending on your personal preference and the lighting conditions in your viewing environment, you can adjust the color temperature settings to achieve warmer or cooler color tones. Experiment with different settings to find the one that suits your taste.
4. Sharpness: Adjust the sharpness settings to enhance the clarity and details in the 3D image. Be careful not to set it too high, as it may introduce unwanted artifacts or a harsh appearance.
5. 3D Settings: Most projectors offer specific 3D settings that allow you to control the depth, convergence, and other aspects of the 3D effect. Experiment with these settings to find the configuration that provides the best 3D experience for each movie.
It’s important to note that the optimal settings may vary depending on factors such as the specific projector model, room lighting conditions, and personal preferences. Take the time to explore the settings and make adjustments based on what looks best to you.
Once you have adjusted the settings on your projector, put on your 3D glasses and sit back to enjoy the immersive world of 3D movies on the big screen. If you encounter any issues or want to fine-tune the 3D effect further, refer to the next section where we’ll discuss how to calibrate the 3D effect on your projector.
Viewing 3D Movies with Active Shutter Glasses
Active shutter glasses are commonly used when watching 3D movies on projectors that support the active shutter 3D technology. These glasses work in sync with the projector to deliver a captivating and immersive 3D viewing experience.
Here’s what you need to know about viewing 3D movies with active shutter glasses:
1. Ensure compatibility: Make sure that your projector and glasses are compatible with each other. Check the manufacturer’s specifications or user manual to verify compatibility. Using incompatible glasses can result in a lack of synchronization and a poor 3D effect.
2. Put on the glasses: Before starting the movie, put on your active shutter glasses. Ensure that both lenses are clean and free from smudges or scratches, as this can affect the viewing experience.
3. Sync with the projector: Activate the synchronization feature on your glasses, if required. Some glasses may have a sync button or a built-in sensor that automatically syncs with the projector. Follow the instructions provided by the manufacturer to ensure proper syncing.
4. Adjust the fit: Adjust the glasses to ensure a comfortable and secure fit. The glasses should sit snugly on your face, blocking out ambient light and providing a clear view of the screen. If necessary, adjust the nose piece and earpieces for a customized fit.
5. Pay attention to battery life: Active shutter glasses are powered by batteries, so it’s essential to keep an eye on the battery level. Replace or recharge the batteries as needed to ensure uninterrupted viewing. Some glasses come with a battery indicator, allowing you to monitor the power level.
6. Take breaks: It’s important to take regular breaks when watching 3D movies with active shutter glasses. Extended periods of 3D viewing can cause eye fatigue or discomfort. Follow the guidelines provided by the manufacturer or optometrist regarding the recommended duration of 3D viewing sessions.
With your active shutter glasses properly synced and securely worn, you can now fully immerse yourself in the 3D movie experience. Sit back, relax, and enjoy the depth and realism that 3D movies bring to your projector screen.
Next, we’ll focus on another important aspect of watching 3D movies on your projector – calibrating the 3D effect to ensure the best possible visual experience.
Calibrating the 3D Effect on Your Projector
To fully optimize the 3D viewing experience on your projector, it’s essential to calibrate the 3D effect. Calibrating helps fine-tune the settings to ensure accurate depth perception, minimal eye strain, and maximum immersion. Here are the steps to calibrate the 3D effect on your projector:
1. Adjust the depth: Start by adjusting the depth setting on your projector to find the level that suits your preferences. Increasing the depth setting enhances the perception of depth, while decreasing it reduces the depth effect. Experiment with different settings until you find the level that provides a good balance between comfort and immersion.
2. Convergence adjustment: Some projectors offer a convergence adjustment option, which allows you to fine-tune the alignment of the left and right eye images. This adjustment ensures that the 3D images appear seamlessly merged and correctly aligned. Follow the instructions in your projector’s user manual to access and adjust the convergence settings.
3. Color calibration: Proper color calibration can significantly enhance the visual quality of the 3D images. Use the built-in color calibration settings or advanced color calibration tools if your projector offers them. Adjust the color temperature, saturation, and contrast to achieve vibrant and lifelike colors in the 3D images.
4. Test different content: It’s a good idea to test the calibration settings with various 3D movies that feature different scenes and visual effects. This will allow you to fine-tune the calibration to suit different types of content and ensure consistent quality across different movies.
5. Seek professional calibration: If you require a more precise calibration or are unsure about adjusting the settings yourself, consider seeking professional calibration services. Professionals have the expertise and specialized equipment to accurately calibrate your projector, ensuring optimal 3D viewing performance.
Remember to periodically recheck and fine-tune the calibration settings as necessary, as viewing conditions and personal preferences may change over time. Regularly calibrating the 3D effect will help you maintain an excellent and immersive viewing experience throughout your movie-watching sessions.
With the 3D effect now calibrated on your projector, you’re all set to enjoy a captivating and lifelike 3D experience right in the comfort of your own home. In the next section, we’ll address some common issues that you may encounter when watching 3D movies, along with troubleshooting tips.
Troubleshooting Common Issues
While watching 3D movies on your projector, you may encounter some common issues that can affect your viewing experience. Understanding these issues and knowing how to troubleshoot them can help you resolve them quickly. Here are some troubleshooting tips for common 3D movie issues:
1. Flickering or ghosting: If you notice flickering or ghosting in the 3D image, check the synchronization between your projector and the active shutter glasses. Make sure the glasses are properly synced with the projector and that the batteries are functioning well. Additionally, adjust the depth setting on your projector to minimize any discomfort or visual artifacts.
2. Image quality issues: If you experience issues with the image quality, such as blurriness or lack of clarity, double-check the resolution and display settings on both the projector and the 3D source. Ensure they are set to the appropriate settings for optimal 3D playback. Also, make sure that your projector and source device are connected using a high-quality HDMI cable.
3. Lack of depth perception: If you feel that the depth effect is not as pronounced as expected, try adjusting the depth setting on your projector. Increase or decrease the depth level to find the sweet spot that provides the desired depth perception without causing discomfort. Additionally, ensure that you are sitting at an appropriate distance from the screen to fully immerse yourself in the 3D experience.
4. Compatibility issues: If you’re having trouble playing certain 3D movies or experiencing compatibility issues, check the supported 3D formats and requirements of your projector and source device. Some projectors may only support specific 3D formats or require firmware updates for compatibility with newer content. Verify that your equipment meets the necessary standards for seamless 3D playback.
5. Eye fatigue: Extended periods of 3D viewing can sometimes cause eye fatigue or discomfort. To alleviate this, take regular breaks between movie sessions. Allow your eyes to rest and adjust to the real-world environment. It’s also recommended to follow the manufacturer’s guidelines regarding the recommended duration of 3D viewing sessions.
If you continue to experience problems despite troubleshooting, consult your projector’s user manual or contact the manufacturer’s customer support for further assistance. They will be able to provide specific guidance based on the model and help resolve any issues you’re facing.
By troubleshooting common 3D movie issues, you can ensure a smooth and immersive viewing experience. Now that you’re equipped with troubleshooting knowledge, it’s time to sit back, relax, and enjoy the magic of 3D movies on your projector.
Conclusion
In conclusion, watching 3D movies on a projector brings a whole new level of immersion and excitement to your movie-watching experience. By understanding the technology behind 3D movies, choosing the right projector, selecting the appropriate 3D movie format, connecting your projector to a 3D source, adjusting the settings, and troubleshooting common issues, you can ensure a seamless and enjoyable 3D viewing experience.
Remember to familiarize yourself with the different types of 3D projectors available, such as DLP, LCD, LCoS, and laser projectors, to make an informed decision when selecting the right one for your needs. Additionally, understanding the various 3D movie formats, such as side-by-side, top-and-bottom, and frame sequential, will help you choose the format that is compatible with your projector.
When connecting your projector to a 3D source, ensure a proper and secure connection using suitable cables, most commonly HDMI. Adjust the settings on your projector, such as brightness, contrast, color temperature, and sharpness, to optimize the 3D viewing experience. Use the provided calibration options to fine-tune the depth, convergence, and color settings for the best visual results.
Should you encounter any issues, such as flickering, ghosting, or compatibility problems, follow the troubleshooting tips provided to overcome these challenges. And remember to take breaks during extended 3D viewing sessions to prevent eye fatigue and discomfort.
With all these insights and knowledge at your disposal, you’re now ready to immerse yourself in a whole new world of 3D movies on your projector. Sit back, put on your active shutter glasses, and let the magic of 3D come to life before your very eyes.


