Introduction
Instagram is a highly popular social media platform that allows users to share photos and videos with their followers. With its vast user base and visually-focused interface, Instagram provides a great platform for businesses and individuals to showcase their content and engage with their audience. One feature that many Instagram users may not be aware of is the ability to pin posts to their profile. Pinning a post allows you to highlight important or noteworthy content, ensuring that it remains at the top of your profile for all visitors to see.
In this article, we will guide you through the step-by-step process of pinning a post on Instagram. Whether you want to promote a new product, share an important announcement, or simply highlight your best work, pinning a post can be a valuable tool to make sure your content gets the attention it deserves.
By pinning a post, you can effectively curate your profile and make a lasting impression on your followers. It’s a great way to showcase your most engaging or relevant content, and ensure that it stays visible even as you continue to upload new posts. Whether you’re a business owner, influencer, or simply an individual looking to make your mark on Instagram, pinning a post is a simple yet effective technique that can help you achieve your goals.
So, let’s dive into the step-by-step process of pinning a post on Instagram and start making a lasting impression on your profile!
Step 1: Open the Instagram app
The first step to pinning a post on Instagram is to open the Instagram app on your mobile device. Whether you’re using an iPhone or an Android device, you can find the Instagram app among your other installed apps. Simply click on the Instagram icon to open the app and proceed to the next step.
It’s important to note that Instagram also has a web version, but the pinning feature is currently only available on the mobile app. So make sure you have the Instagram app installed on your device to be able to successfully pin a post.
Once you’ve opened the app, you’ll be greeted with the Instagram home screen. This is where you can see the latest posts from accounts you follow, as well as access different sections of the app such as your profile, notifications, and explore page.
Now that you have the Instagram app open, let’s move on to the next step and navigate to your profile.
Step 2: Navigate to your profile
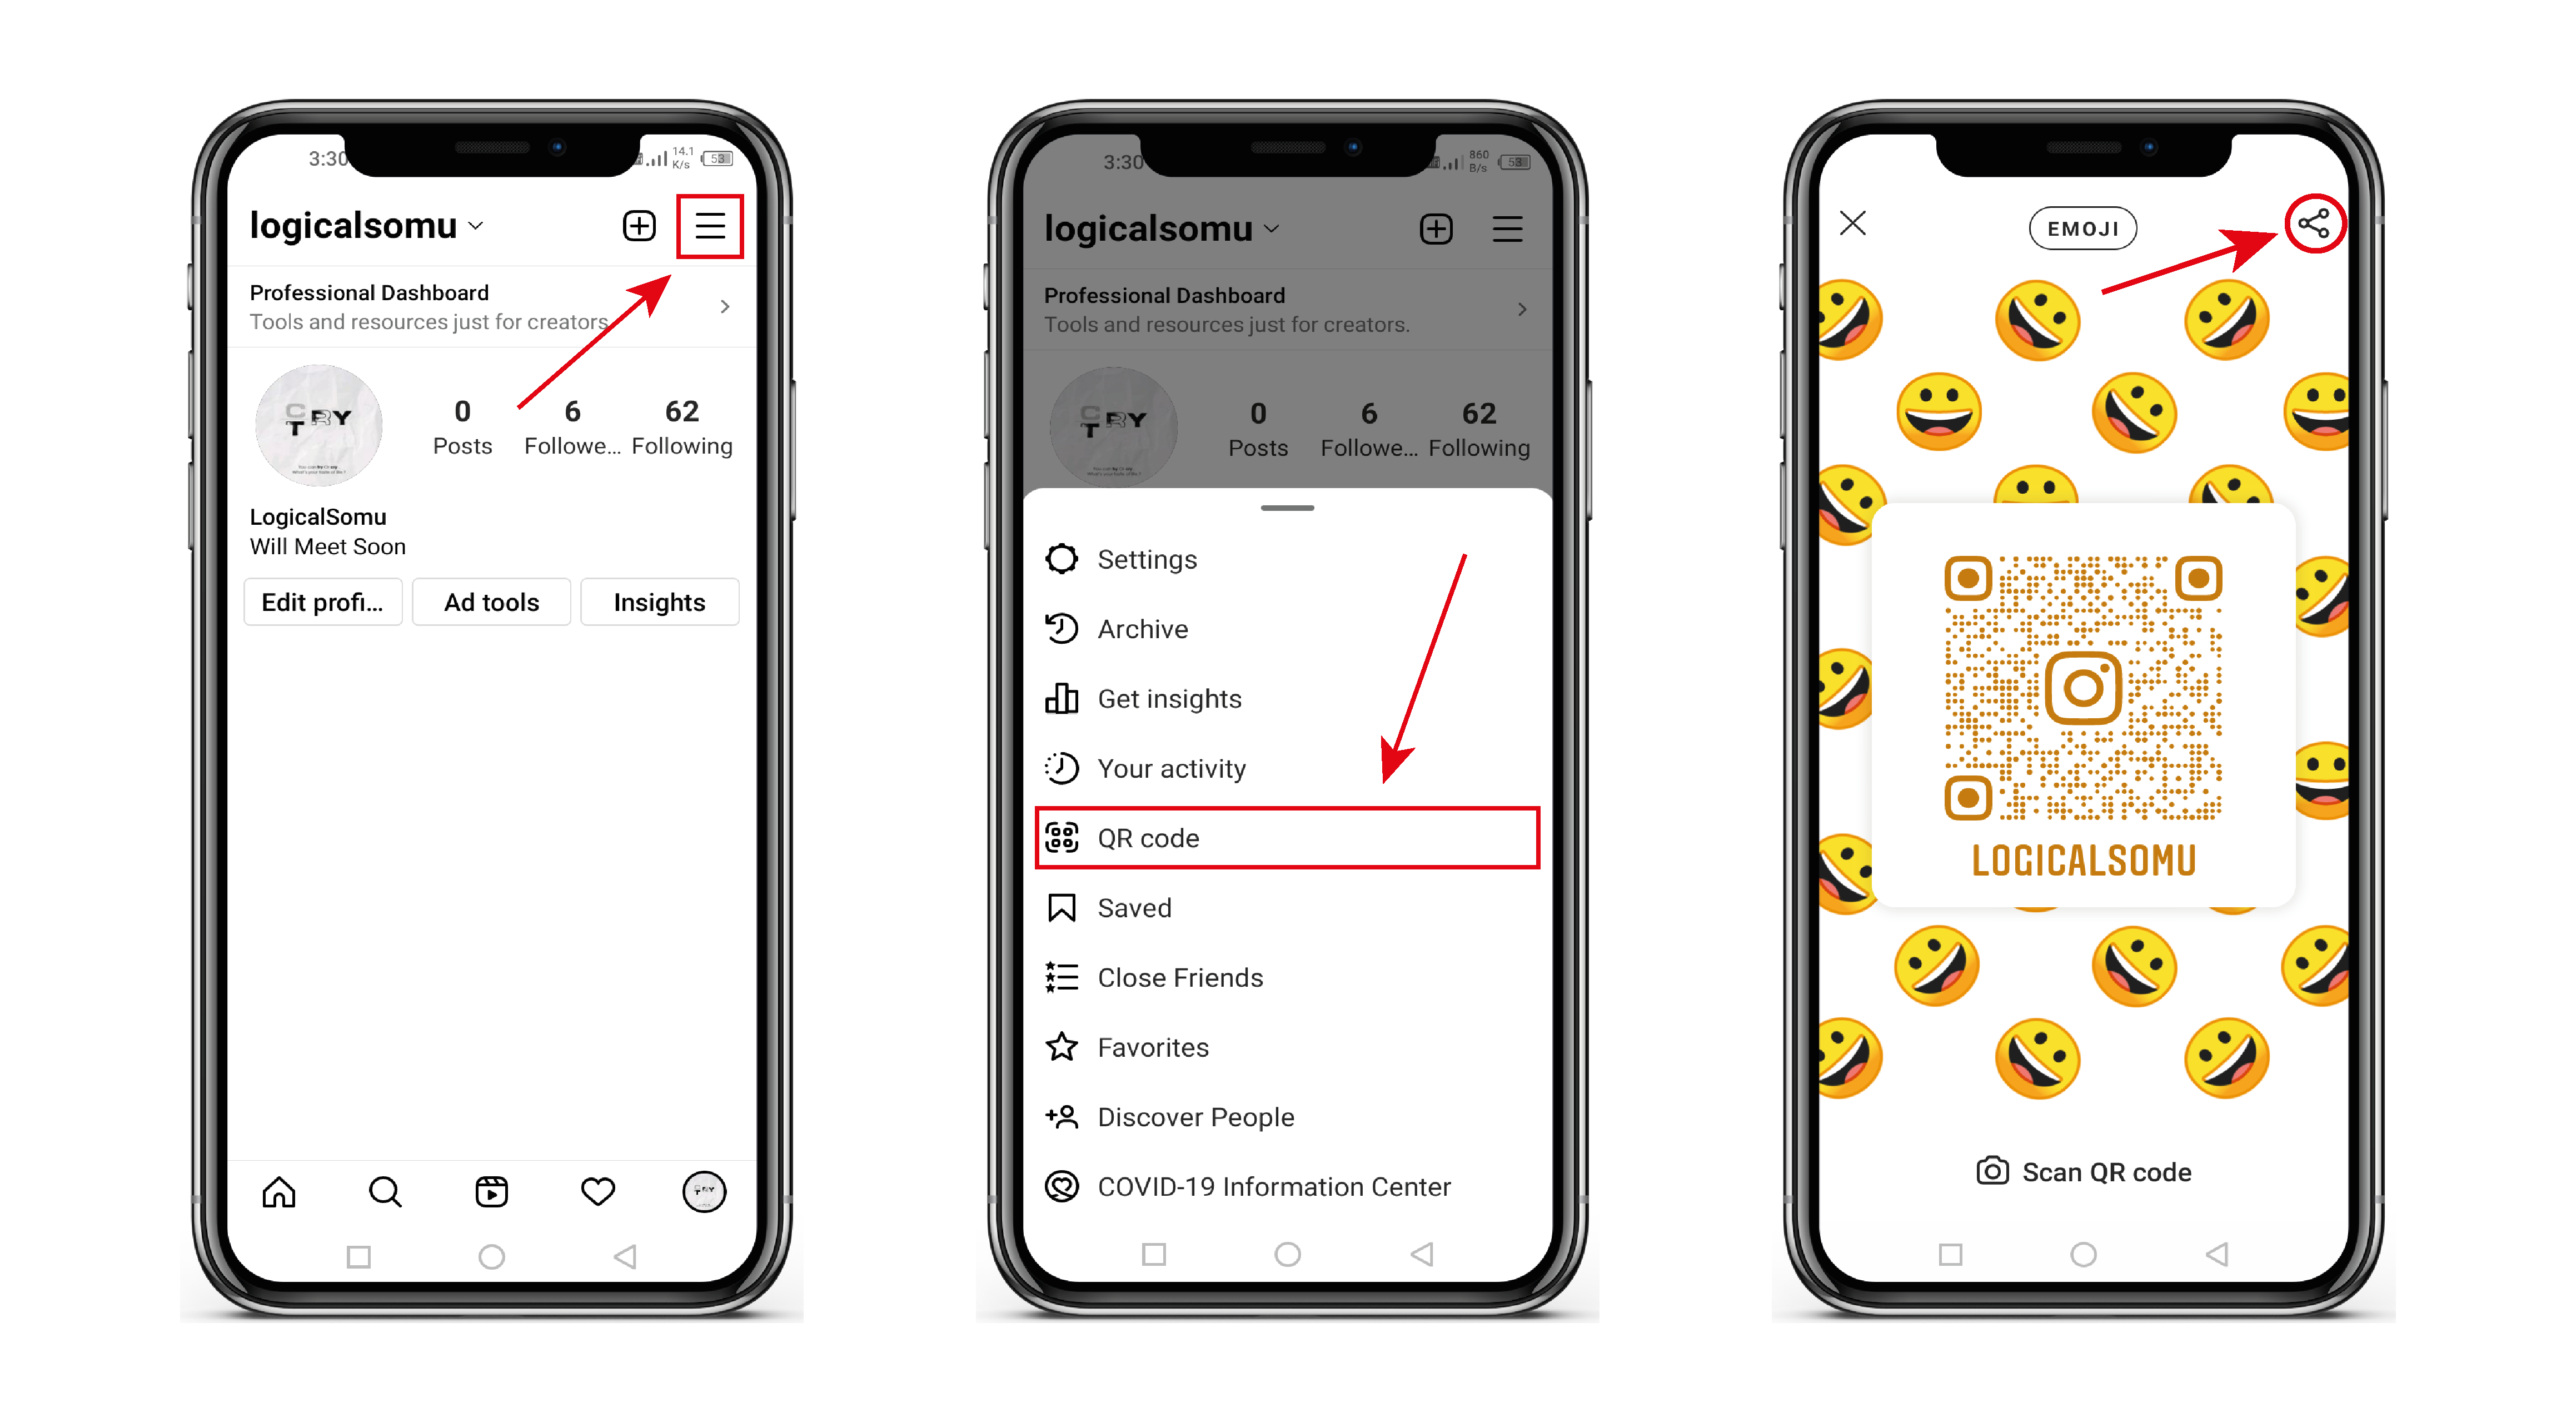
Once you have opened the Instagram app, the next step in pinning a post is to navigate to your profile. Your profile serves as a hub for all of your posts, followers, and the overall representation of your Instagram presence. To access your profile, locate the profile icon at the bottom right corner of the screen. It looks like a small portrait silhouette.
Tap on the profile icon, and it will take you to your own Instagram profile. Here, you can see all your posts in a grid layout, your bio, and your follower count. It’s also where you can edit your profile information, including your bio, profile picture, and other details.
Once you’re on your profile page, you can proceed to the next step and select the specific post that you want to pin.
Note: If you don’t have any posts on your profile yet, you will need to upload at least one post before you can pin it. So make sure you have a post ready to pin or create one by tapping the “+” icon at the center of the bottom menu.
Now that you have navigated to your profile, let’s move on to the next step and choose the post you want to pin.
Step 3: Choose the post you want to pin
Now that you are on your Instagram profile, it’s time to select the post that you want to pin. Take a moment to review your posts and choose the one that you want to highlight and keep at the top of your profile.
To choose a post, simply scroll through your profile grid until you find the desired post. Instagram displays your posts in a chronological order, with the most recent one appearing at the top-left corner of the grid. You can swipe horizontally or vertically to navigate through your posts, depending on the orientation of your device. If you have a specific post in mind, you can also use the search bar at the top of your profile to find it quickly.
It’s important to select a post that conveys the message or represents the content you want to prioritize. Whether it’s a product announcement, a captivating photo, or an engaging video, make sure the chosen post aligns with your goals and attracts the attention of your audience.
Once you have identified the post you want to pin, you can proceed to the next step and access the options menu to pin it.
Now that you have chosen the post you want to pin, let’s move on to the next step and tap on the three-dots menu.
Step 4: Tap on the three-dots menu
Once you have selected the post you want to pin on your Instagram profile, it’s time to access the options menu for that specific post. This menu allows you to perform various actions and settings related to the post, including the option to pin it.
To access the options menu, look for the three-dots icon located at the top-right corner of the post. When you tap on these three dots, a drop-down menu will appear with a list of available actions and settings for the post.
It’s important to note that the three-dots menu may appear differently depending on the version of the Instagram app you are using and the device you are using it on. However, the options to pin a post are typically found within this menu regardless of the layout or design changes.
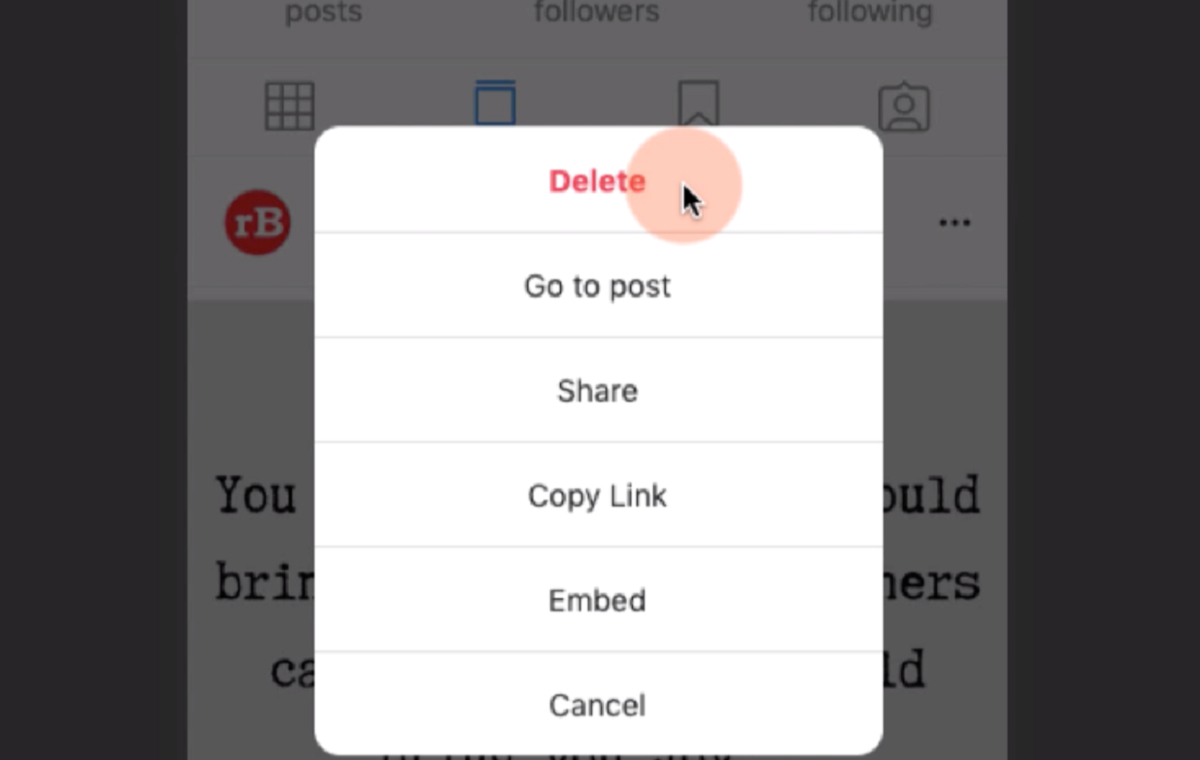
Once you have located the three-dots menu, tap on it to open the options for the selected post. A menu will appear, providing you with a range of actions you can take with the post. These actions may include options to delete the post, edit the caption, share the post, and more.
To continue pinning the post, proceed to the next step and select the “Pin” option from the menu.
Now that you have tapped on the three-dots menu, let’s move on to the next step and select “Pin.”
Step 5: Select “Pin”
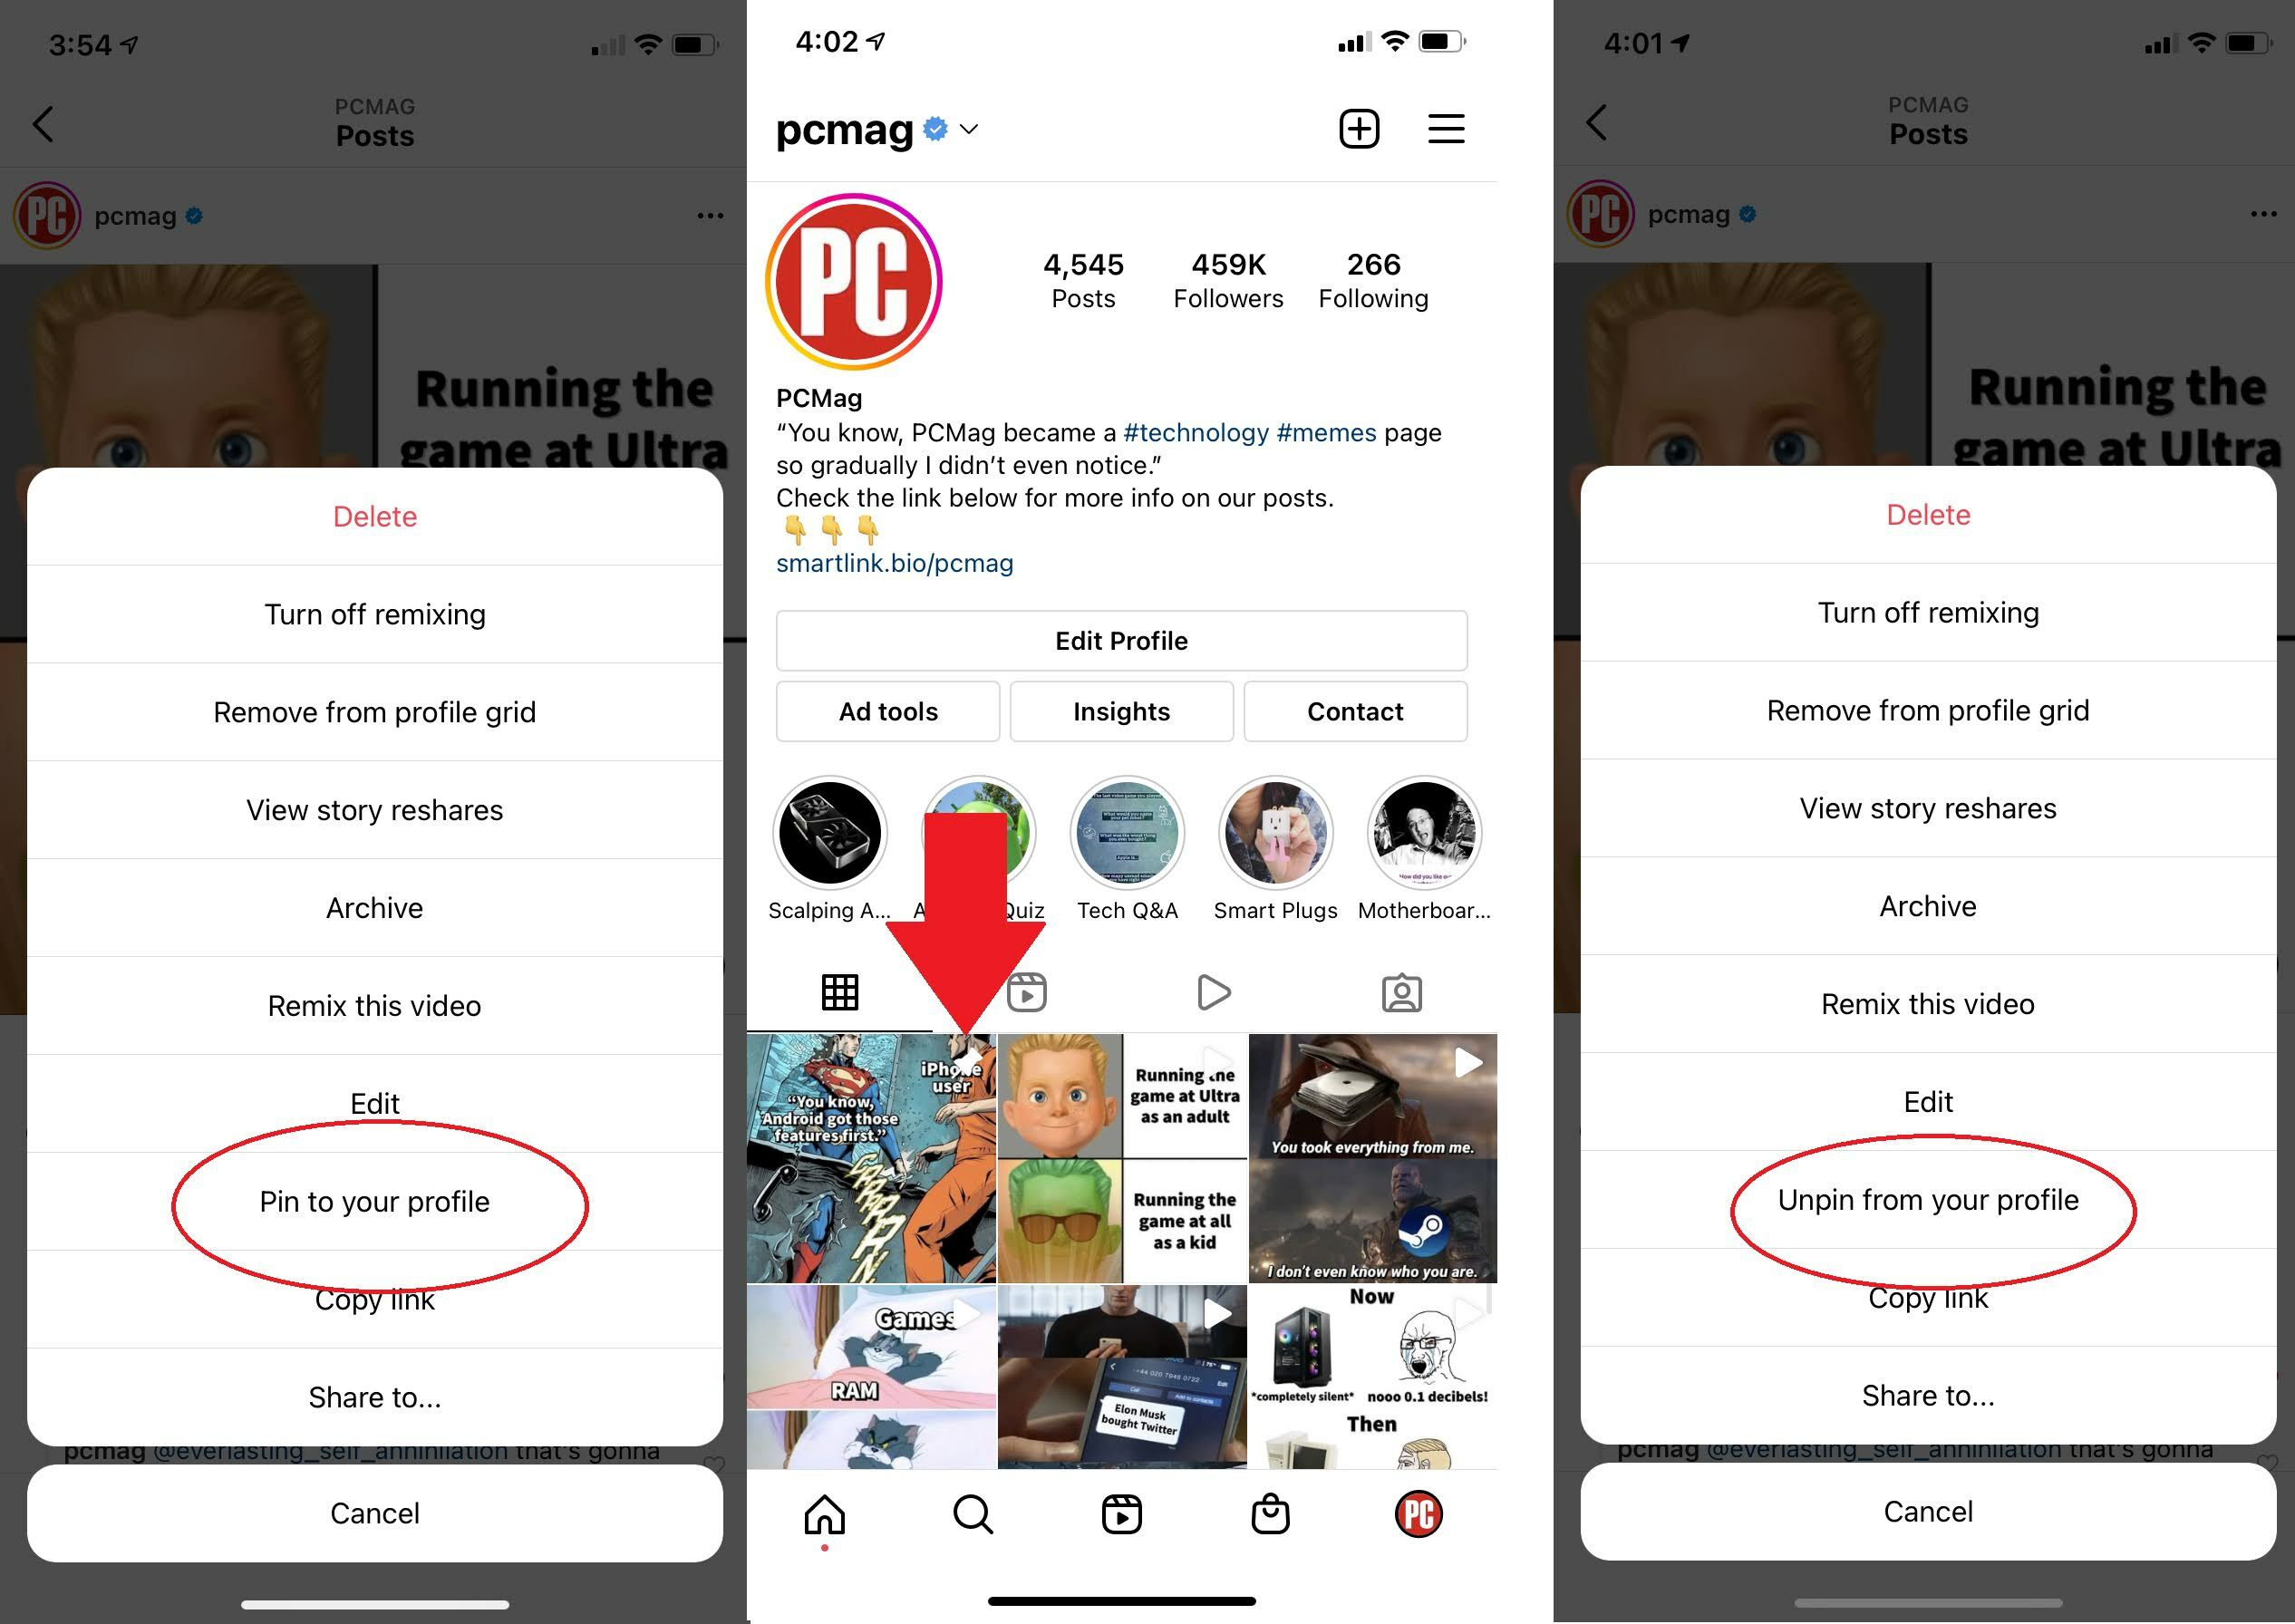
After tapping on the three-dots menu for the post you want to pin on your Instagram profile, a list of options will appear. Among these options, look for the “Pin” selection and tap on it to proceed with pinning the post.
The “Pin” option is specifically designed to allow you to highlight and prioritize a post on your profile. It ensures that the chosen post remains at the top of your profile, even as you continue to post new content.
Upon selecting the “Pin” option, Instagram will prompt you to confirm your decision. This serves as a precautionary step to avoid any accidental pins. This confirmation step ensures that you are intentionally pinning the post and are aware of the action you are taking.
Confirm the pinning of the post by tapping “Yes” or “Confirm”. Once you have confirmed, Instagram will pin the selected post to the top of your profile, making it immediately visible to anyone who visits your profile page.
It’s important to note that you can only pin one post at a time on your Instagram profile. When you pin a new post, any previously pinned post will be replaced, and the new pinned post will take its place at the top of your profile.
Now that you have selected the “Pin” option and confirmed the pinning of the post, let’s move on to the next step and view and manage your pinned post.
Step 6: Confirm the pinned post
After selecting the “Pin” option for the desired post on your Instagram profile, you will be prompted to confirm the pinning action. This step ensures that you are intentional about pinning the post and allows you to review your decision before it becomes permanent.
Upon tapping “Yes” or “Confirm” to confirm the pinning of the post, Instagram will immediately update your profile to reflect the changes. The selected post will now be pinned to the top of your profile, ensuring maximum visibility and prominence.
Take a moment to review your profile after confirming the pinned post. You will notice that the pinned post appears at the top of your profile, separated from the rest of your posts. It may have a distinct design or label to indicate that it is a pinned post.
Keep in mind that the pinned post will remain at the top of your profile until you unpin it or replace it with another pinned post. It will be the first post that visitors see when they land on your profile, making it an excellent opportunity to showcase your most important or impactful content.
Now that you have successfully confirmed the pinning of the post, let’s proceed to the next step and explore how to view and manage your pinned post.
Step 7: View and manage your pinned post
Once you have pinned a post on your Instagram profile, it’s important to know how to view and manage it. Being able to monitor and update your pinned post allows you to ensure that your profile continues to represent your priorities and current content.
To view your pinned post, simply visit your Instagram profile. The pinned post will be prominently displayed at the top, ensuring maximum visibility. It will be the first thing that visitors see when they land on your profile.
You can also interact with your pinned post just like any other post on your profile. You and your followers can like, comment, and share it. This engagement can help increase the visibility and reach of your pinned content, making it even more impactful.
If you decide that you want to unpin the post or replace it with a new pinned post, the process is straightforward. Simply go to the post that is currently pinned on your Instagram profile and tap on the three-dots menu, just as you did when pinning it.
From the options menu, select the “Unpin” or “Remove from profile” option. This will remove the post from its pinned position and return it to its original place in your profile grid. If you want to replace the pinned post with a different one, follow the steps outlined earlier and select the new post to pin instead.
Remember that you can only have one pinned post at a time on your Instagram profile. So, if you choose to pin a new post, the old pinned post will be replaced.
By effectively managing your pinned post, you can ensure that your profile remains fresh and aligned with your current goals and priorities. Regularly assessing and updating your pinned post can help you maintain a captivating and relevant profile for your audience.
Now that you know how to view and manage your pinned post, you are ready to utilize this feature effectively on your Instagram profile.
Conclusion
Pin post on Instagram is a valuable feature that enables you to highlight and prioritize specific content on your profile. By following the step-by-step process outlined in this guide, you can easily pin a post and ensure that it remains at the top of your profile for all visitors to see.
Whether you want to promote a new product, showcase your best work, or share an important announcement, pinning a post on Instagram can help you effectively curate your profile and make a lasting impression on your audience. It allows you to showcase your most engaging or relevant content, ensuring that it stays visible even as you continue to upload new posts.
Remember to choose a post that aligns with your goals and attracts the attention of your audience. Before pinning a post, take the time to review and confirm your decision. Once pinned, the post will become a prominent feature on your profile, serving as a focal point for visitors and an excellent opportunity to make a strong impression.
Regularly managing your pinned post is also crucial to maintaining a fresh and captivating profile. If you decide to unpin a post or replace it with a new one, simply access the options menu of the pinned post and follow the steps outlined in this guide to make the necessary updates.
Make the most of the pinning feature on Instagram to curate an engaging profile that represents your brand, persona, or business. By utilizing this feature effectively, you can capture attention, showcase your best content, and leave a lasting impact on your audience.
Now that you have the knowledge and understanding of how to pin a post on Instagram, it’s time to put it into action. Start highlighting and prioritizing your most important content and make your Instagram profile stand out from the crowd.