Introduction
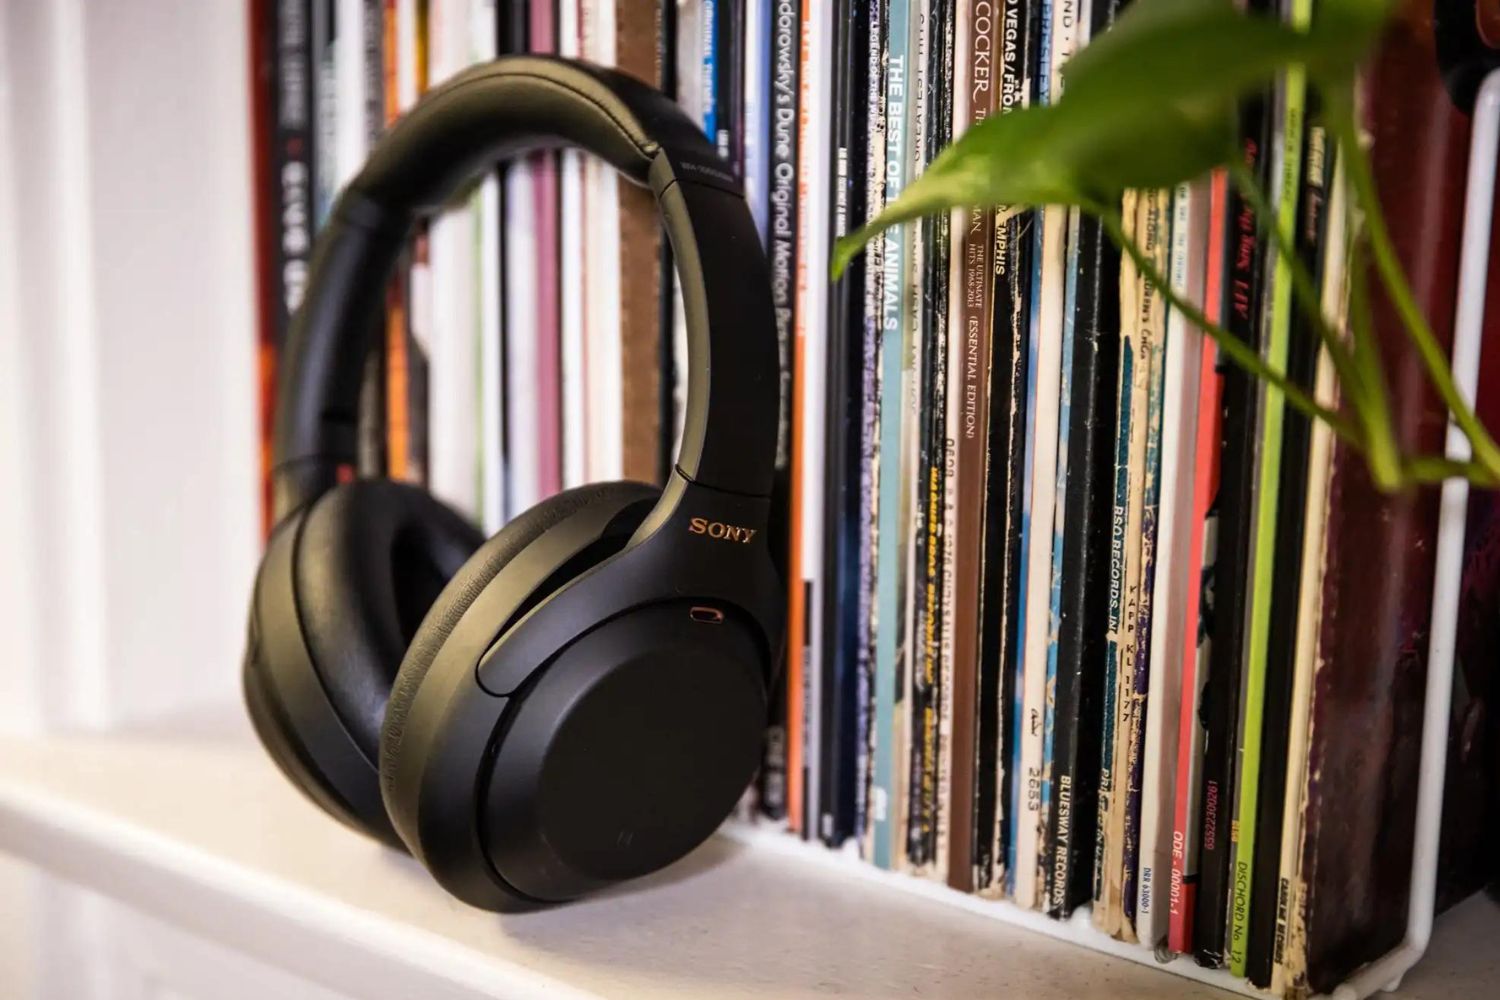
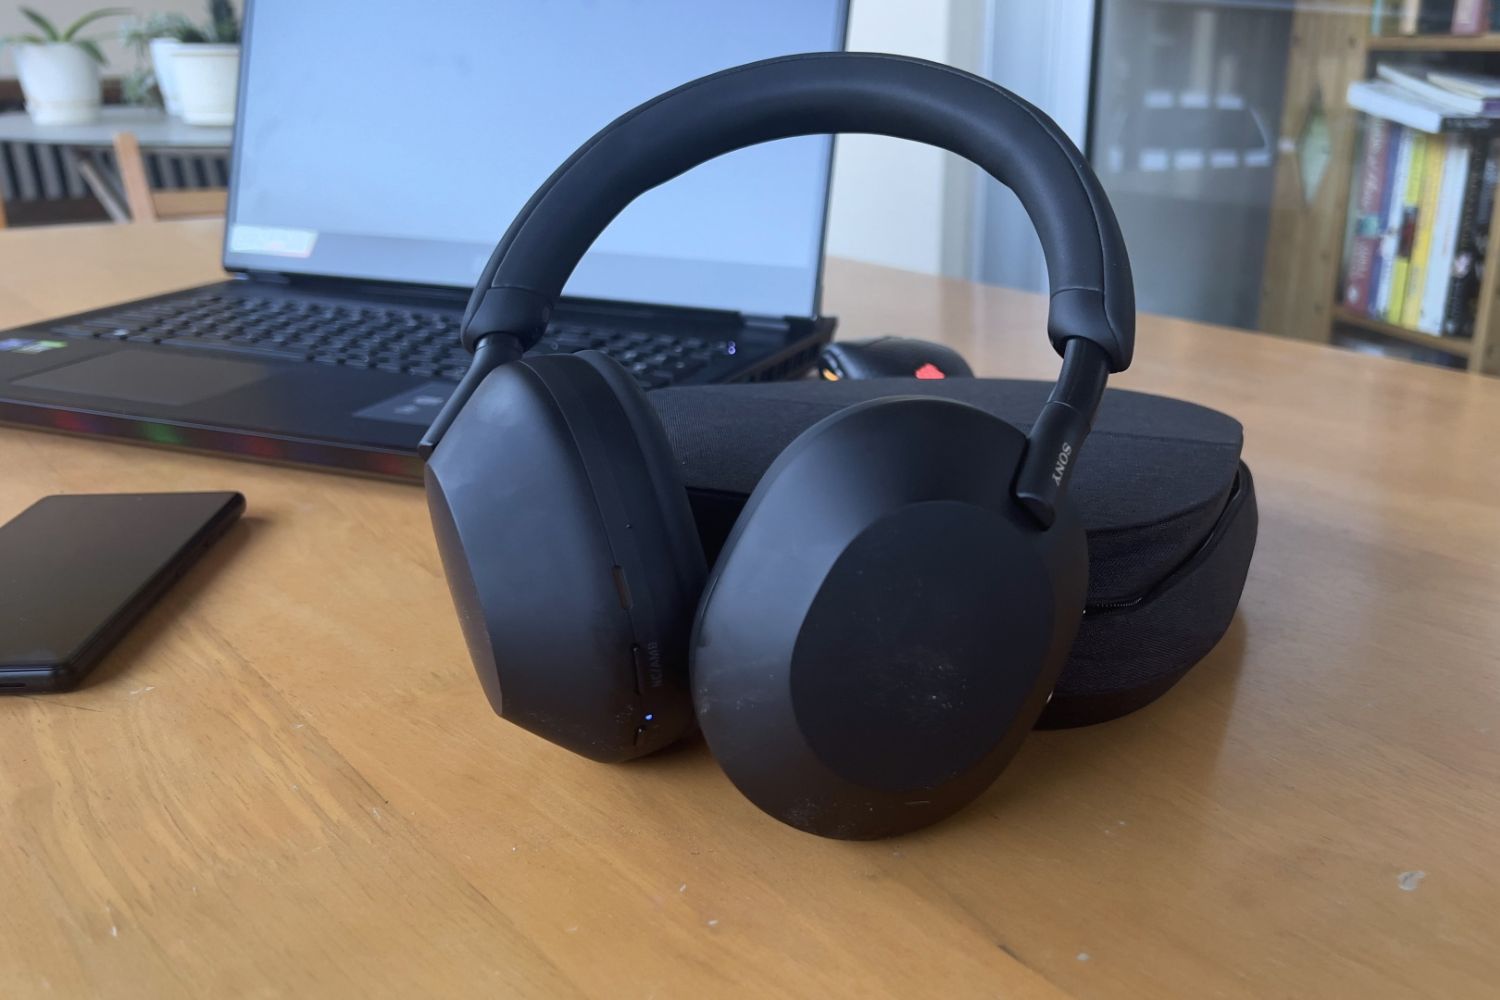
Welcome to the world of Sony Noise Cancelling headphones! Whether you’re a music enthusiast, a frequent traveler, or simply someone who enjoys the peace and tranquility that good music brings, Sony Noise Cancelling headphones will take your audio experience to a whole new level.
With their cutting-edge technology and advanced features, Sony Noise Cancelling headphones enable you to immerse yourself in your favorite tunes while blocking out external noise distractions. But before you can enjoy the powerful sound and unmatched clarity, you need to pair your headphones with your device.
In this guide, we will walk you through the step-by-step process of pairing your Sony Noise Cancelling headphones with your device, be it a smartphone, tablet, or laptop. Whether you own the popular WH-1000XM4, WH-1000XM3, or any other model, the pairing process remains relatively similar.
So, sit back, relax, and let us guide you in unlocking the true potential of your Sony Noise Cancelling headphones. Get ready to embrace the ultimate audio experience!
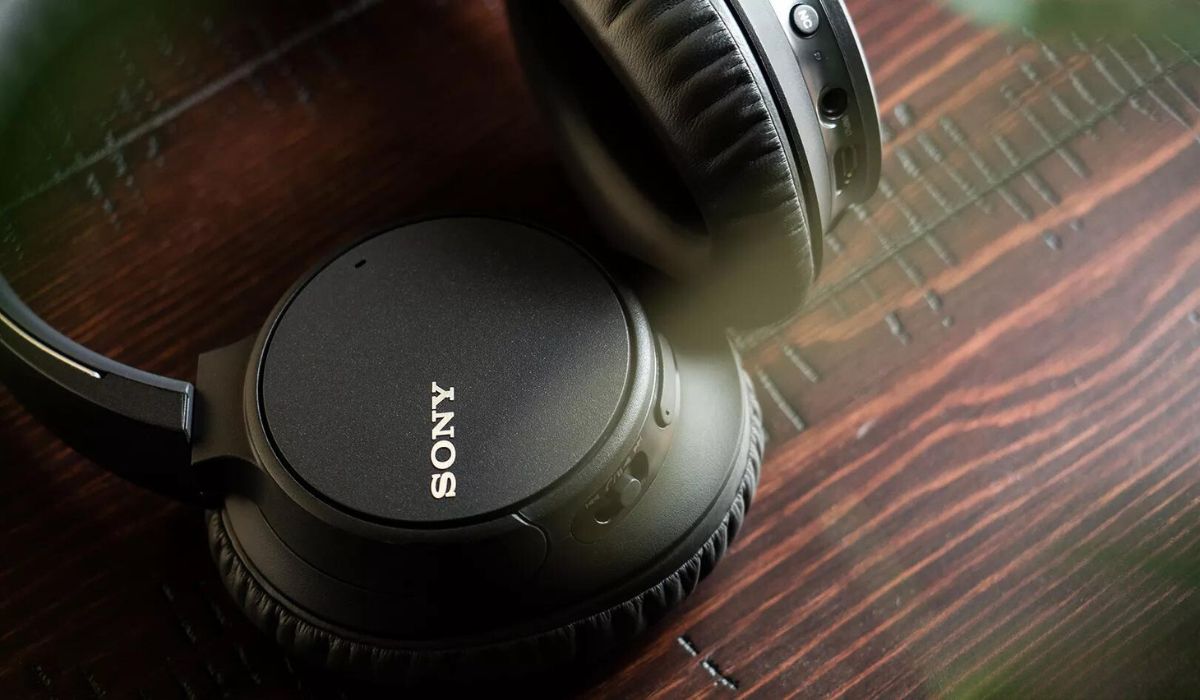
Step 1: Prepare your Sony Noise Cancelling Headphones
Before embarking on the pairing journey, it’s essential to ensure that your Sony Noise Cancelling headphones are ready for the task. Follow these steps to prepare your headphones:
- Charge your headphones: Make sure your headphones have enough battery power to complete the pairing process. Connect them to a power source using the provided USB cable and let them charge until the battery is full.
- Power on your headphones: Locate the power button on your headphones, often found on the side or ear cup. Press and hold the power button until you see a light or hear a sound indicating that the headphones are turned on. Some models may have a separate pairing button.
- Reset if necessary: If you have previously paired your headphones with another device and are experiencing difficulties connecting them to a new device, consider resetting your headphones. Consult the user manual or the manufacturer’s website for instructions on how to reset your specific model.
By ensuring your headphones are charged, powered on, and reset if needed, you’ll be ready to move on to the next step of the pairing process. Proper preparation sets the foundation for a seamless and successful connection between your Sony Noise Cancelling headphones and your device.
Step 2: Turn on pairing mode
Now that your Sony Noise Cancelling headphones are prepared, it’s time to put them into pairing mode. This mode allows your headphones to be discoverable by your device for the pairing process. Here’s how to turn on pairing mode:
- Locate the pairing button or switch: Depending on the model of your headphones, the pairing button or switch may be located on the side, ear cup, or control panel. Refer to your user manual or the manufacturer’s website to find the exact location.
- Activate pairing mode: Press and hold the pairing button or switch for a few seconds until you see a light or hear a sound indicating that the headphones are in pairing mode. The LED light may flash or change color to signify pairing mode.
- Keep your headphones nearby: Once in pairing mode, keep your headphones close to your device. This ensures a strong and stable Bluetooth connection during the pairing process.
Enabling pairing mode allows your Sony Noise Cancelling headphones to establish a connection with your device. It’s a crucial step that ensures your headphones are discoverable and ready to be connected. With pairing mode activated, you’re now ready to proceed to the next step of the pairing process.
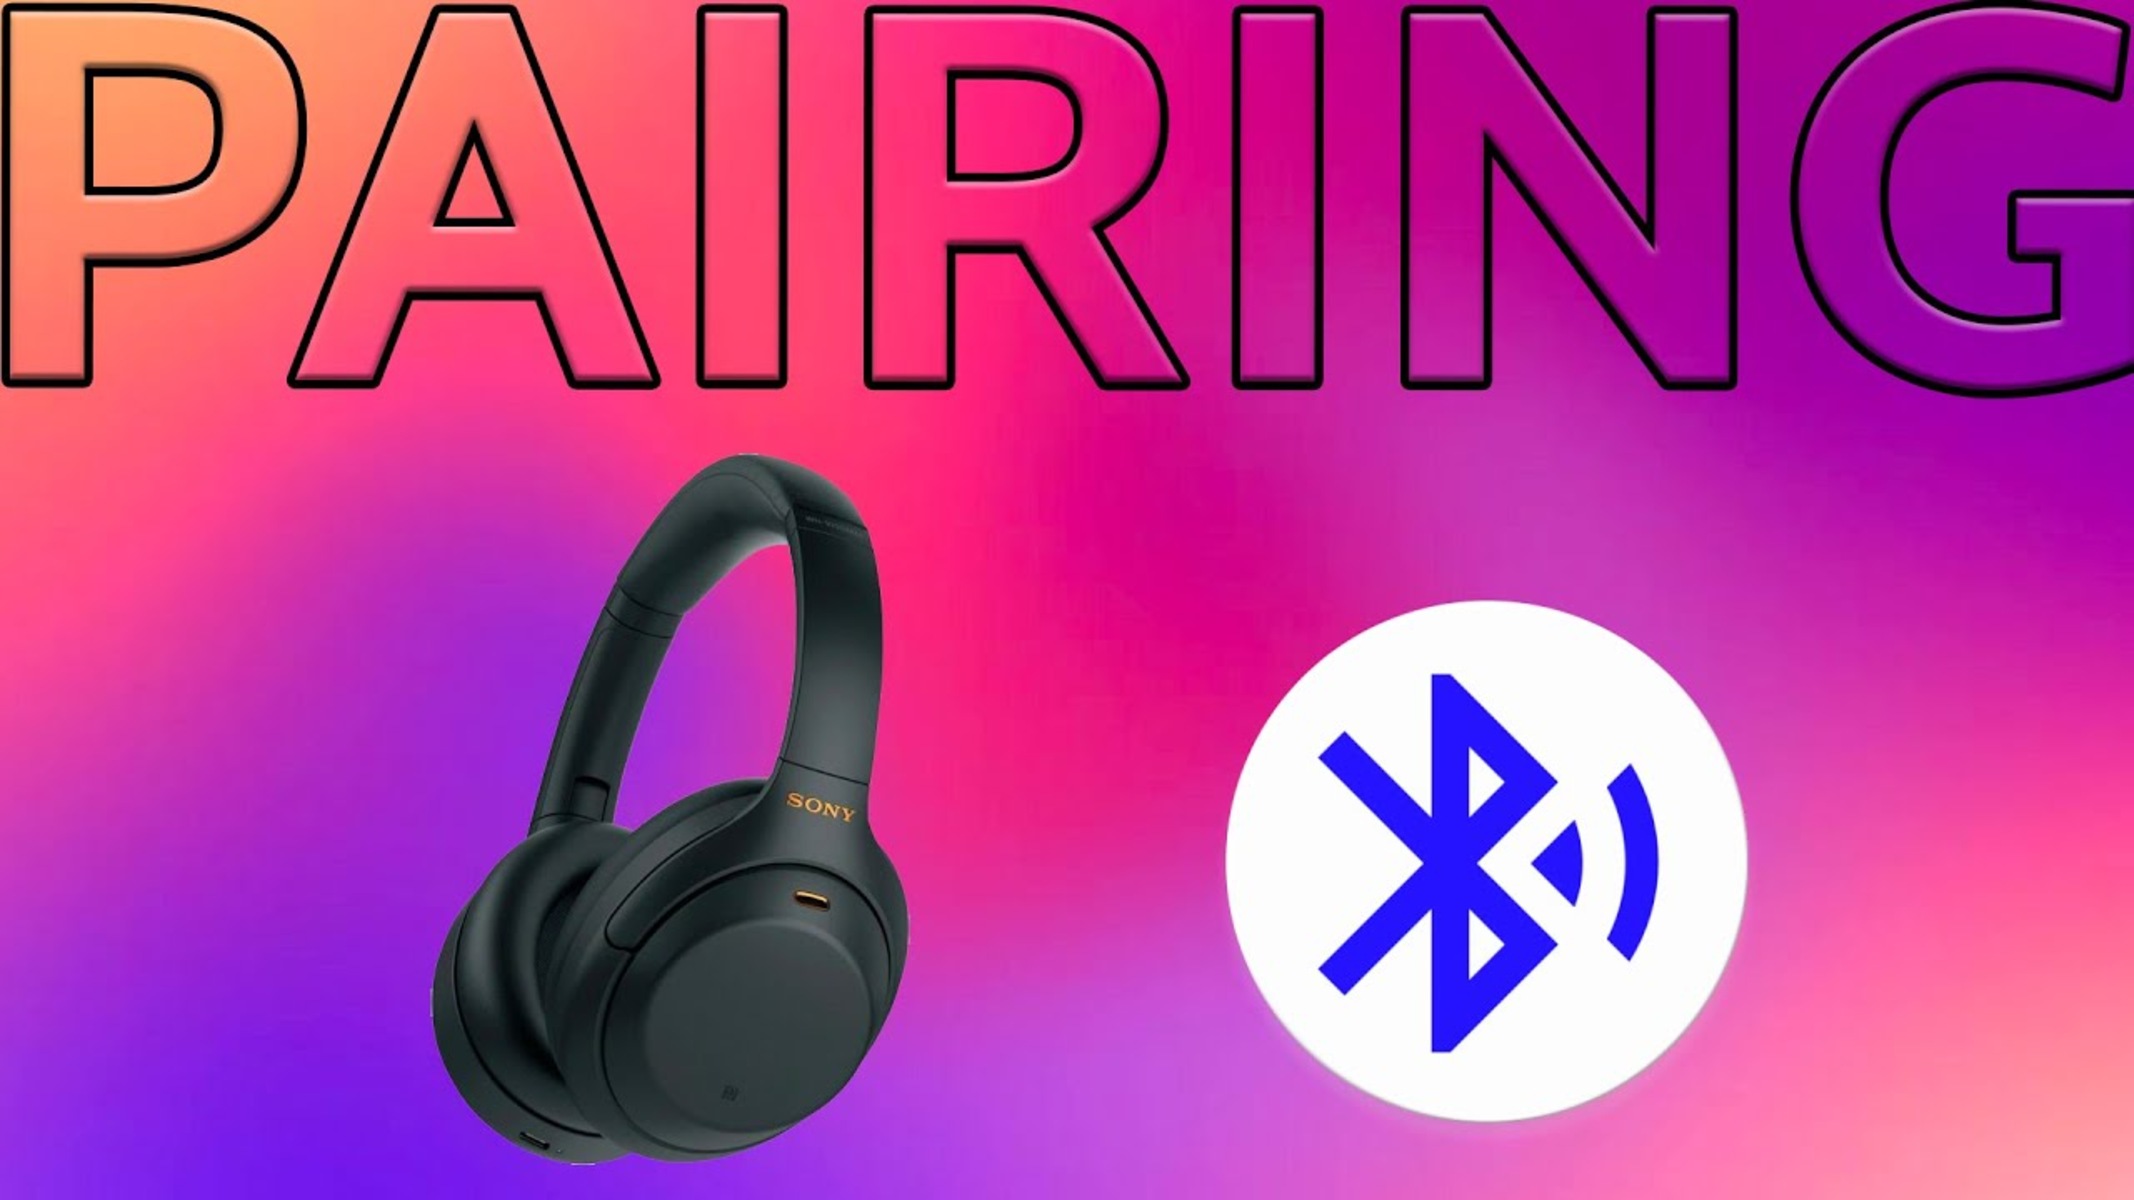
Step 3: Activate Bluetooth on your device
Before you can connect your Sony Noise Cancelling headphones to your device, it’s important to activate the Bluetooth feature on your device. Bluetooth allows wireless communication between your headphones and your device, enabling you to enjoy your favorite content with freedom and convenience. Follow these steps to activate Bluetooth:
- Open the settings: Unlock your device and navigate to the settings menu. This may vary depending on your device, but it is often represented by a gear icon.
- Find Bluetooth settings: Look for the Bluetooth option in the settings menu. It is usually listed as “Bluetooth” or represented by a Bluetooth symbol.
- Toggle Bluetooth on: Tap on the Bluetooth option to turn it on. You may see a switch that can be toggled or a button that needs to be pressed to activate Bluetooth. Once activated, the Bluetooth icon should appear in the status bar or notification panel.
- Wait for device discovery: After turning on Bluetooth, your device will start scanning for nearby devices, including your Sony Noise Cancelling headphones.
Activating Bluetooth on your device is a crucial step in the pairing process as it allows your device to establish a connection with your headphones. Once Bluetooth is turned on, your device will be ready to discover and connect with your Sony Noise Cancelling headphones.
Note: The steps to activate Bluetooth may vary slightly depending on the operating system and device you are using. Refer to your device’s user manual or the manufacturer’s website for specific instructions if needed.
Step 4: Connect your Sony Noise Cancelling Headphones to your device
Once you have activated Bluetooth on your device, it’s time to establish the connection between your Sony Noise Cancelling headphones and your device. Follow these steps to connect them:
- Open the Bluetooth settings: Access the Bluetooth settings on your device. This is the same menu where you activated Bluetooth in the previous step.
- Scan for available devices: Your device will automatically start scanning for nearby Bluetooth devices. Wait for a moment until your Sony Noise Cancelling headphones appear in the list of available devices. They may be listed with their model name or a generic Bluetooth name like “WH-1000XM4”.
- Select your headphones: Once your headphones appear in the list, tap on them to select them as the desired device for connection.
- Complete the pairing process: Follow any on-screen prompts or instructions that may appear on your device. This may involve entering a passcode or confirming the connection on both your headphones and your device.
After completing these steps, your Sony Noise Cancelling headphones will be successfully connected to your device. You may see a confirmation message on your device, and the Bluetooth icon on your headphones may change to indicate a successful connection.
It’s important to note that the pairing process may vary slightly depending on your device’s operating system and the model of your Sony Noise Cancelling headphones. Refer to the user manual or the manufacturer’s website for specific instructions if needed.
Step 5: Adjust the settings
Now that your Sony Noise Cancelling headphones are successfully connected to your device, it’s time to explore and adjust the settings to optimize your audio experience. Here are some settings you may consider adjusting:
- Noise Cancelling levels: Many Sony Noise Cancelling headphones offer multiple levels of active noise cancellation. Experiment with different levels to find the one that suits your environment and personal preferences. You can adjust this setting through the companion app or the headphone’s built-in controls.
- Equalizer settings: Some headphones provide an equalizer feature that allows you to customize the audio output to match your desired sound profile. Extend your listening pleasure by fine-tuning the equalizer to enhance bass, treble, or other frequencies.
- Ambient sound mode: This feature enables you to hear ambient sounds while wearing your headphones, which can be useful in situations where awareness of your surroundings is necessary. Adjust the level of ambient sound to your liking and enjoy the benefits of staying connected to the outside world.
- Playback controls: Familiarize yourself with the playback controls available on your headphones. These may include play/pause, skip track, volume control, and even voice assistant integration. Understanding how to navigate these controls will enhance your overall user experience.
It’s worth mentioning that the specific settings available and the method of adjusting them may vary depending on the model of your Sony Noise Cancelling headphones. Refer to the user manual or the manufacturer’s website for detailed instructions on accessing and customizing the settings for your specific model.
Take some time to explore and experiment with the settings to find the perfect audio configuration that suits your taste. Adjusting these settings will help you optimize your audio experience and make the most out of your Sony Noise Cancelling headphones.
Step 6: Test the connection and enjoy your music
With your Sony Noise Cancelling headphones connected and the settings adjusted to your liking, it’s time to put them to the test and enjoy your favorite music, podcasts, or other audio content. Follow these steps to complete the pairing process:
- Play your preferred content: Open your preferred music streaming app, play a song, or start the audio or video content you want to enjoy.
- Adjust the volume: Use the volume controls on your headphones or your device to set the audio level to your desired volume. Start with a comfortable level and adjust accordingly.
- Listen and experience: Once you’ve chosen your content and adjusted the volume, listen and immerse yourself in the remarkable sound quality and noise-cancelling capabilities of your Sony headphones. Explore the crisp highs, deep bass, and precise audio details that these headphones are known for.
- Test the connection: While enjoying your music or audio, pay attention to the stability of the connection between your Sony Noise Cancelling headphones and your device. Ensure that there are no interruptions or dropouts in the audio playback.
By testing the connection and thoroughly experiencing the audio quality of your Sony Noise Cancelling headphones, you can ensure a seamless and enjoyable listening experience. If you encounter any issues or have concerns about the audio performance or connection stability, refer to the troubleshooting guide or contact the Sony support team for assistance.
Now, sit back, relax, and indulge in the world of high-quality audio with your Sony Noise Cancelling headphones. Let the music transport you to a new realm and enjoy every splendid note with clarity and precision.
Troubleshooting common pairing issues
While the pairing process between your Sony Noise Cancelling headphones and your device is generally straightforward, you may encounter some common issues along the way. Here are some troubleshooting steps to help you resolve these problems:
1. Connection not found: If your device cannot find or detect your Sony Noise Cancelling headphones, ensure they are in pairing mode. Check that Bluetooth is enabled on your device and try to reconnect.
2. Failed connection attempts: If you’re experiencing repeated failed pairing attempts, try resetting your headphones and your device’s Bluetooth settings. This can often resolve any compatibility issues.
3. Intermittent connection: If you notice your headphones frequently disconnecting or experiencing intermittent connection issues, ensure that both your device and headphones have sufficient battery power. Move your device closer to your headphones to ensure a stable Bluetooth connection.
4. Sound quality issues: If you encounter subpar sound quality or distortion, check that your device’s audio settings are properly configured. Verify that your headphones are set to the appropriate sound mode and that the equalizer settings are adjusted to your liking.
5. Incompatibility with devices: Some older devices or devices with outdated Bluetooth technology may have compatibility issues with certain Sony Noise Cancelling headphones models. Ensure that your device meets the minimum requirements specified by the headphone manufacturer.
6. Firmware updates: Periodically check for firmware updates for your Sony Noise Cancelling headphones. Updating the firmware can address any software bugs or improve overall performance and compatibility with your device.
If you have tried these troubleshooting steps and continue to experience issues with pairing or other connection problems, it is recommended to consult the user manual or contact Sony customer support for further assistance. They will be able to provide specific guidance and help you resolve any persistent pairing issues.
Remember, troubleshooting is a normal part of the pairing process, and with a little patience and perseverance, you’ll be able to overcome any obstacles and enjoy the seamless connection between your Sony Noise Cancelling headphones and your device.
Conclusion
Congratulations! You have successfully paired your Sony Noise Cancelling headphones with your device. By following the step-by-step process outlined in this guide, you can now fully enjoy the immersive audio experience that these headphones have to offer.
Remember to properly prepare your headphones, turn on pairing mode, activate Bluetooth on your device, and connect your headphones to your device. Adjust the settings according to your preference and test the connection to ensure a stable and uninterrupted listening experience.
If you encounter any issues during the pairing process, don’t worry. Troubleshooting common pairing issues can help you overcome obstacles and resolve connectivity problems. It’s always beneficial to refer to the user manual or seek assistance from the Sony support team for further guidance.
Now that your Sony Noise Cancelling headphones are paired and ready, the world of high-quality sound awaits you. Immerse yourself in the crystal-clear audio, lose yourself in your favorite music, and enjoy the ultimate listening experience that only these headphones can provide.
Whether you’re using your headphones for entertainment, work, or travel, the remarkable technology and advanced features of Sony Noise Cancelling headphones will enhance every aspect of your audio journey. Sit back, relax, put on your headphones, and let the music take you away to a whole new level of auditory bliss.