Introduction
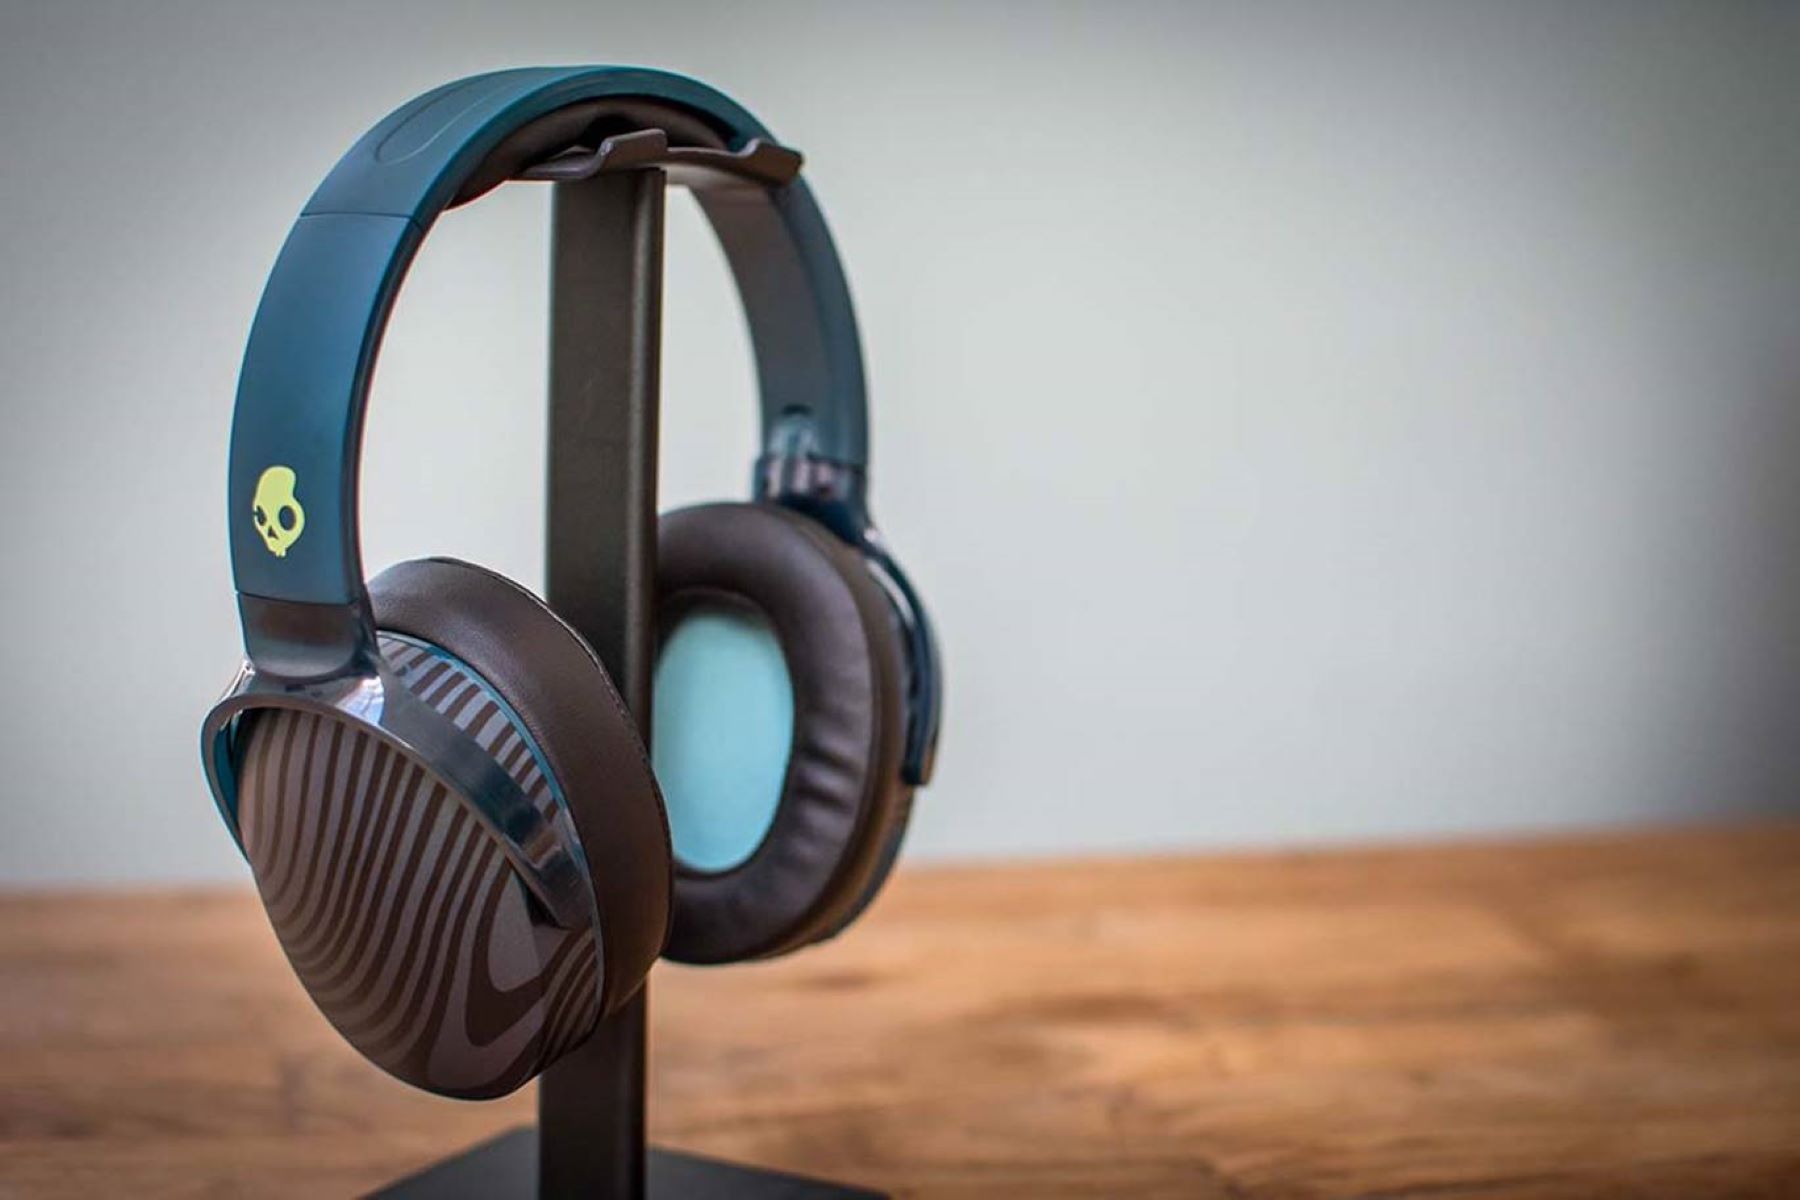
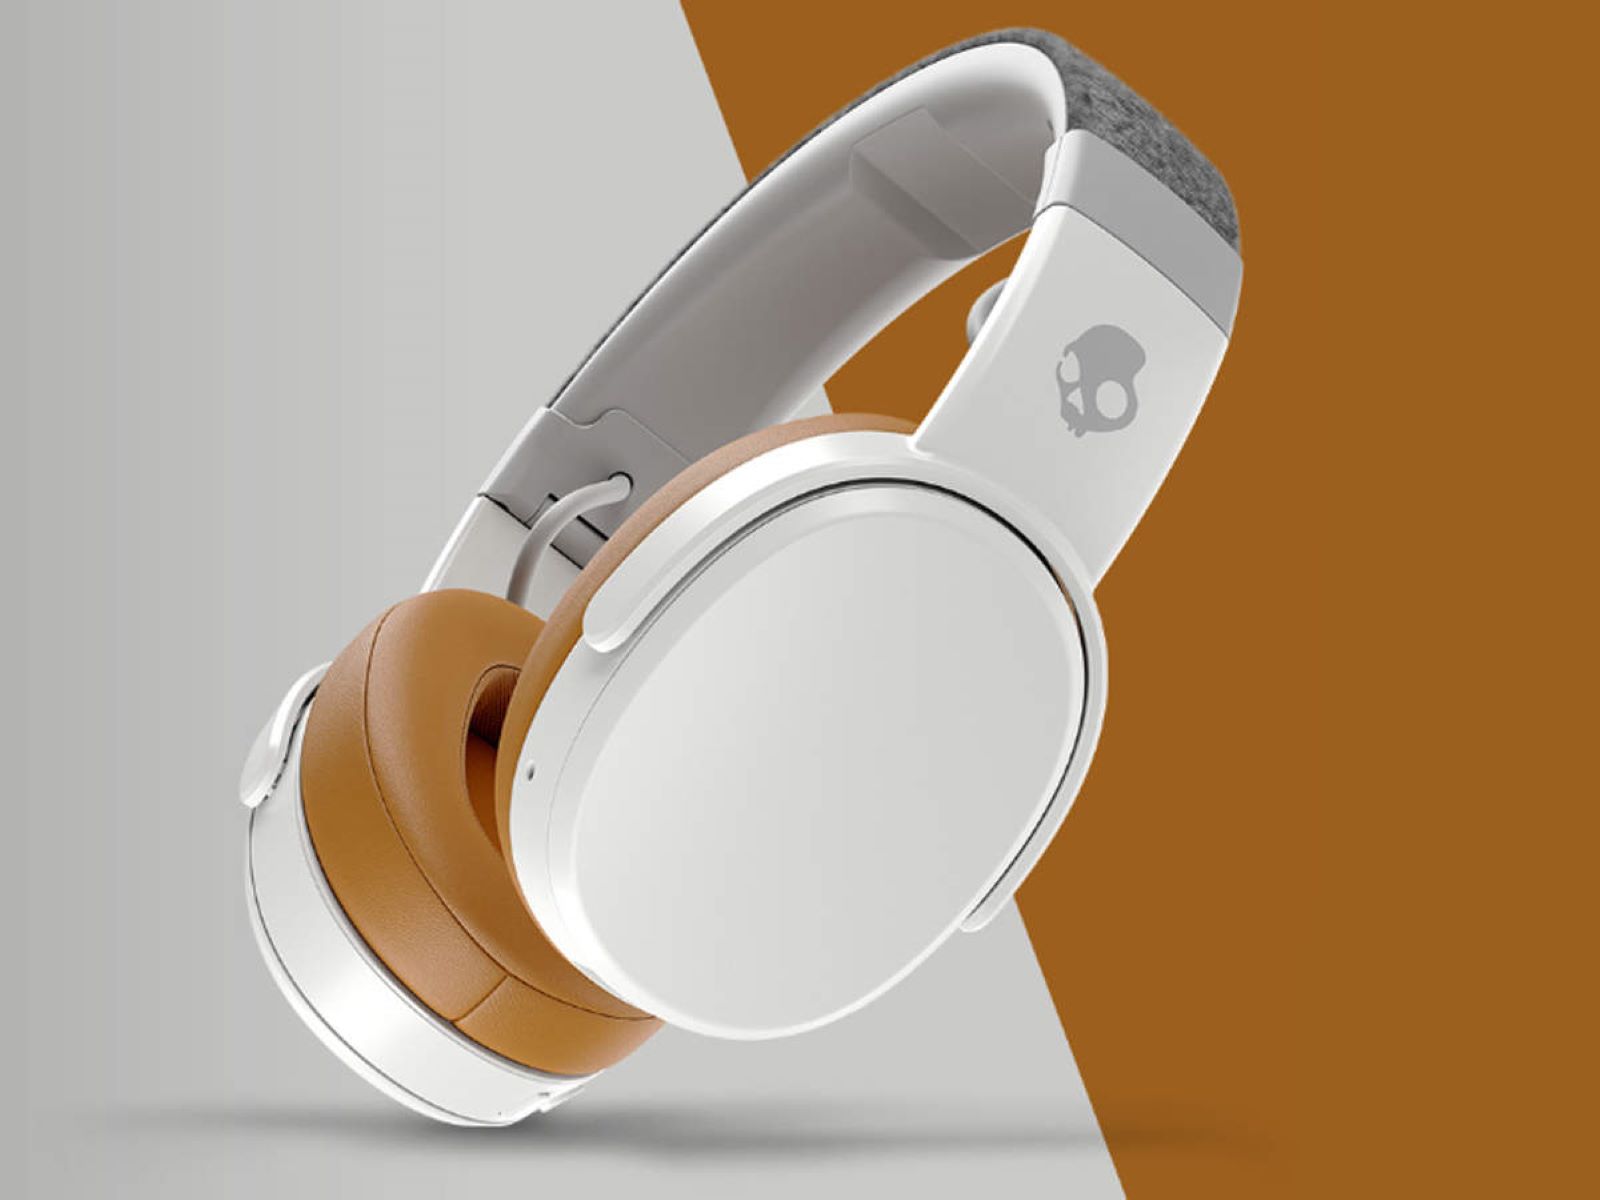
Welcome to the world of Skullcandy noise cancelling headphones! If you’re looking to immerse yourself in your favorite music or enjoy peace and quiet without distractions, these headphones are your perfect companion. With advanced noise-cancelling technology and a comfortable design, these headphones provide an unparalleled listening experience.
Whether you’re a frequent traveler, a busy professional, or an avid audiophile, knowing how to pair your Skullcandy noise cancelling headphones with your devices is essential. In this guide, we will walk you through the step-by-step process of setting up and pairing your headphones. By the end of this article, you’ll be able to enjoy your music or take important calls with ease, while effectively reducing unwanted background noise.
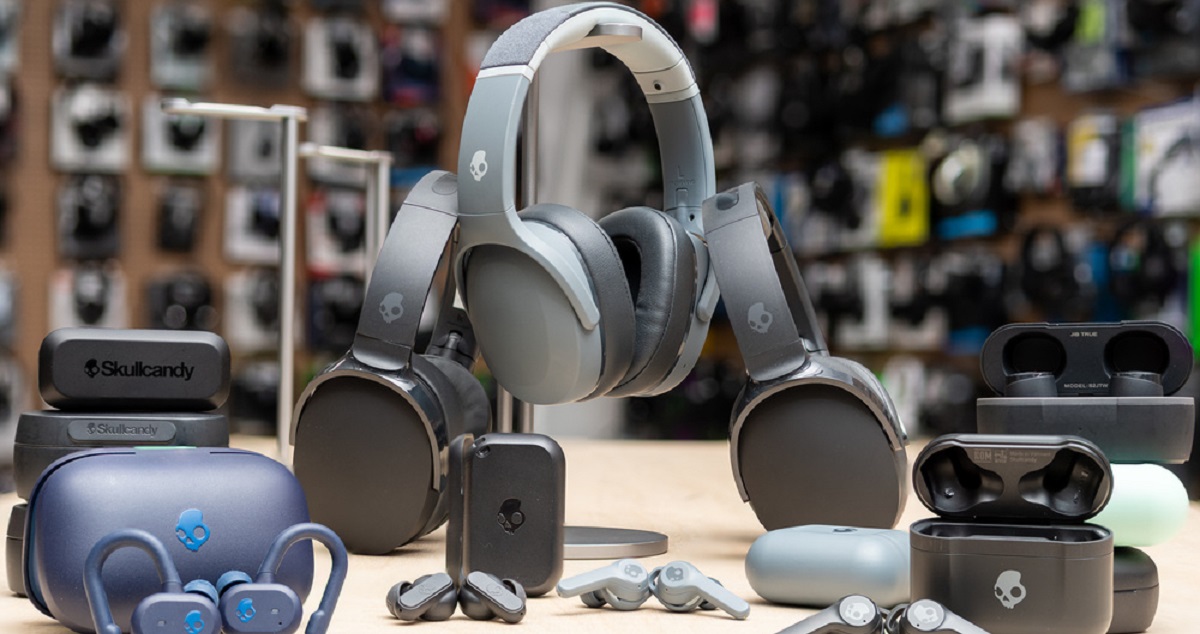
Before we dive into the details, it’s important to note that Skullcandy noise cancelling headphones come in various models, each with their own specific pairing methods. While the overall process may be similar, it’s crucial to consult the user manual that came with your specific model for any model-specific instructions. With that said, let’s get started on the general steps to pair your Skullcandy noise cancelling headphones:
Step 1: Charging the Headphones
Before you start using your Skullcandy noise cancelling headphones, it’s essential to ensure they are properly charged. Here’s how you can do it:
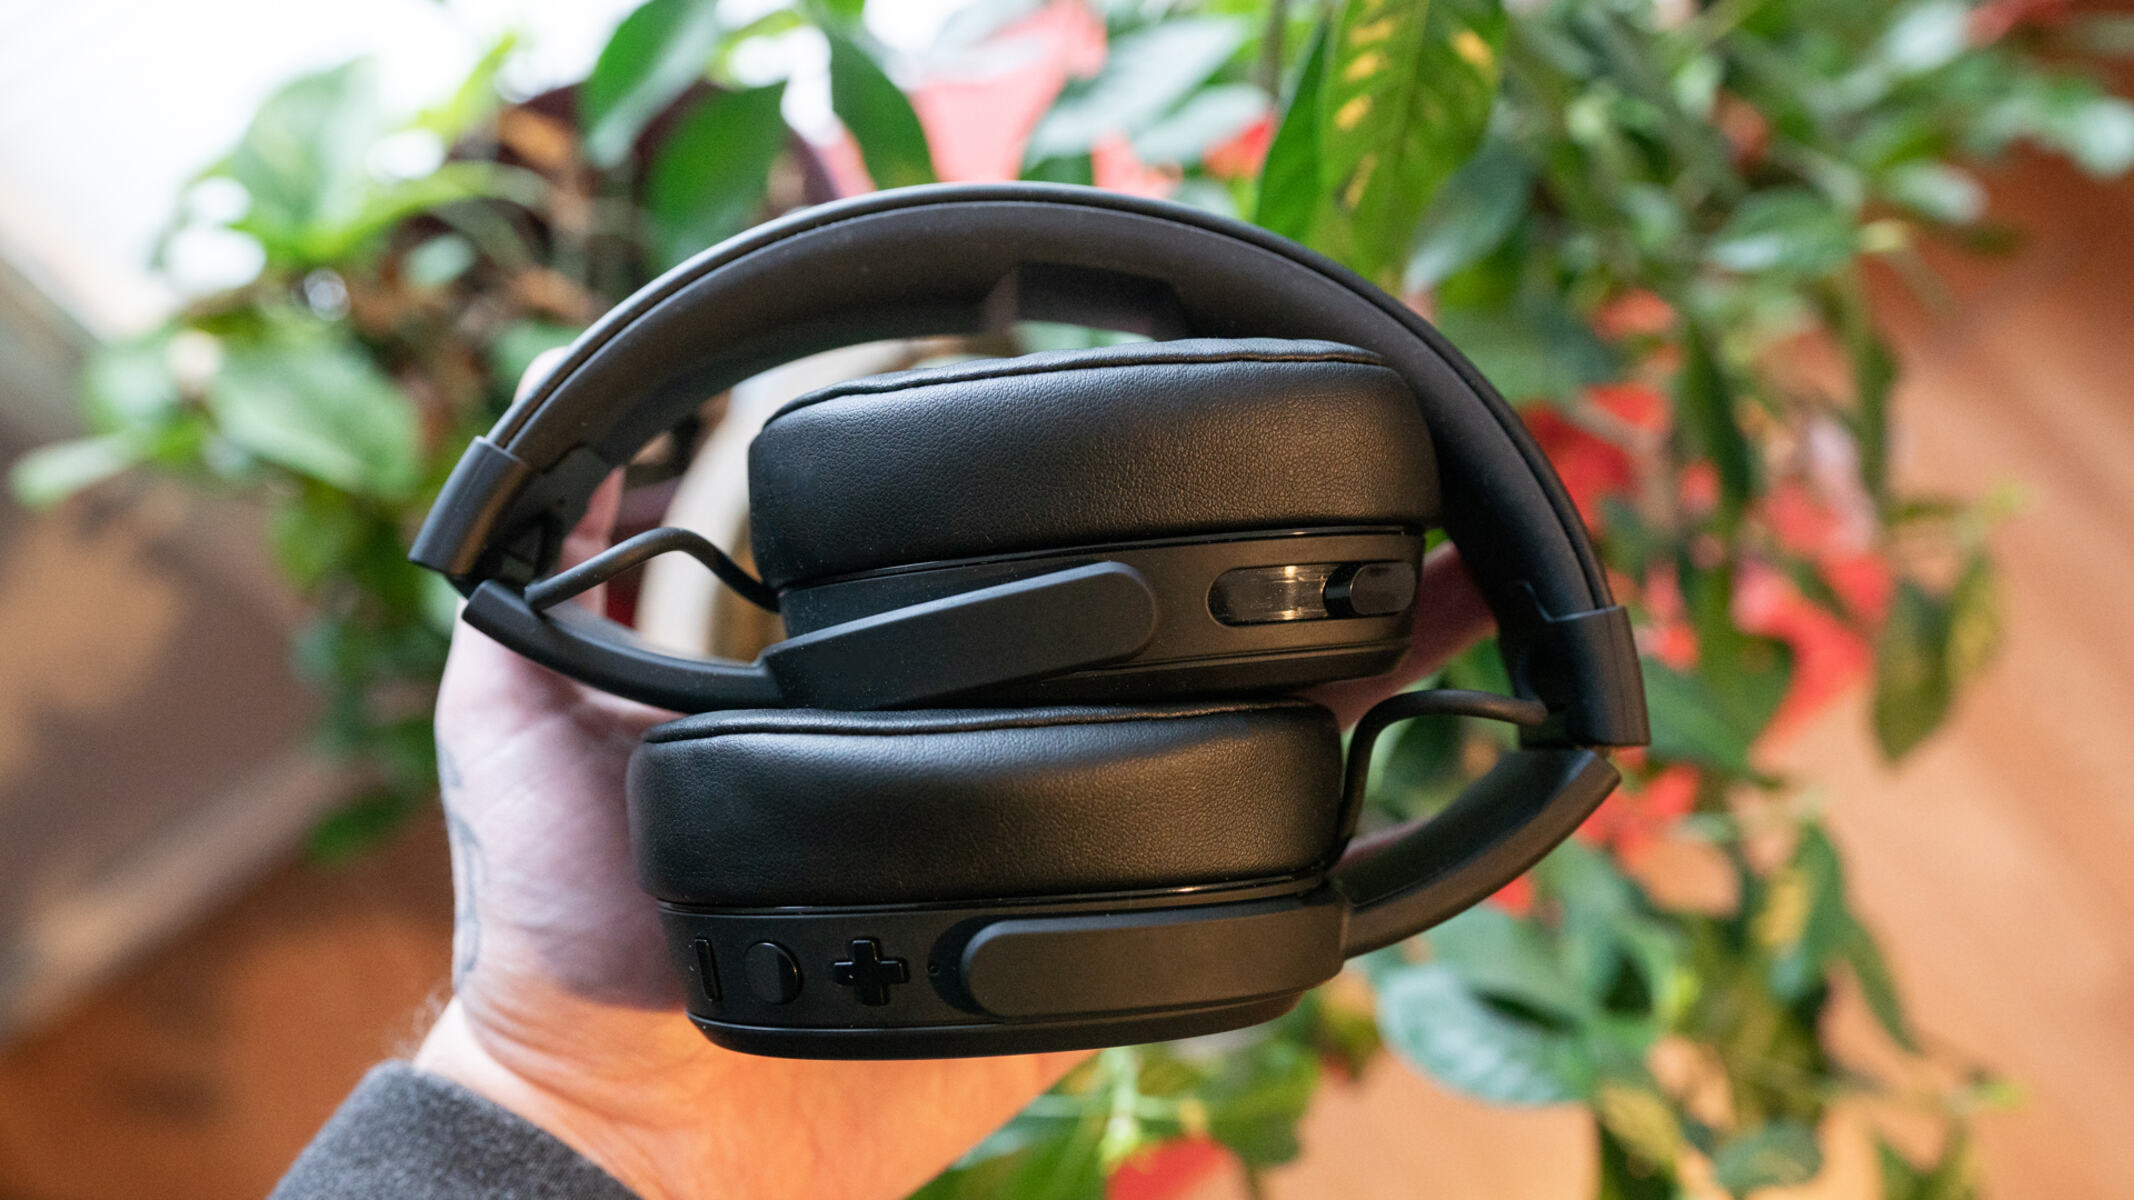
- Locate the charging port on your headphones. It is usually located on the bottom or side of the earcup.
- Connect the provided USB charging cable to the charging port of your headphones.
- Insert the other end of the USB cable into a USB power source, such as a wall adapter or a computer USB port.
- Make sure the power source is turned on, and the headphones should start charging.
- Look for the LED indicator light on the headphones. This light will typically turn red or another color to indicate that charging is in progress.
- Leave the headphones connected to the power source until they are fully charged. This may take a few hours, so it’s best to charge them overnight or when you’re not in immediate need of using them.
Once your Skullcandy noise cancelling headphones are fully charged, you can move on to the next step of the pairing process. It’s important to note that some models may have different charging methods or additional features, so always refer to your user manual for precise instructions.
Step 2: Turning on the Noise Cancelling Feature
Now that your Skullcandy noise cancelling headphones are charged, it’s time to activate the noise cancelling feature. This advanced technology helps block out external sounds, allowing you to enjoy your music or focus on tasks without distractions. Follow these steps to turn on the noise cancelling feature:
- Locate the power button on your headphones. It is usually located on one of the earcups.
- Press and hold the power button until you see a light indicator or hear an audible cue, indicating that the headphones are turning on.
- Some models may have a specific noise cancelling button or switch. If your headphones have this feature, make sure to turn it on as well.
- Once the noise cancelling feature is activated, you should see or hear a confirmation, such as a light indicator or a sound prompt.
The noise cancelling feature is now enabled on your Skullcandy headphones. This will significantly reduce ambient noise, providing you with a more immersive and uninterrupted audio experience. However, it’s important to note that the effectiveness of the noise cancelling feature may vary depending on the model and the environment you are in.
Now that you have successfully turned on the noise cancelling feature, it’s time to proceed to the next step: connecting the headphones to a device.
Step 3: Connecting the Headphones to a Device
With the noise cancelling feature activated on your Skullcandy headphones, it’s time to connect them to your desired device. Whether it’s your smartphone, tablet, or computer, follow these steps to establish a stable connection:
- Make sure the device you want to connect to has its Bluetooth function enabled. You can typically find this option in the device’s settings menu.
- On your Skullcandy headphones, locate the Bluetooth pairing button. It is usually indicated by the Bluetooth symbol.
- Press and hold the Bluetooth pairing button until you see the LED indicator light flashing. This indicates that the headphones are now in pairing mode.
- On your device, open the Bluetooth settings and search for available devices.
- Look for the name of your Skullcandy headphones in the list of available devices and select it.
- If prompted, enter the PIN or accept any pairing requests to establish the connection. The PIN can often be found in the user manual or on the packaging of your headphones.
- Once the connection is successful, you should see a confirmation on both your device and the headphones.
After connecting your Skullcandy headphones to your device via Bluetooth, they are now ready to deliver high-quality audio wirelessly. Remember that the process may vary slightly depending on the device you are connecting to, so consult the device’s user manual if you encounter any difficulties.
Now that the headphones are successfully paired, it’s time to test the noise cancelling function and enjoy a truly immersive listening experience.
Step 4: Pairing the Headphones via Bluetooth
Now that you have connected your Skullcandy headphones to a device, it’s time to complete the pairing process via Bluetooth. This will ensure a stable and seamless connection for your listening pleasure. Follow these steps to pair your headphones:
- Ensure that your Skullcandy headphones are turned on and in pairing mode. If not, refer to the previous sections for instructions on how to activate the noise cancelling feature and enter pairing mode.
- On your device, navigate to the Bluetooth settings if you’re not already there.
- Locate the list of available devices and look for the name of your Skullcandy headphones.
- Select the headphones from the list to initiate the pairing process.
- Wait for a few moments while your device connects to the headphones. You may see a progress indicator or hear a sound cue during this process.
- Once the pairing is complete, you should see a confirmation message on your device, indicating a successful connection.
Congratulations! Your Skullcandy headphones are now paired with your device via Bluetooth. This means you can enjoy your favorite content wirelessly, without the hassle of tangled cables. If you have multiple devices that you want to connect your headphones to, you can repeat the pairing process for each device.
Remember to consult the user manual of your specific Skullcandy model for any additional features or specific instructions related to Bluetooth pairing. With the headphones successfully paired, it’s time to put the noise cancelling feature to the test.
Step 5: Testing the Noise Cancelling Function
With your Skullcandy headphones successfully paired and connected to your device, it’s time to put the noise cancelling function to the test. This will allow you to experience the full benefits of these headphones by immersing yourself in your favorite tunes or enjoying a moment of tranquility. Follow these steps to test the noise cancelling feature:
- Put on your Skullcandy headphones and adjust them to ensure a comfortable fit.
- Play some music or audio on your connected device at a reasonable volume.
- Engage the noise cancelling feature on your headphones, if it is not already active. Refer to the previous sections for instructions on how to activate the noise cancelling function.
- As the noise cancelling technology kicks in, you should notice a reduction in background noise and distractions. The headphones will work to cancel out external sounds, allowing you to focus on your audio content.
- Pay attention to the clarity and quality of the sound that is delivered to your ears. The noise cancelling feature should enhance the audio experience, providing a more immersive and detailed soundstage.
- To further test the effectiveness of the noise cancelling, try using your headphones in different environments. Whether you are in a noisy café, on a bustling street, or in a crowded office, the noise cancelling feature should help create a bubble of tranquility around you.
By testing the noise cancelling function of your Skullcandy headphones, you can evaluate the effectiveness of the technology and adjust the settings according to your preferences. Remember that the noise cancelling capabilities may vary depending on the model and the environment you are in.
Congratulations! You have successfully completed all the necessary steps to pair and test the noise cancelling function of your Skullcandy headphones. Now, you can enjoy your music or conversations with enhanced audio quality and minimized distractions.
Conclusion
Congratulations on successfully setting up and pairing your Skullcandy noise cancelling headphones! By following the steps outlined in this guide, you have learned how to charge your headphones, activate the noise cancelling feature, connect them to your devices via Bluetooth, and test the effectiveness of the noise cancelling function.
Skullcandy noise cancelling headphones provide you with the opportunity to escape into your own immersive audio experience, allowing you to enjoy music, podcasts, or phone calls without the disturbances of the outside world. The noise cancelling feature, combined with the convenience of wireless connectivity, offers a truly enhanced listening experience.
Remember to refer to the user manual specific to your Skullcandy model for any additional features or model-specific instructions. It’s important to familiarize yourself with the unique functions and controls of your headphones to make the most out of your investment.
Whether you’re a frequent traveler, a professional working in a noisy environment, or simply looking for a way to enjoy your music with optimal sound quality, Skullcandy noise cancelling headphones are an excellent choice. With their sleek design, superior audio performance, and user-friendly functionality, these headphones are sure to enhance your audio experience.
Now that you’re equipped with the knowledge to pair and maximize the potential of your Skullcandy noise cancelling headphones, it’s time to sit back, relax, and enjoy the audio bliss they provide. Get lost in the music, indulge in your favorite podcasts, or take important calls with clarity and tranquility. With Skullcandy noise cancelling headphones, the world is yours to explore, one incredible sound at a time.


