Introduction
Welcome to the world of private browsing on Safari for iPhone! Whether you’re concerned about your online privacy or just want to keep your browsing history confidential, using the private browsing feature on Safari can provide you with a safe and secure browsing experience.
In this article, we will guide you through the step-by-step process of opening a private browser on Safari for iPhone. By the end of this guide, you’ll be able to browse the web without leaving a trace on your device or within Safari.
Privacy is a fundamental right, and with the increasing concern over data breaches and online tracking, it’s essential to take steps to protect your personal information. Private browsing not only prevents your browsing history from being saved, but it also disables tracking cookies and autofill features, enhancing your overall online privacy.
So, whether you want to do some discreet online shopping, research sensitive topics, or simply want a temporary browsing session without any traces, private browsing on Safari has got you covered.
Without further ado, let’s dive into the step-by-step instructions on how to open a private browser on Safari for your iPhone.
Step 1: Open Safari on your iPhone
The first step to accessing private browsing on Safari for your iPhone is to open the Safari browser. Look for the Safari icon, which is a compass-like symbol, on your home screen or in your app drawer.
If you have trouble finding Safari, you can also use the Spotlight Search feature. Swipe down from the middle of your home screen, or while on the home screen, swipe right to access the search bar. Type in “Safari” and tap on the Safari app icon in the results.
Once you’ve located the Safari app, tap on it to open the browser. Safari is the default web browser on iPhone, known for its user-friendly interface and seamless browsing experience.
After tapping on the Safari icon, the app will launch, and you’ll be greeted with the Safari browser interface, ready for you to start your private browsing session.
Now that you’ve successfully opened Safari on your iPhone, let’s move on to the next step to enable private browsing. Remember, private browsing ensures that your browsing history, search history, and other browsing data aren’t saved on your device, providing an added layer of privacy and security.
Step 2: Tap on the Tabs button
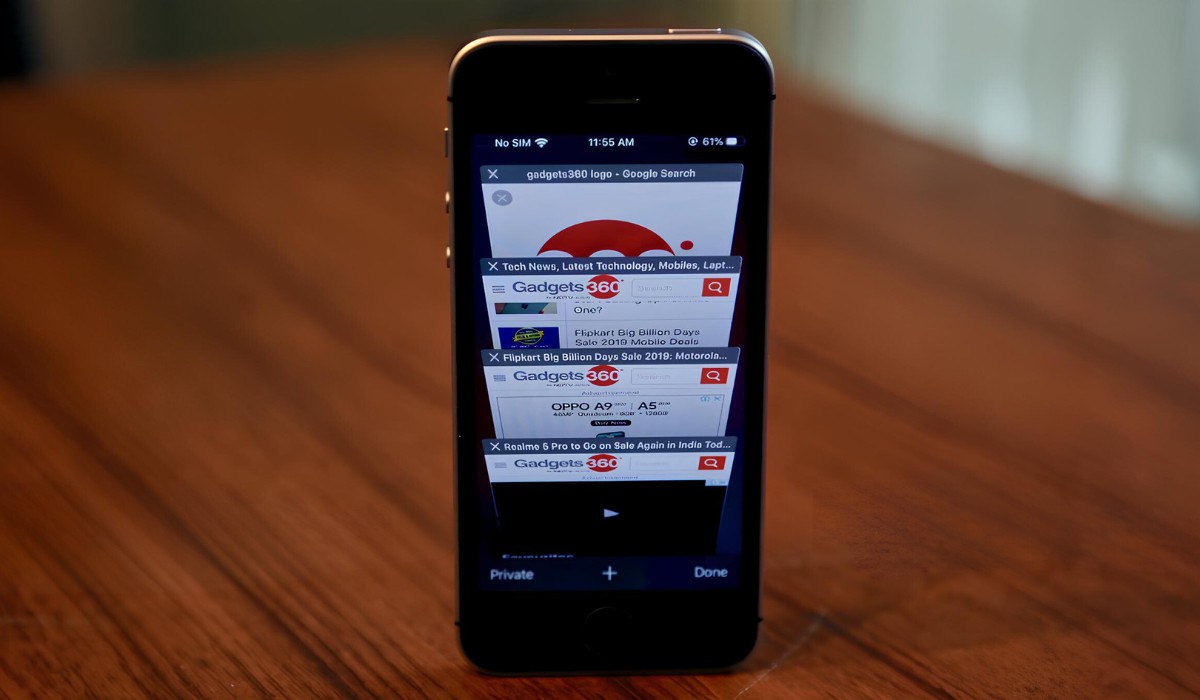
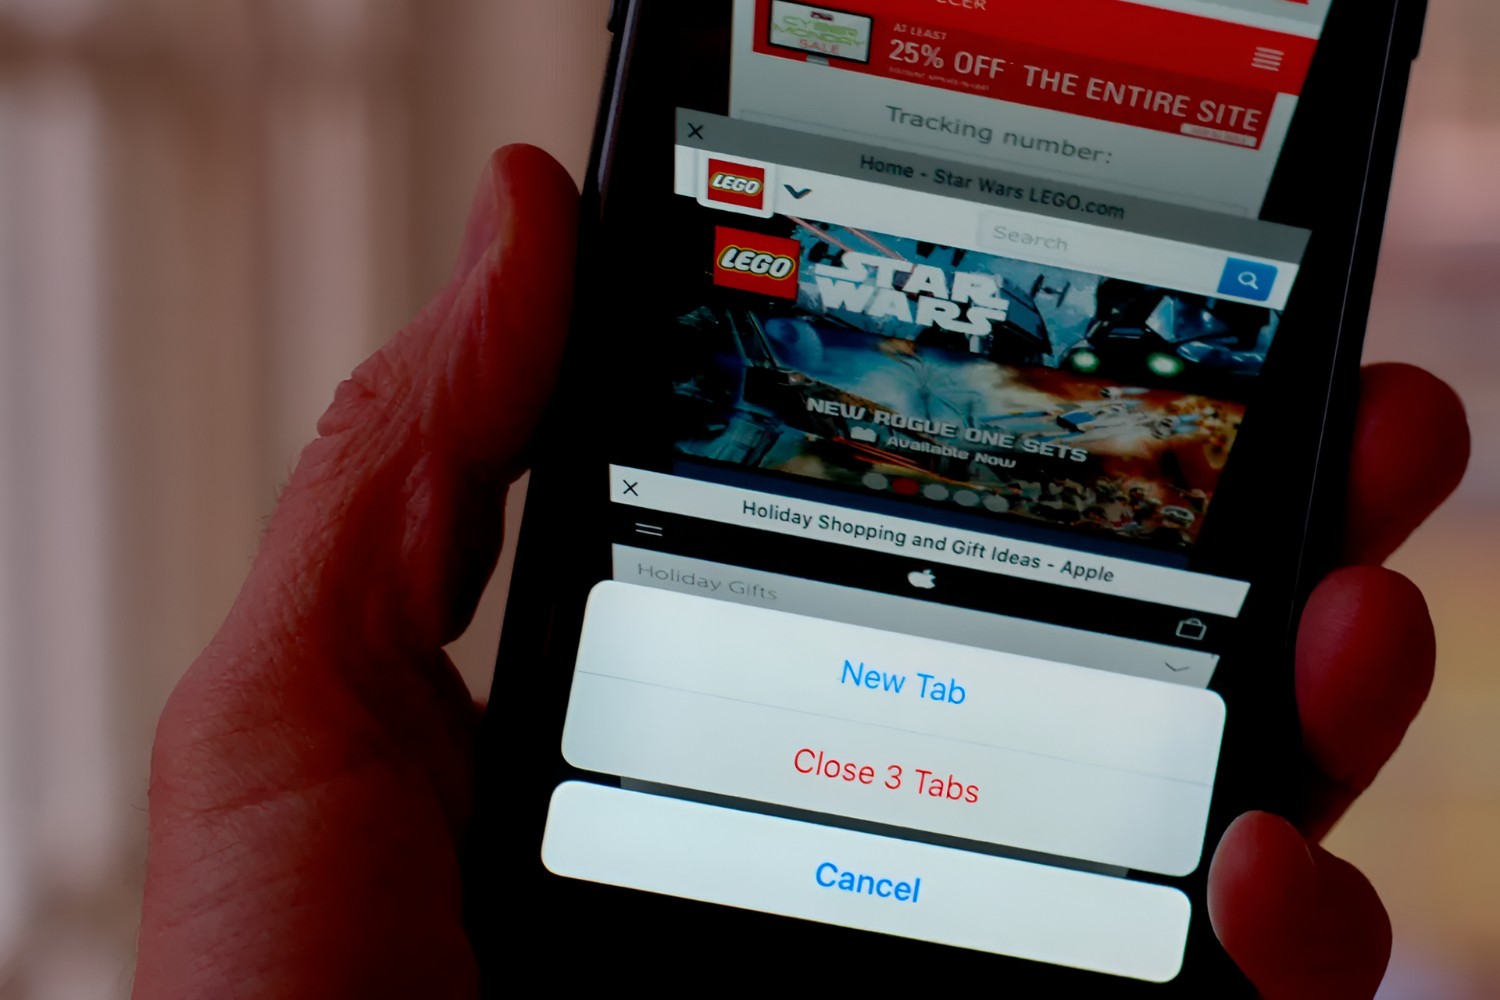
Once you have Safari open on your iPhone, the next step to activate private browsing is to tap on the Tabs button. The Tabs button is located in the bottom right corner of the Safari interface and is represented by a square with multiple overlapping squares inside.
When you tap on the Tabs button, a new screen will appear, displaying all your currently opened tabs in Safari. This screen allows you to easily switch between different web pages or close tabs that you no longer need.
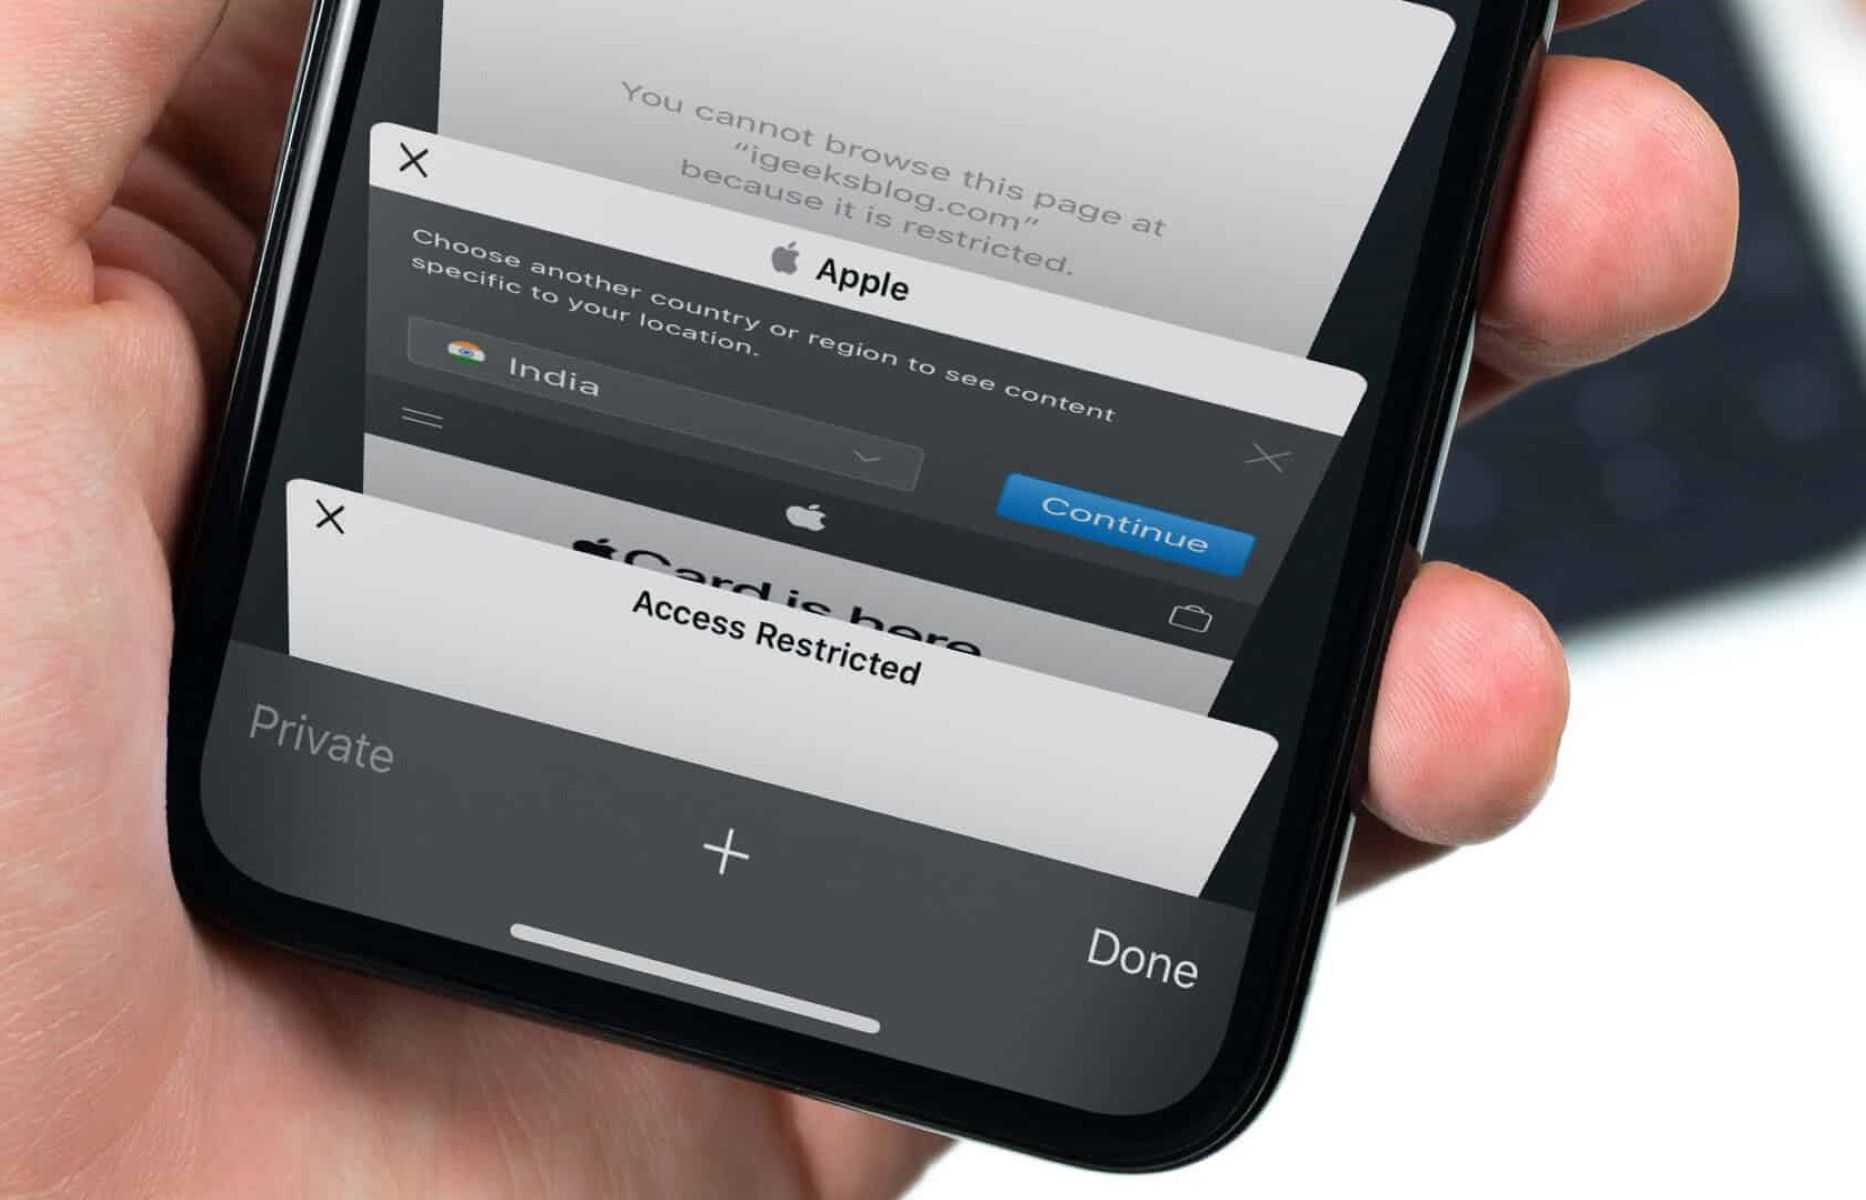
Now, to initiate private browsing, look for the button labeled “Private” in the bottom left corner of the Tabs screen. It is indicated by a black background with the word “Private” written in white letters.
Tap on the “Private” button to enable private browsing mode. You’ll notice that the interface changes slightly, indicating that you’re now in private browsing mode. This mode ensures that Safari won’t save your browsing history, cookies, or any other data from your private browsing session.
It’s worth noting that when you enable private browsing, Safari will also disable any extensions or add-ons that you may have installed. This prevents them from tracking your online activities during your private browsing session.
Now that you know how to access the Tabs screen and enable private browsing, let’s move on to the next step, where you’ll learn how to confirm that you’re indeed in private browsing mode and ready to browse privately on Safari for your iPhone.
Step 3: Tap on “Private” in the bottom left corner
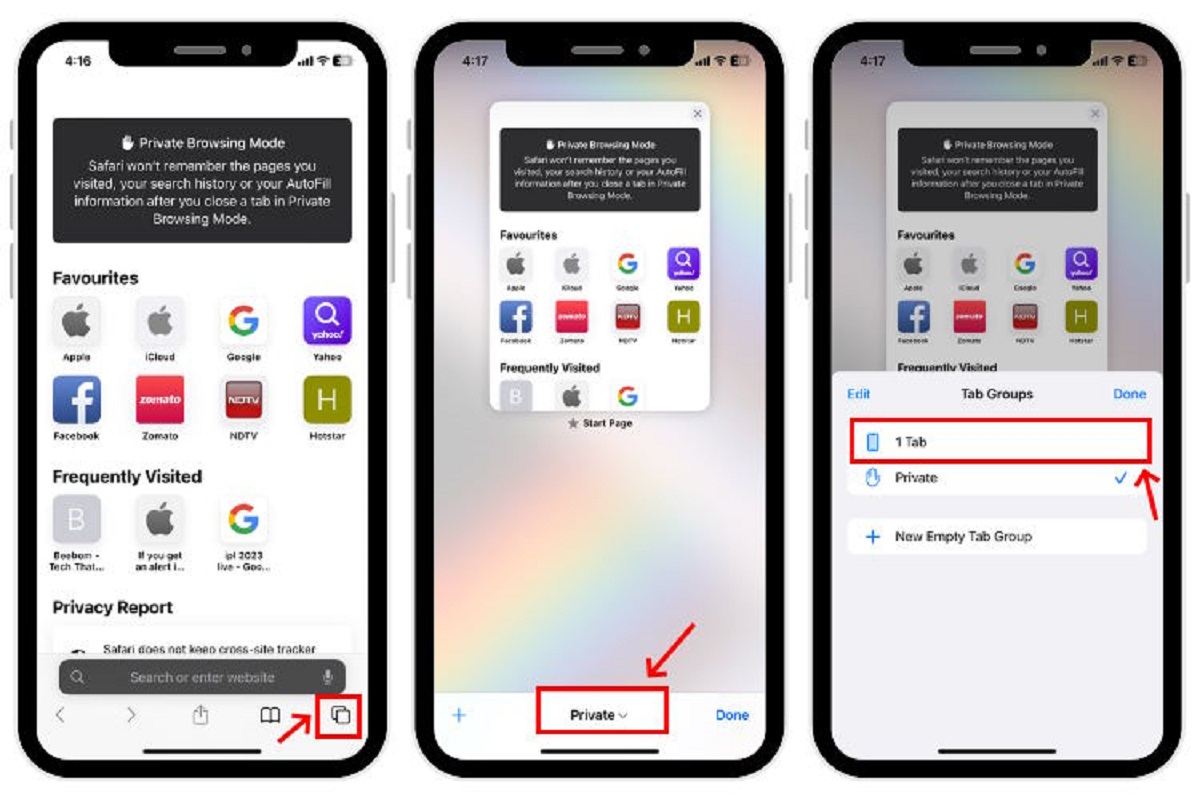
After accessing the Tabs screen and seeing the “Private” button in the bottom left corner, the next step in opening a private browser on Safari for your iPhone is to tap on the “Private” button.
When you tap on the “Private” button, a prompt will appear on the screen to confirm if you want to enable private browsing. This prompt is a security measure to ensure that you intentionally activate private browsing and understand the implications it may have on your browsing experience.
Tap on the “Private” option in the prompt to indicate your intention to browse privately. Once selected, the prompt will disappear, and you’ll be redirected back to the Safari browser interface. This signifies that private browsing mode has been successfully enabled.
It’s important to note that private browsing mode on Safari only applies to the specific browsing window that you have opened in private mode. If you open new tabs or windows, those will be in normal browsing mode by default. To ensure continued privacy, it’s recommended to close all existing tabs or windows and open new ones in private mode, if needed.
Now that you have tapped on “Private” and activated private browsing mode, let’s move on to the next step to ensure that you’re ready to browse the web in complete privacy and without leaving any traces behind.
Step 4: Confirm Private Browsing mode
After tapping on the “Private” button in the bottom left corner of the Safari interface, it’s important to confirm that you’re indeed in Private Browsing mode to ensure that your browsing session is secure and private.
To confirm Private Browsing mode on Safari for iPhone, you can look for a few visual cues. Firstly, check if the browser interface has changed slightly. In Private Browsing mode, the top and bottom bars of the Safari interface typically appear in a dark gray or dark blue color, indicating that you’re browsing privately.
Another way to confirm Private Browsing mode is by checking the search bar at the top of the Safari interface. When in private mode, the search bar background will turn a dark color, typically dark gray or dark blue, contrasting with the usual white background seen in normal browsing mode.
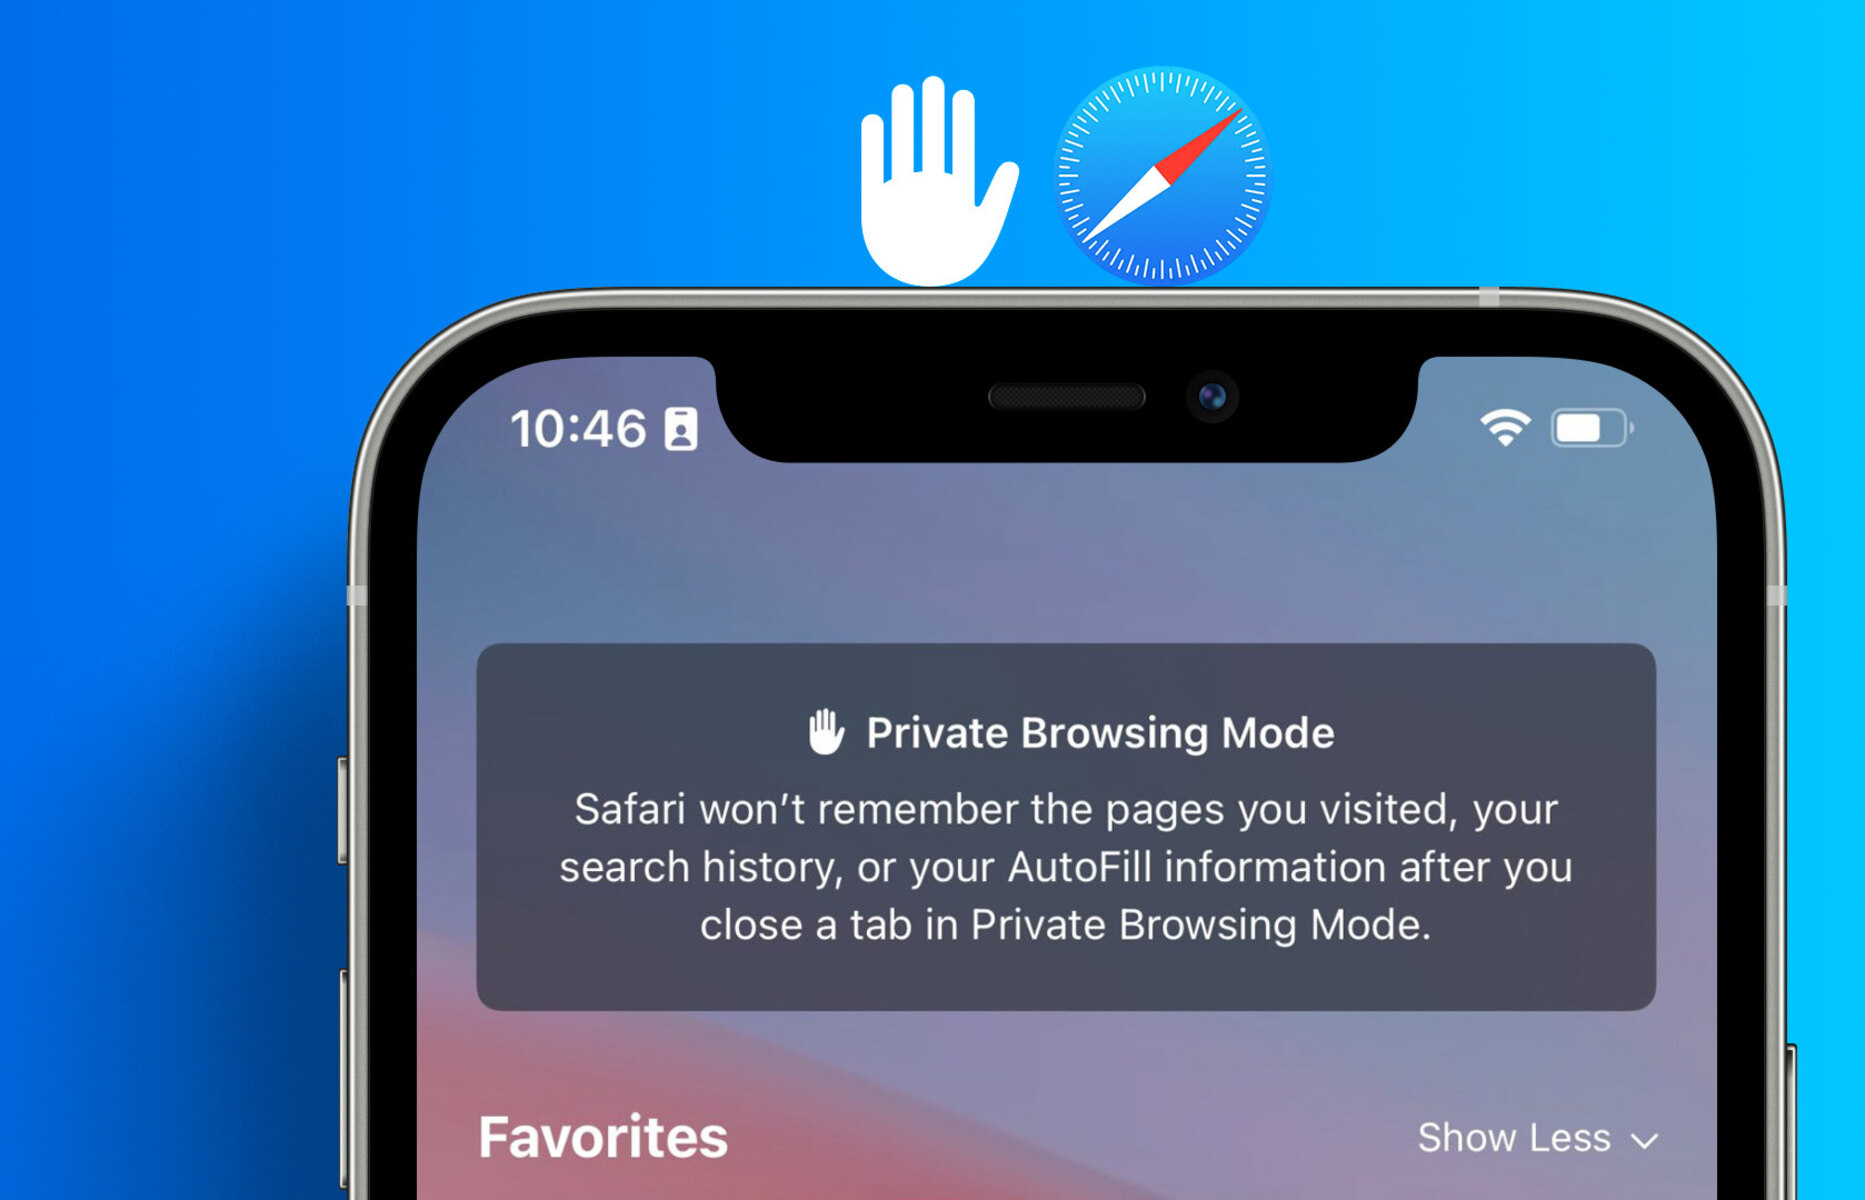
Additionally, you can also look for a “Private” label below the search bar in the Safari interface. This label is accompanied by a brief description that reminds you that you’re currently browsing privately and that Safari won’t save your browsing history or data.
Now that you’ve confirmed Private Browsing mode and verified that your browsing session is indeed private, it’s time to move on to the final step, where you’ll learn how to start browsing the web privately.
Step 5: Start browsing privately
Congratulations! You have successfully enabled private browsing mode on Safari for your iPhone. Now it’s time to start browsing the web privately and securely without leaving any traces behind.
To begin browsing privately, simply enter the web address or search terms in the search bar at the top of the Safari interface, just like you would in normal browsing mode. As you start visiting websites and conducting searches, Safari will not save any of this activity in your browsing history, and cookies will be deleted once you exit private browsing mode.
It’s important to keep in mind that while private browsing can help protect your privacy by not saving your browsing history, it does not completely anonymize your online activity. Your internet service provider (ISP), website owners, and any network administrators can still monitor your online activities.
During your private browsing session, you can open multiple tabs and navigate between them just like in normal browsing mode. Each tab will operate independently in private mode, ensuring that data between tabs does not intermingle and that no traces are left behind.
Once you’ve finished your private browsing session and no longer need to remain in private mode, you can simply tap on the Tabs button again and tap on the “Private” button to disable private browsing. Safari will then return to normal browsing mode, and your future browsing activities will be saved in the browsing history once again.
Remember, it’s always a good practice to clear your browsing history and data regularly, regardless of whether you use private browsing or not. This ensures that any sensitive information or traces of your online activities are removed from your device.
So go ahead and enjoy your private browsing experience on Safari for iPhone. Browse the web with peace of mind, knowing that your online activities are kept confidential and that Safari won’t store any browsing data. Happy browsing!