Introduction
When it comes to browsing the internet, privacy and security are paramount. Whether you're conducting sensitive research, shopping for a special gift, or simply want to keep your online activities private, using a private browsing mode can be incredibly beneficial. In this article, we'll explore how to enable private browsing on Safari, Apple's widely used web browser.
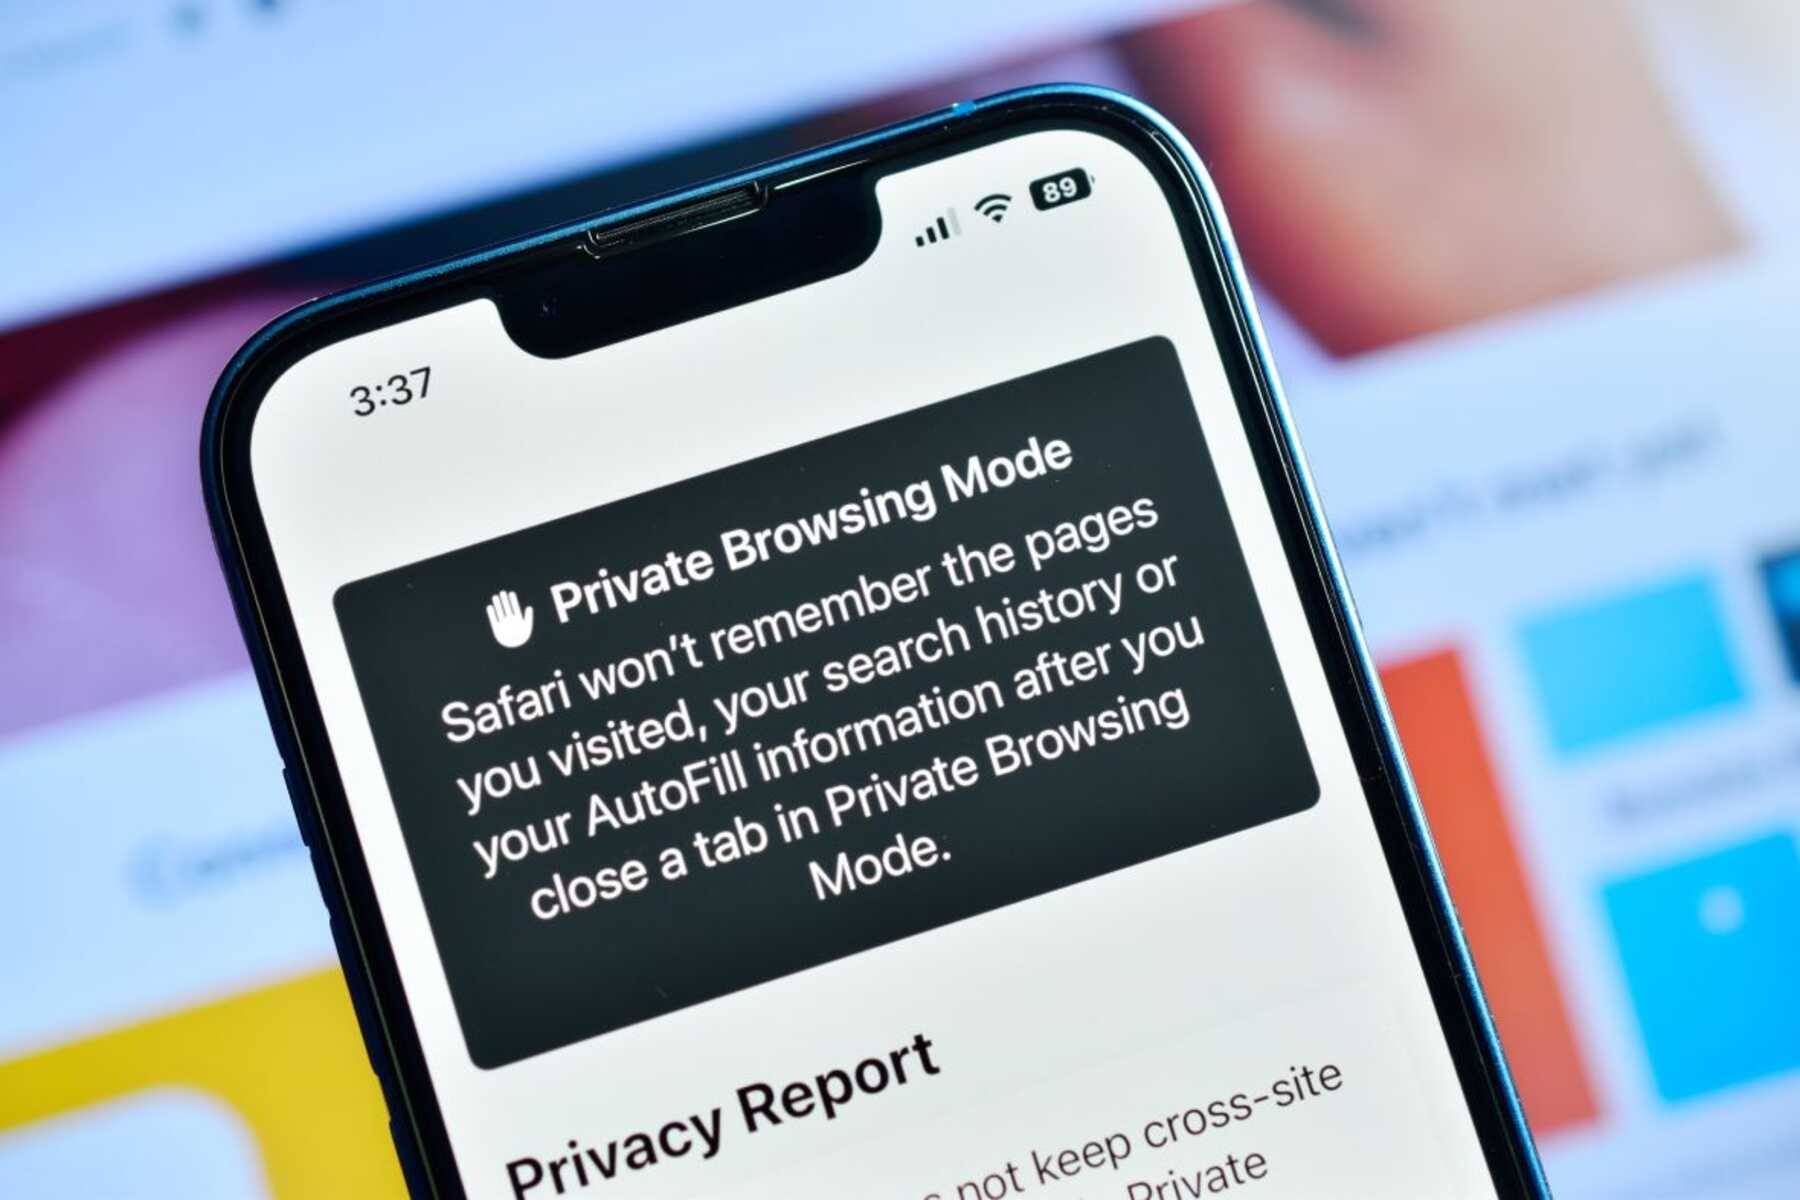
Safari's private browsing feature allows users to surf the web without leaving a trace of their online activities. This means that no browsing history, search history, or cookies are stored during a private browsing session. It's an excellent option for individuals who value their privacy and want to ensure that their online movements remain confidential.
By following the simple steps outlined in this guide, you'll be able to activate private browsing on Safari with ease. Whether you're using a Mac, iPhone, or iPad, the process is straightforward and can be completed in just a few clicks. So, let's dive in and discover how to harness the power of private browsing to safeguard your online privacy.
Step 1: Open Safari
To begin the journey towards private browsing on Safari, the first step is to launch the Safari web browser on your device. Whether you're using a Mac, iPhone, or iPad, the process of opening Safari remains consistent across all Apple devices.
Mac Users:
If you're using a Mac, you can easily open Safari by clicking on the Safari icon located in the dock at the bottom of the screen. Alternatively, you can access Safari by clicking on the magnifying glass icon in the top-right corner of the screen to open Spotlight Search, then typing "Safari" and hitting Enter.
iPhone and iPad Users:
For iPhone and iPad users, locating and opening Safari is a breeze. Simply navigate to the home screen of your device and tap on the Safari icon, which resembles a blue compass. If you've organized your apps into folders, you may need to locate the Safari app within the appropriate folder.
Once Safari is launched, you're ready to proceed to the next step in the process of enabling private browsing. With Safari open and at your fingertips, you're one step closer to experiencing the enhanced privacy and security that private browsing mode offers.
By following these simple instructions, you've successfully completed the first step in the process of activating private browsing on Safari. Now, let's move on to the next step and continue our journey towards a more secure and private online browsing experience.
Step 2: Click on "Safari" in the top menu
After successfully launching Safari, the next step in activating private browsing mode involves accessing the "Safari" menu located at the top of the screen. This menu contains a plethora of options that allow users to customize their browsing experience, including the ability to enable private browsing.
Mac Users:
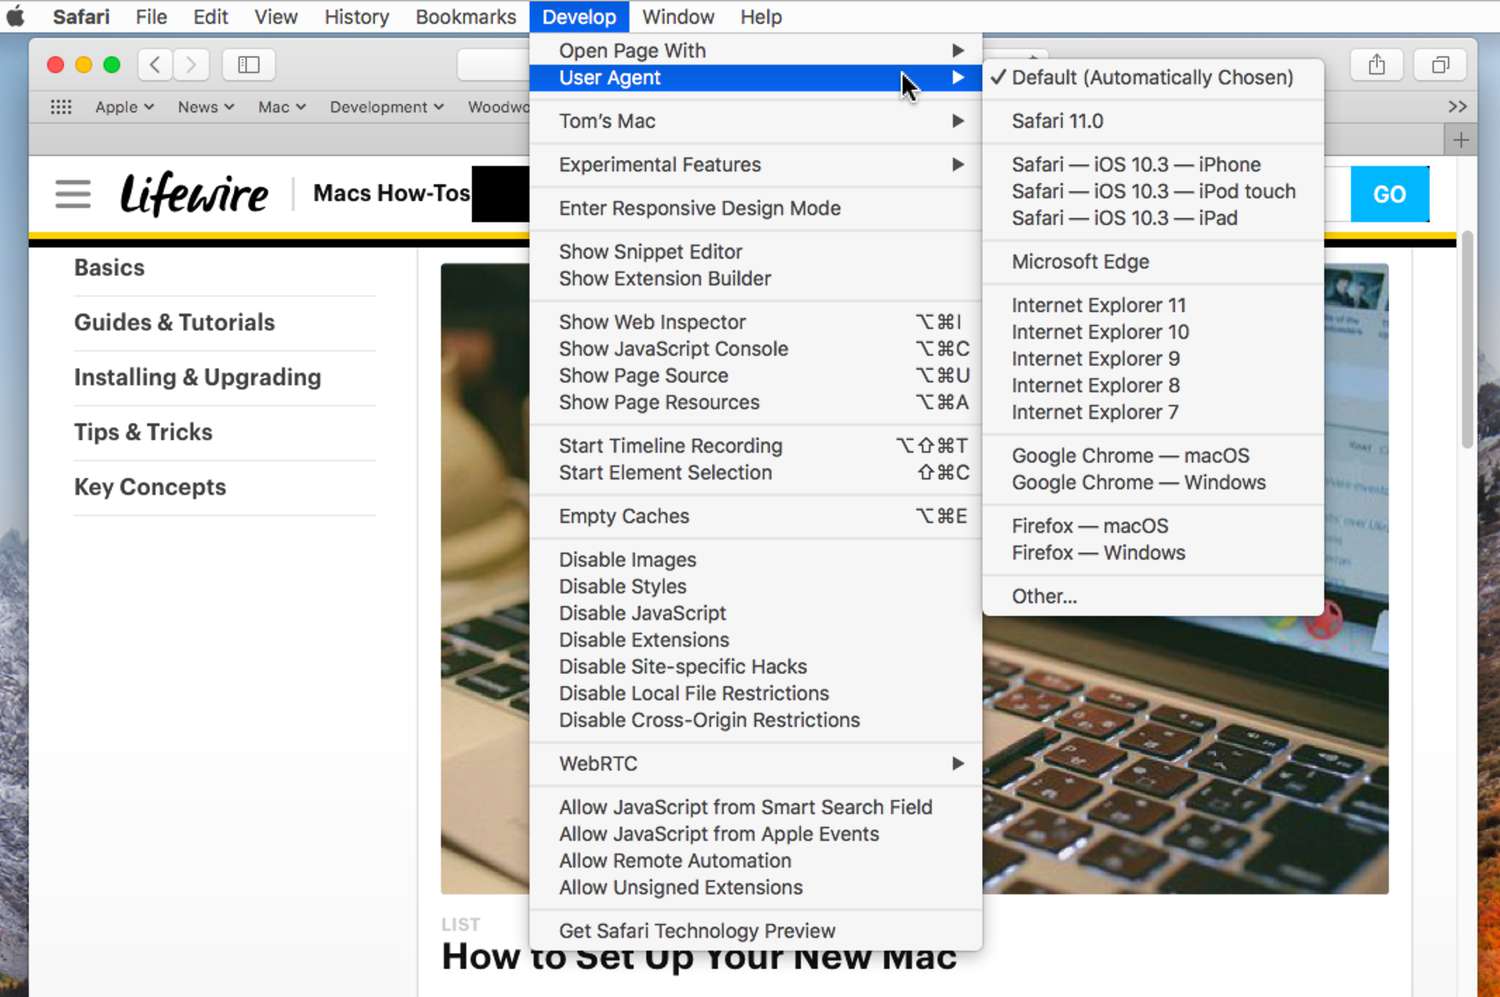
For Mac users, the "Safari" menu is situated in the top-left corner of the screen, adjacent to the Apple logo. Upon clicking on "Safari," a dropdown menu will appear, presenting a range of functions and settings. This menu serves as the gateway to various features that Safari has to offer, including the option to initiate private browsing.
iPhone and iPad Users:
On iPhone and iPad devices, the "Safari" menu is accessed slightly differently. Upon opening Safari, the menu bar is not immediately visible. To reveal the menu options, simply tap at the top of the screen, and the address bar and menu will appear. From there, you can tap on "Safari" to unveil the available options.
Once you've successfully accessed the "Safari" menu, you're one step closer to enabling private browsing mode. This menu serves as the control center for Safari, allowing users to manage their browsing preferences and access essential features.
By clicking on "Safari" in the top menu, you're setting the stage for the next crucial step in the process of activating private browsing on Safari. With this simple action, you're paving the way for a more secure and private online browsing experience.
Now that you've navigated to the "Safari" menu, it's time to proceed to the next step and continue our journey towards harnessing the power of private browsing on Safari.
Step 3: Select "Private Browsing"
Upon accessing the "Safari" menu, the next pivotal step in activating private browsing mode involves selecting the "Private Browsing" option. This action is instrumental in initiating a secure and confidential browsing session, free from the retention of browsing history, search history, and cookies.
Mac Users:
For Mac users, after clicking on the "Safari" menu, a dropdown list will appear. Within this list, you will find the "Private Browsing" option. By clicking on "Private Browsing," Safari will prompt you to confirm your decision to enable this feature. Upon confirmation, Safari will seamlessly transition into private browsing mode, signified by a noticeable change in the appearance of the browser window.
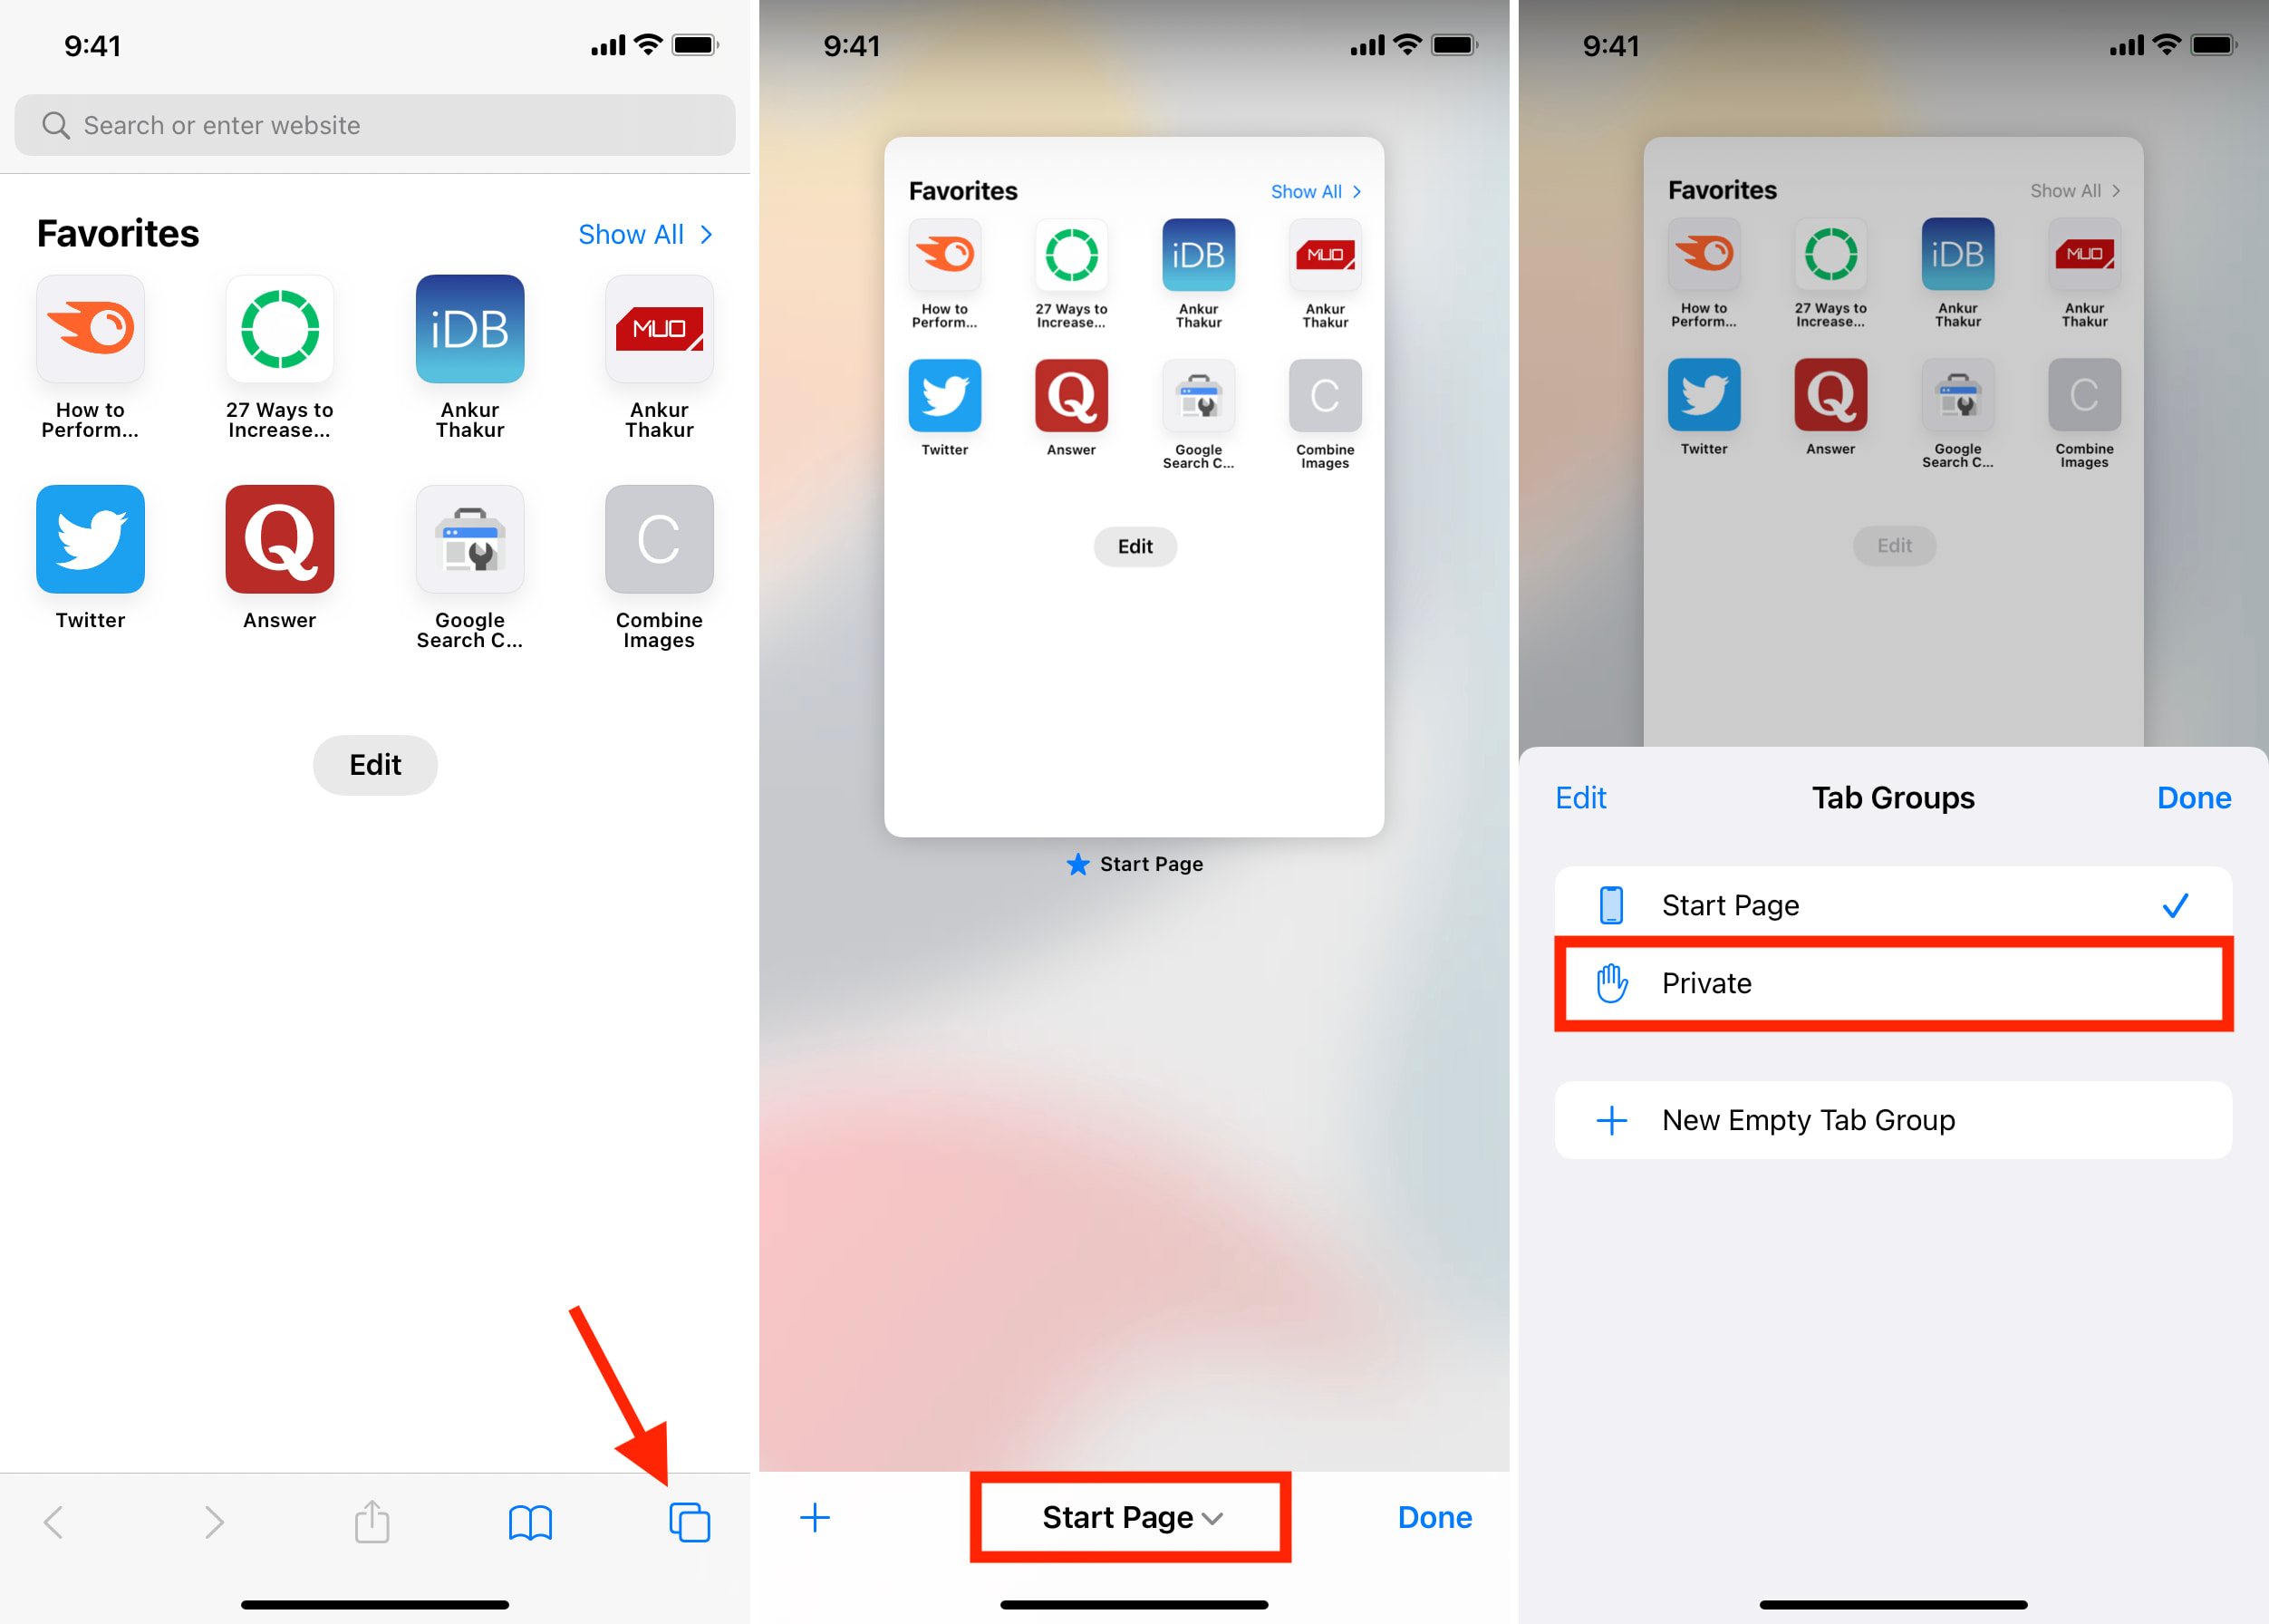
iPhone and iPad Users:
On iPhone and iPad devices, after tapping on the "Safari" menu at the top of the screen, the "Private Browsing" option can be found within the list of available features. By tapping on "Private Browsing," Safari will prompt you to confirm your decision to activate this mode. Once confirmed, Safari will transition into private browsing mode, indicated by a visual cue, such as a mask icon in the address bar.
By selecting "Private Browsing," you are taking a proactive step towards safeguarding your online privacy. This feature ensures that your browsing activities remain confidential and are not stored within the browser, providing peace of mind and a heightened sense of security.
With the "Private Browsing" mode activated, you can browse the web with the assurance that your online movements are not being tracked or recorded. This is particularly advantageous when using shared or public devices, as it prevents your browsing history and other sensitive information from being accessible to others.
By following these simple instructions and selecting "Private Browsing," you have successfully unlocked the power of private browsing on Safari. Now, armed with the knowledge of how to activate this essential feature, you can confidently navigate the online realm with enhanced privacy and security.
Now that you've selected "Private Browsing" and activated this crucial feature, it's time to move forward and delve into the final step of our journey towards harnessing the power of private browsing on Safari.
Step 4: Start browsing privately
With private browsing mode successfully activated, you are now ready to embark on a secure and confidential online browsing experience. Whether you're conducting sensitive research, making discreet purchases, or simply seeking to maintain a level of privacy, private browsing on Safari provides a shield of protection for your online activities.
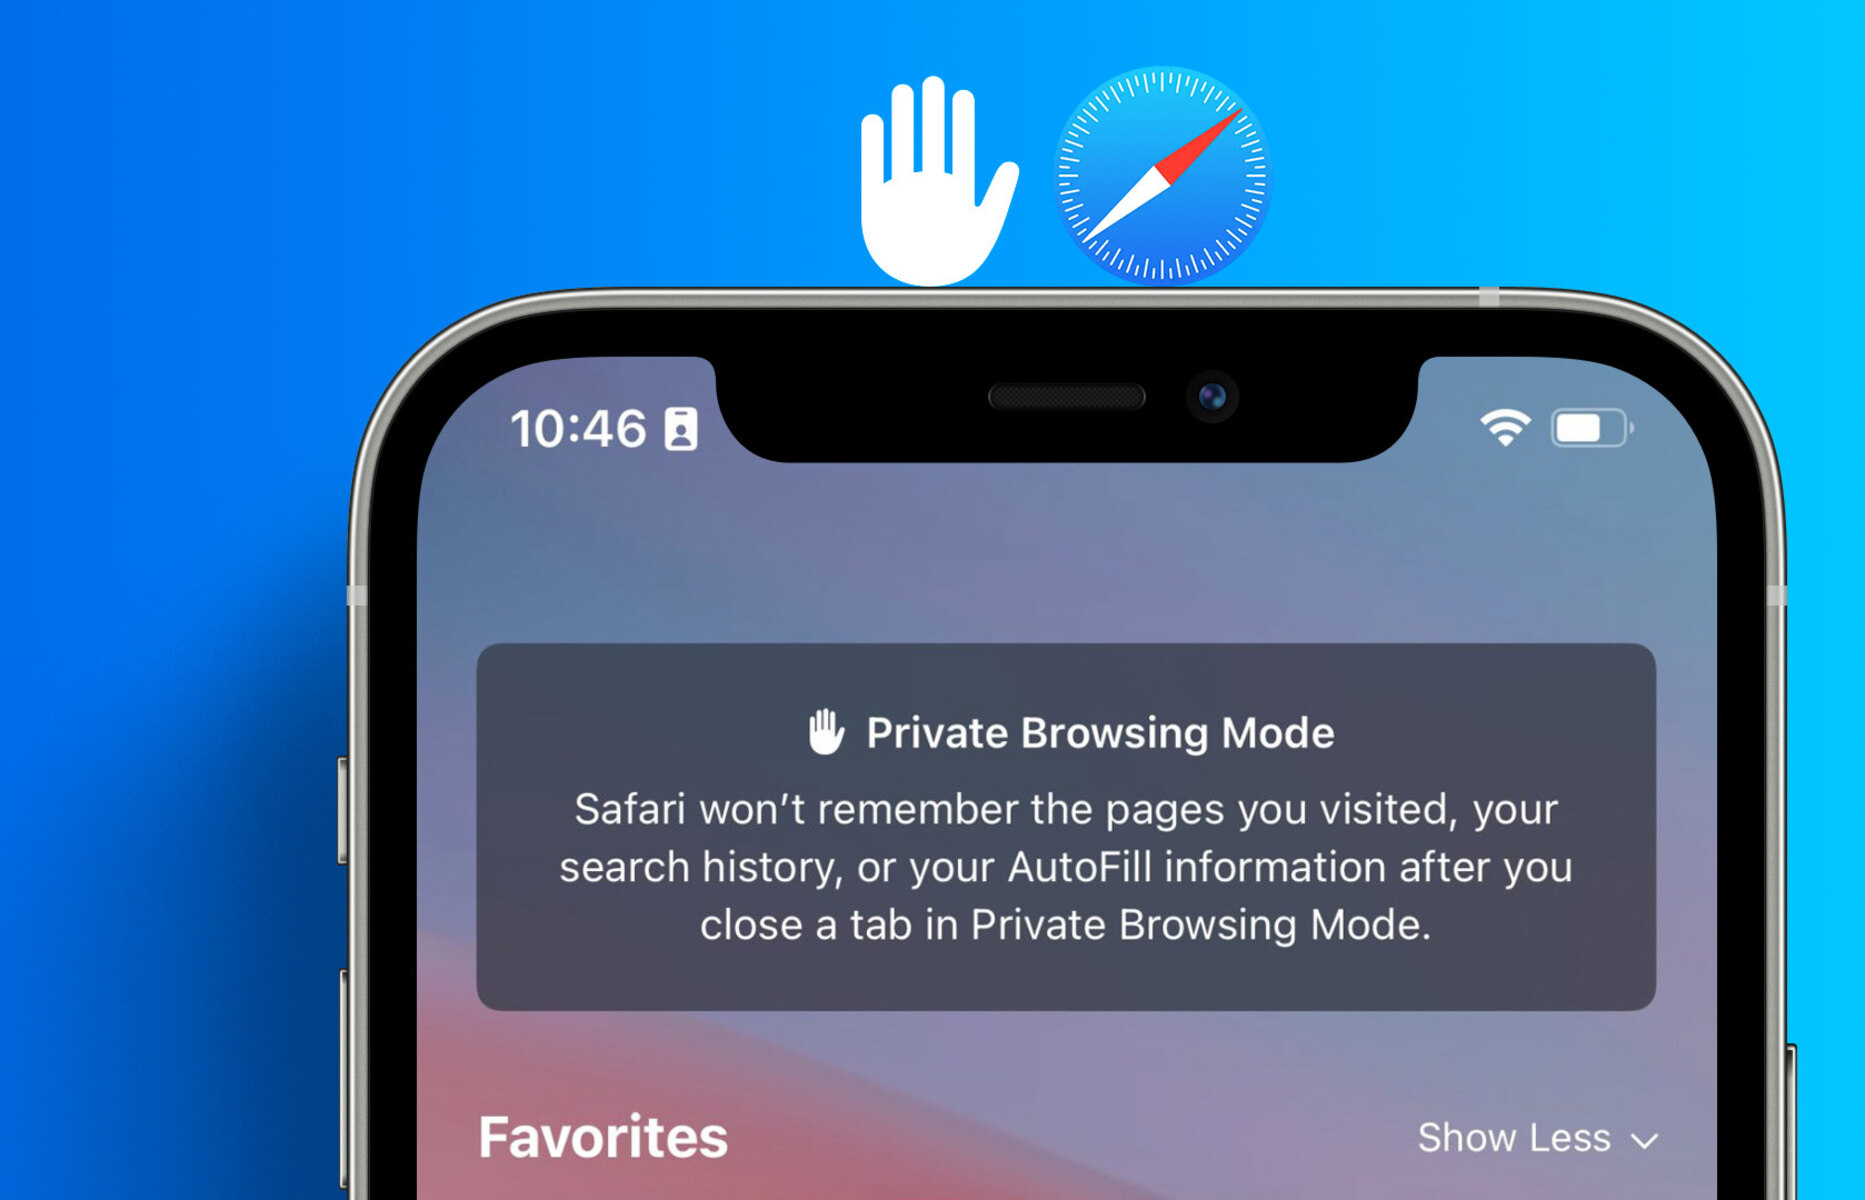
As you begin your private browsing session, it's important to note the distinct visual cues that indicate you are now browsing privately. In private browsing mode, Safari adopts a distinct appearance, often accompanied by visual indicators such as a mask icon in the address bar. These visual cues serve as a reminder that your browsing activities are not being stored, ensuring that your online movements remain discreet and untraceable.
During a private browsing session, Safari refrains from retaining your browsing history, search history, and cookies. This means that any websites visited, searches conducted, or data entered during this session will not be stored within the browser. As a result, you can browse with confidence, knowing that your online footprint will not be left behind for others to discover.
It's important to bear in mind that while private browsing mode prevents Safari from storing your browsing history, it does not make you completely anonymous online. Your internet service provider, employer, or the websites you visit may still be able to track your online activities. Therefore, exercising caution and discretion while browsing privately is essential to maintaining a heightened level of privacy and security.
As you navigate the web in private browsing mode, you have the freedom to explore content without the concern of leaving behind a digital trail. This can be particularly advantageous when conducting research on sensitive topics, accessing personal accounts on shared devices, or simply wanting to ensure that your online activities remain confidential.
By leveraging the power of private browsing on Safari, you are taking proactive steps to safeguard your online privacy and security. This feature empowers you to browse the web with a heightened sense of control over your digital footprint, allowing you to maintain confidentiality and discretion in your online endeavors.
With private browsing mode in full effect, you can now explore the vast expanse of the internet with the assurance that your online activities are shielded from prying eyes. By embracing the protective cloak of private browsing, you can navigate the online realm with confidence, knowing that your digital interactions remain private and secure.
Conclusion
In conclusion, the ability to enable private browsing on Safari is a valuable asset for individuals seeking to safeguard their online privacy and security. By following the simple steps outlined in this guide, users can seamlessly transition into a confidential browsing mode, free from the retention of browsing history, search history, and cookies. This feature is particularly beneficial for individuals who share devices, conduct sensitive research, or simply desire a heightened level of privacy during their online activities.
Private browsing on Safari empowers users to navigate the web with a sense of control over their digital footprint. By activating this feature, individuals can browse discreetly, knowing that their online movements are not being tracked or stored within the browser. This provides a layer of protection for sensitive activities such as online banking, shopping for gifts, or researching personal topics, ensuring that these interactions remain confidential.
Furthermore, the visual cues and distinct appearance of Safari in private browsing mode serve as a constant reminder that users are browsing privately. This visual reinforcement helps users maintain awareness of their browsing mode, reducing the risk of inadvertently leaving behind a digital trail of their online activities.
It's important to note that while private browsing mode on Safari offers enhanced privacy within the browser, it does not render users completely anonymous online. Other entities, such as internet service providers and websites, may still be able to track online activities. Therefore, exercising caution and discretion while browsing privately is essential to maintaining a heightened level of privacy and security.
By embracing the protective cloak of private browsing, individuals can confidently explore the online realm, knowing that their digital interactions remain private and secure. Whether it's conducting research, making discreet purchases, or simply seeking to maintain a level of privacy, private browsing on Safari provides a shield of protection for users' online activities.
In essence, the ability to activate private browsing on Safari empowers users to take control of their online privacy, ensuring that their digital interactions remain confidential and discreet. By harnessing the power of private browsing, individuals can navigate the internet with a heightened sense of security, knowing that their online movements are shielded from prying eyes.