Introduction
Moving Trader Workstation from one PC to another can seem like a daunting task, but with the right guidance, it can be a seamless process. Whether you are upgrading your hardware or transitioning to a new computer, transferring your trading platform is essential to maintain continuity in your trading activities. This guide will provide you with step-by-step instructions on how to move Trader Workstation from one PC to another, ensuring that you have all your account settings, preferences, watchlists, trading rules, historical data, and transaction records intact on your new device.
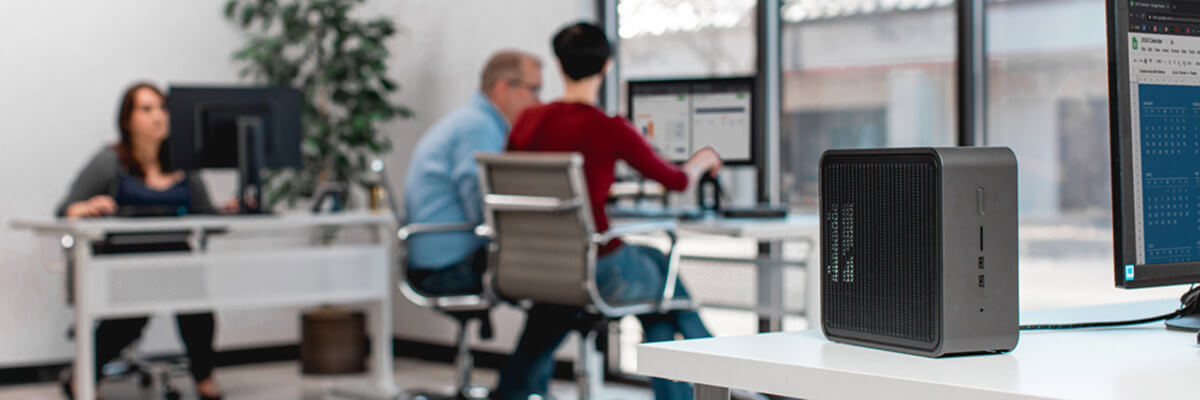
As an active trader, you rely heavily on the functionality and efficiency of Trader Workstation to execute your trades successfully. Ensuring a smooth transition to your new PC is crucial to avoid any disruptions or loss of important data. By following these steps, you can quickly set up Trader Workstation on your new device and continue your trading activities without missing a beat.
It is important to note that before you begin the process, you should have the necessary credentials and access to your trading account, as well as a reliable internet connection. Additionally, it’s always a good idea to back up your data from the old PC to ensure you have a copy of all your important trading information should any unforeseen issues arise during the transfer process.
Step 1: Download Trader Workstation
The first step in moving Trader Workstation to a new PC is to download the software onto the new device. Follow these simple instructions to get started:
- Visit the official website of your brokerage firm or the Interactive Brokers website.
- Look for the ‘Trader Workstation’ or ‘TWS’ download link and click on it.
- Select the appropriate version of Trader Workstation based on your operating system (Windows, Mac, or Linux).
- Click on the download button to start the download process.
- Once the download is complete, locate the installer file on your computer (usually in the ‘Downloads’ folder).
- Double-click on the installer file to begin the installation process.
- Follow the on-screen prompts to complete the installation of Trader Workstation.
During the installation, you may be prompted to choose the installation location and other customization options. It’s recommended to use the default settings unless you have specific preferences or requirements.
After the installation is complete, you will have Trader Workstation successfully installed on your new PC. However, the software is not yet configured to your specific account settings and preferences. In the next steps, we will guide you through transferring your account settings, watchlists, trading rules, and other important data to ensure a seamless transition to your new device.
Step 2: Install Trader Workstation on the new PC
Now that you have downloaded the Trader Workstation software, it’s time to install it on your new PC. Follow these steps to complete the installation:
- Locate the installer file that you downloaded in Step 1.
- Double-click on the installer file to launch the installation wizard.
- Read and accept the license agreement to proceed with the installation.
- Choose the installation location for Trader Workstation. It is recommended to use the default location unless you have a specific preference.
- Select any additional components or features that you wish to install along with Trader Workstation. Again, it is recommended to keep the default selections unless you have specific requirements.
- Click on the “Install” button to begin the installation process.
During the installation, the necessary files and components will be copied to your new PC. The duration of the installation may vary depending on your computer’s speed and performance. Once the installation is complete, you will see a confirmation message.
After the installation is finished, you can launch Trader Workstation by locating the program icon on your desktop or in the Start menu. Double-click on the icon to start the application.
As a best practice, it is recommended to update Trader Workstation to the latest version available. This ensures that you have the most up-to-date features, bug fixes, and security patches. To update Trader Workstation, simply follow the prompts that appear when you launch the application or check for updates in the program’s settings menu.
Now that Trader Workstation is installed on your new PC, we can move on to the next steps to transfer your account settings, preferences, watchlists, and other important data.
Step 3: Transfer Account Settings and Preferences
Transferring your account settings and preferences from the old PC to the new PC is essential to ensure a seamless trading experience. Here’s how you can do it:
- On your old PC, open Trader Workstation and go to the “File” menu.
- Select “Backup Settings” or a similar option (the name may vary depending on the version of Trader Workstation you are using).
- Choose a location to save the backup file. It’s recommended to save it on an external storage device such as a USB drive or cloud storage.
- Click “Save” to create a backup of your account settings and preferences.
- Connect the external storage device to your new PC.
- Open Trader Workstation on the new PC and go to the “File” menu.
- Select “Restore Settings” or a similar option.
- Browse to the location where you saved the backup file and select it.
- Click “Restore” to import the account settings and preferences to the new PC.
Once the restoration process is complete, your account settings and preferences should be replicated on the new PC. It’s important to verify that everything has been transferred correctly by reviewing your trading account details, order preferences, chart settings, and any other customization you had in place.
In some cases, certain settings may not be transferred automatically. In such instances, you may need to manually configure them on the new PC. Take note of any specific settings or preferences that you need to restore manually, such as hotkeys or advanced order types, and make the necessary changes on the new PC.
By transferring your account settings and preferences, you can maintain consistency in your trading strategies and workflow. This ensures that you can resume trading on the new PC without any disruptions or the need to reconfigure your preferences from scratch.
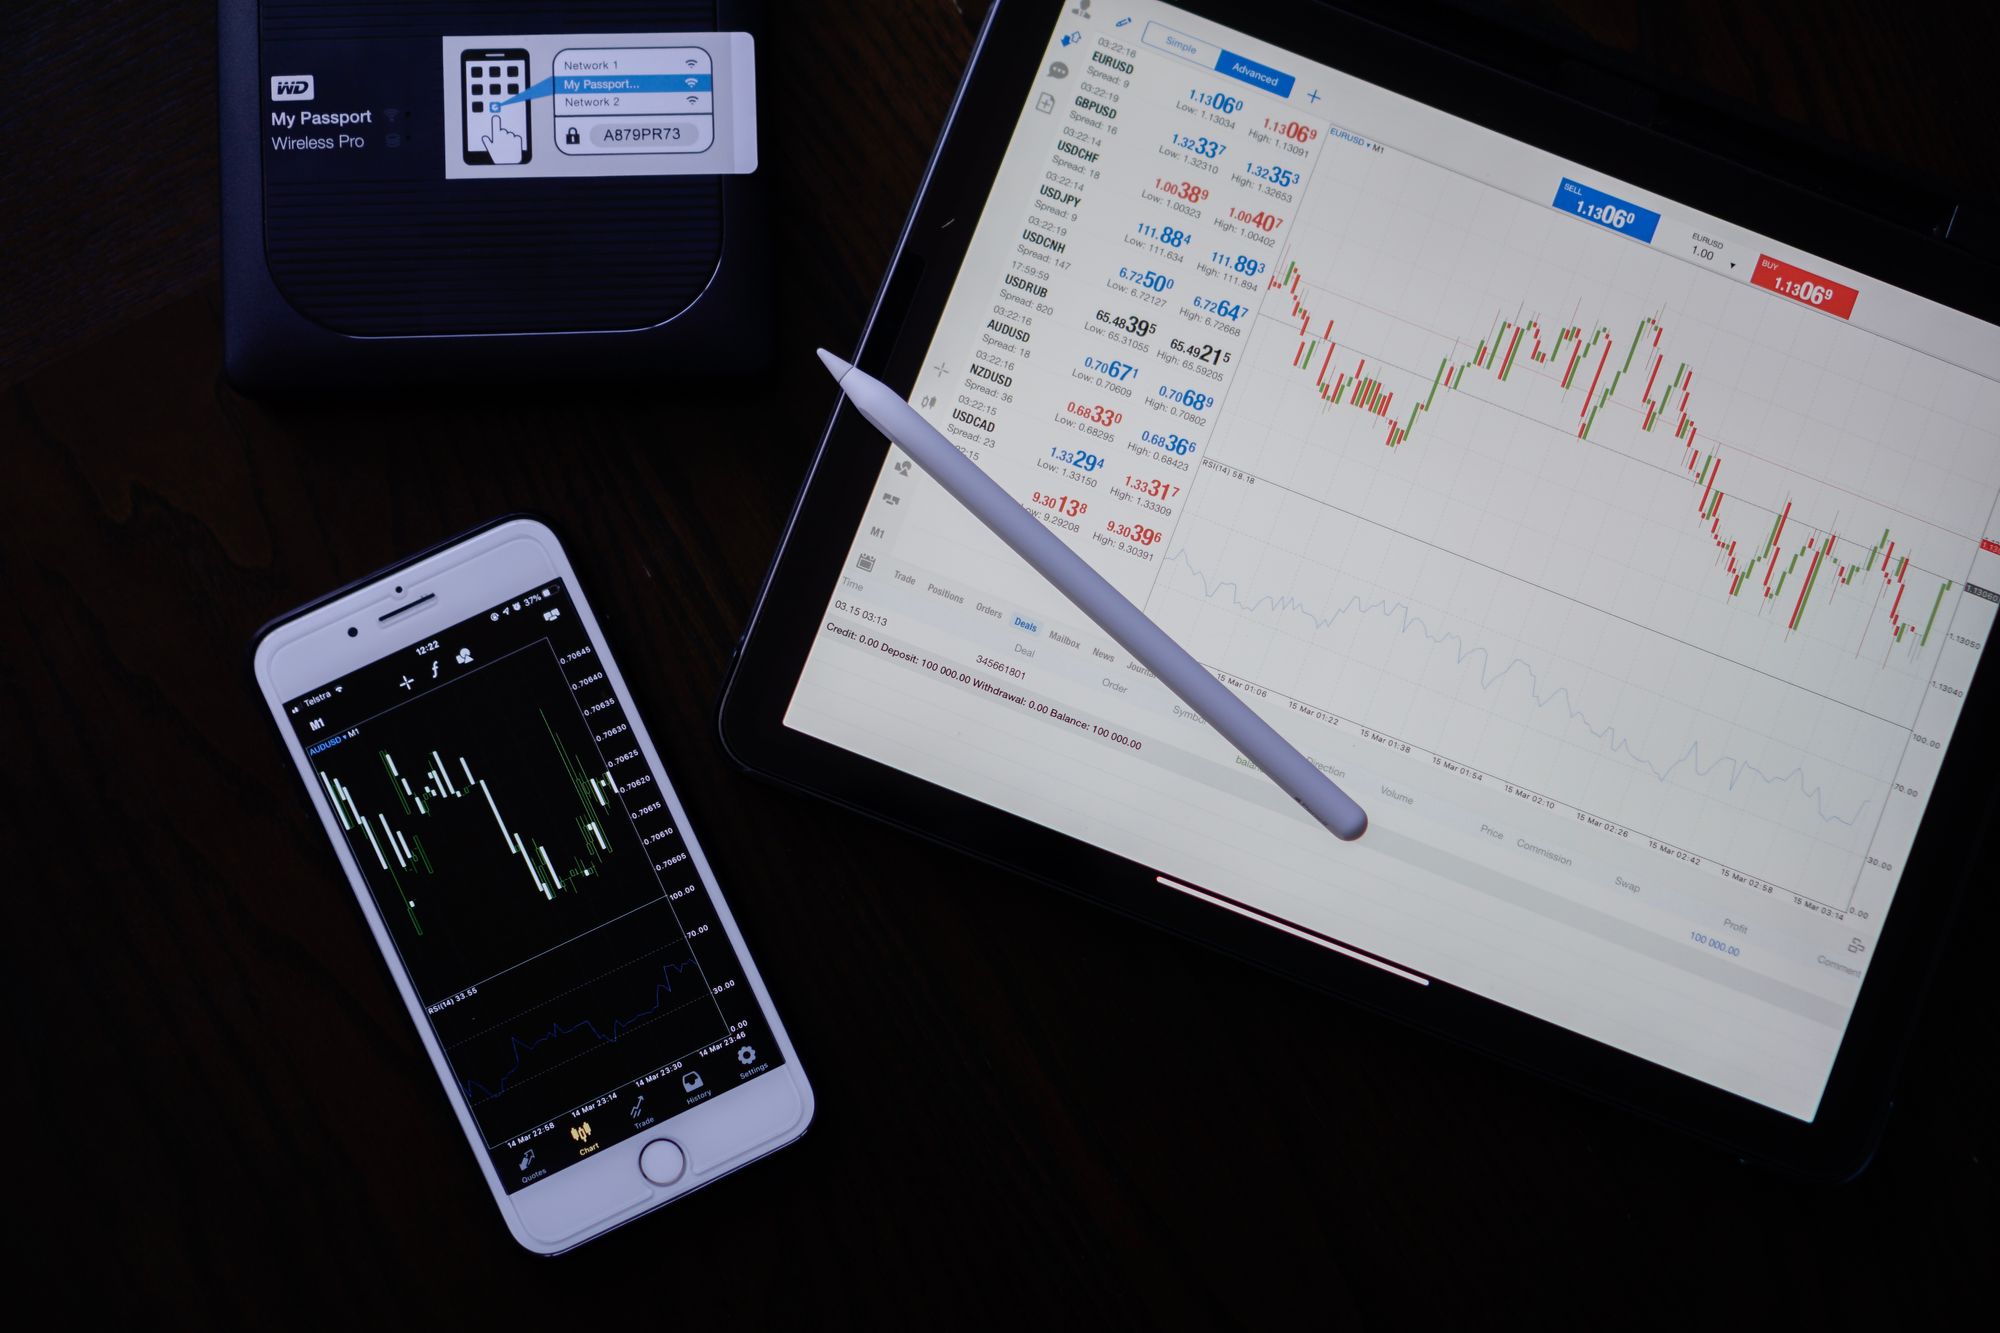
Step 4: Transfer Watchlists and Customized Market Data
Watchlists and customized market data play a crucial role in your trading decision-making process. It’s important to transfer these lists to your new PC so that you have easy access to the stocks, options, and other instruments you regularly monitor. Here’s how to transfer your watchlists and customized market data:
- On your old PC, open Trader Workstation and go to the “File” menu.
- Select “Export” or a similar option to create a file containing your watchlists and customized market data.
- Choose a location to save the export file, preferably on an external storage device like a USB drive.
- Click “Save” to export the watchlists and customized market data.
- Connect the external storage device to your new PC.
- Open Trader Workstation on the new PC and go to the “File” menu.
- Select “Import” or a similar option.
- Browse to the location where you saved the export file and select it.
- Click “Open” to import the watchlists and customized market data to the new PC.
Once the import process is complete, your watchlists and customized market data should be available on the new PC. Take some time to review the imported watchlists and market data to ensure that everything has transferred correctly.
In addition to transferring your existing watchlists, you may also consider setting up new watchlists on the new PC based on your current trading strategies and areas of interest. This allows you to have a fresh and organized start on your new device.
Remember to update your watchlists regularly to reflect any changes in the market and the specific instruments you are tracking. This will ensure that you stay informed and make well-informed trading decisions.
By transferring your watchlists and customized market data, you can seamlessly continue monitoring your preferred instruments and stay on top of market trends on your new PC. This saves you valuable time and effort in recreating and updating watchlists manually.
Step 5: Transfer Trading Rules and Strategies
Transferring your trading rules and strategies from your old PC to the new PC is crucial for maintaining consistency in your trading approach. Here’s how you can transfer your trading rules and strategies:
- On your old PC, open Trader Workstation and go to the “Settings” menu.
- Select the “Global Configuration” or “Trading Preferences” option.
- Go through each section and make note of any customized trading rules, order types, or strategies you have set up.
- On your new PC, open Trader Workstation and go to the “Settings” menu.
- Select the “Global Configuration” or “Trading Preferences” option.
- Manually input the trading rules, order types, and strategies that you noted from the old PC.
It’s important to ensure that all your trading rules and strategies are accurately set up on the new PC. Carefully review each section to make sure you have replicated the same settings you had on the old PC.
If you have custom scripts or indicators that you use for your trading strategies, you may need to transfer those as well. Locate the scripts or indicators on the old PC and transfer them to the new PC. Follow the instructions provided by the platform to install and enable these custom tools on the new PC.
Additionally, take some time to review and update your trading rules and strategies, if necessary. Market conditions and your trading objectives may have changed since you last configured these settings, so make any adjustments to ensure they align with your current trading goals.
By transferring your trading rules and strategies, you can maintain a consistent approach to your trades on your new PC. This helps you stay focused and execute your trading plans effectively, without any disruptions caused by reconfiguring these critical elements from scratch.
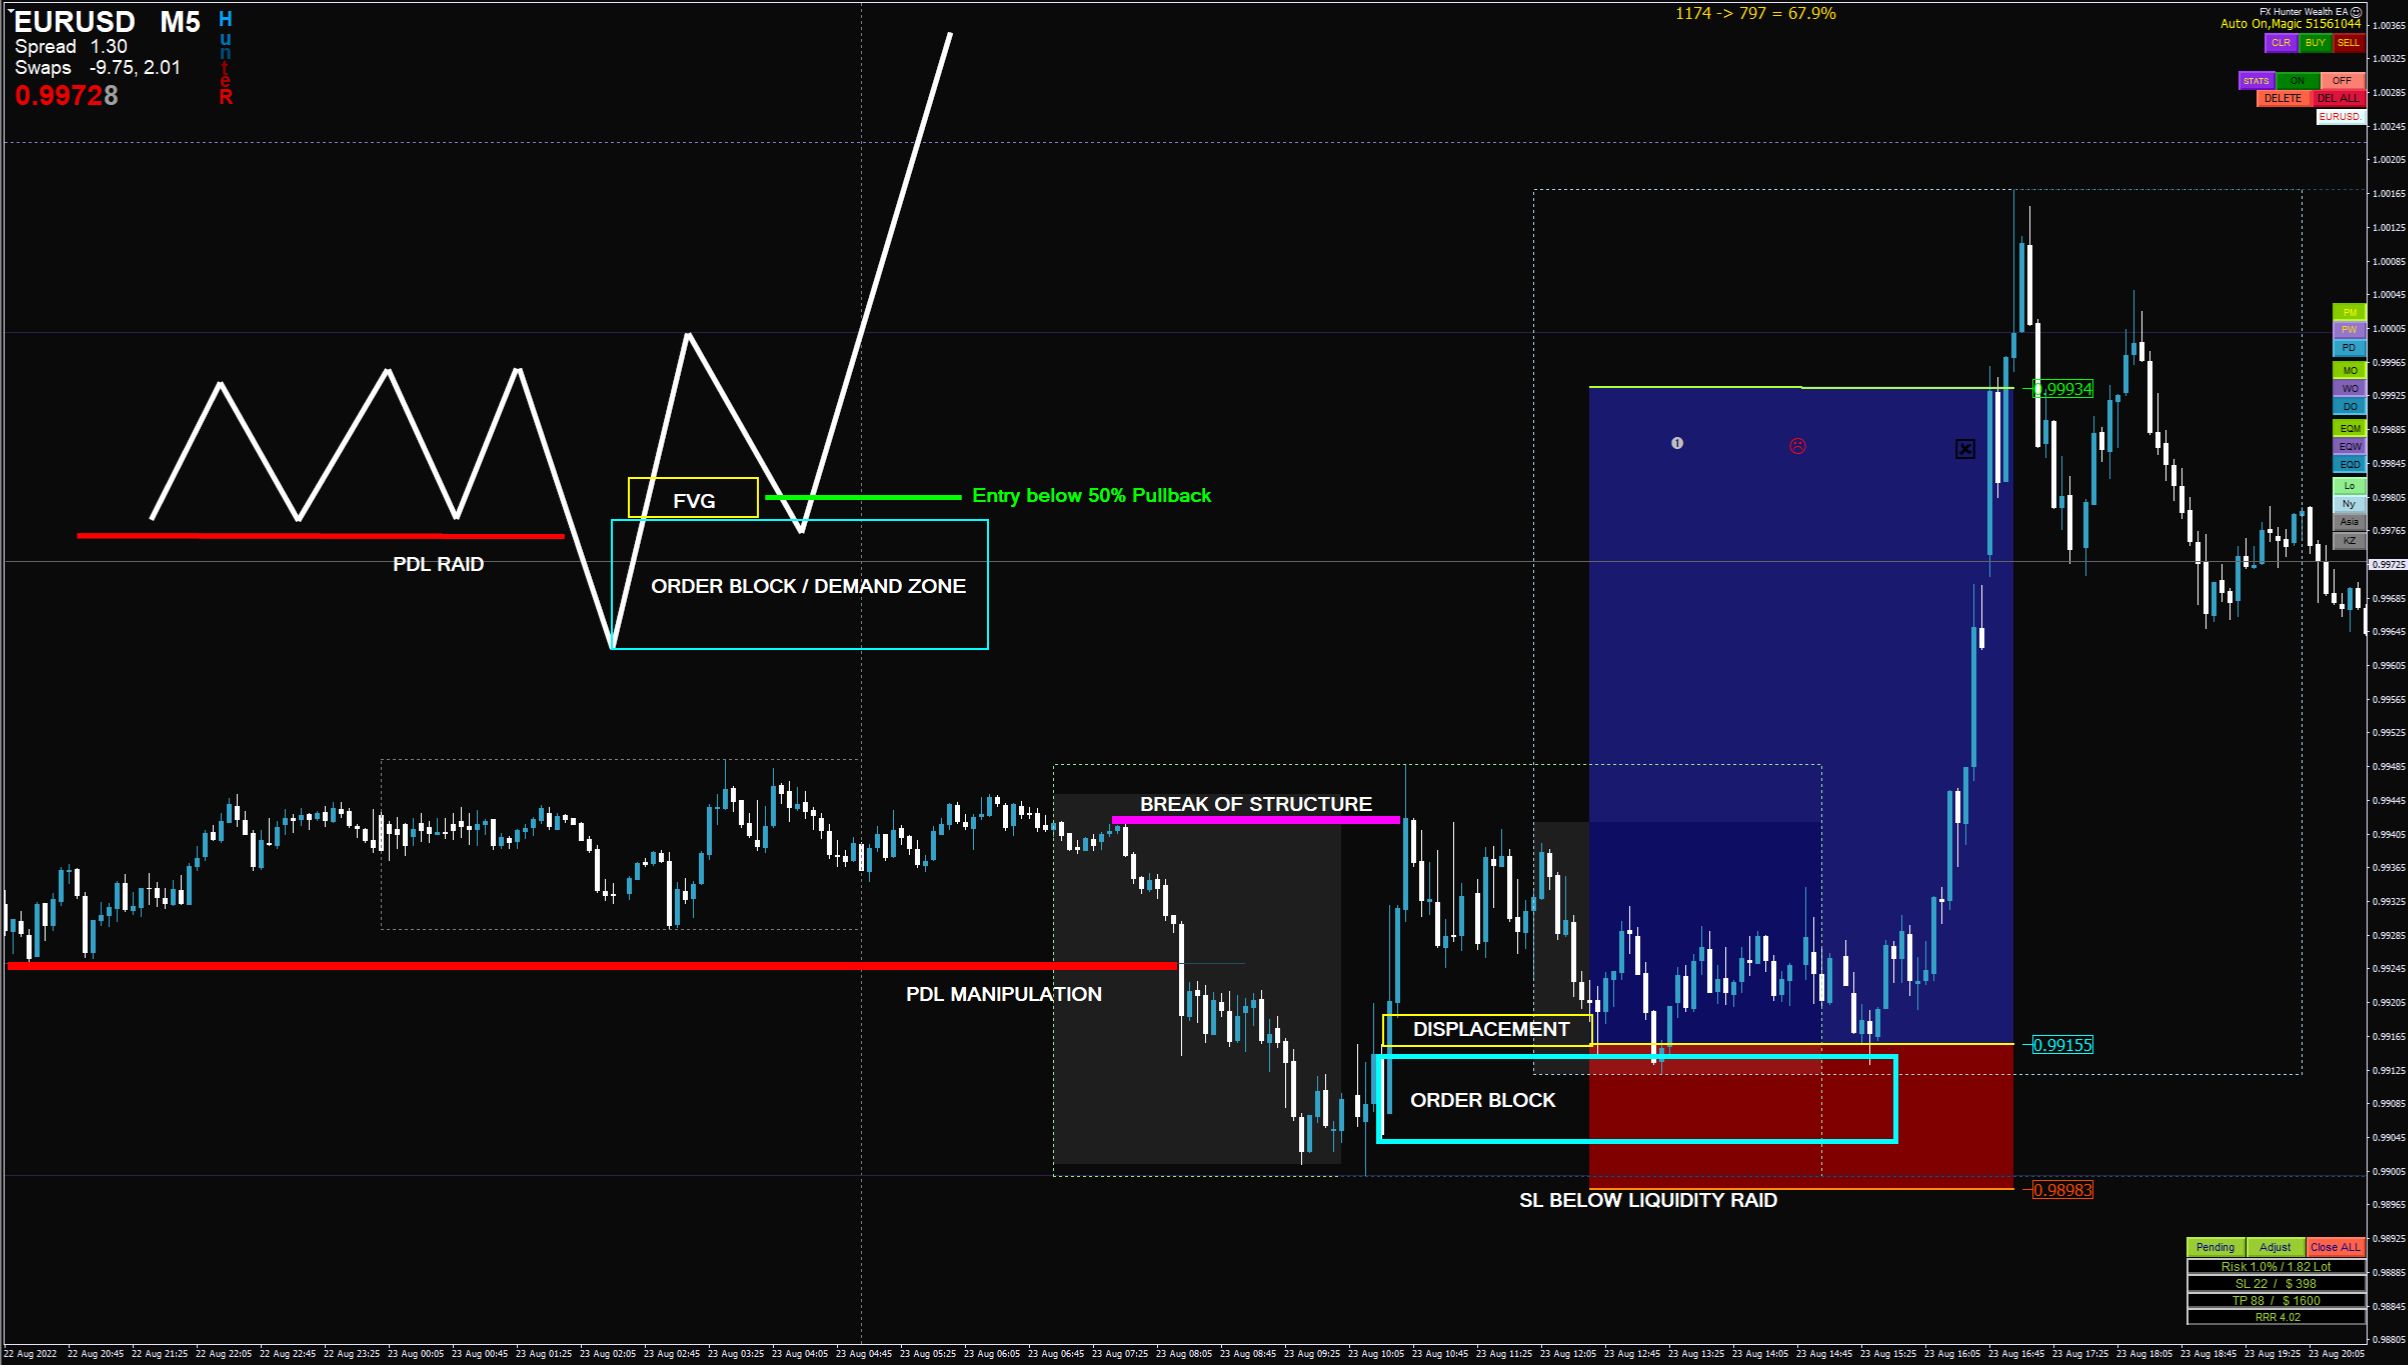
Step 6: Transfer Historical Data and Charts
Transferring historical data and saved charts to your new PC is essential for maintaining a comprehensive trading history and preserving your analysis. Here’s how you can transfer your historical data and charts:
- On your old PC, open Trader Workstation and go to the “File” menu.
- Select “Export” or a similar option to export your historical data and saved charts.
- Choose a location to save the export file, ideally on an external storage device like a USB drive.
- Click “Save” to export the historical data and saved charts.
- Connect the external storage device to your new PC.
- Open Trader Workstation on the new PC and go to the “File” menu.
- Select “Import” or a similar option.
- Browse to the location where you saved the export file and select it.
- Click “Open” to import the historical data and saved charts to the new PC.
Once the import process is complete, your historical data and saved charts should be available on the new PC. Take some time to review the imported data and charts to ensure everything has transferred correctly.
It’s important to note that historical data is only as accurate as the data provided by your broker. Depending on the brokerage, you may have limitations on how much historical data can be exported and imported. It’s recommended to check with your broker or refer to the Trader Workstation documentation for specific guidelines on historical data transfer.
In addition to importing the historical data, you may also consider transferring any custom chart templates or indicators you used on your old PC. Locate these files and copy them to the new PC, following the instructions provided by the platform to install and activate them.
By transferring your historical data and charts, you can maintain a complete trading history and continue your analysis seamlessly on your new PC. This ensures that you have access to the information and insights needed for informed decision-making.
Step 7: Transfer Trading History and Transaction Records
Transferring your trading history and transaction records is important for maintaining a comprehensive record of your past trades and transactions. Here’s how you can transfer your trading history and transaction records to your new PC:
- On your old PC, open Trader Workstation and go to the “Reports” or “Activity” tab.
- Customize the reports or activity filters to include the specific trading history and transaction records you want to transfer.
- Generate the reports or activity statements and save them as PDF files or in a compatible format.
- Transfer the saved reports or activity files to your new PC, preferably using an external storage device like a USB drive.
- On your new PC, open Trader Workstation and go to the “Reports” or “Activity” tab.
- Import the saved reports or activity files by selecting the “Import” or a similar option.
- Browse to the location where the files are saved and select them for import.
- Click “Open” to import the trading history and transaction records to the new PC.
Once the import process is complete, you should have your trading history and transaction records available on the new PC. Take some time to review the imported records to ensure they have transferred accurately.
It’s crucial to have a comprehensive record of your trading history for various purposes, such as performance analysis, tax reporting, and compliance requirements. By transferring your trading history and transaction records, you can maintain a seamless recordkeeping system across your trading activities.
Keep in mind that some brokers and regulatory authorities may impose limitations on the duration or format of exported trading history and transaction records. It’s recommended to review any specific guidelines provided by your broker or consult with their customer support for assistance with transferring and importing this data.
By ensuring your trading history and transaction records are transferred to the new PC, you can have a complete record of your past trades and transactions. This is essential for evaluating your performance, analyzing patterns, and making informed trading decisions based on historical data.
Step 8: Verify and Test Trader Workstation on the New PC
After transferring all the necessary components of Trader Workstation to your new PC, it’s crucial to verify and test the platform to ensure everything is functioning correctly. This final step will help you confirm that you can resume your trading activities without any issues. Follow these steps to verify and test Trader Workstation on your new PC:
- Open Trader Workstation on your new PC and log in with your trading account credentials.
- Verify that your account information, including buying power and account balance, is displayed accurately.
- Check if your watchlists and market data are visible and updated.
- Confirm that your trading rules and strategies are in place and functioning as expected.
- Test placing a few demo trades to ensure order execution is functioning properly.
- Verify that the historical data and charts are available and displayed correctly.
- Review any customized settings, such as hotkeys or chart templates, to ensure they are properly applied.
- Test any additional features or functionalities specific to your trading style or requirements.
During the verification and testing process, pay close attention to any irregularities or discrepancies compared to your previous setup. If you encounter any issues or unexpected behavior, refer to the Trader Workstation documentation or contact your broker’s support team for assistance.
Additionally, take the opportunity to familiarize yourself with any new features or updates that may be available in the version of Trader Workstation installed on your new PC. This will help you maximize the platform’s capabilities and optimize your trading experience.
By verifying and testing Trader Workstation on your new PC, you can ensure a smooth and reliable transition to your new device. This step is crucial in minimizing disruptions and allowing you to resume your trading activities with confidence.
Conclusion
Moving Trader Workstation from one PC to another may initially seem like a complex process, but by following the step-by-step instructions outlined in this guide, you can seamlessly transfer your trading platform to your new device. From downloading and installing Trader Workstation to transferring account settings, preferences, watchlists, trading rules, historical data, transaction records, and verifying the platform on the new PC, each step is essential for a successful transition.
By ensuring a smooth transfer, you can maintain consistency in your trading activities and minimize any disruptions. It’s important to note that while the specific steps may differ based on your brokerage’s requirements and the version of Trader Workstation you are using, the fundamental principles discussed in this guide will still apply.
Throughout the process, it is essential to maintain backups of important data and consult with your broker or platform’s documentation if you encounter any challenges or if specific instructions are required for your unique setup.
Remember, the ultimate goal is to have Trader Workstation fully functional on your new PC, with all your account settings, preferences, watchlists, trading rules, historical data, and transaction records seamlessly transferred. With a well-executed transfer, you can continue your trading activities with confidence, leveraging the platform’s features and tools to execute successful trades.
Always prioritize the security of your trading account credentials and personal information throughout the transfer process. Be vigilant when handling sensitive data and ensure that you only download software and share information through secure and trusted channels.
Moving your trading platform to a new PC is an opportunity to optimize and improve your trading experience. Take advantage of the new hardware and familiarize yourself with any updated features or enhancements available in the latest version of Trader Workstation. This will help you maximize your productivity and increase the efficiency of your trades.
By successfully moving Trader Workstation to your new PC, you can seamlessly continue your trading journey, staying informed, and making well-informed decisions as you pursue your financial goals. Good luck and happy trading!