Introduction
Welcome to this guide on how to move photos from Google Photos to an SD card. Google Photos is a popular cloud-based storage platform that allows you to store and organize your photos and videos. However, if you find yourself running out of storage space on your device or prefer to have a physical backup of your photos, transferring them to an SD card can be a convenient solution.
In this step-by-step tutorial, we will walk you through the process of preparing your SD card, downloading your photos from Google Photos, connecting the SD card to your computer, transferring the photos to the SD card, and safely removing the SD card from your computer.
By following these instructions, you will be able to free up space on your device while keeping your precious memories safe and easily accessible. Whether you want the photos for peace of mind or simply enjoy the convenience of having a physical copy, this tutorial will guide you through the process.
Note that the exact steps may vary depending on the device and operating system you are using. However, the general principles outlined in this guide should be applicable to most devices. Let’s get started!
Step 1: Prepare your SD card
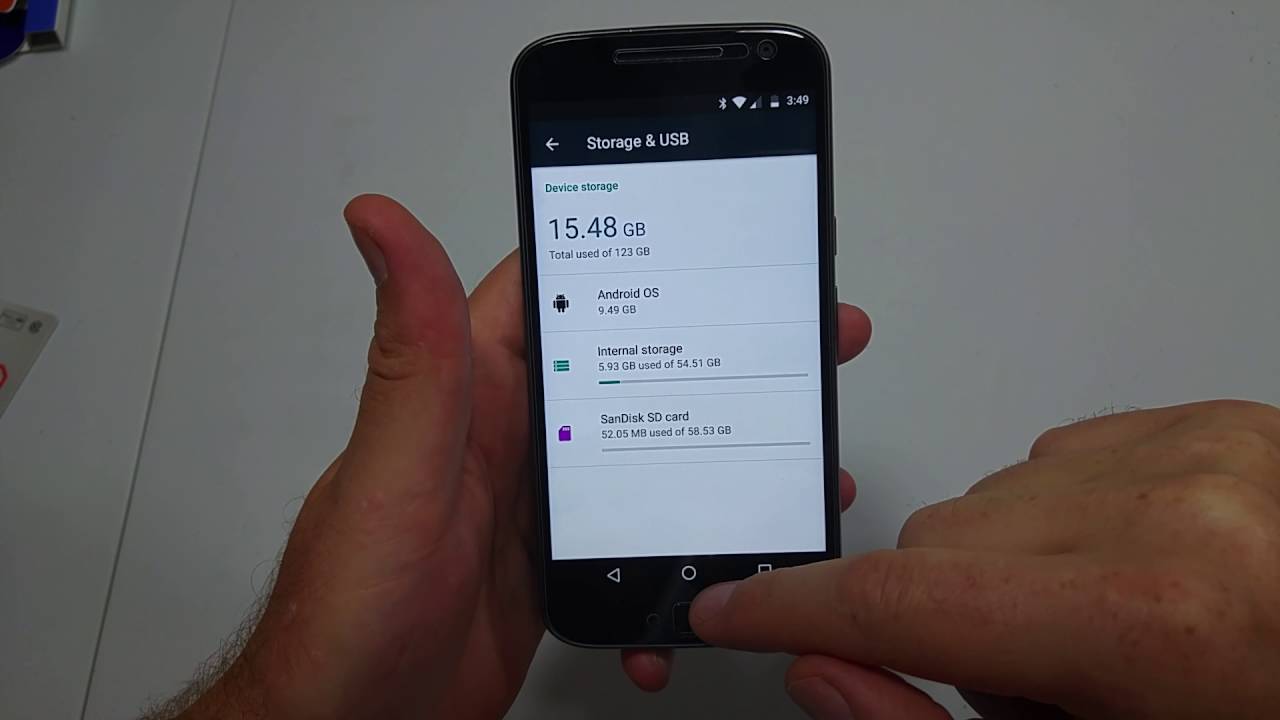
Before you can transfer your photos from Google Photos to your SD card, you need to make sure your SD card is properly prepared. Here’s what you need to do:
- Check compatibility: Ensure that your device supports the use of an SD card and that the SD card slot is available.
- Choose the right SD card: Select an SD card with sufficient storage capacity to accommodate all the photos you want to transfer. Consider factors like the file size of your photos and videos to determine the appropriate card size.
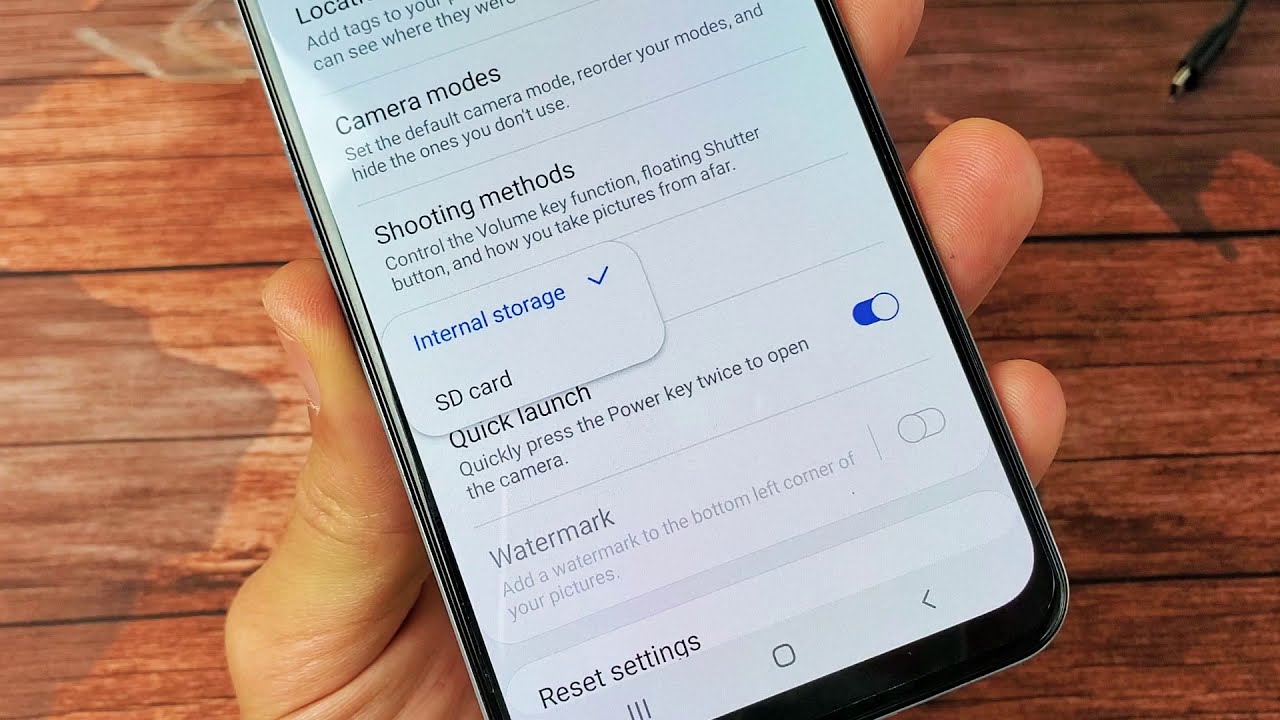
- Format the SD card: If your SD card is new or has not been used with your device before, it may need to be formatted. Be aware that formatting erases all data on the SD card, so make sure to back up any important files beforehand.
- Eject the SD card: If your SD card has been used with another device or computer, ensure that it is safely ejected to prevent data corruption. This step is crucial for preserving the integrity of your photos during the transfer process.
By following these preparatory steps, you can ensure that your SD card is ready to receive and store your photos. Taking the time to properly prepare your SD card will help to minimize any potential issues and ensure a smooth transfer process.
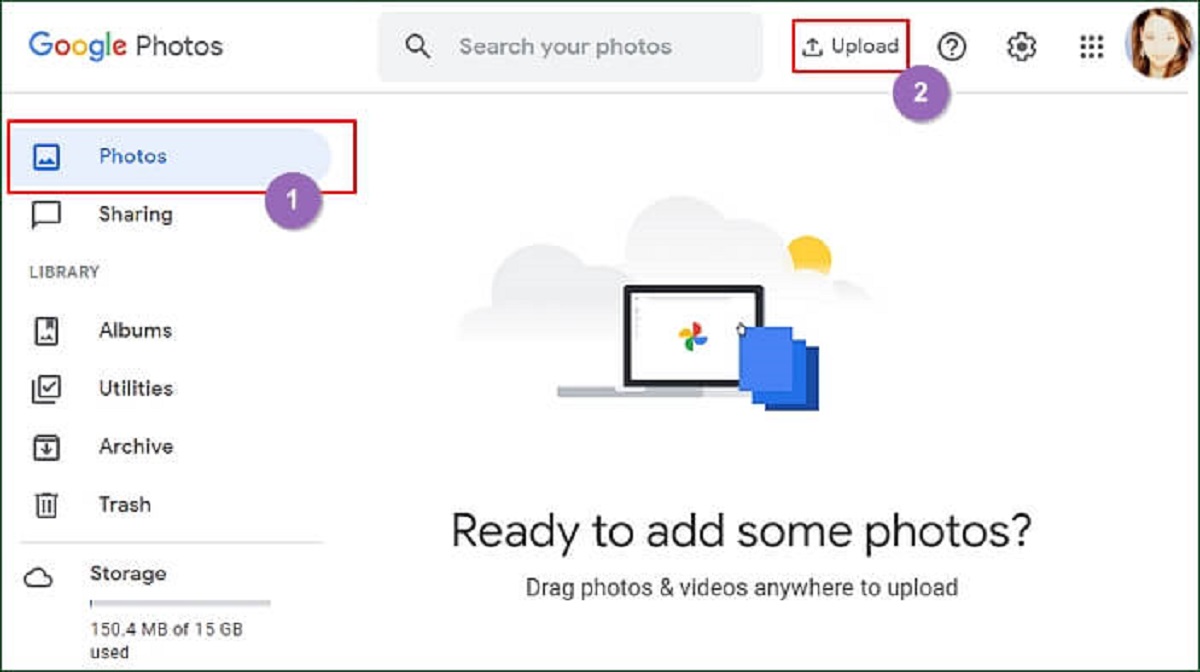
Step 2: Download your photos from Google Photos
Now that your SD card is prepared, it’s time to download your photos from Google Photos. Follow these steps:
- Open Google Photos: Access Google Photos through the mobile app or the web version on your computer. Sign in to your Google account if prompted.
- Select your photos: Navigate to the album or folders containing the photos you want to download. You can select individual photos by clicking on them, or you can select multiple photos by holding down the Ctrl (or Command) key and clicking on each photo.
- Initiate the download: Once you’ve selected all the photos you want to transfer, click on the download button. On the mobile app, tap the share icon and select the option to save the photos to your device. On the web version, click on the three-dot menu and choose the “Download” option. The photos will be downloaded to your device’s default download location.
Keep in mind that the time it takes to download your photos will depend on the number and file size of the selected items, as well as the speed of your internet connection. Make sure you have a stable internet connection to prevent any interruptions during the download process.
Once the download is complete, you will have a local copy of your Google Photos on your device. This allows you to access and transfer the photos without relying on an internet connection. Now, let’s move on to the next step: connecting your SD card to your computer.
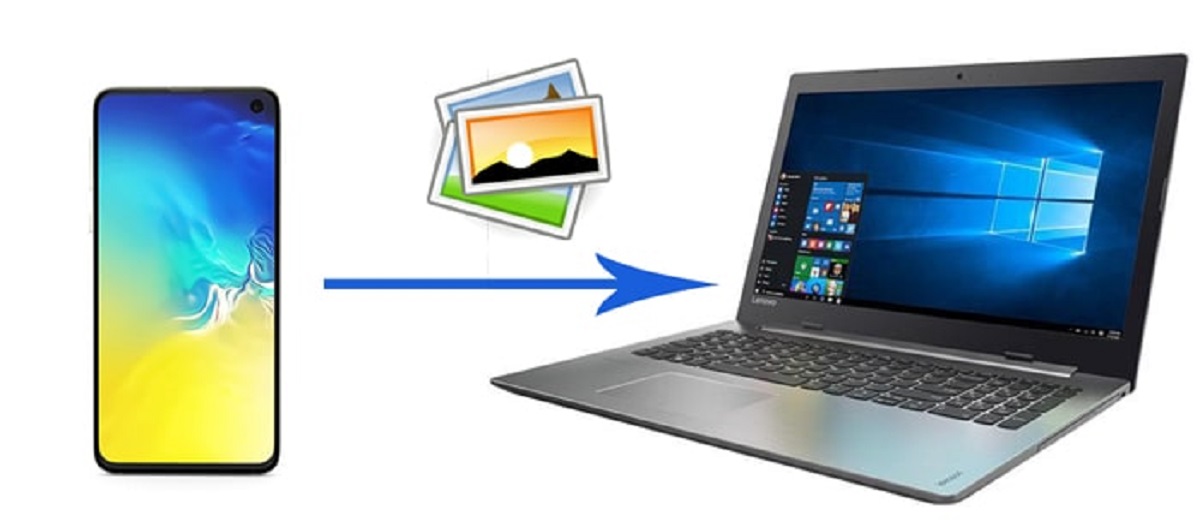
Step 3: Connect your SD card to your computer
In order to transfer the downloaded photos from Google Photos to your SD card, you need to connect the SD card to your computer. Follow these steps to establish the connection:
- Locate the SD card slot: Depending on your computer or laptop model, the SD card slot may be located on the side, front, or back of the device. Look for a small rectangular slot that matches the size of your SD card.
- Insert the SD card: Gently insert your SD card into the slot with the label facing up. Ensure that the card is properly aligned with the slot and pushed all the way in. You may hear a clicking sound when the card is securely inserted.
- Recognize the SD card: Once the SD card is inserted, your computer should recognize it as a removable storage device. Wait for a moment to allow the system to detect and initialize the SD card.
It’s important to handle the SD card with care and avoid forcing it into the slot. If you encounter any resistance or difficulty during the insertion process, double-check the orientation and alignment of the card before proceeding.
After successfully connecting the SD card to your computer, it is now ready to receive the transferred photos. In the next step, we will cover the process of transferring the photos from your device to the SD card.
Step 4: Transfer the photos to your SD card
With your SD card successfully connected to your computer, you can now transfer the downloaded photos from Google Photos. Follow these steps to accomplish the transfer:
- Locate the downloaded photos: Open the file explorer or finder on your computer and navigate to the folder where you saved the downloaded photos from Google Photos.
- Select the photos: Click on the first photo, hold down the Shift key, and click on the last photo to select a range of photos. Alternatively, hold down the Ctrl (or Command) key and click on individual photos to select them. You can also use the Ctrl+A (or Command+A) keyboard shortcut to select all the photos in the folder.
- Copy the selected photos: Right-click on the selected photos and choose the “Copy” option from the context menu. Alternatively, you can use the Ctrl+C (or Command+C) keyboard shortcut to copy the photos.
- Access the SD card: Open another file explorer or finder window and navigate to the location of your SD card. This should be displayed as a removable storage device in the directory.
- Paste the photos: Right-click on an empty area within the SD card directory and choose the “Paste” option from the context menu. Alternatively, you can use the Ctrl+V (or Command+V) keyboard shortcut to paste the photos onto the SD card.
- Wait for the transfer: The transfer process may take some time, depending on the number and size of the photos being transferred. Ensure that you do not interrupt the process and wait for it to complete.
Once the transfer is finished, all the photos from Google Photos will be copied to your SD card. You can now safely remove the SD card from your computer and enjoy your photos directly from the card on various devices.
It’s worth noting that the transferred photos will maintain their original file names and folder structure if any were present. This ensures that your photos remain organized and easily accessible on the SD card.
Step 5: Safely remove the SD card from your computer
After transferring the photos to your SD card, it’s important to follow the proper procedure to safely remove the card from your computer. This ensures that no data is lost or corrupted during the process. Here’s how you can safely remove the SD card:
- Close any open files or applications: If you have any files or applications open that are stored on the SD card, make sure to close them before proceeding.
- Eject the SD card: On your computer, locate the icon or symbol representing the SD card in the system tray or file explorer. Right-click on the icon and select the “Eject” or “Safely Remove” option from the context menu.
- Wait for the confirmation: After selecting the eject option, wait for a notification or confirmation message stating that it is safe to remove the SD card.
- Physically remove the SD card: Gently push the SD card inwards to release it from the slot, then carefully pull it out of the card reader slot. Avoid applying excessive force or abruptly removing the card to prevent any damage.
By following these steps, you can ensure that the SD card has been safely disconnected from your computer. This reduces the risk of data corruption or loss and helps to prolong the lifespan of the SD card.
Now that you have successfully transferred your photos from Google Photos to your SD card and safely removed the card from your computer, you can insert the SD card into a compatible device and enjoy your photos anytime, anywhere.
Remember to store your SD card in a safe place to protect it from physical damage or loss. Additionally, consider creating regular backups of your photos to avoid any potential data loss scenarios.
Conclusion
Congratulations! You have successfully learned how to move photos from Google Photos to an SD card. By following the step-by-step guide in this tutorial, you have freed up storage space on your device and created a physical backup of your precious memories.
Throughout the process, you have prepared your SD card, downloaded your photos from Google Photos, connected the SD card to your computer, transferred the photos to the SD card, and safely removed the SD card from your computer. These steps ensure a seamless and efficient transfer of your photos.
Having your photos stored on an SD card provides you with the flexibility to access them on different devices, such as cameras, smartphones, tablets, and computers. You can share your photos with others or simply enjoy them whenever and wherever you want.
Remember to handle your SD card with care and always follow the proper procedures for inserting and ejecting the card from devices. This helps prevent any damage or loss of data stored on the SD card.
If you ever need to transfer more photos in the future, simply repeat the steps outlined in this guide. By taking the time to organize and manage your digital photos, you can ensure that your memories are safe and easily accessible.
Thank you for following this tutorial. We hope it has been helpful and that you now feel confident in transferring your photos from Google Photos to an SD card. Enjoy your photos and the peace of mind that comes with having a physical backup!