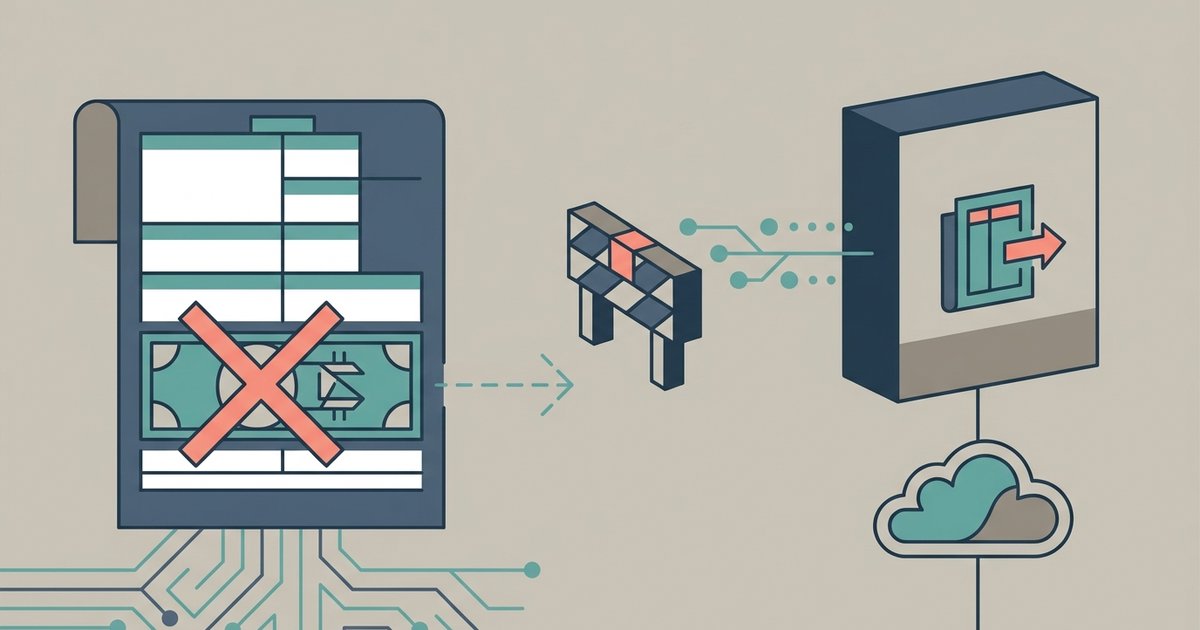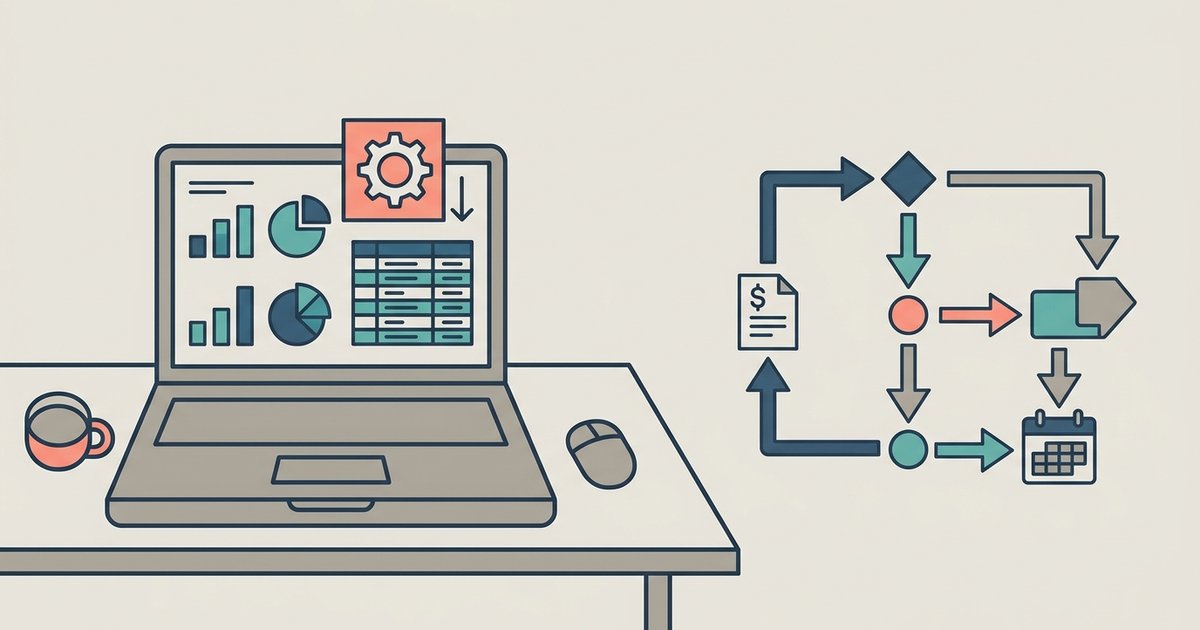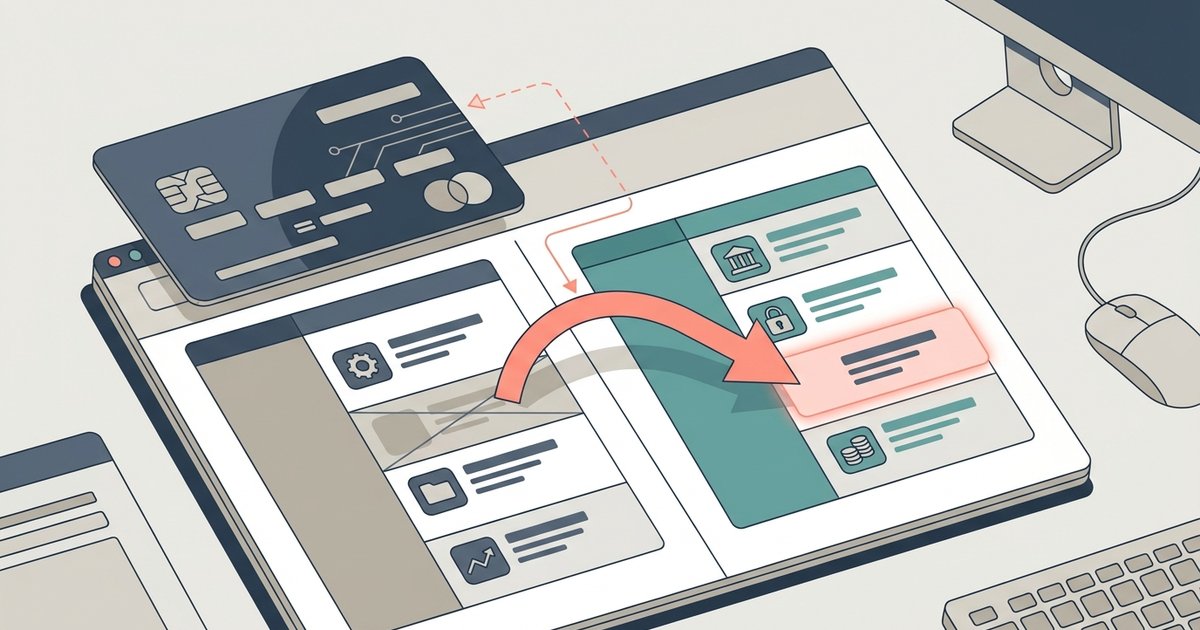
To reclassify a credit card charge in QuickBooks Desktop, open the transaction and on the Expenses tab change the Account field from the expense account to the credit card liability account, then save. This reclassifies the charge without creating a duplicate. The direct edit works for any downloaded or manually entered credit card charge that was mistakenly assigned to an expense account. The original transaction type must be a credit card charge. It cannot be a check or bill payment.
Why a credit card charge lands in the wrong place
Bank feeds automatically assign each downloaded line to an expense account when you import credit card transactions into QuickBooks Desktop. The software bases the choice on the vendor name and any previous categorization rules. This default behavior is convenient for most purchases. It can misplace charges that represent payments to the credit card issuer itself. A finance charge or a returned-payment fee are common examples. The same miscategorization happens when you manually enter a credit card charge through the Write Checks window instead of using the dedicated Enter Credit Card Charges feature. Writing a check forces the entry into an expense account. The Write Checks window lacks a liability-account column. The only way to record the charge correctly is through the credit card register or the Enter Credit Card Charges window. That path automatically posts to the liability account linked to the card.
The correction workflow step by step
Begin by opening the credit card register from the Chart of Accounts or the Banking menu. Locate the miscategorized charge. It will show as a positive amount in the register because it was recorded as an expense rather than a liability. Double-click the entry to open it. On the Expenses tab, the current Account field is set to an expense account. Office Supplies or Bank Service Charges are typical examples. Click the Account field and select the correct credit card liability account from the dropdown list. The liability account name typically matches the credit card name, like “Visa Credit Card” or “Amex Payable.” After making the change, click Save & Close. The register now shows the entry as a negative amount under the liability account. This reduces the balance owed. The bank balance remains unchanged because no money moved between bank accounts. Only the account mapping was corrected. Check the register for a second entry with the same date and amount to confirm no duplicate was created. If none appears, the reclassify succeeded. The underlying mechanics differ from a simple undo, and understanding what revert means in QuickBooks clarifies how reclassify actions work in the software.
When a simple account change fails
The account-switch method fails if the original entry was recorded as a check or a bill payment rather than as a credit card charge. Using the Write Checks window to record a credit card payment creates a “Check” type. The Expenses tab will not offer a liability account in the Account field because checks can only map to expense accounts. In this case, delete the erroneous check or bill payment entirely. Then go to the Banking menu and select Enter Credit Card Charges. Alternatively, open the credit card register and click the “Enter Charges” button. Fill in the vendor, date, amount, and the correct expense category if the charge was for a purchase. If the charge is a finance fee or a payment to the card issuer, leave the Category field blank. This posts the amount directly to the liability account. Save the entry. This workflow ensures the charge appears as a debit against the credit card liability account. That is the only correct destination for this type of entry. The process to import credit card transactions into QuickBooks Desktop explains how bank feeds assign entry forms. The Bank Feeds preferences that control automatic categorization live inside the settings in QuickBooks Desktop.
Correcting a credit card charge is a direct edit to the account mapping, not a bank transfer. You never touch the bank register. The fix changes only the internal liability tracking while leaving the actual bank balance untouched. For more on managing these adjustments, explore the broader topic of QuickBooks Desktop: Settings and Transactions, where you can refine your understanding of QuickBooks Desktop settings.