Introduction
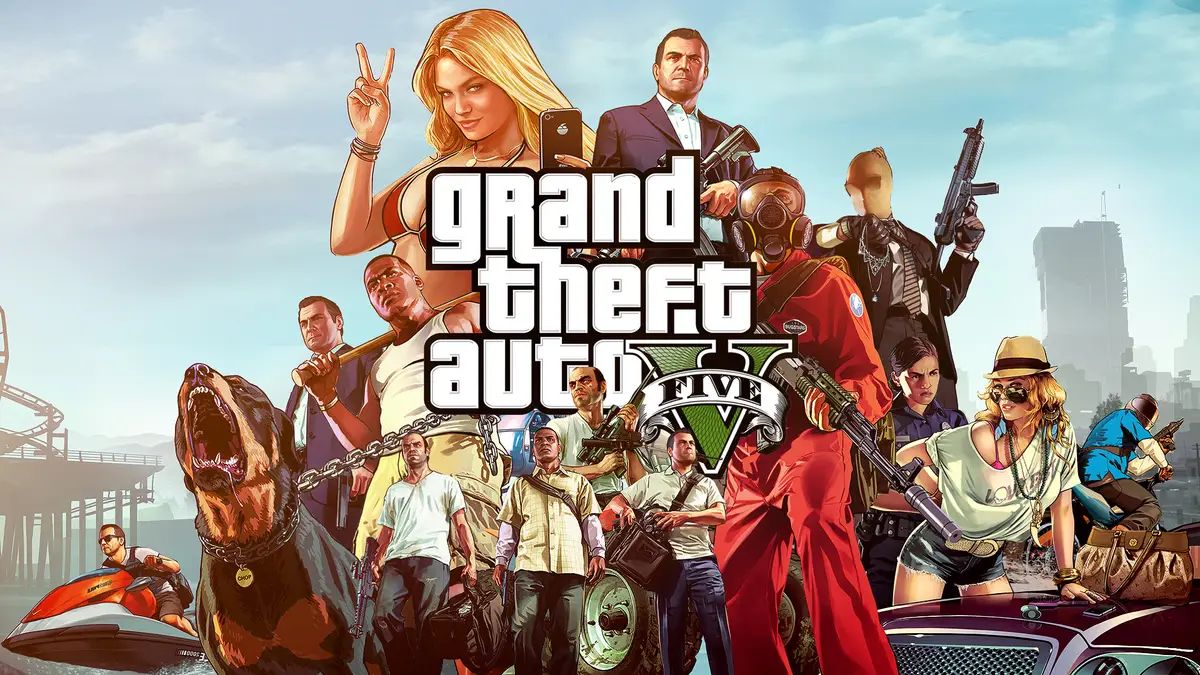
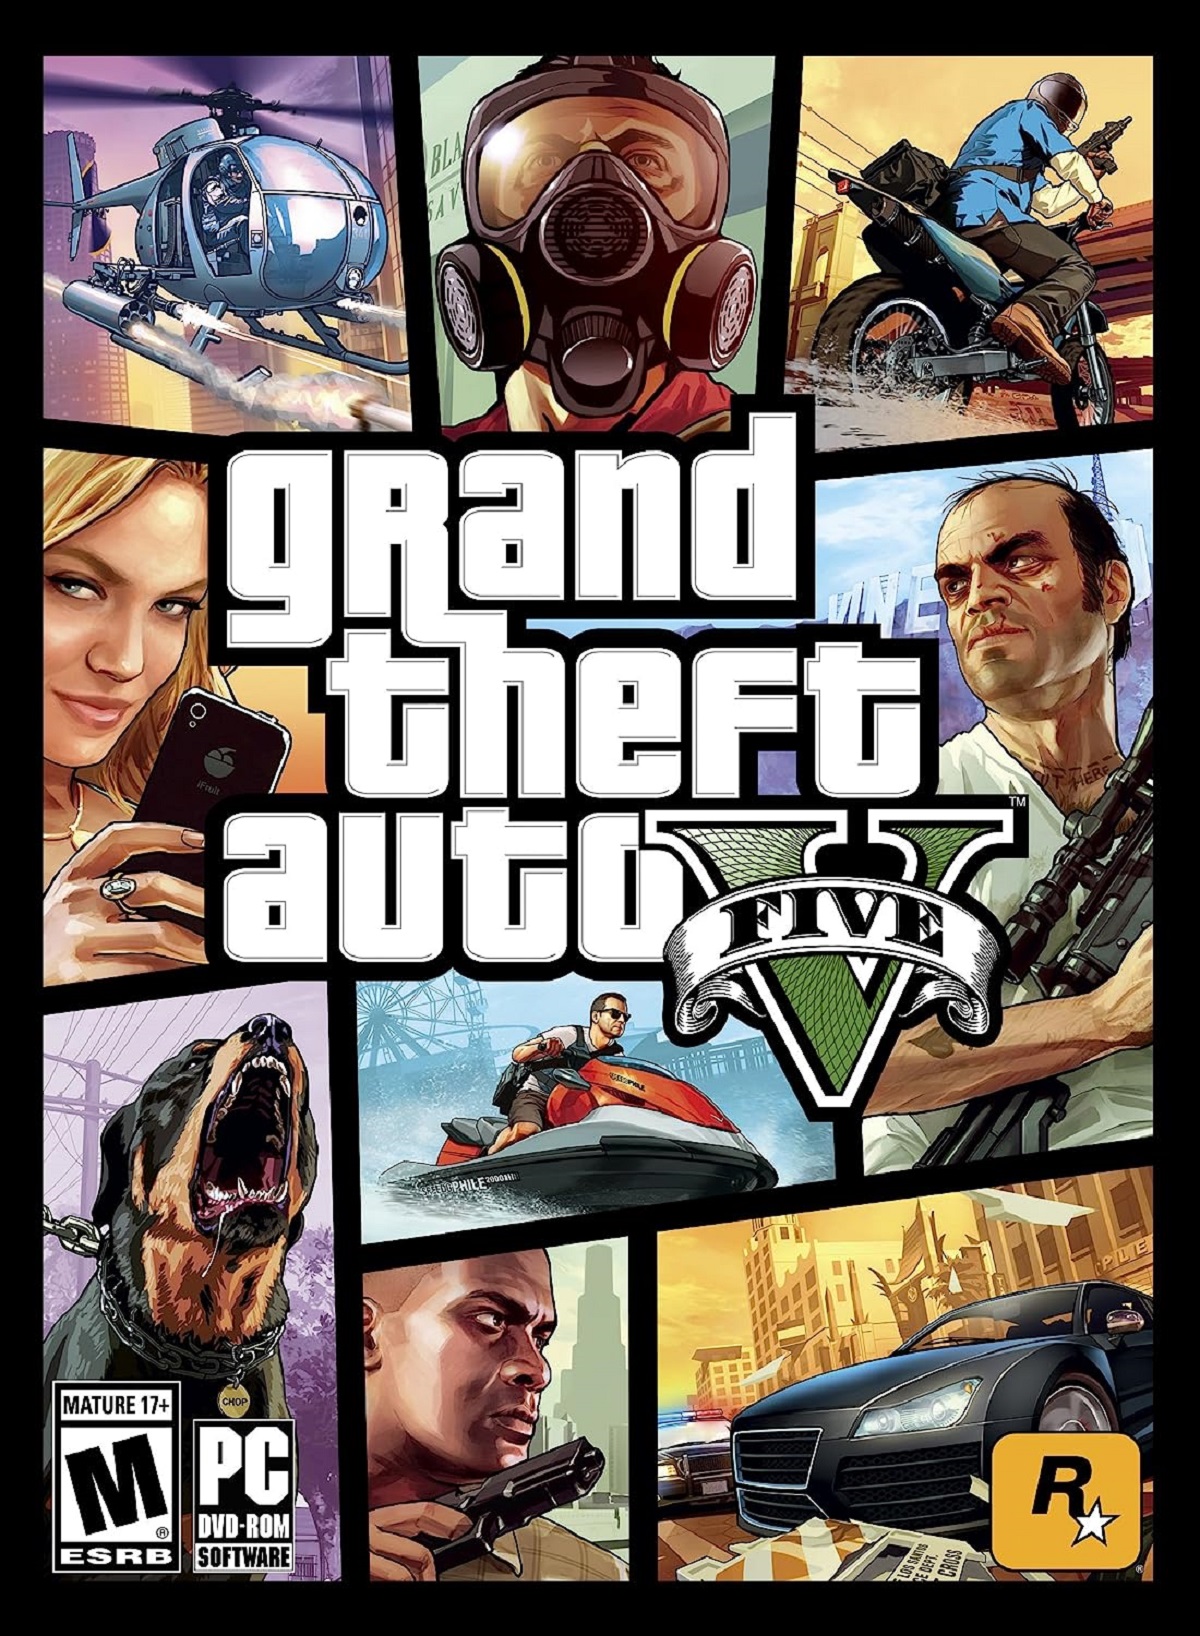
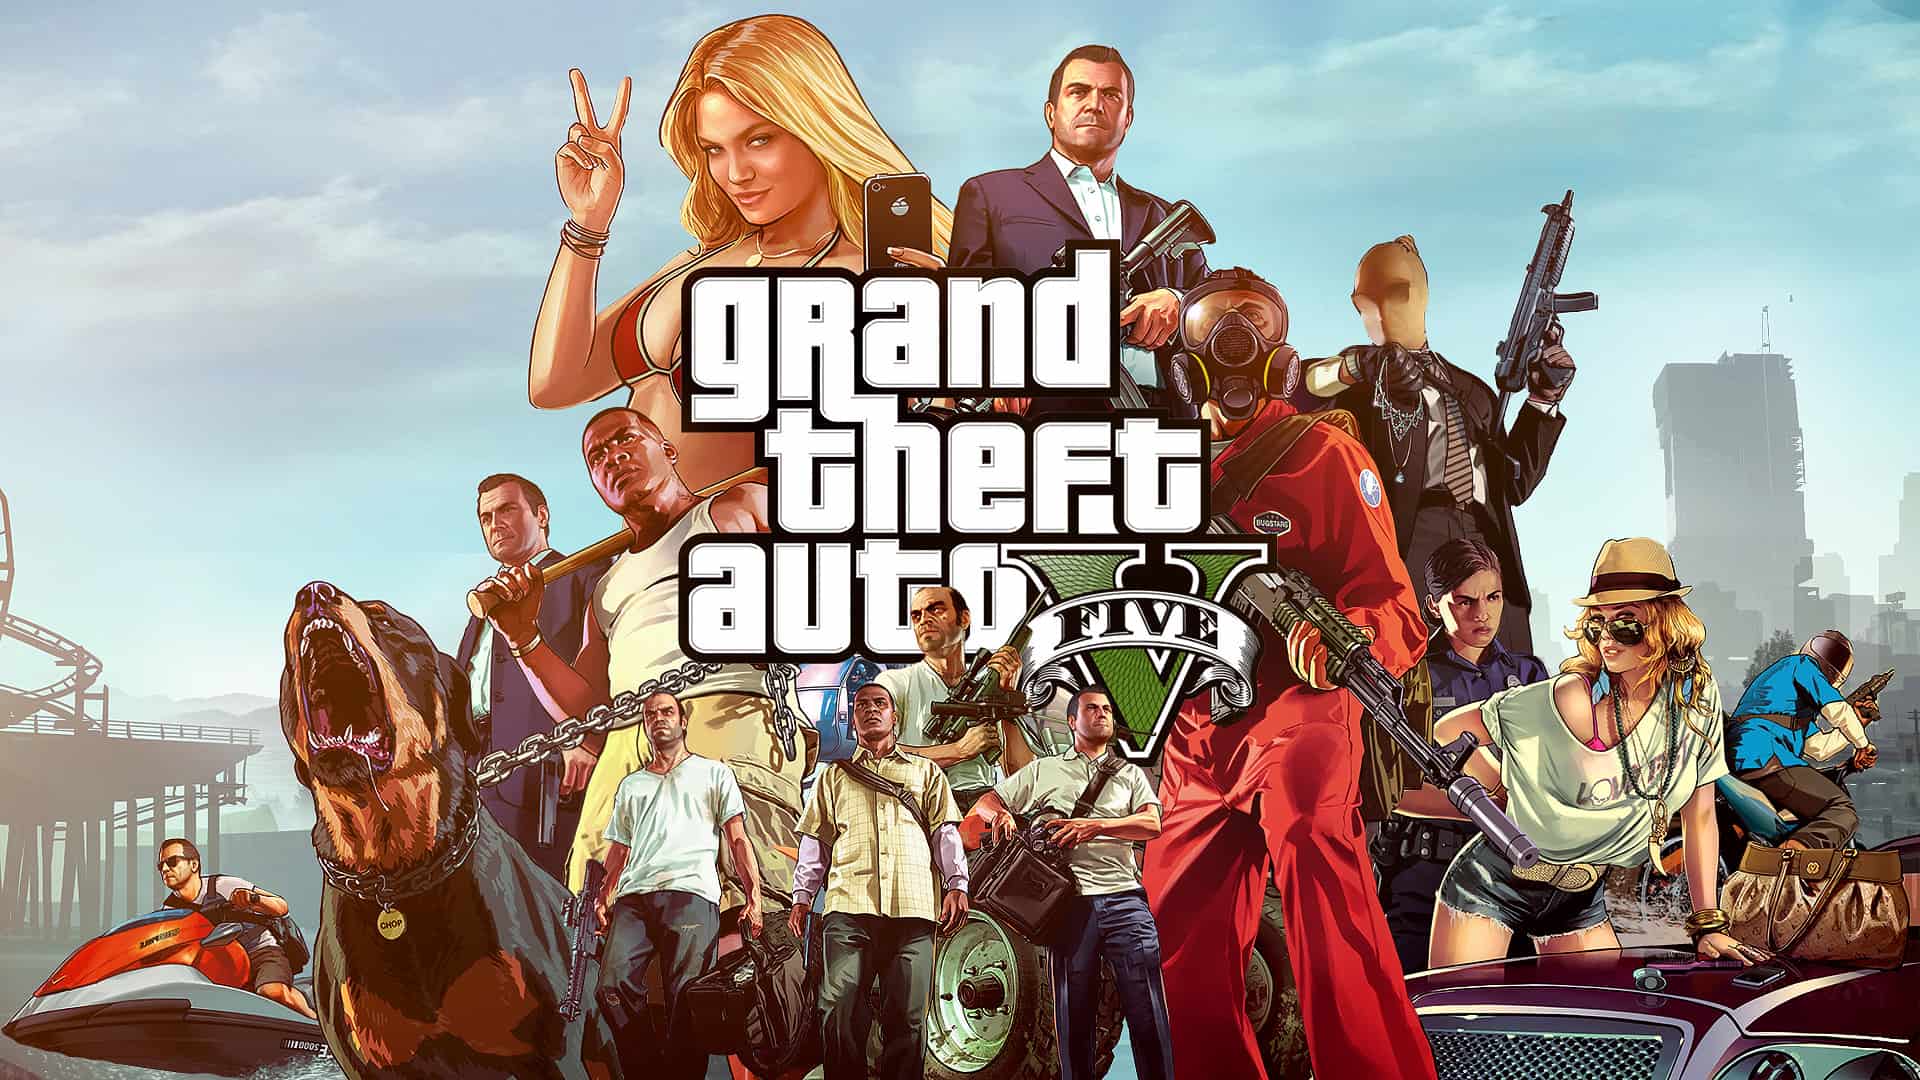
Welcome to the world of Grand Theft Auto V on PC! If you’re looking to take your gaming experience to the next level, then modding GTA5 might just be the answer. Modding allows you to customize and enhance various aspects of the game, from graphics and gameplay elements to adding new content.
It’s important to note that modding GTA5 PC is done at your own risk. While mods can greatly enhance your gaming experience, it’s crucial to exercise caution and only download from reputable sources.
In this guide, we’ll take you through the steps of modding GTA5 PC, from understanding the different types of mods to installation and troubleshooting. So, whether you’re itching to change the appearance of the game, add new vehicles, or play with unique scripts, we’ve got you covered.
Before we dive into the exciting world of mods, let’s take a moment to understand what exactly they are. Mods, short for modifications, are user-created content that alter or enhance the original game. These can range from small tweaks to major overhauls, providing a whole new experience for players.
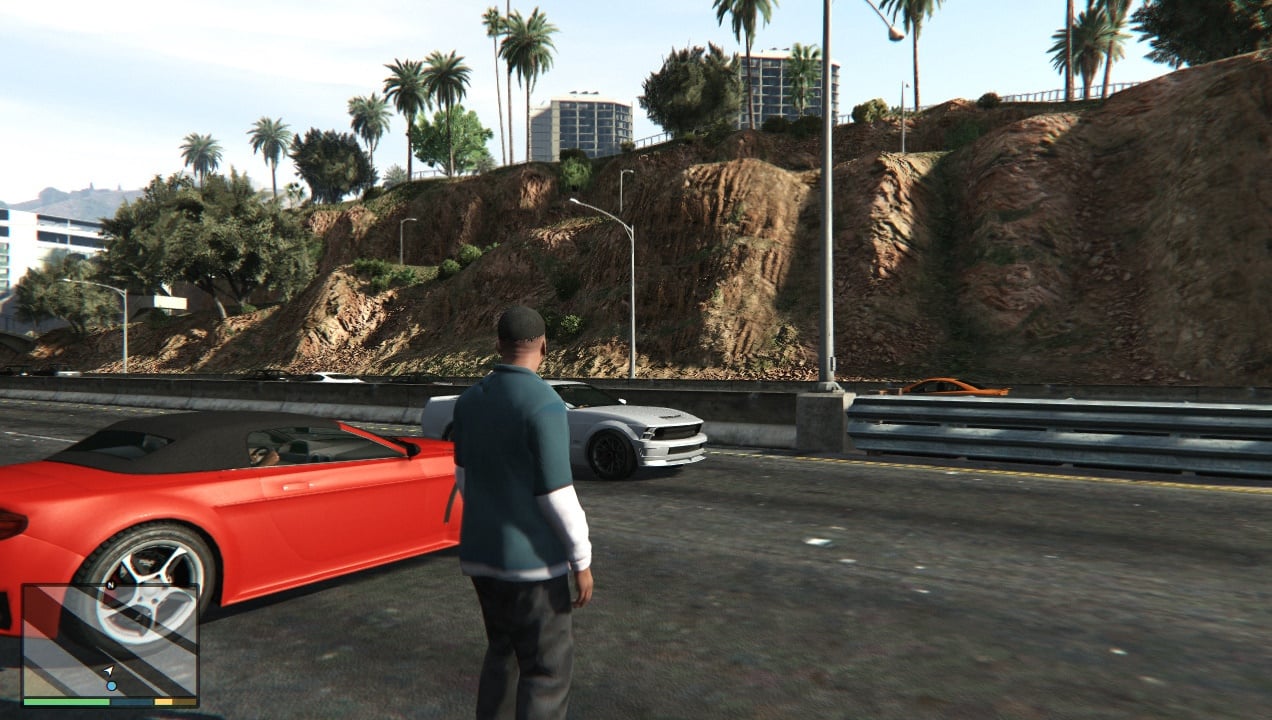
Mods can breathe new life into GTA5 PC by enabling you to customize various aspects of the game to suit your preferences. From visual enhancements like detailed graphics, improved lighting, and enhanced textures, to gameplay changes that introduce new missions, characters, and features, the possibilities are vast.
If you’re a creative type, you can even create your own mods and share them with the GTA5 community. Modding has become a vibrant subculture within the gaming community, with enthusiasts constantly pushing the boundaries of what’s possible in the virtual world.
Now that you have a basic understanding of mods, let’s get started on the journey of modding GTA5 PC. Strap in, get ready, and let’s explore the limitless possibilities that await!
Understanding Mods
Before diving into the world of GTA5 PC mods, it’s crucial to understand the different types and categories of mods available. This will help you choose the ones that align with your preferences and ensure a smooth modding experience.
Script Mods: Script mods are modifications that introduce new scripts or codes into the game. These mods can range from adding new missions, characters, and features to changing game mechanics. Script mods can greatly enhance the gameplay experience by offering unique and customized content.
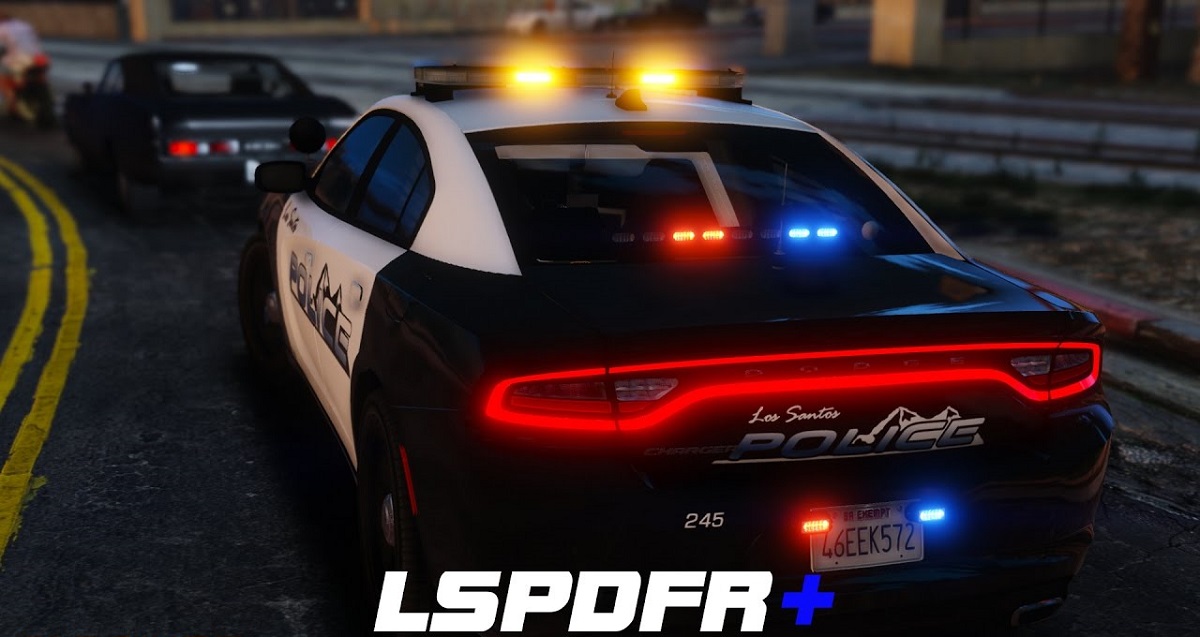
Car Mods: Car mods are modifications that add or replace vehicles in the game. Whether you’re looking to drive a sleek sports car, an armored military vehicle, or a classic muscle car, car mods offer a wide variety of options to suit your style. These mods can significantly change the way you explore the vast open world of GTA5.
Map Mods: Map mods focus on altering the game’s map by adding new locations, buildings, or landmarks. These mods can transform the game world and provide a fresh perspective as you navigate through the streets of Los Santos. Explore hidden areas, discover new points of interest, and unlock secrets with map mods.
Graphic Mods: If you’re looking to enhance the visual experience of GTA5 PC, graphic mods are your go-to. These mods improve the game’s graphics by introducing better textures, realistic lighting, and more detailed environments. Get ready to immerse yourself in stunning visuals that breathe new life into the game.
It’s important to note that mods can sometimes conflict with each other or with the game itself. Be cautious when installing multiple mods and ensure they are compatible with each other. Additionally, always download mods from reliable sources to avoid malware or poor-quality modifications.
Now that you have a better understanding of the different types of mods, you’re ready to embark on your modding journey. In the next section, we’ll guide you through the initial steps of getting started with modding GTA5 PC.
Getting Started
Ready to unleash the full potential of GTA5 PC? Before we begin installing mods, there are a few essential steps you need to take to ensure a successful modding experience.
Step 1: Back up Your Game: Before you start modding, it’s crucial to make a backup of your game files. This will allow you to restore the original game in case anything goes wrong during the modding process. Create a separate folder and copy all the game files into it as a precautionary measure.
Step 2: Update Your Game: Make sure your game is up to date with the latest patches and updates. Mod compatibility can vary depending on the game version, so keeping it updated ensures a smoother modding experience.
Step 3: Create a Mods Folder: To keep your mods organized, create a specific folder for all your mod files. This will make it easier to manage and install mods in the future. You can name the folder “mods” or any other name of your choice.
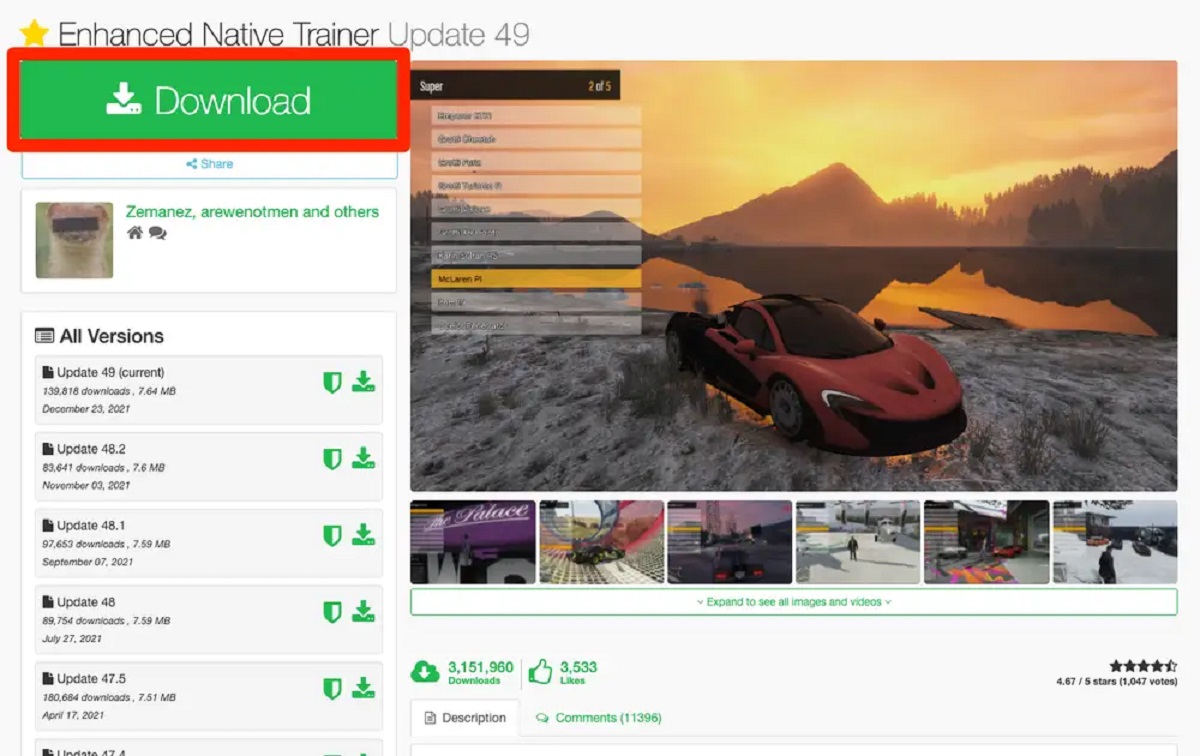
Step 4: Install a Mod Manager: Using a mod manager is highly recommended as it simplifies the process of installing and managing mods. Mod managers act as a bridge between your game and the installed mods, making it easier to enable or disable them as needed. Popular mod managers include OpenIV and Mod Manager V.
Step 5: Understand modding tools: Familiarize yourself with modding tools that are commonly used in the GTA5 PC modding community. OpenIV, for example, is a powerful tool that allows you to open and modify game files, making it essential for many mods. Research and understand the tools that are relevant to the mods you plan to install.
Step 6: Read Modding Instructions: Before installing any mod, carefully read the instructions provided by the mod creator. This will help you understand the specific installation steps, any required dependencies, and potential conflicts with other mods. Always follow the instructions to ensure a successful installation.
Step 7: Test Mods One by One: It’s recommended to install mods one at a time and test them individually. This way, if any issues or conflicts arise, you can easily identify the problematic mod and troubleshoot accordingly. Testing mods individually also gives you a better understanding of their impact on the game.
By following these initial steps, you are now ready to delve into the exciting world of GTA5 PC modding. In the next section, we’ll guide you through the process of installing and managing script mods to enhance your gameplay experience. Strap in, and let the modding adventure begin!
Step 1: Installing OpenIV
To kickstart your modding journey for GTA5 PC, the first step is to install OpenIV, a powerful and widely-used modding tool. OpenIV allows you to access and modify game files, making it essential for many mods.
Follow these steps to install OpenIV:
- Visit the OpenIV website (www.openiv.com) and navigate to the Downloads section.
- Download the appropriate version of OpenIV for your operating system (Windows). It’s crucial to download the correct version to ensure compatibility.
- Once the download is complete, run the installer file and follow the on-screen instructions. You may be prompted to select your GTA5 installation directory.
- After installation, launch OpenIV. If you receive any security or permission warnings, allow the program to run.
- OpenIV will now prompt you to create or import a “mods” folder. This step is essential for keeping your modded files separate from the original game files, allowing for easy management. Select the appropriate option based on your preference.
- With OpenIV open, you can now explore the various options and functionalities it offers. Take some time to familiarize yourself with the interface and basic navigation for smooth modding.
Congratulations! You have successfully installed OpenIV, laying the foundation for your GTA5 PC modding adventure. OpenIV is an incredibly useful and versatile tool that will be instrumental in the installation of future mods.
It’s worth noting that OpenIV is not just limited to modding GTA5. It can also be used to browse and modify game files for other Grand Theft Auto titles, such as GTA IV and Episodes from Liberty City.
Now that you have OpenIV up and running, you’re ready to move on to the next step: finding and installing script mods. In the following section, we’ll guide you through the process of finding and installing these exciting modifications to enhance your gameplay experience.
Step 2: Finding Mods
Now that you have OpenIV installed on your GTA5 PC, it’s time to find the mods that will take your gameplay experience to the next level. There are numerous sources where you can discover and download various mods, but it’s important to choose reputable and trusted websites to ensure the safety and quality of the mods.
Here are some reliable sources to find GTA5 PC mods:
- GTA5 Mods: GTA5 Mods (www.gta5-mods.com) is one of the most popular sites for downloading GTA5 mods. It offers a vast collection of mods across different categories, including scripts, vehicles, maps, and graphics. The site provides detailed information about each mod, including compatibility, installation instructions, and user reviews.
- Nexus Mods: Nexus Mods (www.nexusmods.com) is a well-established modding platform that offers mods for multiple games, including GTA5. It features a large community of modders and a wide range of mods to choose from. Nexus Mods provides mod management tools and a reliable download platform for a seamless modding experience.
- ModDB: ModDB (www.moddb.com) is another popular platform for game mods. While it covers a wide range of games, it also hosts a significant number of mods for GTA5 PC. The site allows users to filter and search for mods based on categories, ratings, and popularity.
When choosing mods, consider your preferences and the type of experience you want to create in GTA5. Take the time to read user reviews, check compatibility with your game version, and ensure that the mods have been recently updated and are actively supported by the mod creators.
It’s important to exercise caution when downloading mods. Be wary of sites that provide mods with questionable origins or those that require additional software downloads. Stick to reputable sources mentioned above to ensure a trustworthy and secure modding experience.
Remember, modding is a personalized experience, so feel free to explore different mods and create a unique gameplay experience that suits your preferences. Once you’ve found the mods you want to install, proceed to the next steps to bring them into your GTA5 PC game.
In the next section, we’ll guide you through the process of installing script mods, allowing you to add new missions, characters, and features to your game. Get ready to inject some excitement into your GTA5 PC adventure!
Step 3: Installing Script Mods
Script mods are a fantastic way to add new missions, characters, and features to your GTA5 PC game. Installing script mods requires a few extra steps compared to other types of mods, but it’s well worth the effort for the unique gameplay experiences they offer. Follow these steps to install script mods:
- Download the script mod files from a reputable source, such as GTA5 Mods or Nexus Mods.
- Extract the mod files to a location on your computer.
- Launch OpenIV and navigate to the ‘mods’ folder you created during the installation process.
- Within the ‘mods’ folder, locate the ‘update’ folder and open it.
- Next, navigate to the ‘x64’ folder, followed by the ‘scripts’ folder.
- Copy the script mod files you extracted earlier into the ‘scripts’ folder.
- Once the files are copied, launch your GTA5 PC game.
- During the game’s startup, you may see a notification indicating that script mods are being loaded. This is a confirmation that the mods are successfully installed.
- After the game loads, you can access the newly installed script mods and enjoy the additional content or features they provide.
It’s important to note that some script mods might require additional dependencies, such as the Script Hook V, which is a commonly used modding tool. If a mod has dependencies, make sure to download and install them before proceeding with the script mod installation.
Additionally, always read the mod’s instructions and description to understand any specific installation steps or compatibility requirements. Some mods might come with additional files or folders that need to be placed in specific locations within the game’s directory.
With script mods installed, you can now experience GTA5 PC in new and exciting ways. Take on unique missions, interact with new characters, and explore enhanced features created by the modding community.
In the next steps, we’ll guide you through installing car mods, map mods, and graphic mods to further customize and elevate your GTA5 PC gameplay. Get ready to immerse yourself in a world of personalization!
Step 4: Installing Car Mods
If you’re looking to add a touch of personalization to your rides in GTA5 PC, installing car mods is the way to go. With a wide range of vehicles and customization options available, car mods can transform the streets of Los Santos and offer a unique driving experience. Follow these steps to install car mods:
- Download the car mod files from a trusted source, such as GTA5 Mods or Nexus Mods.
- Extract the downloaded files to a location on your computer.
- Launch OpenIV and navigate to the ‘mods’ folder you created during the installation process.
- Within the ‘mods’ folder, locate the ‘update’ folder and open it.
- Navigate to the ‘x64’ folder, followed by the ‘dlcpacks’ folder.
- Create a new folder inside ‘dlcpacks’ with a unique name for your car mod. For example, if you’re installing a mod for a Lamborghini, you can name the folder ‘lamborghini.’
- Open the newly created folder and copy all the car mod files you extracted in Step 2 into this folder.
- Now, go back to the ‘mods’ folder and navigate to the ‘update.rpf’ folder.
- Next, go to the ‘x64’ folder, followed by the ‘levels’ folder.
- Inside the ‘levels’ folder, locate the ‘gta5’ folder.
- In the ‘gta5’ folder, open the ‘vehicles.rpf’ file.
- Copy the ‘dlclist.xml’ file from this location to the desktop (or any other convenient location for editing).
- Open the ‘dlclist.xml’ file with a text editor, such as Notepad or Sublime Text.
- Add a new line of code to the file, indicating the location of your car mod folder you created in Step 6. The line of code should look like this: ‘
- dlcpacks:/lamborghini/
‘ (replace ‘lamborghini’ with the name of your car mod folder). - Save the changes to the ‘dlclist.xml’ file and close the text editor.
- Copy the modified ‘dlclist.xml’ file back to the ‘vehicles.rpf’ file using OpenIV.
That’s it! You’ve successfully installed a car mod in your GTA5 PC game. Now, when you launch the game, you should be able to find and drive the newly added vehicle in Los Santos.
Repeat these steps for each car mod you want to install, ensuring that you create a separate folder for each mod and update the ‘dlclist.xml’ file accordingly.
Keep in mind that some car mods may come with additional installation instructions, such as replacing existing vehicle files. Always read the mod’s instructions and description to understand any specific requirements or steps.
With a fleet of customized vehicles at your disposal, you’re now ready to cruise the streets of Los Santos in style. In the next section, we’ll guide you through the process of installing map mods to further expand and enhance the game world. Get ready for new adventures!
Step 5: Installing Map Mods
If you’re looking to explore new areas, discover hidden gems, or simply breathe new life into the game world of GTA5 PC, installing map mods is the way to go. Map mods allow you to add new locations, buildings, and landmarks, providing a fresh and exciting experience. Follow these steps to install map mods:
- Download the map mod files from a reliable source, such as GTA5 Mods or Nexus Mods.
- Extract the downloaded files to a location on your computer.
- Launch OpenIV and navigate to the ‘mods’ folder, which you created during the installation process.
- Within the ‘mods’ folder, locate the ‘update’ folder and open it.
- Navigate to the ‘x64’ folder, followed by the ‘levels’ folder.
- Inside the ‘levels’ folder, you’ll find various subfolders representing different areas of the game world.
- Identify the specific area you want to modify with the map mod. For example, if you’re installing a mod that adds a new building to Los Santos, look for the ‘gta5’ folder.
- Open the corresponding folder and locate the ‘.ymap’ file.
- Copy the ‘.ymap’ file from the extracted map mod files and paste it into the same folder in OpenIV.
- Once the file is copied, you have successfully installed the map mod. The new location or changes should now be visible in the game.
It’s important to note that some map mods may require additional steps or instructions, such as editing other related game files or installing additional mods for compatibility.
Always read the mod’s instructions and description carefully to understand any specific requirements or steps needed for the installation. Some map mods may also provide instructions on how to navigate to the newly added locations in the game world.
Experiment with different map mods to uncover hidden areas, explore new landscapes, or create unique settings for your GTA5 PC adventures.
With map mods installed, you’ve broadened the horizons of your gameplay experience. In the next section, we’ll explore how to install graphic mods to enhance the visual aesthetics of GTA5 PC. Get ready for stunning visuals!
Step 6: Installing Graphic Mods
Ready to elevate the visual experience of GTA5 PC? Installing graphic mods allows you to enhance the game’s graphics, including textures, lighting, and overall visual fidelity. With these mods, you can create a more immersive and stunning world. Follow these steps to install graphic mods:
- Download the graphic mod files from a trusted source, such as GTA5 Mods or Nexus Mods.
- Extract the downloaded files to a location on your computer.
- Launch OpenIV and navigate to the ‘mods’ folder that you created during the installation process.
- Within the ‘mods’ folder, locate the ‘update’ folder and open it.
- Navigate to the ‘x64’ folder, followed by the ‘textures’ folder.
- Copy the graphic mod files from the extracted files and paste them into the ‘textures’ folder in OpenIV.
- Some graphic mods may also come with configuration files. If that’s the case, follow the mod’s instructions on where to place these files.
- Once the files are copied, you have successfully installed the graphic mod. Launch your GTA5 PC game to experience the enhanced visuals.
It’s essential to choose graphic mods that are compatible with your game version and meet the specifications of your PC. Higher-quality graphics mods may require more powerful hardware to achieve optimal performance.
To further customize and fine-tune the visual enhancements, some graphic mods may come with additional settings or installation instructions. Carefully read the mod’s documentation to utilize these features and achieve your desired visual style.
With graphic mods installed, you can enjoy a visually enhanced and immersive experience in GTA5 PC. Whether it’s improved textures, realistic lighting, or enhanced weather effects, these mods breathe new life into the game’s visuals.
As always, be sure to test your modded game and adjust settings as necessary to find the optimal balance between visual enhancements and performance.
In the next section, we’ll guide you through launching the game with mods and provide troubleshooting tips in case you encounter any issues along the way. Let’s make sure everything runs smoothly!
Step 7: Launching the Game with Mods
Now that you have installed various mods in GTA5 PC, it’s time to launch the game and experience the exciting changes you’ve made. Follow these steps to ensure that the game launches correctly with your installed mods:
- Ensure that OpenIV is closed before launching the game.
- Double-check that all the necessary mod files are in the appropriate folders as described in the previous steps.
- Start the game through the regular launcher or executable file.
- While the game is launching, you may see a notification indicating that script mods are being loaded. This is normal and confirms that your script mods are successfully installed.
- Once the game has loaded, navigate to the modded features, such as new missions or vehicles, to confirm that the mods are working correctly.
- Take some time to explore and enjoy the modded content, whether it’s the enhanced gameplay from script mods, the customized vehicles from car mods, the new locations from map mods, or the stunning visuals from graphic mods.
If at any point you encounter issues with the game, such as crashing or glitches, it may be due to conflicts between mods or compatibility issues. In such cases, here are some troubleshooting tips:
- Disable or remove recently installed mods to identify the source of the problem.
- Ensure that your mods are compatible with your game version and with each other. Check for any updates or compatibility patches.
- Use mod managers or launchers that allow you to easily enable or disable individual mods to test for conflicts.
- Refer to the mod’s documentation or the modding community for possible solutions or known issues.
- If all else fails, you may have to start with a clean, unmodded game installation and gradually add mods one by one, testing each to identify any problem-causing mods.
Remember that troubleshooting is a normal part of the modding process, and sometimes it may take trial and error to achieve the desired results. Patience and persistence are key.
With your game launched and mods in action, you’re now ready to enjoy a customized and enhanced GTA5 PC experience. Whether you’re embarking on new missions, racing in unique vehicles, exploring new locations, or marveling at the improved graphics, the possibilities are endless.
Have fun, and embrace the creativity and personalization that modding brings to your gaming adventures!
Troubleshooting Common Issues
While modding GTA5 PC can be an exciting and rewarding experience, it’s not uncommon to encounter some issues along the way. Here are some common problems you might face and effective troubleshooting steps to resolve them:
- Game Crashes: If your game crashes after installing mods, it could be due to conflicts between mods or compatibility issues. Try disabling recently installed mods or removing them temporarily to identify the culprit. Make sure your mods are compatible with your game version and with each other.
- Missing or Glitchy Textures: If you experience missing or glitchy textures in the game, it may be due to incomplete or incorrect installation of graphic mods. Check if you followed the installation instructions correctly and ensure that the mod files are in the appropriate directories.
- Script Errors or Non-Functional Script Mods: If your script mods are not working as expected or causing script errors, verify that you have installed the required dependencies, such as Script Hook V or .NET Script Hook. Make sure your script mods are compatible with the game version and follow the installation instructions carefully.
- Conflicting Mods: Conflicts between mods can cause various issues, such as crashes, texture glitches, or non-functional features. Use mod managers that allow you to easily enable or disable mods to identify conflicting ones. Read the mod descriptions and user comments to check for known compatibility issues.
- Performance Issues: Some graphic mods may impact game performance, leading to lower frame rates or lag. Adjust the graphics settings in the game options to find a balance between visual quality and performance. Additionally, consider removing or reducing the number of intensive mods if performance remains an issue.
- Outdated Mods: Over time, mods may become outdated and incompatible with the latest game updates. Check for updates on modding websites or forums, and ensure that the mods you have installed are compatible with the current version of GTA5 PC.
If you encounter persistent issues or have exhausted all troubleshooting options, consider seeking help from the modding community. Many online forums and communities are dedicated to GTA5 PC modding and can provide guidance or solutions tailored to your specific issues.
Remember, modding is a dynamic process, and it often involves trial and error. Patience and persistence are key when troubleshooting issues. By following these troubleshooting steps and staying up-to-date with mod compatibility, you can overcome common issues and fully enjoy your modded GTA5 PC experience.
Conclusion
Congratulations on completing this guide to modding GTA5 PC! We’ve explored the world of mods, from script mods to car mods, map mods, and graphic mods. By following the steps outlined in this guide, you should now have a clear understanding of how to enhance and personalize your GTA5 PC gameplay experience.
Modding offers endless possibilities for customization, creativity, and exploration. From adding new missions and characters to driving unique vehicles and exploring new locations, mods can truly transform the game world and provide a fresh perspective.
Throughout this guide, we’ve emphasized the importance of using reputable sources and following mod installation instructions. By doing so, you can ensure the safety, compatibility, and overall quality of the mods you install.
Keep in mind that modding is an ongoing process. As new mods are released and updates are made, don’t hesitate to try out different combinations and discover new experiences in GTA5 PC. Remember to regularly check for updates and compatibility patches for both your mods and the game itself.
Lastly, don’t forget to immerse yourself in the modding community. Engage with other modders, share your creations, and learn from their experiences. Modding is not only about enhancing the game but also about connecting with a passionate community of fellow gamers.
Now that you have the knowledge and tools to embark on your modding adventure, it’s time to unleash your creativity and make GTA5 PC truly your own. Have fun exploring the vast possibilities of modding, and enjoy the unique experiences that await you in Los Santos!


