Introduction
When it comes to creating an immersive home theater experience or delivering impactful presentations, having a larger projector screen can make a significant difference. A bigger screen allows for a more engaging and captivating visual experience, whether you’re watching movies, playing video games, or showcasing important business presentations.
In this article, we will explore various methods and techniques to make your projector screen bigger. We will discuss assessing the room setup, choosing the right projector, selecting the perfect projector screen, using projection mounts and stands, projector distance and placement, adjusting projector aspect ratio, increasing screen size using zoom functionality, utilizing screen mirroring, and enhancing screen size with the ideal screen material.
By following these guidelines, you can maximize the potential of your projector and create a larger and more immersive viewing experience. So, if you’re ready to take your home theater or presentation setup to the next level, let’s dive into the details of how to make your projector screen bigger.
Assessing the Room Setup
Before making any changes to your projector screen size, it’s essential to assess your room setup. Consider the size and shape of the room, the distance between the screen and the viewers, and any potential obstacles or limitations. By understanding these factors, you can make informed decisions to optimize your viewing experience.
Start by measuring the available space in your room. Take note of the dimensions and determine where the projector screen will fit best. Consider the viewing angle and ensure that the screen will be visible from all seating positions. If necessary, rearrange your furniture or make adjustments to optimize the viewing experience.
Another crucial aspect to consider is the ambient light in the room. Ideally, you want a space that can be darkened to enhance image quality. Consider installing blackout curtains or blinds to minimize external light sources that may affect the image projected on the screen.
In addition, take into account the acoustics of the room. If you have a dedicated home theater setup, consider adding sound dampening materials or acoustic panels to improve the audio experience.
Lastly, think about the overall aesthetic of the room. Choose a projector screen that complements the room’s design and décor. Whether you prefer a fixed frame screen, motorized screen, or portable screen, select an option that seamlessly integrates with your existing room setup.
By thoroughly assessing your room setup, you can ensure that any changes to your projector screen size will enhance the overall viewing experience. Take the time to consider the room’s dimensions, lighting conditions, acoustics, and aesthetics before moving forward.
Choosing the Right Projector
When it comes to making your projector screen bigger, selecting the right projector is crucial. The projector’s specifications and capabilities will directly impact the image quality, brightness, and overall performance. Here are some factors to consider when choosing the right projector for your setup.
Start by considering the resolution of the projector. Higher resolution projectors, such as 1080p or 4K, will provide more detailed and sharper images. If you plan on enlarging the screen size, opting for a higher resolution projector can help maintain image clarity.
Another important factor is the brightness of the projector. The ambient light in your room and the size of the screen will influence the required brightness level. For larger screens or brighter rooms, choose a projector with higher lumens to ensure a vibrant and clear image.
Consider the throw ratio of the projector as well. The throw ratio determines the distance between the projector and the screen for a specific screen size. Ensure that the throw ratio of the projector matches the desired screen size you want to achieve.
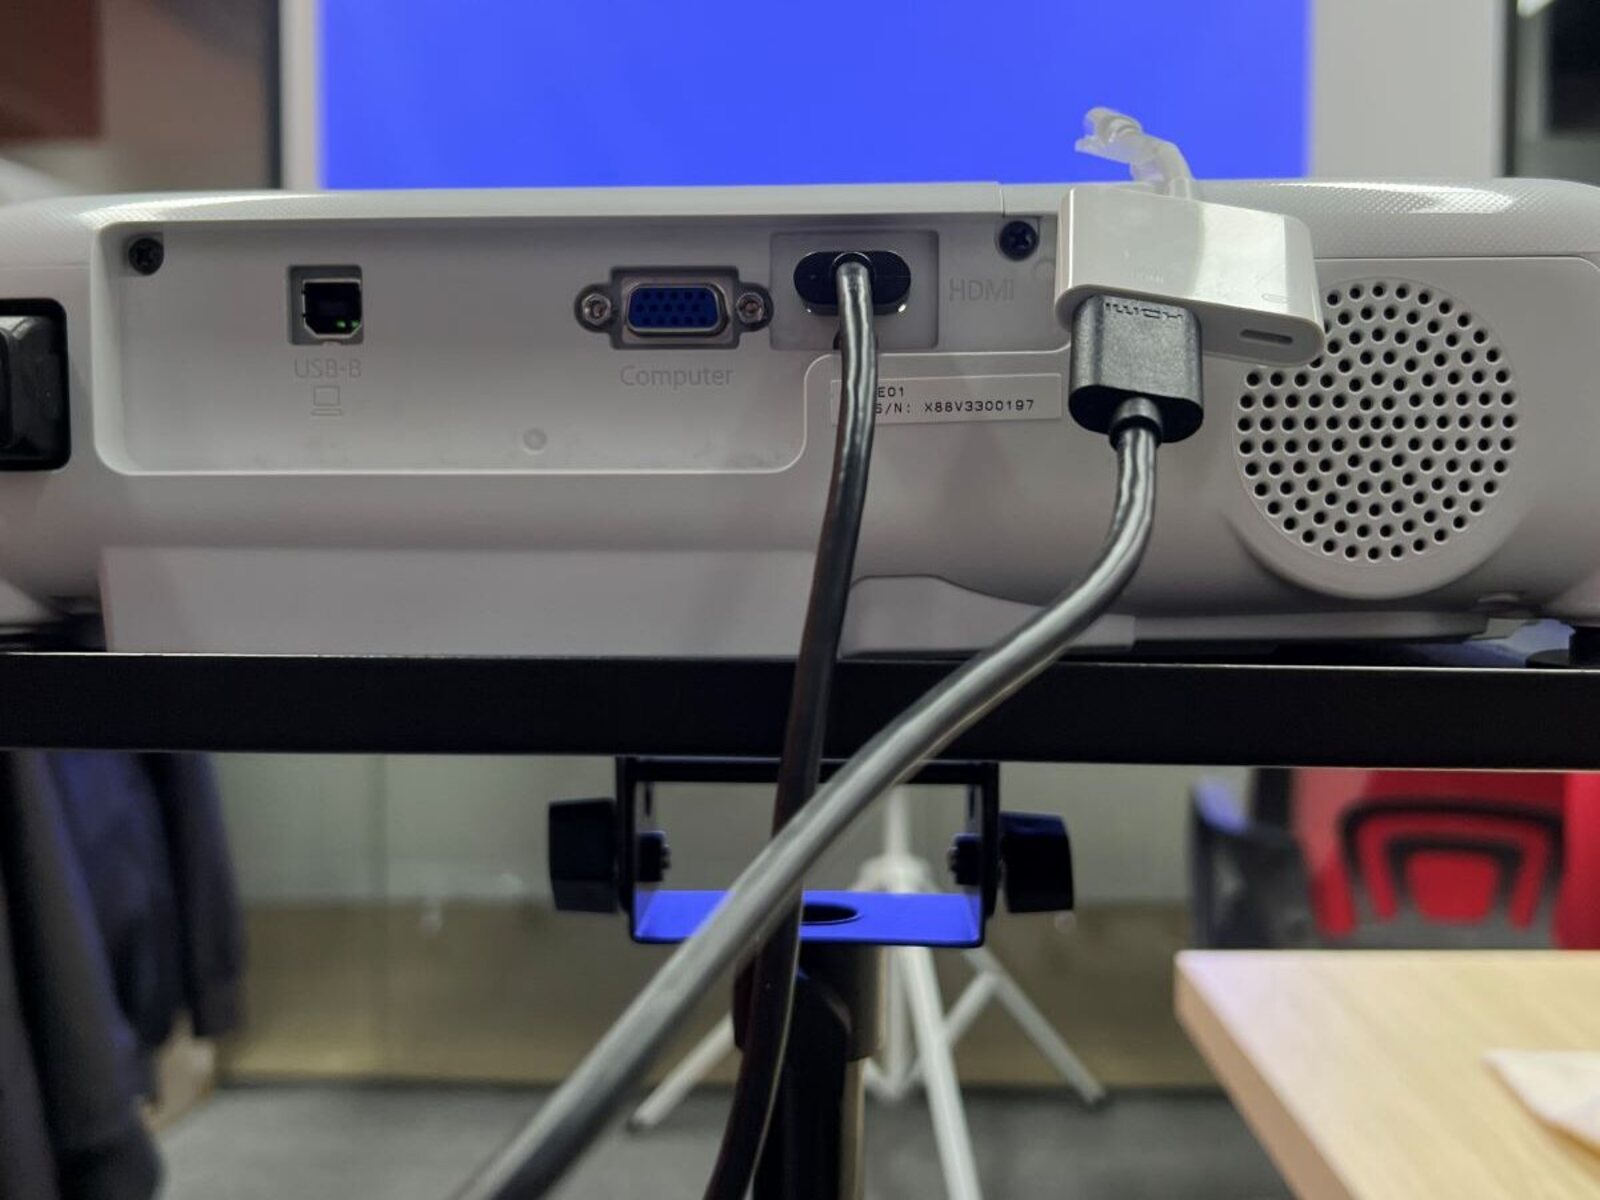
Connectivity options are also essential. Make sure the projector has the necessary ports to connect your preferred devices, such as HDMI, VGA, or USB. This will allow for seamless integration with your existing setup.
Additionally, don’t forget to assess the noise level of the projector. Some projectors can be noisy, which can be distracting during quiet movie scenes or presentations. Look for projectors with quiet operation or consider adding soundproofing measures to minimize noise.
Lastly, consider the longevity and maintenance requirements of the projector. Look for reputable brands with good customer reviews and reliable warranties. Consider factors such as lamp lifespan and availability of replacement parts to ensure the projector will serve you well in the long run.
By carefully considering these factors, you can choose a projector that is perfectly suited to your screen enlargement goals. Take your time to research and compare different models to find the best fit for your needs and budget.
Selecting the Perfect Projector Screen
Once you have chosen the right projector, the next step in making your projector screen bigger is selecting the perfect screen. The projector screen plays a crucial role in delivering optimal image quality and enhancing the overall viewing experience. Here are some key factors to consider when selecting a projector screen.
First, consider the screen size and aspect ratio. Determine the desired screen size based on your room size and seating distance. Additionally, consider the aspect ratio that suits your viewing content, such as 16:9 for movies or 4:3 for presentations.
Next, consider the screen material. You have various options, such as matte white, grey, or gain screens. Matte white screens provide a wide viewing angle and accurate color reproduction, while grey screens enhance contrast in darker rooms. Gain screens offer increased brightness and reflectivity, ideal for rooms with ambient light.
Also, think about the screen type. Fixed frame screens offer a sturdy, permanent setup, while motorized screens can be hidden when not in use. Portable screens are lightweight and easy to set up, making them ideal for presentations or events.
Consider the screen gain, which refers to the amount of light reflected back to the viewers. Higher gain screens will make the image appear brighter, making them ideal for rooms with ambient light. However, keep in mind that higher gain screens may have a narrower viewing angle.
Another critical factor is the screen’s viewing angle. A wider viewing angle ensures that everyone in the room can enjoy a clear and vibrant image. Avoid screens with limited viewing angles that may result in a loss of image quality from certain seating positions.
Lastly, consider the screen installation options. Some screens come with mounting brackets, while others may require additional hardware. Ensure that the screen can be easily installed in your desired location, whether it’s mounted on the wall or ceiling or set up on a stand.
By carefully considering the screen size, aspect ratio, material, type, gain, viewing angle, and installation options, you can select the perfect projector screen to achieve your desired enlargement goals. Take your time to research and compare different options to ensure a seamless and immersive viewing experience.
Using Projection Mounts and Stands
When it comes to making your projector screen bigger, utilizing projection mounts and stands can provide flexibility and convenience in positioning your projector. These accessories allow you to achieve the ideal projection height and angle, ensuring optimal viewing for everyone in the room. Here are some considerations when using projection mounts and stands.
Firstly, determine the desired projection height and distance from the screen. Projection mounts can be adjusted to achieve the perfect alignment. Measure the distance from the center of the lens to the desired position on the screen and adjust the mount accordingly.
Consider the type of mount or stand that best suits your needs. Ceiling mounts are ideal for permanent installations, providing a clean and unobstructed view. Wall mounts are another option if ceiling placement is not feasible. Portable stands offer flexibility in moving and positioning the projector as needed.
Ensure that the mount or stand is compatible with the weight and size of your projector. Most mounts have weight and size capacity specifications, so it’s important to check these to avoid any issues or instability.
Pay attention to the adjustability features of the mount or stand. Look for options that offer tilt, swivel, or height adjustments. These features allow you to fine-tune the projection angle and position based on the screen size and room setup.
Consider the installation process of the mount or stand. Some mounts may require professional installation, while others can be easily set up by following the provided instructions. Make sure you have the necessary tools and hardware for proper installation.
Another aspect to consider is cable management. Choose mounts or stands that have built-in cable management systems to keep your cables organized and hidden. This not only improves the aesthetics but also reduces the risk of tripping hazards.
Lastly, prioritize the stability and durability of the mount or stand. Look for high-quality materials and solid construction to ensure that your projector remains securely in place.
By utilizing projection mounts and stands, you can achieve the optimal positioning of your projector for a larger screen size. Consider the projection height, type of mount or stand, compatibility, adjustability, installation process, cable management, and overall stability when making your selection. These accessories will provide the necessary support and flexibility to enhance your viewing experience.
Projector Distance and Placement
Getting the right projector distance and placement is crucial for achieving a larger screen size and optimum image quality. Proper positioning ensures that the projected image is sharp, well-focused, and free from distortion. Here are some considerations for projector distance and placement.
Firstly, determine the throw distance required for your projector. The throw distance is the distance between the projector lens and the screen. This measurement determines the size of the projected image. Consult the projector’s specifications or use an online calculator to determine the ideal throw distance for your desired screen size.
Consider the desired screen size and aspect ratio. Calculate the throw ratio, which is the distance from the projector lens to the screen divided by the screen width. Different projectors have different throw ratios, and they need to match the screen size you want to achieve.
Take into account the room size and viewing distance. Ensure that the projector is positioned in a way that allows everyone in the room to have a clear view of the screen. Consider the seating arrangement and adjust the projector placement accordingly.
Pay attention to the projector’s vertical and horizontal lens shift capabilities, if available. Lens shift allows you to adjust the projection vertically or horizontally without physically moving the projector. This flexibility makes it easier to achieve the desired screen position and alignment.
Ensure that the projector is positioned at the correct height. Ideally, the center of the projected image should be aligned with the viewer’s eye level. You may need to use a projector mount or adjust the height of a portable stand to achieve this alignment.
Consider the projection angle and keystone correction. Keystoning occurs when the projector is tilted or positioned at an angle, resulting in a distorted image. Most projectors have built-in keystone correction to correct this distortion, but it is best to avoid excessive keystone correction whenever possible to maintain image quality.
Avoid placing the projector too close to the screen, as this can lead to a smaller projected image. Similarly, placing it too far from the screen can result in a larger and potentially washed-out image. Finding the optimum projection distance is crucial for achieving the desired screen size and image quality.
By carefully considering the throw distance, throw ratio, room size, viewer distance, lens shift capabilities, height alignment, projection angle, and keystone correction, you can properly position your projector for a larger screen size. Take the necessary measurements and adjustments to ensure optimal viewing and image quality.
Adjusting Projector Aspect Ratio
Adjusting the projector’s aspect ratio is essential for achieving the correct image proportions and maximizing the screen size. The aspect ratio determines the width and height ratio of the projected image. Here are some considerations for adjusting the projector’s aspect ratio.
Firstly, determine the desired aspect ratio based on the content you will be projecting. Common aspect ratios include 4:3 (standard), 16:9 (widescreen), and 21:9 (ultrawide). Each aspect ratio is suitable for different types of content, such as presentations, movies, or gaming.
Consult the projector’s settings or menu to adjust the aspect ratio. Most modern projectors have the option to manually select the desired aspect ratio. Look for options such as “Aspect Ratio,” “Picture Mode,” or “Format” in the projector’s display settings.
Ensure that the projector is set to the correct aspect ratio that matches the content you are displaying. For example, if you are watching a movie in widescreen format (16:9), select the corresponding aspect ratio setting on the projector to avoid any distortion or stretching of the image.
If the projector does not have the desired aspect ratio, you may need to adjust the screen size accordingly. For example, if you have a 4:3 aspect ratio projector and want to display a widescreen (16:9) image, you can either adjust the projector zoom or adjust the screen size to fit the desired proportions.
Keep in mind that adjusting the aspect ratio may result in black bars (letterboxing) on the screen. This occurs when the image does not fully cover the entire screen due to the difference in aspect ratios. This is normal and should not significantly affect the viewing experience.
Additionally, be aware that some projectors have an auto aspect ratio mode that automatically detects and adjusts the aspect ratio based on the input signal. This can be convenient if you frequently switch between different content types.
Remember to adjust the aspect ratio on both the projector and the input device (such as a DVD player or laptop) to ensure compatibility and achieve the desired image proportions.
By properly adjusting the projector’s aspect ratio, you can ensure that the image displayed is accurately proportioned and optimized for the content you are projecting. Take the time to select the correct aspect ratio setting and make any necessary adjustments to maximize the screen size and enhance the viewing experience.
Increasing the Screen Size Using Zoom
If you want to make your projector screen bigger without physically moving the projector or changing the screen’s position, utilizing the zoom functionality can be a convenient solution. Most projectors have a zoom feature that allows you to adjust the image size without sacrificing image quality. Here are some considerations for increasing the screen size using zoom.
Start by locating the zoom adjustment controls on your projector. These controls are typically located on the top or front panel of the projector. Consult the user manual or the on-screen menu for instructions on how to access and use the zoom feature.
Understand that zooming in will enlarge the image while zooming out will reduce the image size. Experiment with the zoom function to find the sweet spot that achieves the desired screen size without sacrificing image clarity or sharpness.
Keep in mind that increasing the zoom too much may result in a loss of image quality or a decrease in brightness. It is important to find the optimal balance between screen size and image quality.
Consider the throw ratio and the projector’s native resolution. Increasing the screen size too much using zoom may exceed the projector’s throw ratio capabilities, resulting in a distorted or blurry image. Additionally, if the projector’s native resolution is not high enough, zooming in too much may cause pixelation or a loss of detail.
Take into account the room dimensions and seating distance. Increasing the screen size using zoom may require adjusting the seating distance to maintain optimal viewing and prevent eye strain.
Remember that zooming in or out will affect the throw distance required for your projector. As you adjust the zoom, you may need to move the projector closer or farther from the screen to achieve the desired screen size.
Keep in mind that some projectors have a digital zoom, which enlarges the image by cropping and magnifying a portion of the original image. While digital zoom can increase the screen size, it may result in a loss of image quality compared to optical zoom.
Finally, consider the aspect ratio when zooming in or out. Adjust the aspect ratio on the projector to match the desired screen size and ensure that the image proportions are correct.
By utilizing the zoom functionality on your projector, you can increase the screen size without physically moving the projector or changing the screen’s position. Experiment with the zoom controls, find the optimal balance between screen size and image quality, and make any necessary adjustments to achieve the desired immersive viewing experience.
Utilizing Screen Mirroring
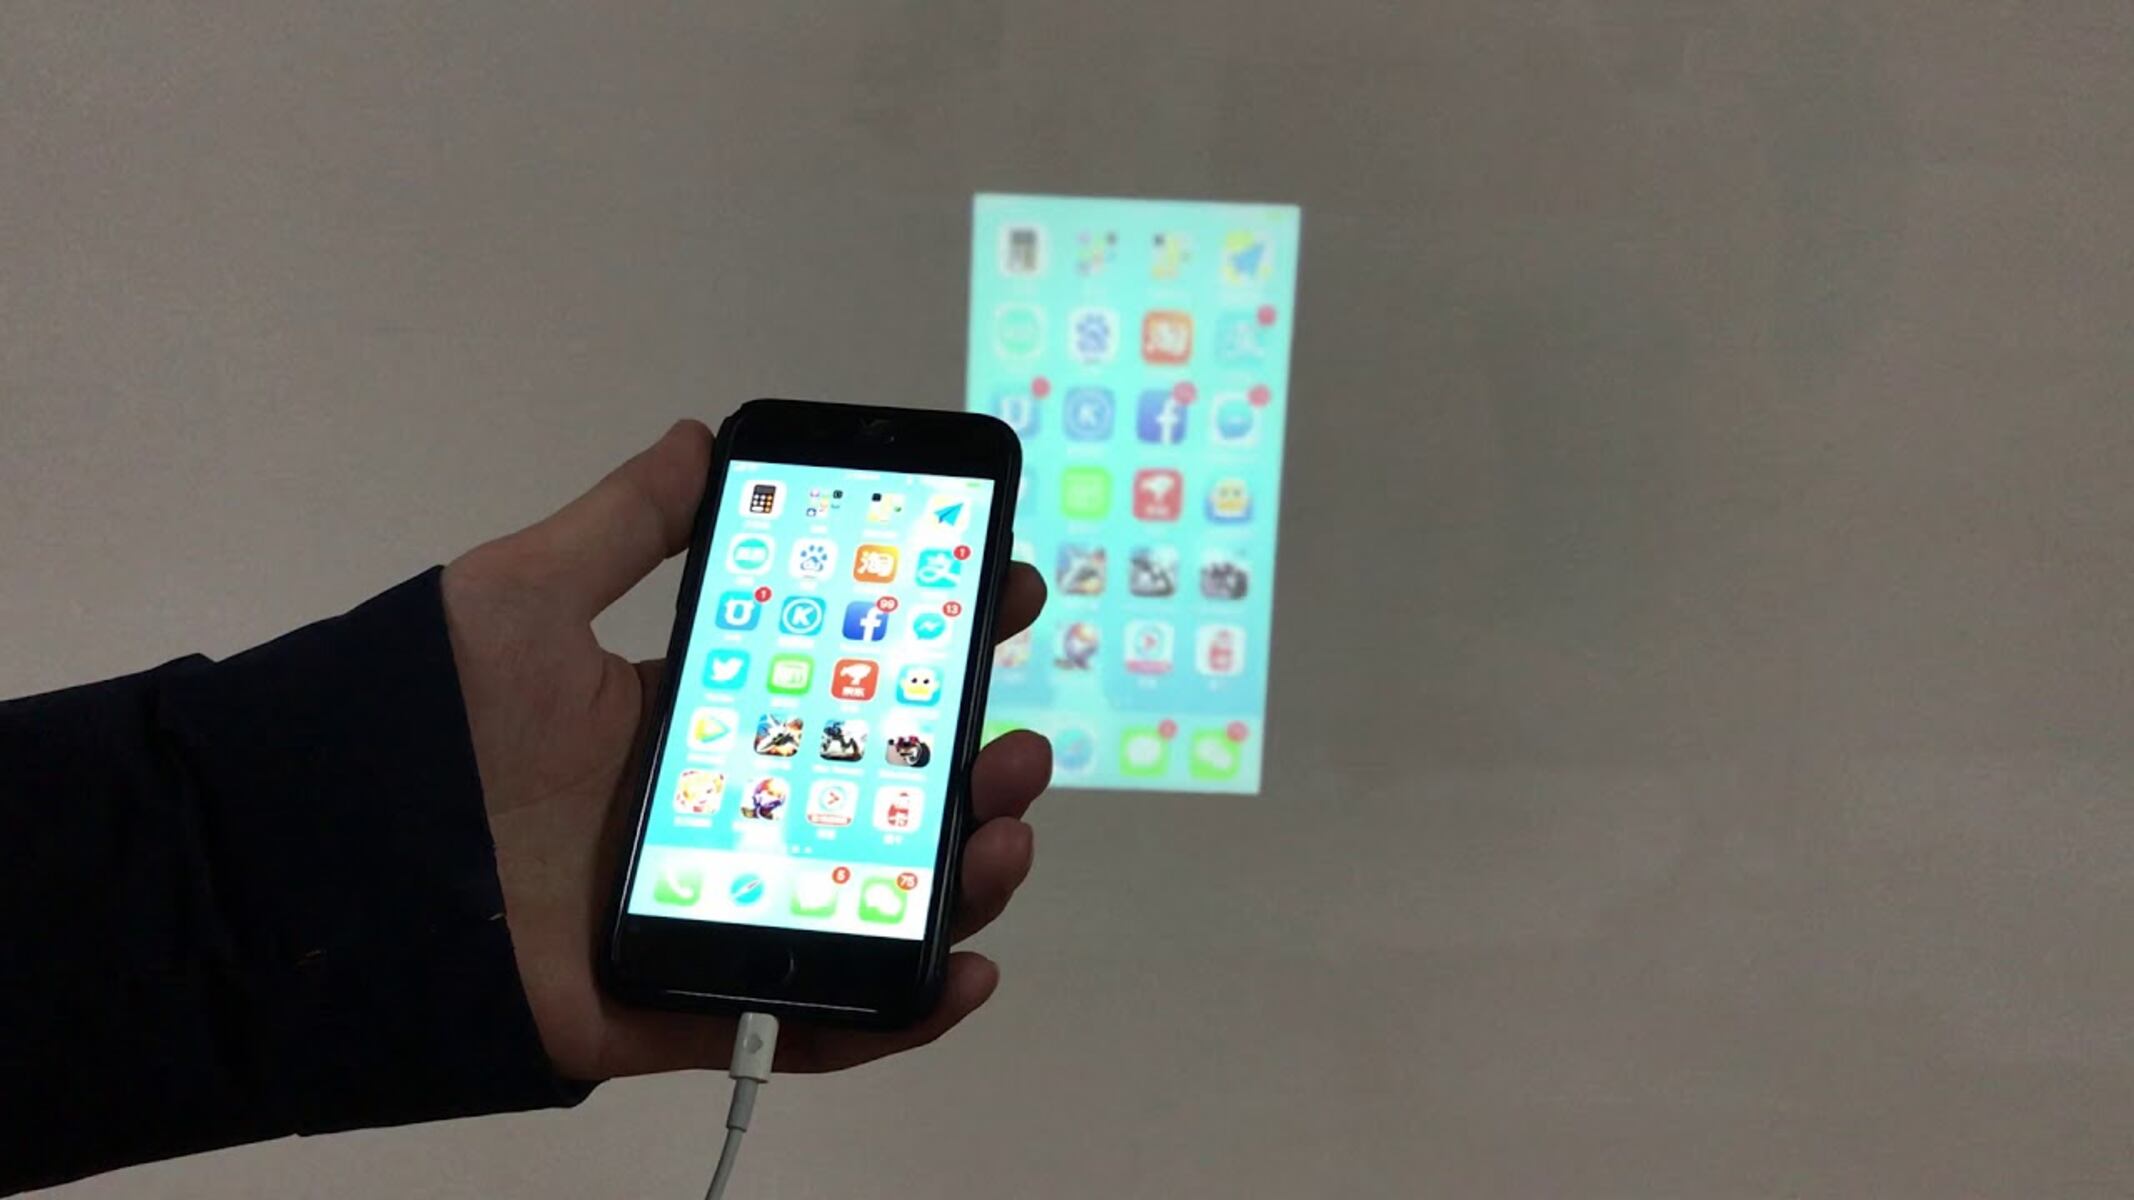
Screen mirroring is a convenient method to make your projector screen bigger by wirelessly displaying the content from your mobile devices or computers onto the projector. This allows you to expand the screen size beyond the limitations of the built-in display on your device. Here are some considerations for utilizing screen mirroring.
Start by checking if your projector supports screen mirroring. Many modern projectors come with built-in Wi-Fi or have HDMI connectivity options that support screen mirroring. Consult the user manual or specifications of your projector to confirm its compatibility.
Next, ensure that your mobile device or computer supports screen mirroring. Most smartphones, tablets, and laptops offer screen mirroring capabilities through technologies like AirPlay (for Apple devices), Miracast (for Windows devices), or Chromecast (for Android devices).
Connect your mobile device or computer to the same Wi-Fi network as the projector. This is essential for establishing a strong and stable connection for screen mirroring.
Activate the screen mirroring feature on your mobile device or computer. This process may vary depending on the device and operating system you are using. In most cases, you’ll find the screen mirroring option in the settings menu or control center of your device.
Once you’ve activated screen mirroring on your device, select the projector as the screen mirroring destination. This can be done by selecting the projector’s name or IP address from the available devices list on your device.
Ensure that the projected image is properly aligned and scaled on the projector screen. Adjust the screen resolution settings on your device if necessary to match the screen size and aspect ratio of the projector.
Take advantage of the features and capabilities offered by screen mirroring applications or software. For example, you may have options to extend the desktop, duplicate the screen, or share specific applications or content with the audience.
Keep in mind that screen mirroring may introduce some latency or lag, depending on your network connection and the performance of your device. However, this is generally not a significant problem for watching videos, giving presentations, or showcasing images.
Finally, ensure that the audio is routed correctly. Some devices may automatically route audio to the projector when using screen mirroring, while others may require manual adjustments in the audio settings.
By utilizing screen mirroring, you can increase the screen size by wirelessly displaying the content from your mobile devices or computers onto the projector. Just make sure your projector and device are compatible, are connected to the same Wi-Fi network, and adjust the settings as needed to achieve the desired screen size and viewing experience.
Enhancing Screen Size with Screen Material
If you want to enhance the screen size of your projector, choosing the right screen material can make a significant difference in the overall viewing experience. The screen material directly affects the brightness, contrast, and color reproduction of the projected image. Here are some considerations for enhancing screen size with screen material.
Consider the gain of the screen material. Gain refers to the reflectivity of the screen. A higher gain value indicates a more reflective surface, enhancing brightness and ensuring that the image can be seen from various seating positions. However, keep in mind that higher gain screens may have a narrower viewing angle.
Think about the ambient light conditions in your viewing area. If there are windows or other light sources that cannot be controlled, opting for a screen material with a higher gain can help combat image washout caused by ambient light. On the other hand, if you have a dedicated theater room, a lower gain screen may provide a more balanced image and better viewing experience.
Consider the screen material’s color representation. White screens offer neutral color reproduction, while grey screens enhance contrast and black levels. The choice between white and grey screens depends on the specific requirements of your viewing environment and personal preferences.
Evaluate the viewing angle of the screen material. A wider viewing angle ensures that the image remains clear and vibrant from various seating positions. Look for screen materials that offer a wide viewing angle to accommodate all viewers in the room.
Take into account the resolution of your projector. Higher resolution projectors, such as Full HD (1080p) or 4K, require a screen material that can display the increased level of detail and sharpness. Make sure the screen material is capable of delivering the desired image quality.
Consider the screen size and material compatibility. Some screen materials may have limitations in terms of their maximum size or the type of mounting and tensioning systems they require. Ensure that the chosen screen material is suitable for your desired screen size and installation method.
Look for screen materials that are easy to clean and maintain. Over time, screens can accumulate dust, fingerprints, or smudges, which can affect image quality. Choose a material that is resistant to stains and easy to clean without causing any damage.
Remember that the screen material is an integral part of the overall viewing experience. It can enhance the screen size by optimizing the brightness, contrast, color reproduction, and viewing angles of the projected image. Consider the gain, ambient light conditions, color representation, viewing angle, resolution compatibility, screen size, and maintenance requirements when selecting the screen material to enhance your screen size.
Conclusion
In conclusion, making your projector screen bigger can greatly enhance your viewing experience, whether you’re enjoying movies, playing games, or delivering presentations. By following the tips and techniques discussed in this article, you can achieve a larger screen size and create a more immersive and engaging visual experience.
Assessing the room setup is the first step in the process. Consider the dimensions, lighting conditions, acoustics, and aesthetic elements of the room to optimize the viewing experience.
Choosing the right projector is crucial. Consider the resolution, brightness, throw ratio, connectivity options, noise level, and longevity of the projector to find the perfect fit for your needs.
Selecting the perfect projector screen involves considering the screen size, aspect ratio, material, type, gain, viewing angle, and installation options. Finding the right screen will enhance image quality and overall immersion.
Utilizing projection mounts and stands allows you to adjust the projector’s position, height, and angle for optimal projection and screen size.
Proper projector distance and placement are essential for achieving a larger screen size. Consider the throw distance, seating distance, lens shift capabilities, height alignment, projection angle, and keystone correction for the best results.
Adjusting the projector’s aspect ratio ensures the correct image proportions and maximizes the screen size. Select the desired aspect ratio and make any necessary adjustments to achieve the desired viewing experience.
Utilizing screen mirroring technology allows you to wirelessly display content from your mobile devices or computers onto the projector, expanding the screen size beyond the limitations of your device’s built-in display.
Enhancing screen size with the right screen material involves considering factors such as gain, ambient light conditions, color representation, viewing angle, resolution compatibility, screen size, and maintenance requirements.
By combining these techniques and considerations, you can successfully make your projector screen bigger and create a more immersive and captivating visual experience. Take the time to assess your setup, choose the right equipment, and optimize the settings to maximize the potential of your projector and enjoy a larger screen size.