Introduction
Welcome to the world of Slack, a collaboration hub for teams that makes communication and collaboration effortless. As an administrator of a Slack workspace, you have the power to manage and streamline various aspects of your team’s experience. One crucial responsibility is granting admin privileges to members, allowing them to assist in managing and maintaining the workspace.
In this article, I will guide you through the process of making someone an admin on Slack, ensuring that you can delegate important tasks and increase the productivity of your team. Whether you have recently become an admin yourself or are looking to share the administrative duties with a trusted colleague, this step-by-step guide will help you navigate the process smoothly.
Before we delve into the details, it’s important to note that only owners and admins have the authority to make someone an admin. If you don’t have the necessary permissions, reach out to the appropriate authority in your organization.
Now, let’s dive into the steps required to make someone an admin on Slack.
Step 1: Accessing the Slack workspace
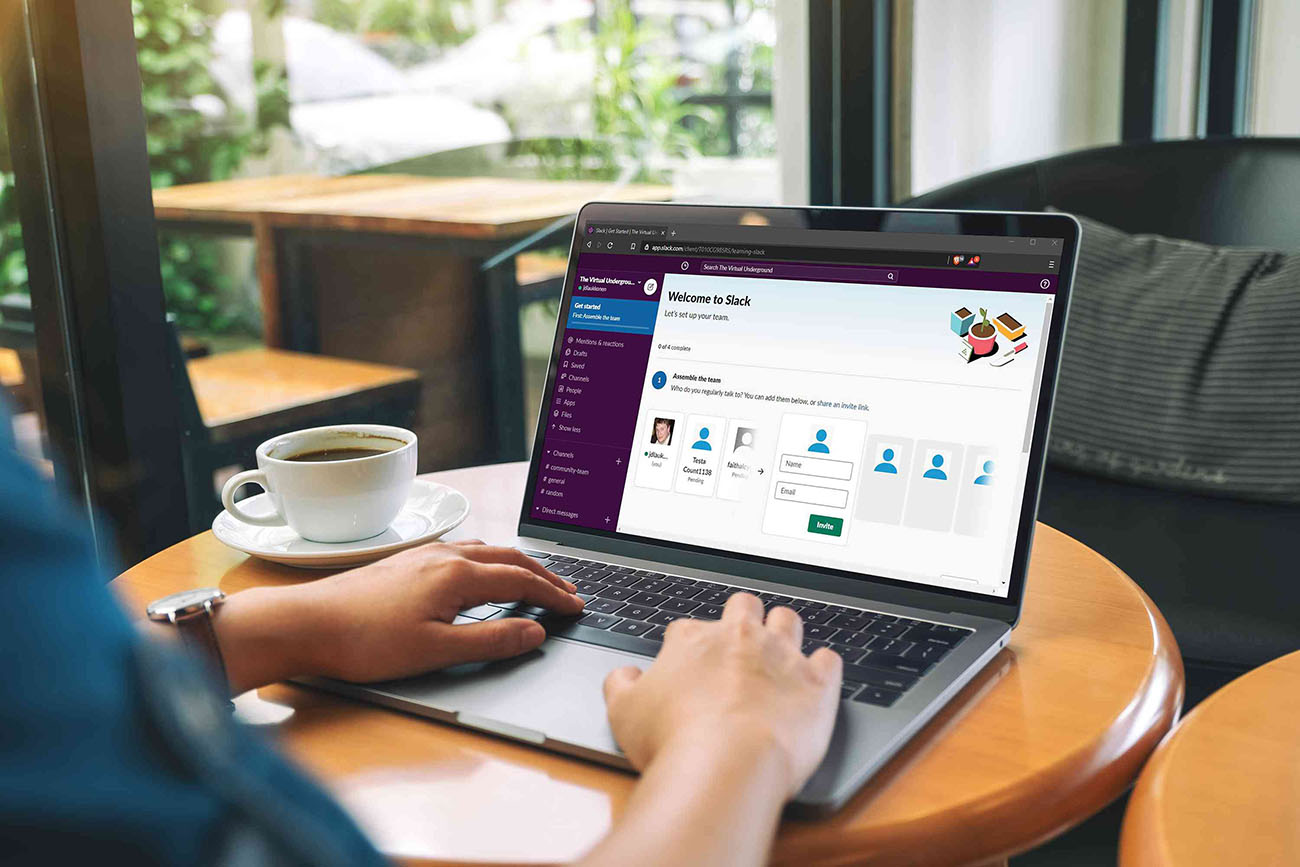
To begin, you’ll need to access your Slack workspace. Open your preferred web browser and navigate to the Slack website at slack.com. Once you reach the homepage, click on the “Sign In” button located at the top right corner of the screen.
If you’re already signed in to a Slack account, you will be directed to your workspace automatically. However, if you’re not logged in, enter your email address or username and password to access your workspace.
For added convenience, you can also download the Slack desktop or mobile app and sign in using your credentials. This allows you to access your workspace from your desktop, laptop, smartphone, or tablet, giving you flexibility and on-the-go access to Slack.
Once you’re signed in and have access to your Slack workspace, you’re ready to proceed to the next step.
Step 2: Go to the Admin panel
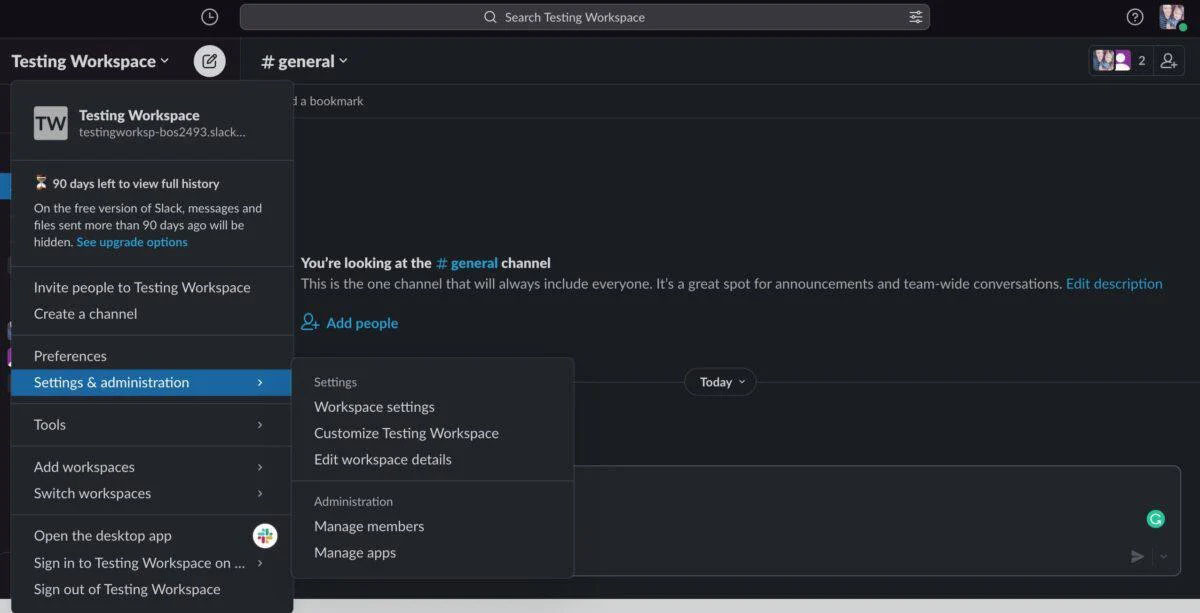
Now that you’re logged in to your Slack workspace, it’s time to navigate to the Admin panel. At the top left corner of the screen, you’ll find a workspace name followed by a dropdown arrow. Click on the dropdown arrow to reveal a menu of options.
Scroll down the menu and locate the “Administration” section. Click on the “Admin” option to access the Admin panel, where you can manage your workspace’s settings and permissions.
Alternatively, you can directly access the Admin panel by adding “/admin” to the end of your Slack workspace URL. For example, if your workspace URL is “https://yourworkspace.slack.com/”, you would enter “https://yourworkspace.slack.com/admin” in the address bar of your browser.
Upon accessing the Admin panel, you’ll see a range of options and settings that allow you to control various aspects of your workspace. Take a moment to familiarize yourself with the layout, as it will be your hub for making changes and assigning privileges to members.
With the Admin panel now open, you’re ready to move on to the next step and delve into the specific settings pertaining to member permissions.
Step 3: Click on “Settings & Permissions”
Within the Admin panel, you’ll find a sidebar on the left-hand side with a list of options. Locate and click on the “Settings & Permissions” tab, which will open a submenu with various configuration options.
Once you’re on the “Settings & Permissions” page, you’ll see a range of settings that you can customize to fit your workspace’s needs. These settings include general information about your workspace, user settings, channel settings, and more.
For the purpose of making someone an admin, we need to focus on the user settings. Look for the section labeled “User Management” or “User Settings” and click on it. This will open up a page dedicated to managing user roles and permissions.
Take a moment to explore the options and familiarize yourself with the different settings available. This will give you a better understanding of the flexibility and control you have over your workspace.
Now that you’ve reached the “Settings & Permissions” page and accessed the user settings, it’s time to proceed to the next step and select “Members & User Groups.”
Step 4: Select “Members & User Groups”
Within the user settings page of the “Settings & Permissions” section, you’ll find a list of categories related to managing users. Locate and click on the “Members & User Groups” tab.
By selecting “Members & User Groups,” you’ll be taken to a page where you can view and manage the members of your Slack workspace. This is where you can make someone an admin by assigning them the necessary user role.
On the Members & User Groups page, you’ll find a list of all the current members in your workspace. Scroll through the list to familiarize yourself with the existing members and their roles.
To make someone an admin, locate the member you wish to promote and click on their name to access their profile. This will open a detailed view of the member’s information and settings.
Now that you’ve selected “Members & User Groups” and accessed the profile of the member you want to make an admin, it’s time to proceed to the next step and assign them the admin privileges.
Step 5: Choose a member to make an admin
Within the profile view of the member you wish to make an admin, you’ll find an overview of their details and settings. Take a moment to review their information and ensure that you have selected the correct member.
Before proceeding, it’s important to note that not all members may be eligible to become admins. Only members who are currently owners or admins themselves can be assigned the admin role. Additionally, it’s essential to select a member whom you trust and who possesses the necessary skills and knowledge to handle administrative duties.
If the member meets the requirements and you’re confident in your choice, proceed to the next step of assigning the admin privileges.
However, if you’re unable to find the desired member in the list, you can invite them to join your Slack workspace. Click on the “Invite People” button located on the Members & User Groups page, and follow the prompts to invite the person via email.
Once the member is added to your workspace, you can then proceed to make them an admin using the steps outlined in this article.
Now that you’ve chosen the member you wish to make an admin, it’s time to move on to the next step and assign them the admin privileges within your Slack workspace.
Step 6: Assign admin privileges
Now that you’ve selected the member you want to make an admin, it’s time to assign them the necessary admin privileges. Within the profile view of the member, look for the option to change their user role or permissions.
In most cases, you’ll find a dropdown menu or a button labeled “Edit” or “Change Permissions.” Click on this option to access the settings that allow you to modify the member’s role.
Within the permissions settings, locate the option to change the member’s role to “Admin” or any equivalent role that grants administrative privileges. Select this option to assign the admin role to the chosen member.
It’s important to consider the specific permissions and responsibilities that come with the admin role. Generally, admins have the ability to manage users, channels, and other settings within the workspace. Ensure that the chosen member is aware of the additional responsibilities and has the necessary skills to fulfill them.
After selecting the admin role for the member, save or apply the changes to finalize the assignment of admin privileges.
Congratulations! You have successfully assigned admin privileges to the selected member within your Slack workspace. They will now have the necessary access and capabilities to assist in managing and maintaining the workspace.
Now that you’ve assigned the admin privileges, it’s important to confirm and communicate the changes to the member. In the next step, we will discuss how to notify the new admin of their upgraded role.
Step 7: Confirm changes
Once you have assigned admin privileges to the member, it’s crucial to confirm that the changes have been applied successfully. To do this, navigate back to the “Members & User Groups” page within the Admin panel.
On this page, you’ll see the updated list of members, including their roles and permissions. Locate the member you just made an admin and verify that their role has been changed to reflect the new administrative privileges.
If the member’s role has been updated accordingly, you can be confident that the changes have been successfully applied. The new admin will now have access to the additional features and capabilities available to them.
However, if the member’s role has not been updated, double-check that you followed the correct steps and saved the changes properly. In case the issue persists, try refreshing the page or logging out and back in again to ensure that the changes are reflected accurately.
Confirming that the changes have been made successfully not only gives you peace of mind but also ensures that the member has the necessary access and privileges to fulfill their administrative responsibilities.
Now that you have confirmed the changes, let’s move on to the next step and discuss the importance of notifying the new admin of their upgraded role.
Step 8: Notify the new admin
After successfully assigning admin privileges to the member, it’s crucial to notify them of their upgraded role. Communication is key to ensure that the new admin is aware of their responsibilities and can effectively carry out their duties.
Start by reaching out to the new admin personally, either via Slack direct message, email, or any preferred communication channel. Congratulate them on their new role and provide a brief overview of what it entails.
Explain the specific permissions and capabilities they now have as an admin. Highlight any important tasks or areas they will be responsible for, such as managing users, creating and moderating channels, and configuring workspace settings.
Offer any relevant resources or documentation that can help them familiarize themselves with the administrative responsibilities. This may include links to Slack’s official documentation, training materials, or any internal resources specific to your organization.
Encourage the new admin to ask questions and seek guidance if needed. Let them know that you and other members of the team are there to support them in their new role.
Additionally, consider announcing the new admin to the entire team. This can be done through a dedicated channel or a company-wide announcement. Recognize their contributions and assure everyone that the member is now a trusted point of contact for any administrative matters.
By notifying the new admin and providing them with the necessary information and support, you set them up for success in their role. This ensures a smooth transition and allows them to effectively contribute to the management and maintenance of the Slack workspace.
Congratulations! You have not only made someone an admin on Slack but also taken the necessary steps to ensure their awareness and preparedness in their new role.
You’re now ready to embrace the benefits of having an additional admin on your Slack workspace, which will contribute to a more efficient and organized collaboration environment for your team.
Conclusion
Assigning admin privileges on Slack is a straightforward process that allows you to delegate responsibilities and improve the management of your workspace. By following the steps outlined in this guide, you can easily make someone an admin and empower them to assist in the day-to-day operations of your Slack workspace.
Remember, it’s crucial to choose a member who is trustworthy and possesses the necessary skills to handle administrative duties. Take the time to communicate with the new admin, providing them with the information and resources they need to excel in their role.
Having multiple admins can significantly enhance your team’s efficiency. It allows for better collaboration and ensures that administrative tasks are not solely reliant on one person. With the right team in place, you can collectively contribute to the smooth functioning of your Slack workspace.
As an administrator, it’s important to stay up-to-date with Slack’s latest features and updates. Slack offers various resources and support for admins to help them navigate and optimize their workspace. Make use of these resources to continuously enhance the collaboration experience for your team.
By effectively managing your Slack workspace and delegating administrative responsibilities, you can create a productive and efficient environment that encourages effective communication and collaboration among team members.
So, why wait? Start making someone an admin on Slack today and unlock the full potential of your team’s collaboration experience.