Introduction
Subtitles are a crucial component of videos, providing valuable information and improving accessibility for viewers. However, sometimes the default subtitle size may not be large enough for everyone to read comfortably. If you’re using Peacock, a popular video player, you’re in luck! In this article, we’ll guide you through the step-by-step process of making subtitles bigger in Peacock, ensuring an optimal viewing experience.
Having readable subtitles is vital, especially for individuals with visual impairments or those watching videos on small screens. By increasing the subtitle size, you can make the text more legible, allowing everyone to enjoy your videos without any difficulties.
We understand that navigating through the settings of a video player can sometimes be overwhelming, but fear not! We’ve broken down the process into manageable steps and will walk you through each one, ensuring that you can easily adjust the subtitle size to your liking.
Whether you’re a content creator striving to provide a better user experience or simply an avid viewer who wants to enhance their enjoyment, this guide will help you achieve your goal.
Now, without further ado, let’s dive into the steps required to make subtitles bigger in Peacock!
Step 1: Understand the Need for Bigger Subtitles
Before we start adjusting the subtitle size in Peacock, it’s important to understand why increasing the size of subtitles can be beneficial.
Firstly, larger subtitles improve accessibility for individuals with visual impairments. People with poor eyesight or other visual challenges may struggle to read small text, making it challenging for them to follow along with the video content. By increasing the subtitle size, you make it easier for these individuals to enjoy your videos and understand the dialogue or captions.
Secondly, smaller screens, such as those found on smartphones or tablets, can often make subtitles difficult to read. The limited screen real estate may shrink the text size, causing strain on the viewer’s eyes. By making the subtitles bigger, you account for these smaller screens and create a more comfortable viewing experience for your audience.
Additionally, increasing the subtitle size can be helpful in noisy or distracting environments. Whether you’re watching a video in a crowded coffee shop or during a commute, larger subtitles make it easier to focus on the dialogue without straining to read the text.
Finally, some viewers simply prefer larger subtitles. Whether they have perfect vision or not, larger text can enhance the overall viewing experience by making the subtitles more noticeable and prominent.
Understanding the need for bigger subtitles highlights the importance of making adjustments in Peacock, ensuring that your videos are accessible to a wider audience and providing an improved viewing experience for all.
Now that we recognize the significance of increasing subtitle size, let’s move on to the next step: adjusting the font size in Peacock.
Step 2: Adjust the Font Size in Peacock
Now that we understand the importance of larger subtitles, let’s dive into how to adjust the font size in Peacock.
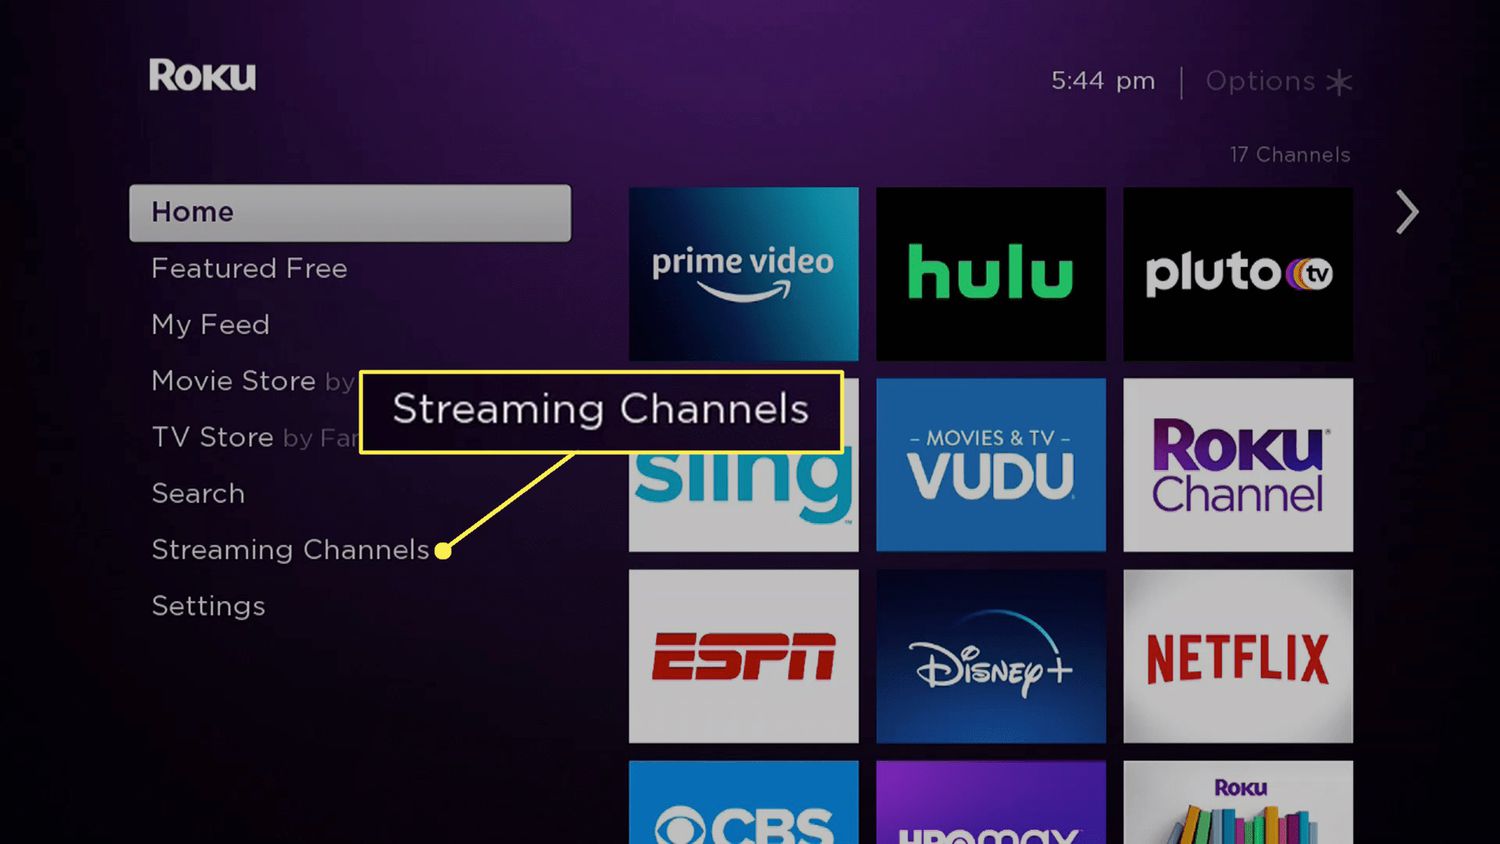
To begin, open Peacock and navigate to the settings menu. The exact location of the settings may vary depending on the platform you’re using, but it is typically found in the options or preferences section.
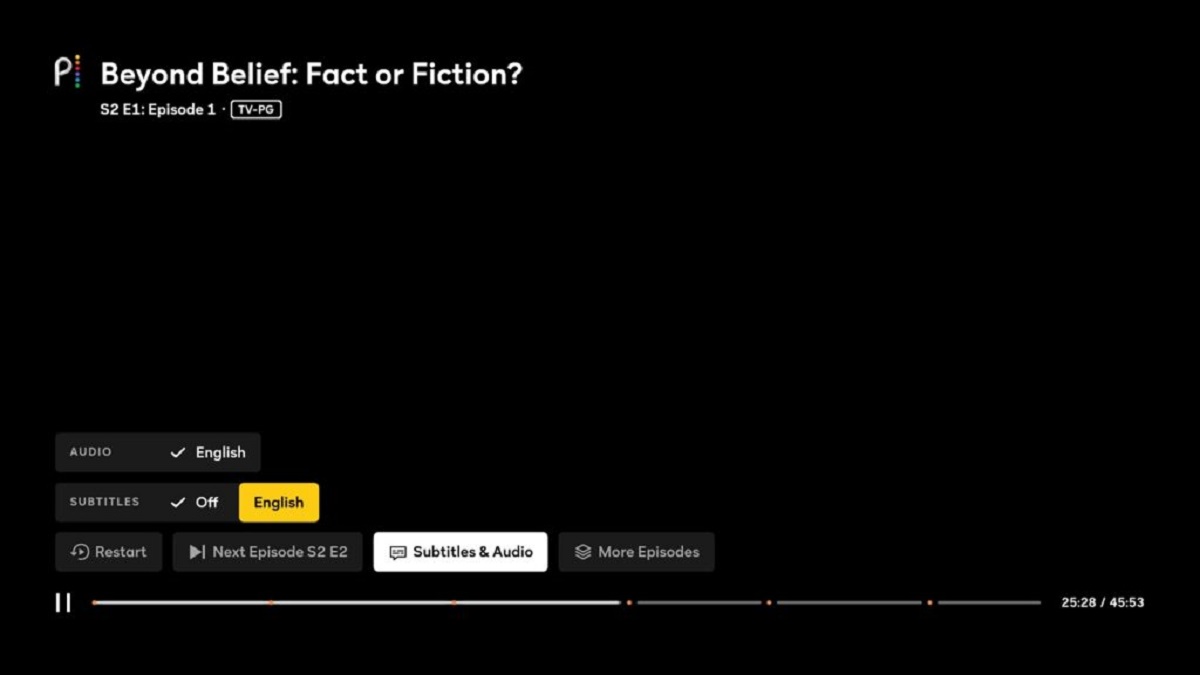
Once you’re in the settings menu, look for the subtitle settings. This could be labeled as “subtitles,” “captions,” or “closed captions.” Click on this option to access the subtitle customization panel.
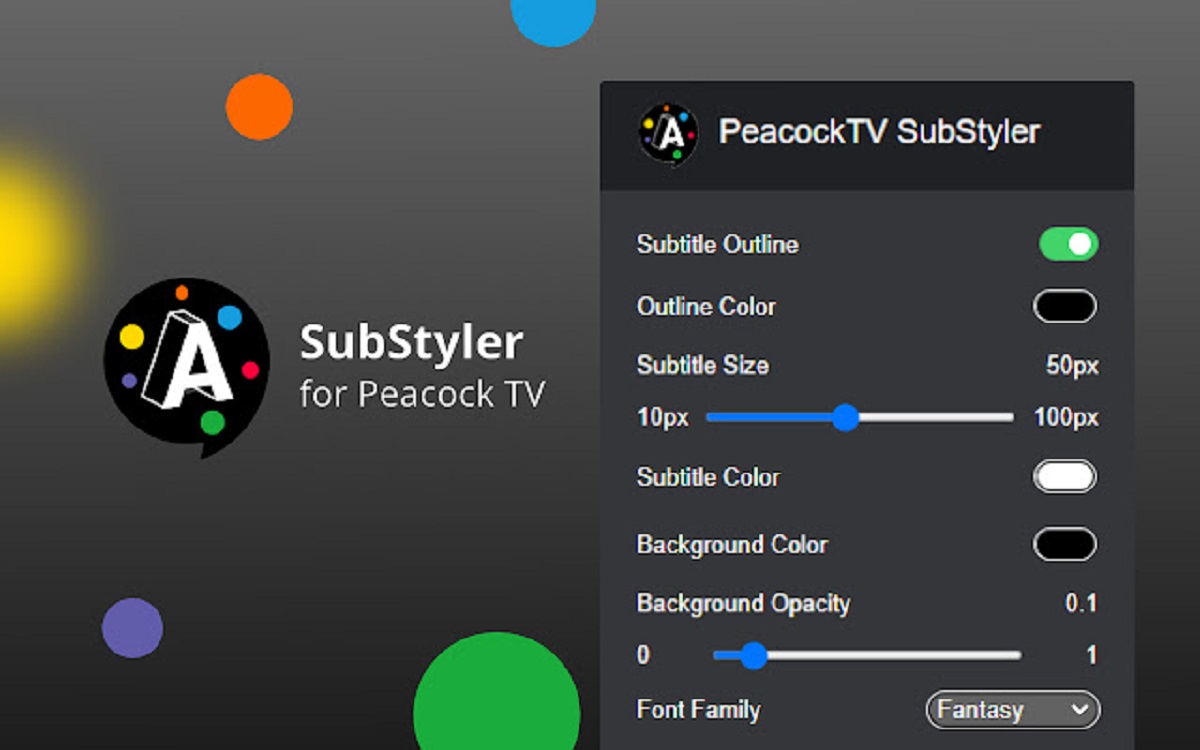
Within the subtitle customization panel, you should see various options to modify the appearance and style of the subtitles, including the font size. Locate the “Font Size” or “Text Size” option and adjust it to the desired value. Peacock usually provides a range of size options, allowing you to choose the most comfortable font size for your needs.
While adjusting the font size, it’s essential to maintain legibility. Make sure that the subtitles are large enough to read comfortably without appearing too oversized or obstructing the video content.
Once you’ve selected the desired font size, take a moment to preview the changes in the video player. This allows you to ensure that the adjusted subtitle size meets your requirements and enhances the overall viewing experience.
Remember, the font size settings may differ for each video you play, depending on the available settings provided by the content provider. Therefore, it’s recommended to check the subtitle customization panel before starting a new video to ensure the font size remains consistent.
With the font size adjustment complete, you’ve successfully made the subtitles bigger in Peacock! Now, let’s move on to the next step: customizing the font type.
Step 3: Customizing the Font Type
In addition to adjusting the font size, customizing the font type can further improve the readability and aesthetics of subtitles in Peacock. This step allows you to personalize the appearance of the subtitles according to your preferences or the specific content you’re watching.
To customize the font type in Peacock, follow these simple steps:
1. Access the subtitle customization panel in Peacock. This is typically found in the settings menu, labeled as “subtitles,” “captions,” or “closed captions.”
2. Look for the “Font Type” or “Text Style” option. This allows you to select the font face or style for the subtitles.
3. Peacock usually provides a list of pre-installed fonts to choose from. These fonts may include popular options like Arial, Helvetica, Times New Roman, or specific fonts designed for improved readability on screens.
4. Select the font type that suits your preferences and enhances the visual appeal of the subtitles. Consider factors such as readability, style, and compatibility with different screen sizes and devices.
5. Once you’ve made your selection, take a moment to preview the changes in the video player. This helps ensure that the customized font type complements the content and is easy to read.
When customizing the font type, it’s important to strike a balance between personal preference and practicality. Choose a font that is legible and clear, avoiding overly decorative or elaborate options that may hinder readability.
Remember that the font type customization may vary depending on the video and content provider. Some videos may have a specific font assigned by the content creator, preventing customization at the user level. In such cases, the available font options may be limited.
By customizing the font type in Peacock, you can add a personal touch to your viewing experience and ensure that subtitles are visually appealing and easy to read.
With the font size and font type adjustments complete, you’re well on your way to enhancing the subtitle experience in Peacock. Next, we’ll explore how to modify the subtitle color.
Step 4: Modifying the Subtitle Color
Modifying the subtitle color in Peacock can significantly impact the visibility and aesthetics of subtitles. In this step, we’ll explore how you can customize the color of the subtitles to suit your preferences and improve the overall viewing experience.
To modify the subtitle color in Peacock, follow these straightforward steps:
1. Open Peacock and navigate to the settings menu. Look for the “subtitle settings” or similar option, usually found in the preferences or options section.
2. Within the subtitle customization panel, you should find the option to adjust the subtitle color. This might be labeled as “font color,” “text color,” or “caption color.”
3. Peacock typically provides a range of color options to choose from. These options may include predefined color schemes or a color picker tool that allows you to choose a custom color.
4. Select a color that offers excellent contrast with the video content, making the subtitles easily distinguishable and readable. It’s essential to choose a color that stands out without clashing or blending into the background of the video.
5. After selecting the desired color, take a moment to preview the changes in the video player. This allows you to verify that the new subtitle color enhances the visibility and does not compromise the viewing experience.
When modifying the subtitle color, consider the overall theme and mood of the content. For example, if you’re watching a dark and intense scene, a light-colored subtitle may be more suitable for better readability. Similarly, bright subtitles can be more visible against a dark background.
It’s crucial to ensure that the chosen subtitle color remains legible throughout the video, even during scenes with varying lighting or color contrasts. This helps maintain clear communication and prevents any confusion or frustration for the viewers.
Keep in mind that the available subtitle color options may vary depending on the video and content provider. Some videos may have specific color settings chosen by the content creator, limiting customization at the user level.
By modifying the subtitle color in Peacock, you can add a touch of personalization to your viewing experience and optimize subtitle visibility.
With the font size, font type, and subtitle color adjustments completed, we’re nearing the end of the customization process. Let’s move on to the final step: saving and applying the changes.
Step 5: Saving and Applying the Changes
After making the desired adjustments to the subtitle size, font type, and color in Peacock, it’s important to save and apply these changes to ensure they are implemented consistently for your future viewing sessions.
Follow these final steps to save and apply the changes you’ve made:
1. Once you’re satisfied with the font size, font type, and subtitle color modifications, navigate to the settings or preferences menu in Peacock.
2. Look for an option such as “Save settings,” “Apply changes,” or “Update preferences.” Click on this option to save your customized subtitle settings.
3. After saving the changes, exit the settings menu to return to the video playback screen. Check if your modifications are visible and meet your expectations.
4. Play a video to ensure that the subtitle adjustments are applied correctly. Verify that the subtitles now appear with the chosen font size, font type, and color preferences.
5. If you encounter any issues or wish to make further adjustments, you can always revisit the subtitle settings in Peacock and make the necessary modifications. This allows you to tailor the subtitle experience according to your preferences and the specific requirements of different videos.
Remember that the saved subtitle settings are applied globally within Peacock, meaning the adjustments you made will be visible for all videos you play, unless overridden by specific settings within the video itself.
By saving and applying your changes, you ensure that the modifications you’ve made to the subtitle size, font type, and color persist for future use, providing a consistent and enhanced viewing experience within Peacock.
With these steps complete, you’ve successfully learned how to make subtitles bigger in Peacock and customize their font size, font type, and color. Enjoy your improved subtitle experience and happy viewing!
Conclusion
Adjusting the subtitle size, font type, and color in Peacock can greatly enhance the accessibility and visual appeal of subtitles, ensuring a more enjoyable viewing experience for all. By following the step-by-step process outlined in this guide, you can easily make subtitles bigger and customize their appearance according to your preferences.
Understanding the need for larger subtitles opened the door to improving accessibility for individuals with visual impairments and those watching videos on smaller screens. With the ability to adjust the font size, you can make subtitles more legible and comfortable to read, catering to a wider audience.
Customizing the font type adds a personalized touch to the subtitles, allowing you to choose a style that best suits your preferences and complements the content you’re watching. Additionally, modifying the subtitle color ensures better visibility and readability, even in varying lighting or contrasting scenes.
By saving and applying the changes you’ve made to the subtitle settings, you ensure consistency in your future viewing sessions, making it easier to enjoy videos with subtitles that meet your specifications.
Remember, the usability and effectiveness of subtitles rely on finding the right balance between personalization and practicality. It’s crucial to prioritize legibility, readability, and contrast to ensure a comfortable and accessible subtitle experience.
Now that you’re equipped with the knowledge to adjust and customize subtitles in Peacock, you can provide an improved viewing experience for yourself and others. Whether you’re a content creator striving for inclusivity or an avid viewer craving a more comfortable experience, these steps empower you to make subtitles bigger and enhance their appearance in Peacock.
So, go ahead and start exploring the subtitle customization options in Peacock. Embrace the power of bigger subtitles and enjoy a more immersive and enjoyable video watching experience!