Introduction
Welcome to the world of Peacock on Apple TV! In this guide, we will show you how to add the Peacock app to your Apple TV so you can enjoy a wide range of TV shows, movies, and exclusive content. Whether you’re a fan of hit NBC shows, classic films, or original Peacock series, this step-by-step tutorial will help you get started.
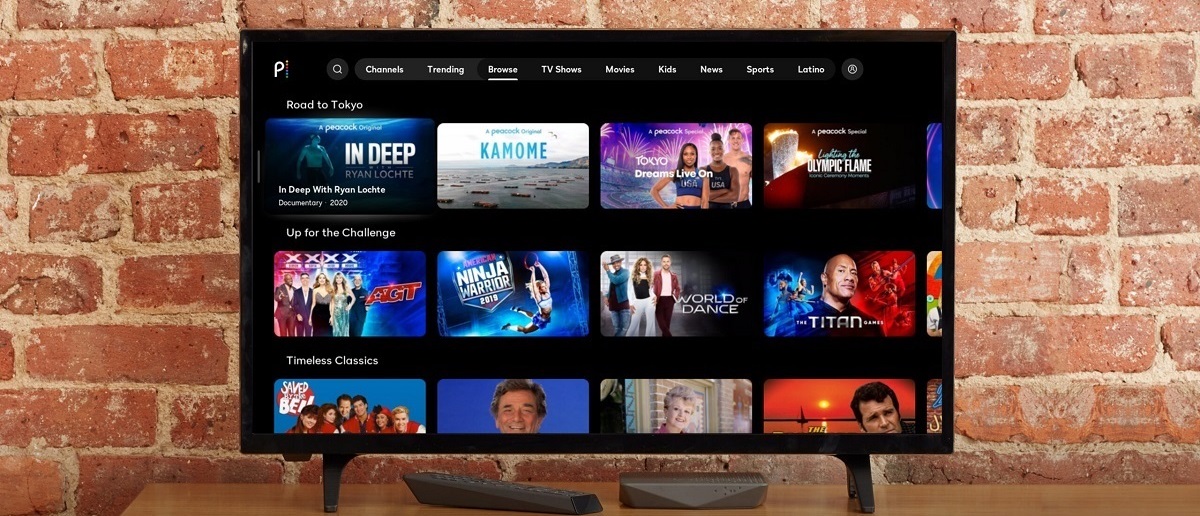
Peacock is a popular streaming service that offers a vast library of entertainment options. From beloved sitcoms like The Office and Parks and Recreation to blockbuster movies and live sports, Peacock has something for everyone. By adding the Peacock app to your Apple TV, you’ll have access to an extensive collection of content that you can enjoy from the comfort of your own home.
Before we dive into the steps, it’s important to note that your Apple TV must meet certain requirements to be compatible with the Peacock app. Make sure you have the necessary software version and a stable internet connection to ensure a smooth streaming experience.
This guide will walk you through each step, from checking compatibility to customizing your viewing preferences, so you can start streaming Peacock on your Apple TV in no time.
Step 1: Check Compatibility
Before you can begin streaming Peacock on your Apple TV, it’s important to ensure that your device meets the compatibility requirements. Follow these simple steps to check if your Apple TV is compatible:
- Make sure your Apple TV is a 4th generation or later model. The Peacock app is only available on these newer models.
- Ensure that your Apple TV is running the latest software version. Go to the Settings menu and select “System” to check for any available updates. If an update is available, follow the prompts to install it.
- Connect your Apple TV to a stable internet connection. Peacock requires a minimum internet speed of 3 Mbps for SD streaming and 5 Mbps for HD streaming. For the best experience, a high-speed internet connection is recommended.
By completing these compatibility checks, you’ll ensure that your Apple TV is ready to support the Peacock app. If you meet all the requirements, you’re ready to move on to the next step and start enjoying your favorite content.
Step 2: Update the Apple TV Software
In order to add the Peacock app to your Apple TV, it’s important to ensure that your device is running the latest software version. Updating the software is a straightforward process, and here’s how you can do it:
- On your Apple TV, navigate to the Settings menu and select “System”.
- Within the System menu, click on “Software Updates”.
- If an update is available, you will see the option to “Update Software”. Click on it to start the update process.
- Wait for the update to download and install. This may take a few minutes, so be patient.
- Once the update is complete, your Apple TV will restart, and you’ll be running the latest software version.
Updating the software on your Apple TV ensures that you have the latest features, bug fixes, and security enhancements which can improve the overall performance of the device. Additionally, it helps ensure compatibility with the Peacock app.
After updating the software, proceed to the next step to download the Peacock app onto your Apple TV.
Step 3: Download the Peacock App
Now that you have updated your Apple TV software, it’s time to download the Peacock app. Follow these simple steps to get started:
- On your Apple TV home screen, navigate to the App Store icon and select it.
- In the App Store, use the search feature to find the Peacock app. You can either type “Peacock” in the search bar or use the voice search functionality by holding down the Siri button on your Apple TV remote and saying “Peacock”.
- Once you find the Peacock app, select it to view the app details page.
- On the app details page, click the “Get” or “Download” button to initiate the download and installation process.
- Wait for the app to finish downloading and installing on your Apple TV. The progress will be indicated by a loading bar.
- Once the installation is complete, the Peacock app will appear on your Apple TV home screen.
With the Peacock app successfully downloaded and installed, you’re one step closer to enjoying all the exciting content it has to offer. In the next step, you’ll need to sign in to your Peacock account to unlock access to the full library.
Step 4: Sign in to Your Peacock Account
After downloading the Peacock app on your Apple TV, the next step is to sign in to your Peacock account. If you already have a Peacock account, follow these steps to sign in:
- Launch the Peacock app from your Apple TV home screen.
- On the Peacock app homepage, click on the “Sign In” or “Account” button.
- A sign-in screen will appear. Using your Apple TV remote, navigate through the on-screen keyboard to enter your email address and password associated with your Peacock account. If you have an iPhone or iPad, you can also use the Peacock app on your mobile device to sign in and enter the activation code shown on your Apple TV.
- Once you’ve entered your credentials, click on the “Sign In” button.
- If the login information is correct, you will be successfully signed in to your Peacock account and have access to the full range of content.
If you don’t have a Peacock account yet, you can create one directly within the app by following the prompts to sign up. Simply provide the required information, such as your email address and password, and you’ll soon have your own Peacock account.
Signing in to your Peacock account on Apple TV ensures that your viewing preferences, watch history, and personalized recommendations carry over across different devices. Now that you’re signed in, it’s time to customize your viewing preferences in the next step.
Step 5: Customize Your Viewing Preferences
Now that you’re signed in to your Peacock account on your Apple TV, it’s time to customize your viewing preferences. By personalizing your Peacock experience, you can get recommendations tailored to your interests and discover new content you’ll love. Follow these steps to customize your viewing preferences:
- Open the Peacock app on your Apple TV.
- Navigate to the settings or account section of the app.
- Look for the “Preferences” or “Settings” option and select it.
- Within the preferences menu, you can modify various settings, such as language preference, closed captioning, and parental controls.
- Take some time to explore the available options and adjust them according to your preferences.
- For personalized recommendations, consider rating the content you watch by using the thumbs-up or thumbs-down buttons. This feedback helps Peacock better understand your preferences and refine its recommendations.
Customizing your viewing preferences allows you to tailor your Peacock experience to your liking. Whether you prefer a specific language for subtitles, want to set up parental controls to restrict certain content, or simply want to receive personalized recommendations, tweaking these settings will enhance your Peacock streaming experience.
Now that you’ve set up your viewing preferences, it’s time to start streaming Peacock on your Apple TV. Let’s move on to the next step!
Step 6: Start Streaming Peacock on Apple TV
Congratulations! You’ve reached the final step of adding Peacock to your Apple TV. Now it’s time to start streaming all the exciting content Peacock has to offer. Follow these simple steps to begin your Peacock streaming experience:
- Open the Peacock app on your Apple TV.
- Browse through the various categories, such as TV shows, movies, sports, and more, to find something that interests you.
- Use the Apple TV remote to select the content you want to watch.
- Enjoy your favorite shows, movies, and live sports events directly on your Apple TV.
- Use the playback controls on your Apple TV remote to pause, play, rewind, or fast forward as needed.
- Explore additional features of the Peacock app, such as creating playlists, accessing live channels, and viewing exclusive Peacock Originals.
With Peacock now installed on your Apple TV and your viewing preferences customized, you can dive into a vast library of content and enjoy hours of entertainment. From classic sitcoms to blockbuster movies and exclusive Peacock originals, there’s something for everyone to enjoy.
Remember, you can always go back to the Peacock app on your Apple TV to discover new content, catch up on your favorite shows, and explore recommended titles. With the convenience of streaming right on your Apple TV, you can enjoy Peacock’s extensive collection of entertainment from the comfort of your own home.
So grab some popcorn, get cozy on the couch, and start streaming Peacock on your Apple TV today!
Conclusion
Adding Peacock to your Apple TV is a simple and straightforward process that allows you to access a wide variety of TV shows, movies, and exclusive content. By following the steps outlined in this guide, you can easily set up Peacock on your Apple TV and start enjoying your favorite entertainment.
From checking compatibility to updating your Apple TV software, downloading the Peacock app, signing in to your account, customizing your viewing preferences, and finally, streaming Peacock content on your Apple TV, each step is crucial in ensuring a seamless and enjoyable experience.
Peacock offers a vast library of content, ranging from popular NBC shows and classic films to exclusive Peacock Originals. With the ability to personalize your viewing preferences, create playlists, and access live channels, Peacock provides endless entertainment options for every viewer’s taste.
So why wait? Follow the steps outlined above to add Peacock to your Apple TV and start exploring the diverse and exciting content available. Sit back, relax, and enjoy streaming your favorite shows and movies with Peacock on your Apple TV.
Get ready to immerse yourself in a world of entertainment right from your living room with Peacock on Apple TV!