Introduction
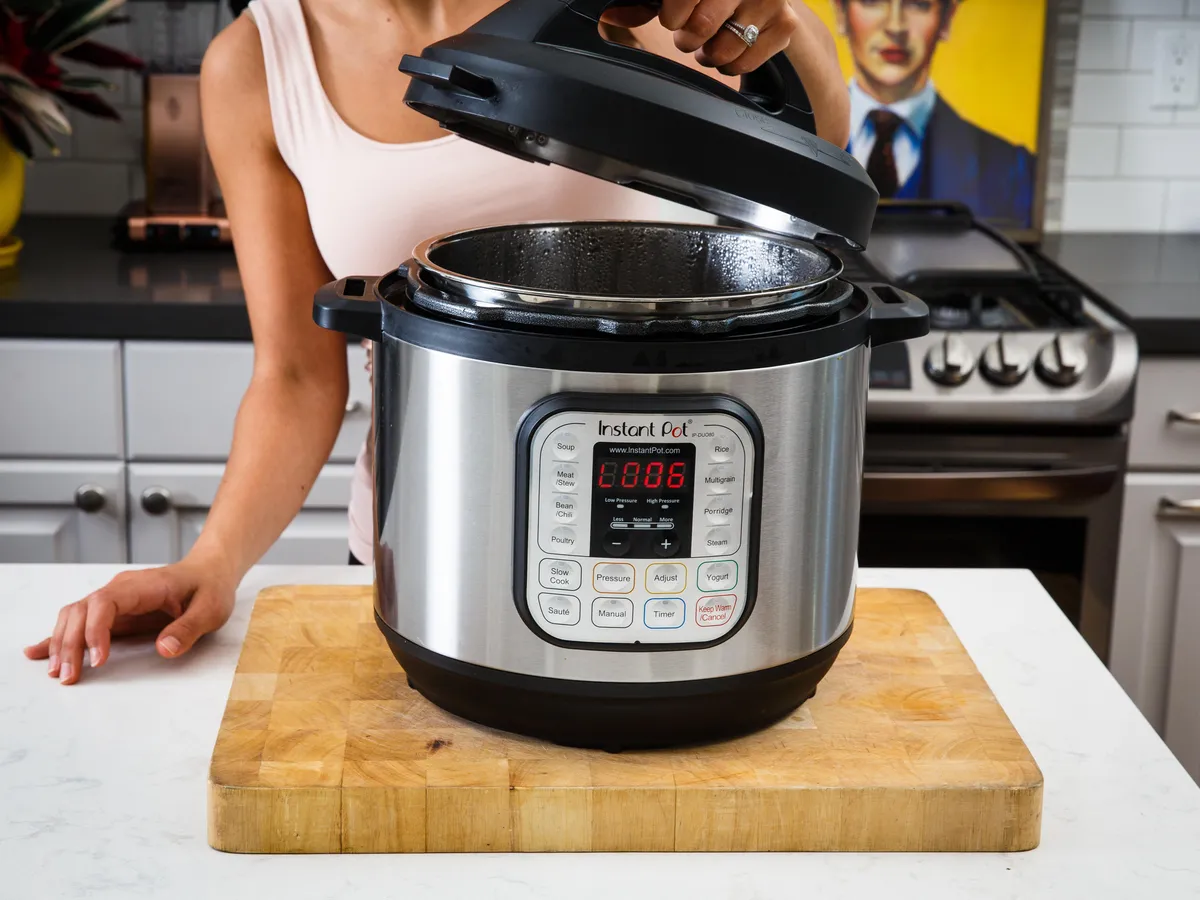
Welcome to this guide on how to make delicious oatmeal in an electric pressure cooker. Oatmeal is a nutritious and satisfying breakfast option that can be prepared quickly and easily using this handy kitchen appliance. Whether you’re a busy individual looking for a time-saving breakfast solution or simply want to enjoy a warm and comforting bowl of oatmeal, the electric pressure cooker is your secret weapon.
Oatmeal is a versatile grain that can be customized to suit your tastes and dietary preferences. It’s packed with fiber, protein, and essential vitamins and minerals, making it an excellent choice for starting your day on a healthy note. By using an electric pressure cooker, you can achieve perfectly cooked oatmeal with minimal effort and no risk of burning or sticking.
In this article, we’ll take you step-by-step through the process of making oatmeal in an electric pressure cooker. From measuring and rinsing the oats to setting the pressure cooker and cooking the oatmeal, we’ll cover all the necessary details to ensure a foolproof outcome. We’ll also discuss the different methods of releasing the pressure and some additional tips and variations for taking your oatmeal to the next level.
So, if you’re ready to transform your breakfast routine and enjoy a hearty bowl of oatmeal, let’s dive into the wonderful world of making oatmeal in an electric pressure cooker!
Ingredients and Equipment
Before we get started with the oatmeal-making process, let’s gather all the necessary ingredients and equipment.
Ingredients:
- 1 cup of rolled oats
- 2 cups of water or milk (dairy or plant-based)
- Pinch of salt (optional)
- Sweeteners and toppings of your choice (such as honey, maple syrup, fresh fruits, nuts, or seeds)
Equipment:
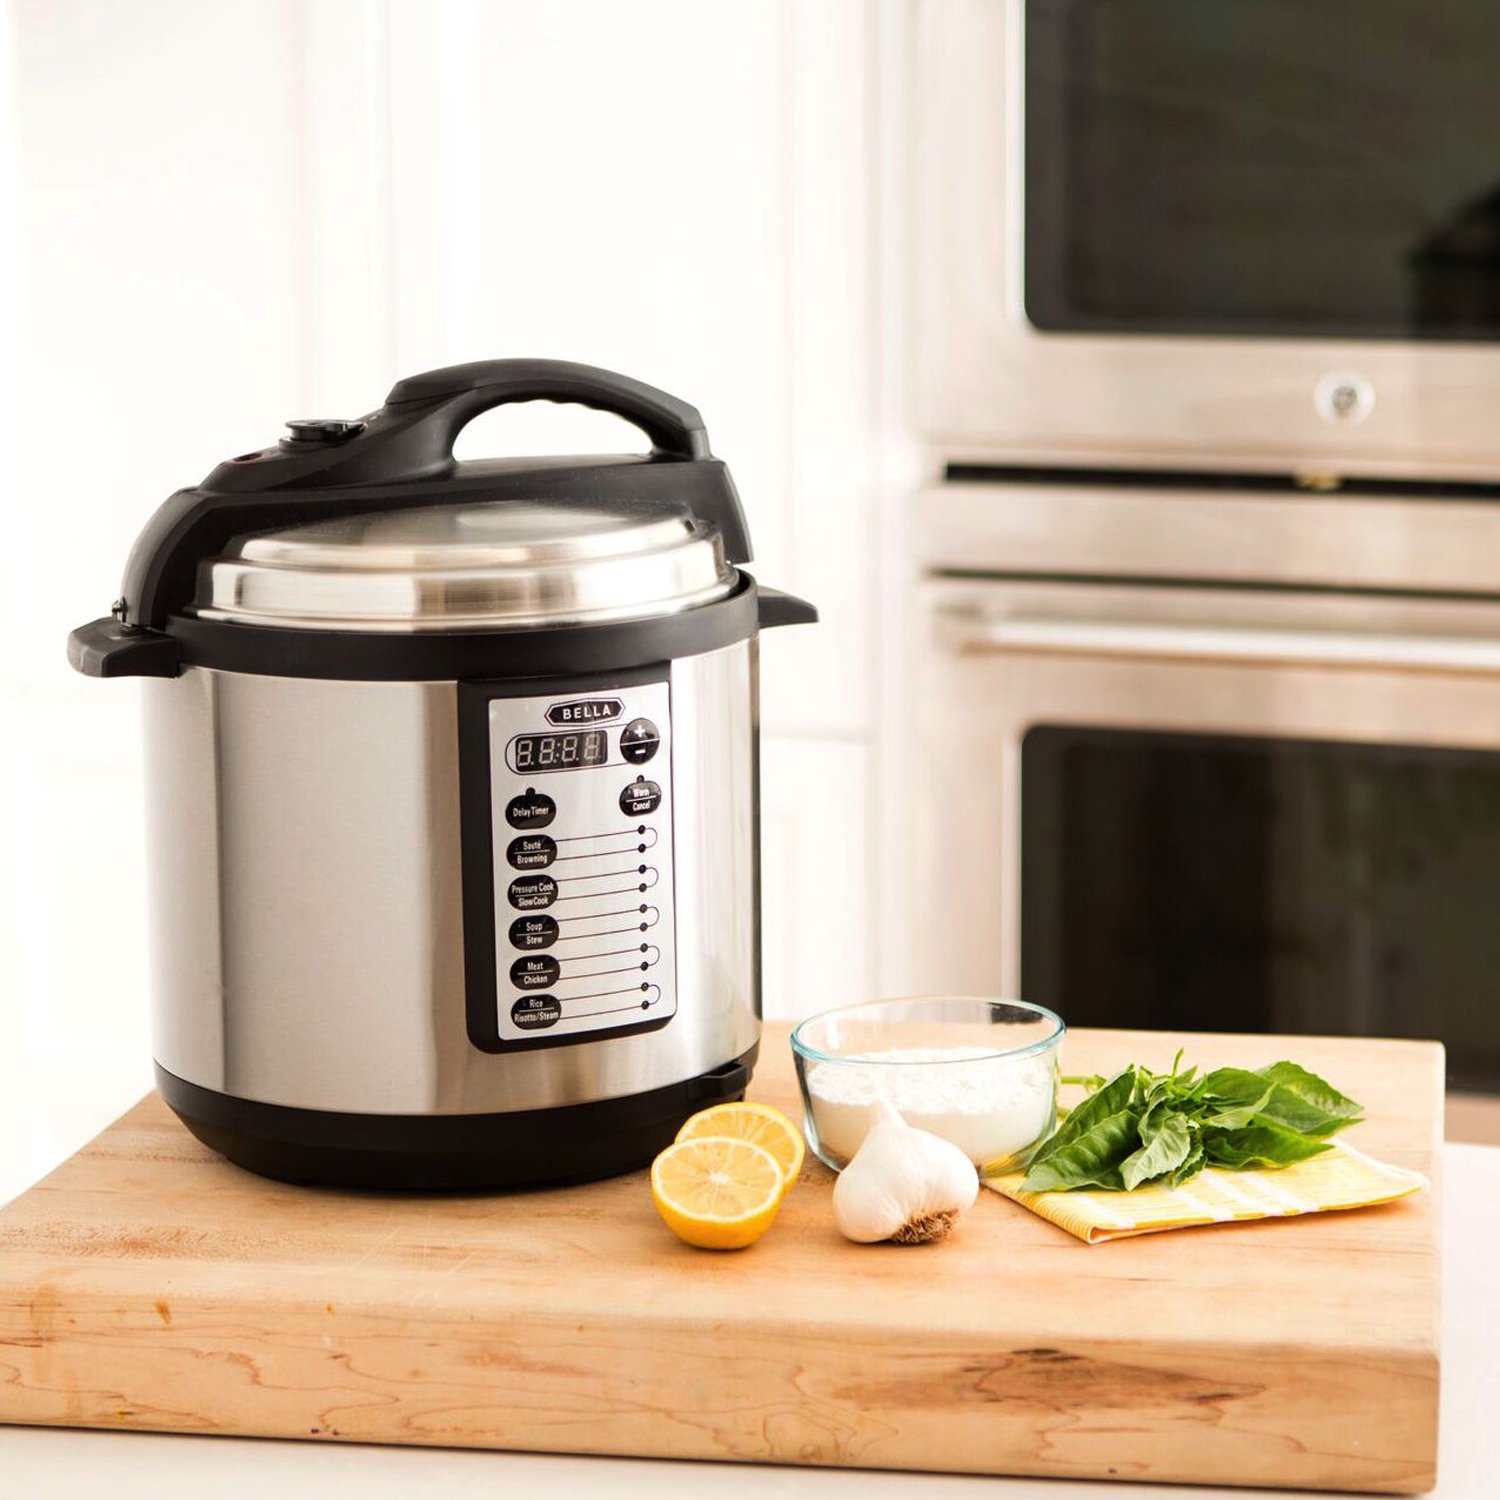
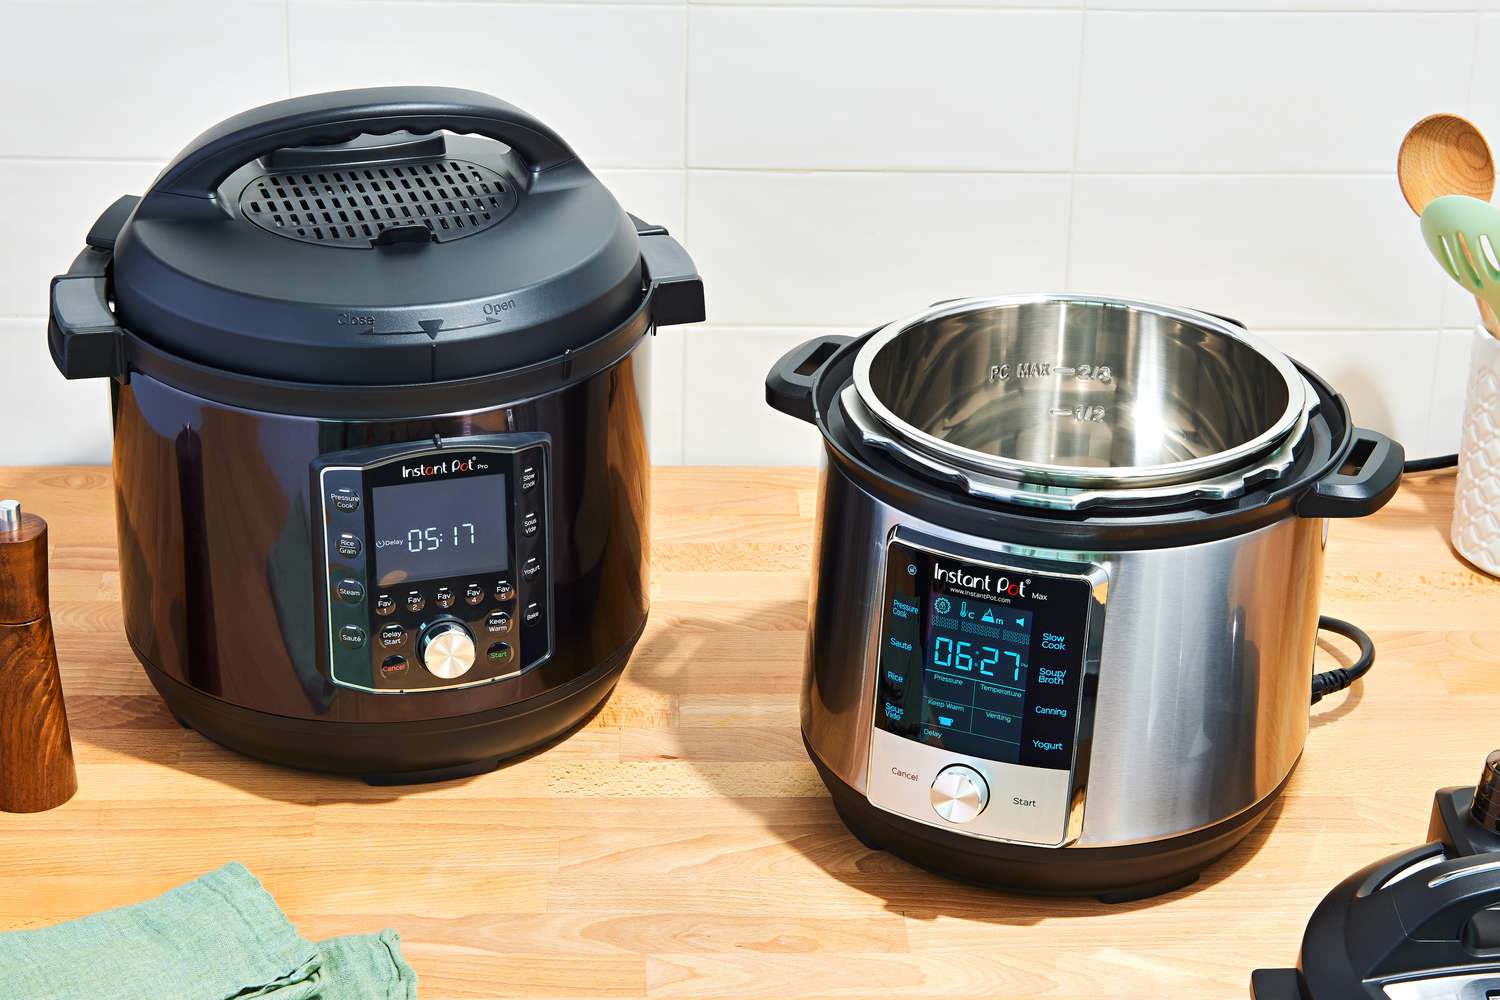
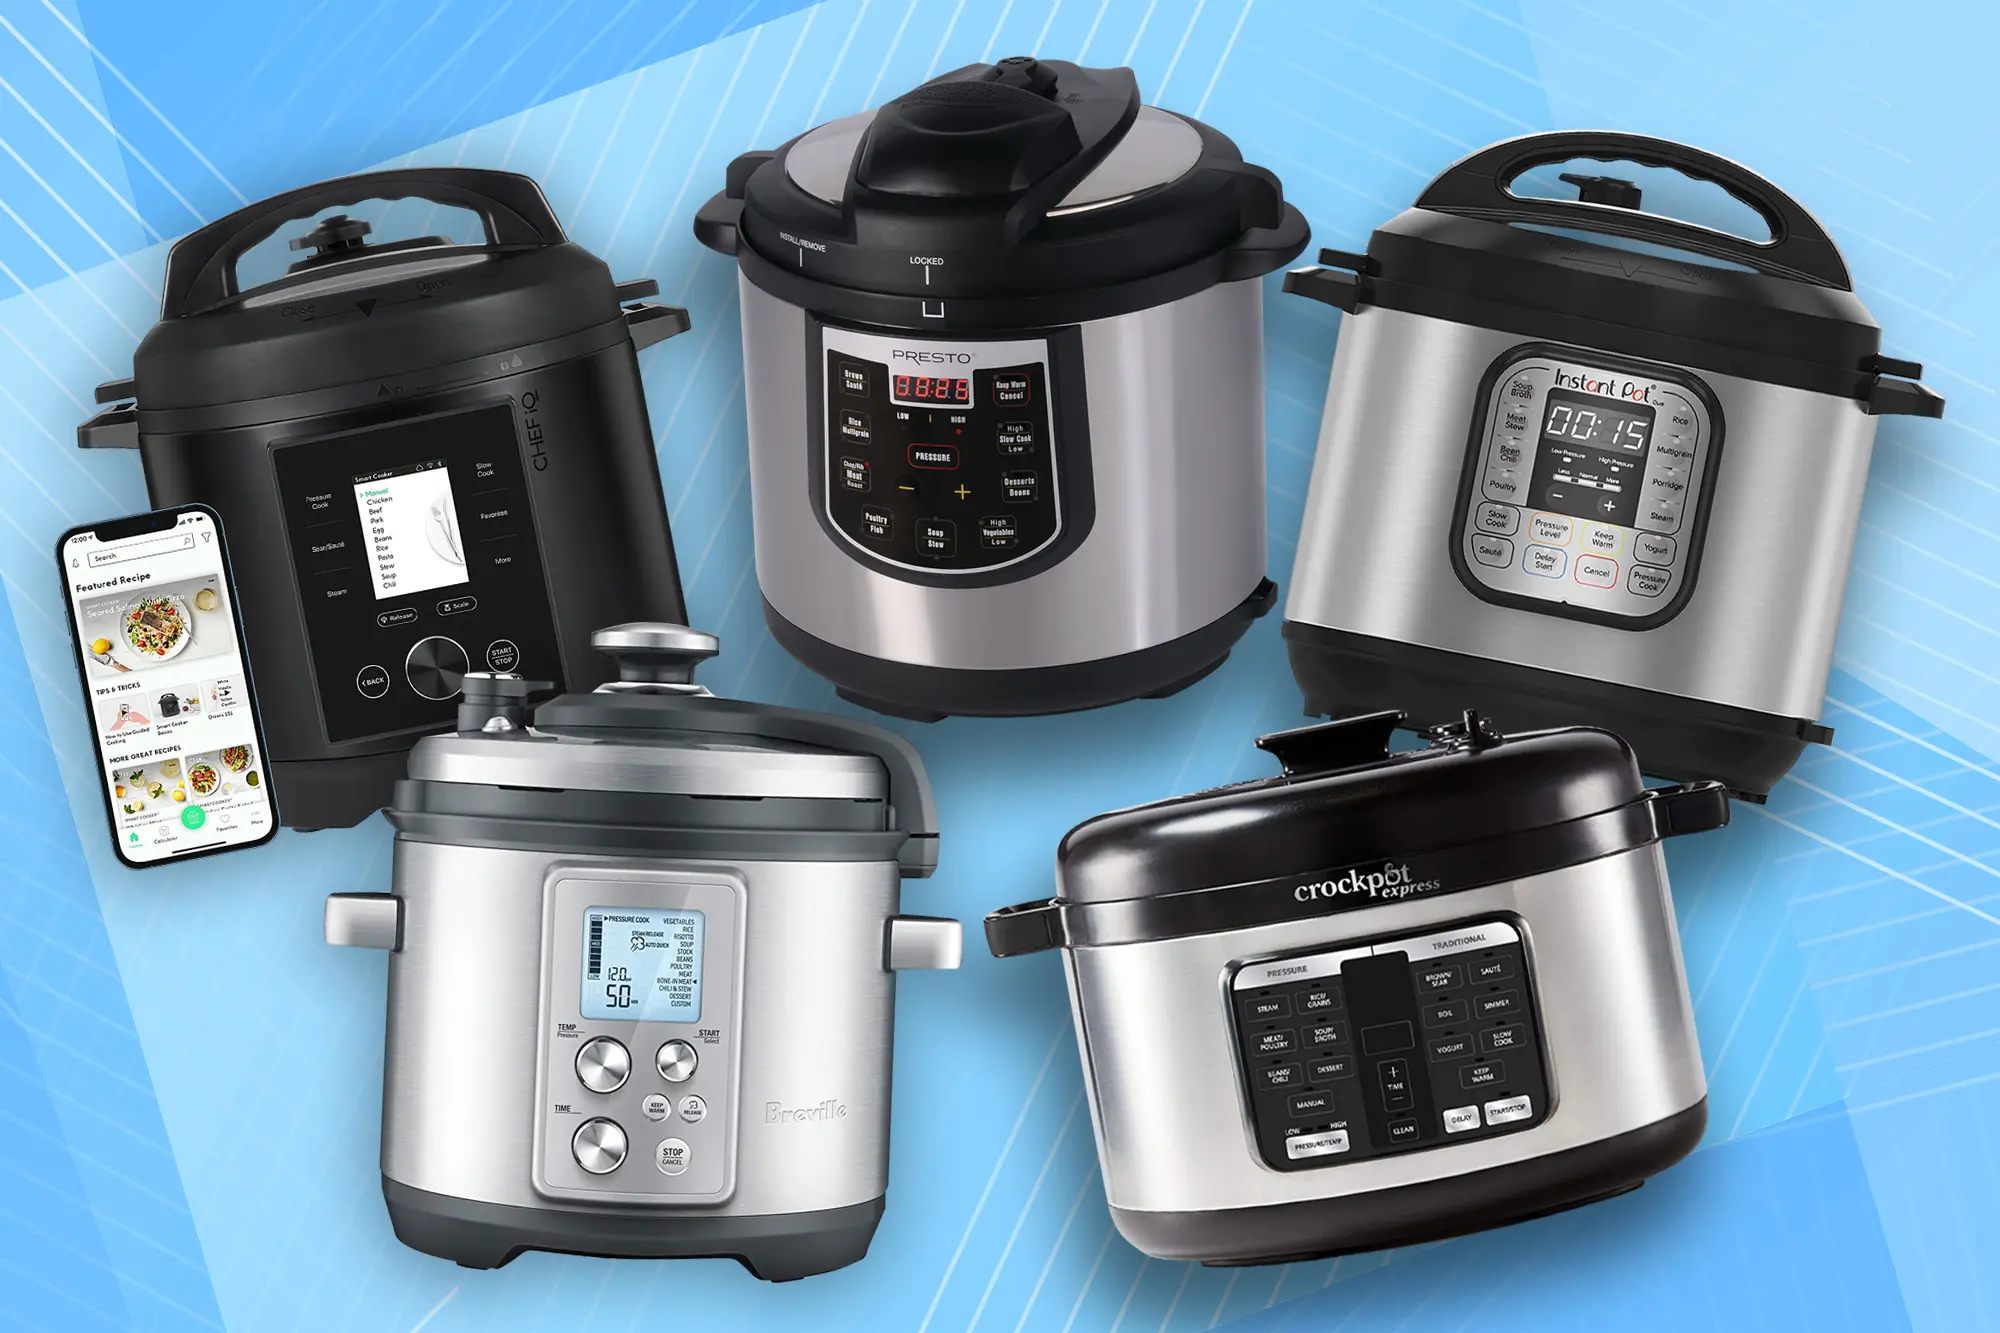
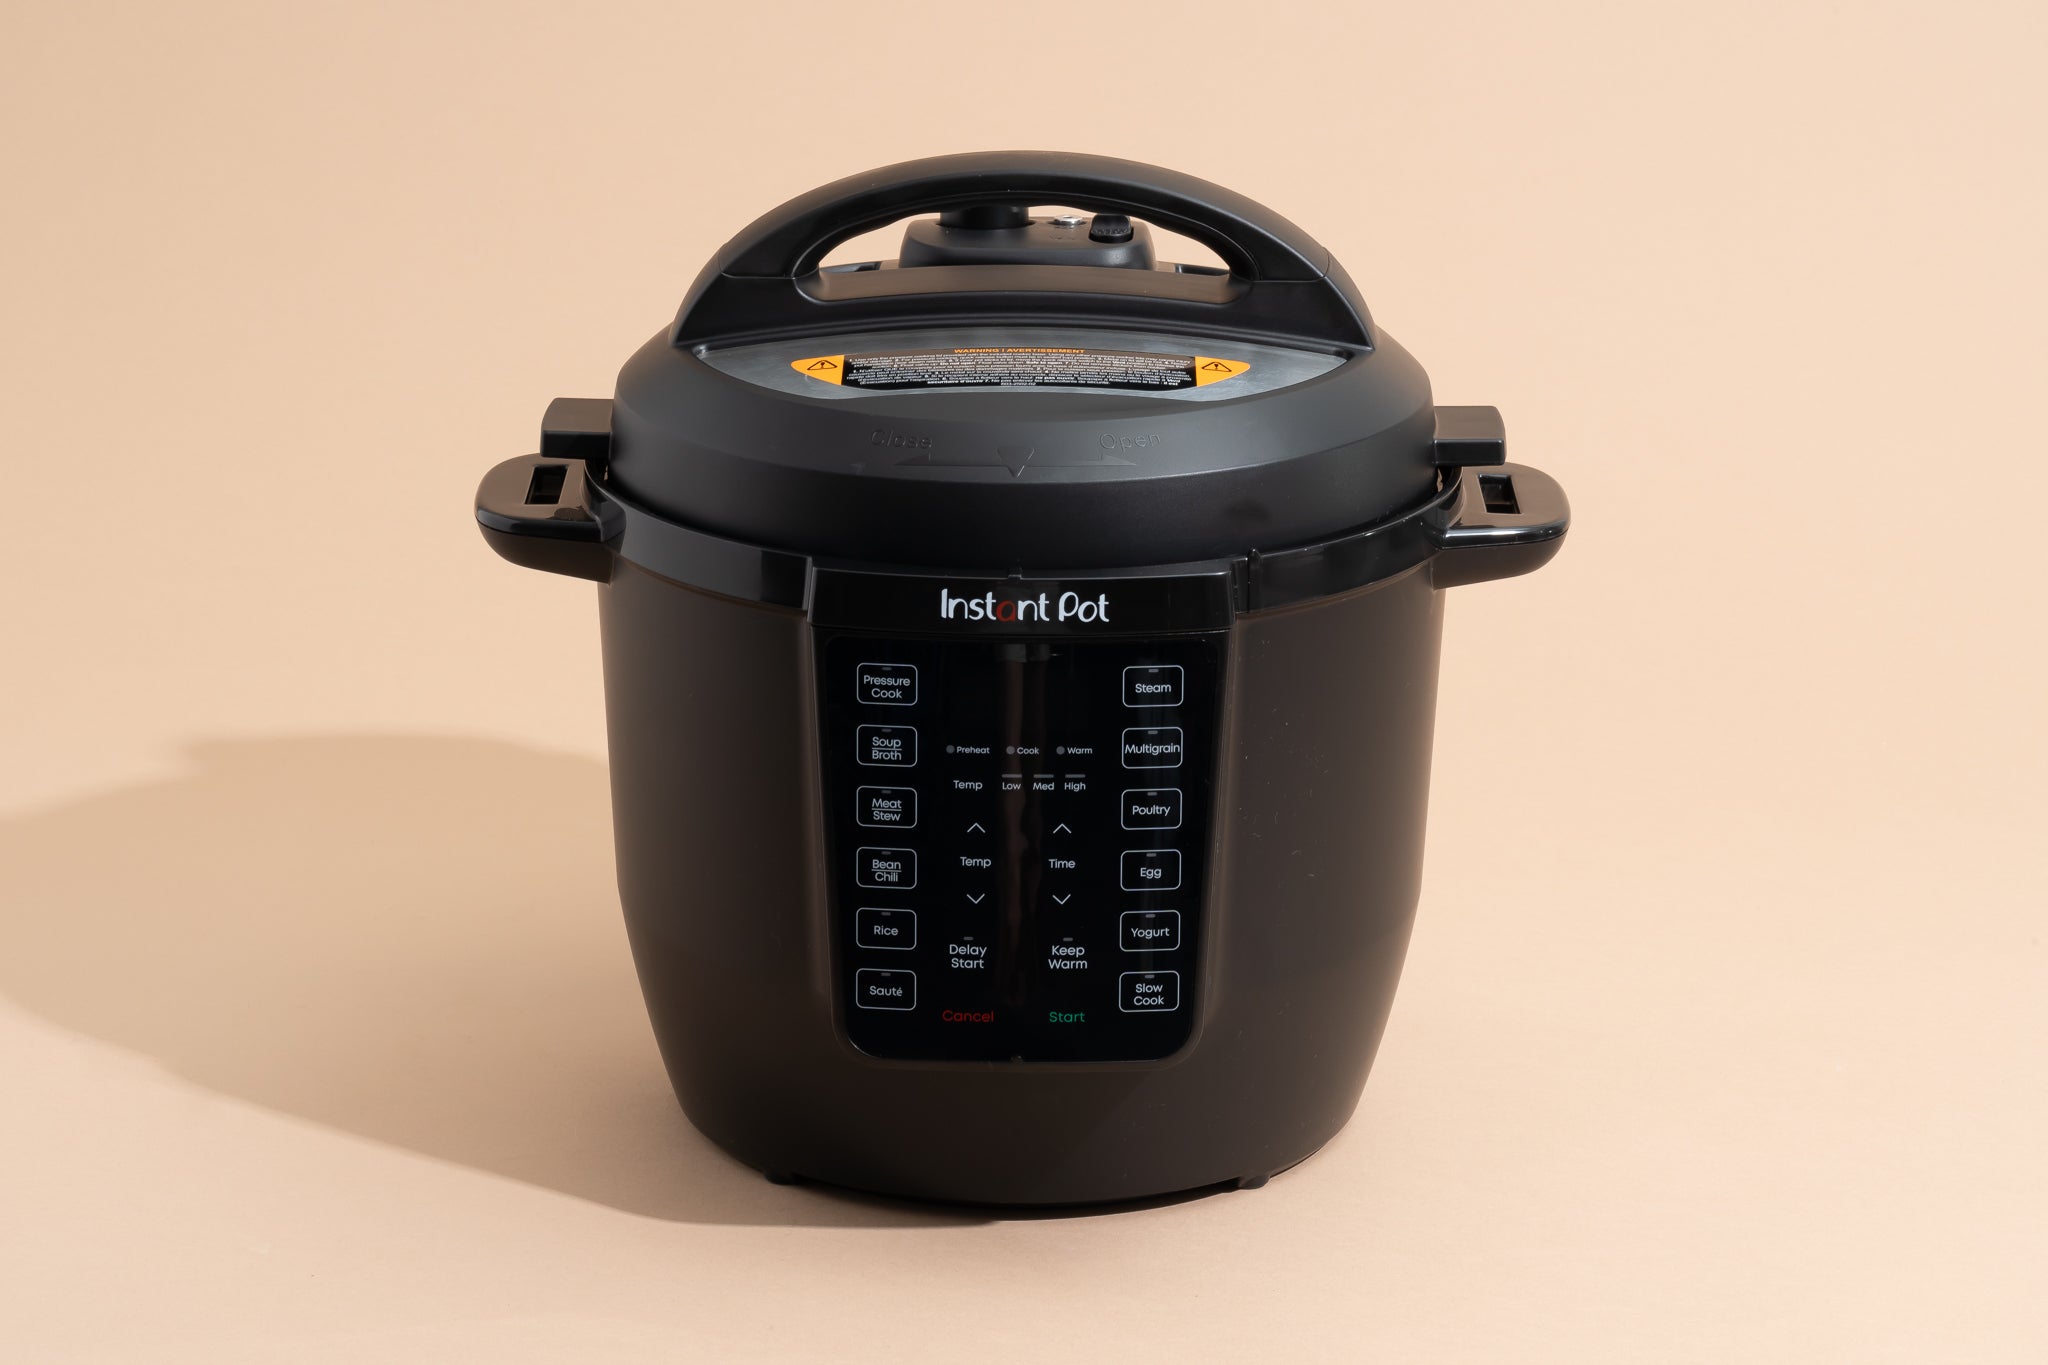
- Electric pressure cooker
- Measuring cups and spoons
- Strainer or colander (optional, for rinsing the oats)
- Wooden spoon or silicone spatula
- Bowl or serving dish
When it comes to the type of oats you use, rolled oats are the most common choice for making oatmeal in a pressure cooker. They have a nice texture and cook relatively quickly. Avoid using instant oats or steel-cut oats, as they require different cooking times and liquid ratios.
Regarding the liquid, you can use water for a basic oatmeal recipe or experiment with different options like milk (dairy or plant-based) to add creaminess and flavor to your oatmeal. You can adjust the liquid-to-oat ratio based on your preferred consistency, keeping in mind that oatmeal tends to absorb some liquid during cooking.
Don’t forget about the salt! While the salt is optional, adding a pinch can enhance the overall flavor of your oatmeal. Feel free to customize your bowl of oatmeal with your favorite sweeteners, such as honey, maple syrup, or agave nectar, as well as a range of toppings like fresh fruits, nuts, seeds, or even a sprinkle of cinnamon or cocoa powder.
Now that we have all the ingredients and equipment ready, let’s move on to the step-by-step process of making oatmeal in an electric pressure cooker.
Step 1: Measure and Rinse the Oats
The first step in preparing your oatmeal in an electric pressure cooker is to measure and rinse the oats. This simple step helps remove any dust or debris and improves the overall texture of the cooked oats.
Start by measuring 1 cup of rolled oats using a measuring cup and transfer them to a fine-mesh strainer or colander. If you prefer a smaller or larger batch, adjust the quantity accordingly, maintaining a 1:2 oats-to-liquid ratio.
If desired, gently rinse the oats under running water while stirring them with your fingers. This step can remove any excess starch and provide a cleaner taste. However, rinsing the oats is optional and won’t significantly affect the overall outcome of your oatmeal.
Once rinsed, allow the oats to drain for a few seconds or give them a gentle shake to remove any excess water. Make sure to give them a quick stir to separate any clumps that may have formed during the rinsing process.
Now that your oats are measured and rinsed, it’s time to move on to the next step: adding the liquid.
Step 2: Add the Liquid
With your rinsed oats ready, it’s time to add the liquid to the electric pressure cooker. The amount of liquid you use will depend on your desired consistency and the type of oats you’re using.
For a basic recipe, add 2 cups of water or milk to the pressure cooker. You can use either dairy or plant-based milk, depending on your dietary preferences. Using milk instead of water will yield a creamier and more flavorful oatmeal.
If you prefer a thicker oatmeal, you can slightly reduce the amount of liquid. Conversely, if you prefer a thinner consistency, you can increase the amount of liquid. Just ensure that the liquid-to-oat ratio remains around 2:1.
Optionally, you can add a pinch of salt to enhance the flavor of the oatmeal. The salt is completely optional, so feel free to skip it if you prefer a salt-free version.
Gently stir the liquid and oats together using a wooden spoon or silicone spatula until well combined. Ensure that all the oats are fully submerged in the liquid.
Now that the oats and liquid are mixed, it’s time to move on to the next step: setting the pressure cooker.
Step 3: Set the Pressure Cooker
Setting the pressure cooker correctly is essential for cooking your oatmeal to perfection. Depending on the model and brand of your electric pressure cooker, the specific settings and buttons may vary. However, the general process remains the same.
Start by ensuring the pressure release valve of your electric pressure cooker is in the “Sealing” position. This is crucial for building up pressure during the cooking process.
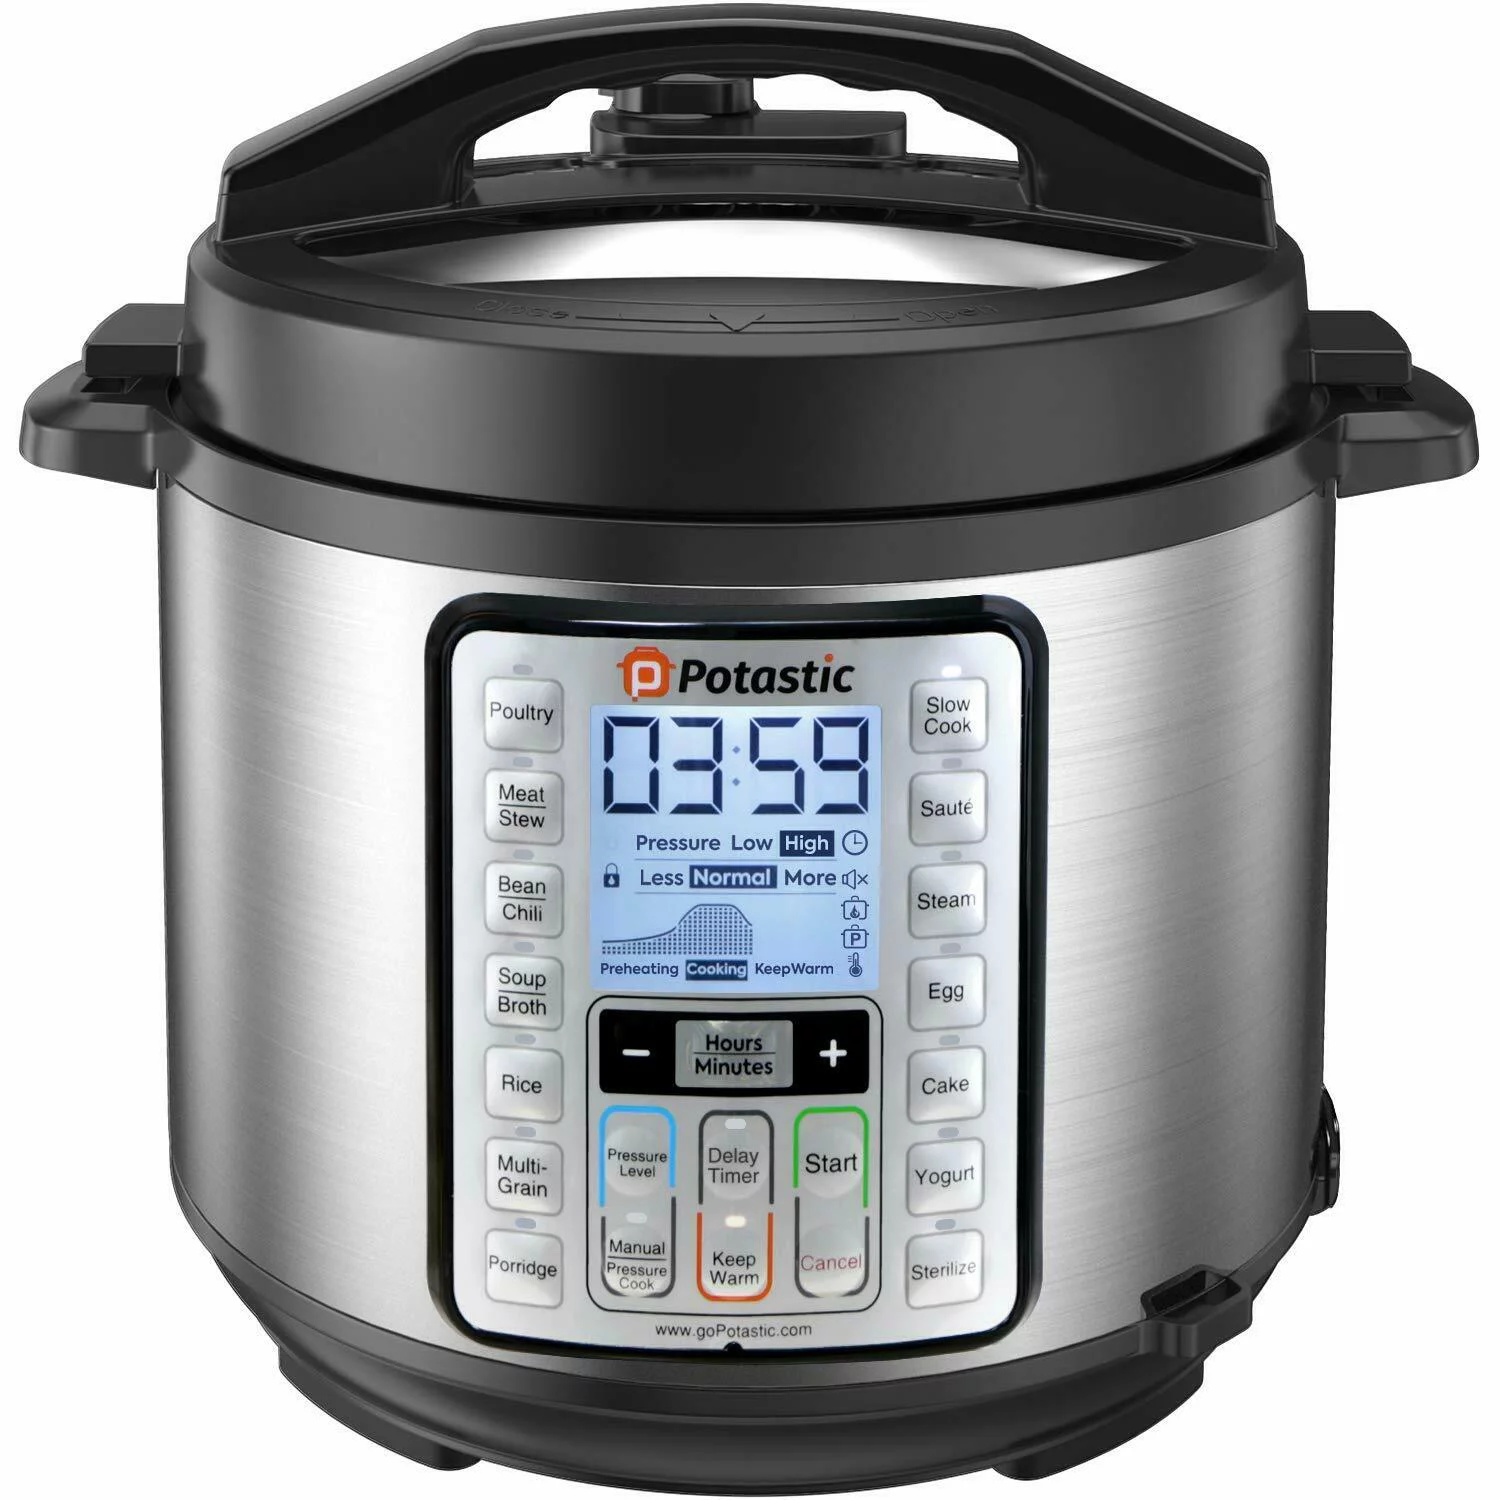
Next, select the appropriate cooking mode on your pressure cooker. Look for a program like “Manual,” “Pressure Cook,” or “Porridge” to achieve the desired results.
Once you’ve selected the cooking mode, set the cooking time. For rolled oats, a cooking time of 3 to 4 minutes on high pressure is typically sufficient. Adjust the cooking time based on your preference for a softer or firmer texture.
After setting the cooking time, it’s time to start the pressure cooker. The cooker will take a few minutes to build up pressure before the cooking process begins. You may notice the display on your pressure cooker showing the heating process or the countdown timer.
During this time, avoid opening the pressure cooker as it will release the pressure and disrupt the cooking process. Trust the pressure cooker to do its job and create a perfectly cooked batch of oatmeal.
Now that the pressure cooker is set, it’s time for the next step: cooking the oatmeal.
Step 4: Cook the Oatmeal
With the pressure cooker set, it’s time to let it work its magic and cook the oatmeal to a delicious perfection. Once the cooker has reached the desired pressure, the cooking process will begin.
Allow the oatmeal to cook undisturbed for the specified cooking time. The pressure cooker will automatically regulate the temperature and pressure to ensure even cooking and prevent burning.
As the oatmeal cooks, you may notice steam releasing from the pressure release valve. This is normal and part of the cooking process. It’s important not to interfere with the pressure release by manually opening the valve.
Once the cooking time is complete, the pressure cooker will typically beep or switch to a warming mode to indicate that the oatmeal is ready. At this point, you have two options for releasing the pressure: natural release or quick release.
Natural Release (NR): This method involves letting the pressure in the cooker naturally release on its own. Leave the pressure cooker undisturbed for about 10 to 15 minutes for the pressure to gradually reduce. After the natural release, the pressure indicator will drop, indicating that it’s safe to open the cooker.
Quick Release (QR): If you’re short on time or eager to enjoy your oatmeal, you can opt for a quick release. Carefully turn the pressure release valve to the “Venting” position using a long-handled spoon or tongs. Be cautious as the steam will forcefully escape from the valve. Once the pressure is fully released, and the pressure indicator drops, it’s safe to open the cooker.
Now that the oatmeal is fully cooked and the pressure has been released, it’s time to move on to the next step: fluffing and serving the oatmeal.
Step 5: Natural Release vs Quick Release
When cooking oatmeal in an electric pressure cooker, you have the option to release the pressure in two different ways: natural release and quick release. Each method has its own benefits and considerations, so let’s explore both options.
Natural Release (NR) involves allowing the pressure to naturally decrease over time without any intervention. After the cooking time is complete, leave the pressure cooker undisturbed for about 10 to 15 minutes. During this time, the pressure will gradually release on its own. You may notice the pressure indicator dropping, which indicates the pressure inside the cooker is decreasing.
There are a few advantages to using the natural release method. Firstly, it allows for additional cooking time as the residual heat continues to cook the oatmeal. This can result in a softer and more tender texture. Secondly, natural release is a safer option as it allows the pressure to dissipate gradually, reducing the risk of hot liquid or steam spurting out when opening the cooker.
On the other hand, if you’re short on time or eager to enjoy your oatmeal immediately, you can opt for a quick release (QR). With quick release, the pressure is rapidly released by manually turning the pressure release valve to the “Venting” position. Be cautious as the steam will forcefully escape from the valve, so it’s important to keep your hands and face away from the steam.
The quick release method offers the advantage of saving time and allowing you to enjoy your oatmeal right away. It’s ideal for situations when you’re in a hurry or simply can’t wait to dig into a warm bowl of oatmeal. However, keep in mind that the oatmeal may not be as soft as with the natural release method.
When deciding between natural release and quick release, consider your priorities: time, texture, and safety. If you have the luxury of time and prefer a softer texture, opt for natural release. If you’re in a hurry and crave a quick oatmeal fix, go for the quick release method.
Now that you’ve chosen your preferred release method, it’s time for the final step: fluffing and serving the oatmeal.
Step 6: Fluff and Serve
Now that your oatmeal is cooked and the pressure has been released, it’s time to fluff and serve your delicious creation. Follow these simple steps to achieve a perfectly fluffy and flavorful bowl of oatmeal.
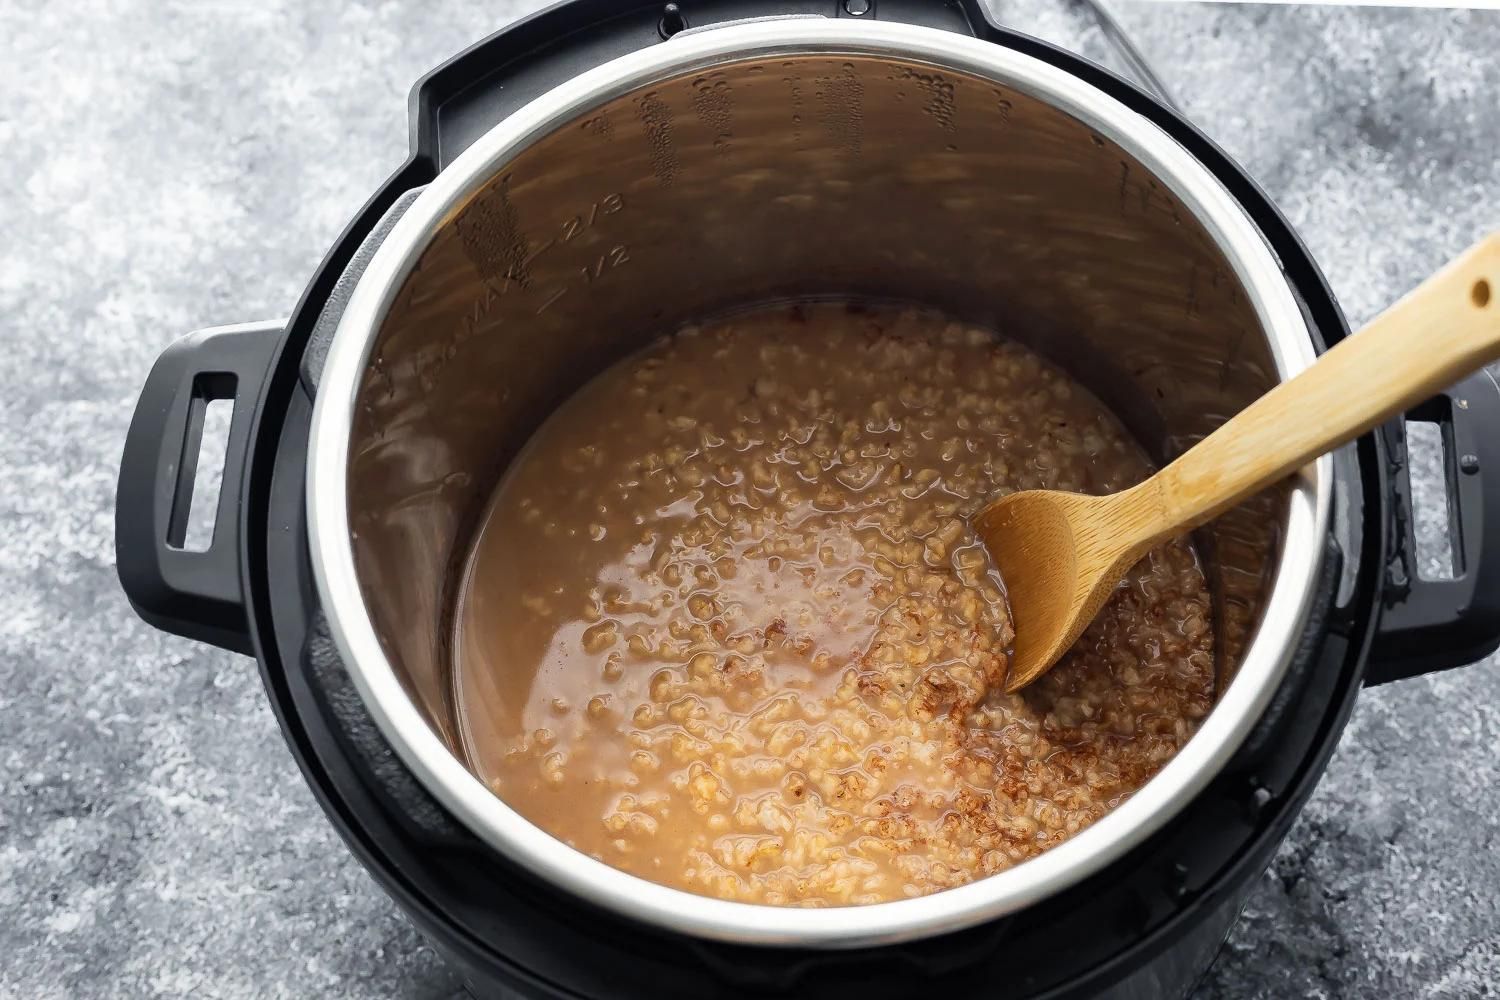
Using a wooden spoon or silicone spatula, gently stir the cooked oatmeal to fluff it up. This will help distribute the moisture and ensure that the oats are evenly mixed. As you stir, you’ll notice the creamy texture and aroma of the cooked oats.
Once the oatmeal is fluffed, it’s time to serve it. Use a ladle or spoon to portion out the desired amount of oatmeal into serving bowls. Be sure to scrape the sides and bottom of the pressure cooker to get every last bit of goodness.
To make your oatmeal even more enticing, add your favorite sweeteners and toppings. Drizzle honey, maple syrup, or any other sweetener over the oatmeal to taste. Enhance the flavors and textures with a variety of toppings such as fresh fruits, nuts, seeds, or a sprinkle of cinnamon or cocoa powder. Customize it according to your preferences and get creative!
Now that your oatmeal is beautifully garnished and ready to be enjoyed, it’s time to dig in. Grab a spoon and savor each comforting bite.
Remember, oatmeal is a versatile breakfast dish, and you can experiment with different flavor combinations and variations. Add a spoonful of peanut butter or a dollop of yogurt for extra creaminess. Incorporate spices like nutmeg or cardamom for a warm and cozy flavor. The possibilities are endless!
Enjoy your homemade oatmeal as a nourishing breakfast, a post-workout snack, or a comforting treat any time of day.
Now that you’re familiar with the fluffing and serving process, you’ve successfully completed making oatmeal in an electric pressure cooker. Congratulations!
Additional Tips and Variations
Now that you’ve mastered the basic process of making oatmeal in an electric pressure cooker, here are some additional tips and variations to take your oatmeal to the next level:
1. Experiment with Different Grains:
While rolled oats are the most common choice, don’t be afraid to try other grains like steel-cut oats, quinoa, or even a blend of multiple grains. Keep in mind that cooking times and liquid ratios may vary, so refer to the specific instructions for each grain.
2. Add Flavor Enhancers:
Boost the flavor of your oatmeal by incorporating various ingredients like vanilla extract, cinnamon, nutmeg, or even a touch of cocoa powder. These simple additions can transform your oatmeal into a delightful treat.
3. Use Different Liquids:
Aside from water and milk, you can experiment with using different liquids to cook your oatmeal. Consider using coconut milk, almond milk, or apple juice to infuse unique flavors into your breakfast bowl.
4. Try Overnight Oats:
To save time in the morning, try preparing overnight oats in your pressure cooker by combining oats and liquid the night before. In the morning, simply cook them for a shorter duration and enjoy a ready-to-eat warm bowl of oatmeal.
5. Customize with Mix-Ins:
Get creative and add a variety of mix-ins to your oatmeal for added texture and flavor. Consider dried fruits, chopped nuts, chia seeds, flaxseeds, shredded coconut, or even a spoonful of your favorite nut butter.
6. Cook in Bulk and Freeze:
If you’re looking for a convenient breakfast option, cook a large batch of oatmeal in your pressure cooker and freeze individual portions. Simply thaw and reheat whenever you need a quick and satisfying meal.
7. Experiment with Savory Oatmeal:
Don’t limit oatmeal to just sweet toppings. Try savory variations by adding sautéed vegetables, herbs, spices, and even a sprinkle of cheese for a hearty and flavorful breakfast or brunch option.
Remember to adjust the cooking time and liquid ratios accordingly when incorporating variations or using different grains. Feel free to get creative and tailor your oatmeal to suit your taste preferences and dietary needs.
With these tips and variations, you’ll never get bored of your daily bowl of oatmeal. So, go ahead and unleash your culinary creativity!
Conclusion
Congratulations! You’ve now learned how to make oatmeal in an electric pressure cooker like a pro. With this simple and efficient method, you can enjoy a warm and delicious bowl of oatmeal in no time.
By following the step-by-step process, you can ensure perfectly cooked oatmeal with minimal effort. From measuring and rinsing the oats to setting the pressure cooker and cooking the oatmeal, each step plays a crucial role in achieving the desired outcome.
Remember to personalize your oatmeal with your favorite sweeteners and toppings, making each bowl a unique and delightful experience. Whether you prefer a classic combo of honey and fresh fruits or enjoy experimenting with decadent flavors, the choice is yours.
Don’t forget to explore different grains, liquids, and mix-ins to add variety and excitement to your oatmeal. From steel-cut oats to quinoa and a range of spices and flavorings, the possibilities are endless.
An electric pressure cooker truly simplifies the oatmeal-making process, giving you a nutritious and filling breakfast option without the hassle. With its versatility and convenience, it’s a kitchen appliance worth investing in.
So, the next time you crave a comforting and wholesome breakfast, remember this guide and make your oatmeal in an electric pressure cooker. You’ll start your day on a delicious and nutritious note, leaving you energized and satisfied.
Now, go ahead and enjoy your homemade oatmeal creation! Happy cooking!


