Introduction
Have you ever wanted to add a personal touch to your favorite Crocs shoes? Look no further than Jibbitz, those quirky and fun shoe charms that can transform your footwear into a unique fashion statement. With the rise of 3D printing technology, making your own Jibbitz has never been easier or more accessible.
Jibbitz are small, colorful decorations that fit into the holes of Crocs shoes. They come in a wide range of designs, from cute animals to trendy symbols and logos. Traditionally, Jibbitz are purchased separately, but with a 3D printer, you can unleash your creativity and bring your own designs to life.
The beauty of using a 3D printer for making Jibbitz is the endless possibilities it offers. You can design and produce custom charms that reflect your personality, interests, and style. Whether you’re a fan of superheroes, animals, or abstract patterns, a 3D printer allows you to create Jibbitz that are as unique as you are.
Not only is making Jibbitz with a 3D printer a fun and creative activity, but it also allows you to save money. Instead of spending money on store-bought charms, you can simply print them at home using inexpensive materials. Plus, you have the added advantage of producing as many Jibbitz as you want, giving you the freedom to switch them out and update your shoe game whenever you desire.
In this guide, we will walk you through the process of making Jibbitz with a 3D printer. We’ll cover everything from the materials and equipment you need to the step-by-step process of printing and applying your custom charms. Whether you’re a seasoned 3D printing enthusiast or a beginner, this guide has got you covered. So, let’s dive in and unleash your creativity through the wonderful world of 3D printed Jibbitz!
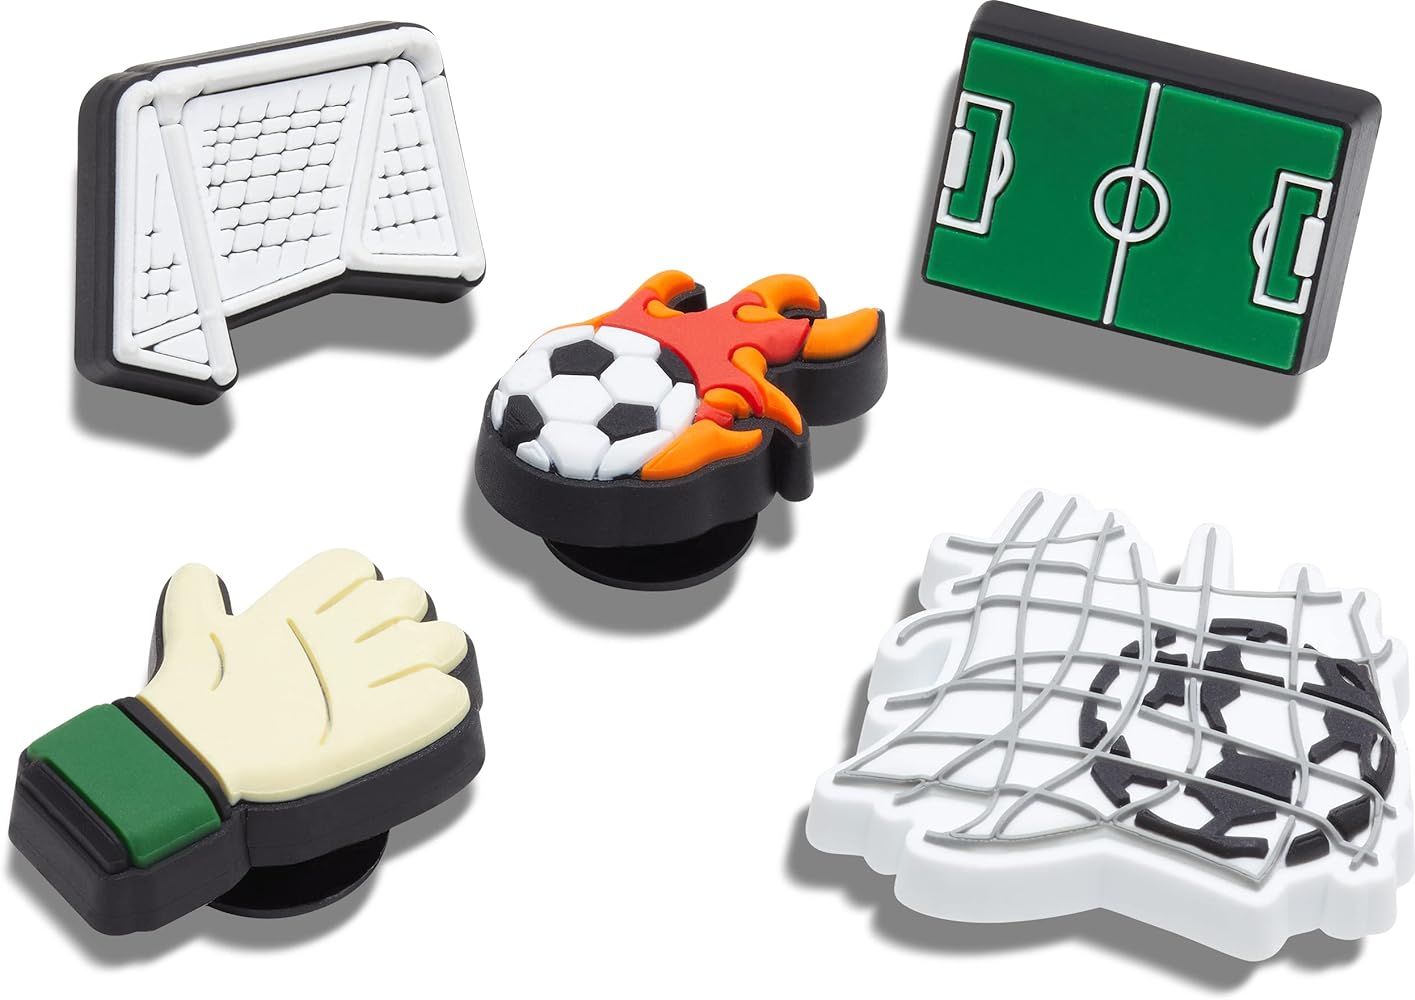
What is a Jibbitz?
If you’re new to the world of Crocs shoes, you might be wondering what exactly a Jibbitz is. In simple terms, a Jibbitz is a small ornament or charm that can be snapped into the holes on the strap of a Crocs shoe, adding a personal touch and a pop of individuality to your footwear.
Originally introduced in 2006, Jibbitz quickly gained popularity among Crocs enthusiasts of all ages. These charms come in a variety of shapes, sizes, and designs, allowing wearers to create a customized look for their beloved shoes.
Jibbitz designs range from popular characters and logos to cute animals, food items, and everything in between. The possibilities are truly endless when it comes to choosing a Jibbitz that showcases your personal style and interests.
One of the great things about Jibbitz is the ability to mix and match them on the shoe strap. You can choose to have a single charm in a specific hole, or you can fill up the entire strap with an assortment of Jibbitz for a more eclectic and eye-catching look.
What sets Jibbitz apart from other shoe decorations is the ease of use. Each charm has a small hook on the back that fits smoothly into the holes on the shoe. They are securely held in place, allowing you to wear your adorned Crocs comfortably without worrying about losing the charms.
Not only are Jibbitz a fun way to express your personality and style, but they are also an excellent conversation starter. People often notice and comment on unique Jibbitz designs, making them a fantastic way to showcase your hobbies, interests, or love for a particular brand or character.
Jibbitz can also be a popular choice for children, as they add a playful and colorful element to their shoes. It’s a fun way for kids to personalize their footwear and make it more exciting and unique.
Now that you know what Jibbitz are and why they are so appealing, let’s explore how 3D printing can revolutionize the way you create and customize these charming accessories.
Why Use a 3D Printer?
When it comes to making Jibbitz, using a 3D printer offers a plethora of advantages that make it the ideal choice for DIY enthusiasts. Here are a few compelling reasons why you should consider using a 3D printer to create your own Jibbitz:
- Endless Design Possibilities: 3D printing allows you to bring any design you can imagine to life. Whether you want to replicate existing Jibbitz designs or create entirely new ones, a 3D printer gives you the freedom to design custom charms that are truly unique.
- Cost-Effective: Making Jibbitz with a 3D printer can be significantly more affordable compared to buying them from stores. Once you have the printer and the materials, you can print as many charms as you want at a fraction of the cost. It’s a budget-friendly option that doesn’t compromise on quality or creativity.
- Customization Options: With a 3D printer, you have full control over the design, size, and color of your Jibbitz. Want a charm in your favorite shade of purple? No problem! Prefer a larger or smaller size? You can adjust the dimensions accordingly. The ability to customize your Jibbitz ensures that they perfectly reflect your style and preferences.
- Quick Turnaround Time: 3D printers are capable of producing Jibbitz in a relatively short amount of time. Depending on the complexity and size of your design, you can have a completed charm in a matter of hours or days. This fast turnaround allows you to experiment with various designs and bring your ideas to life without significant delays.
- Accessible Technology: In recent years, 3D printing technology has become more affordable and accessible to the general public. There is now a wide range of options available for both beginners and experienced users, making it easier than ever to get started with 3D printing Jibbitz.
By utilizing a 3D printer to create your Jibbitz, you not only have the satisfaction of crafting something unique but also the opportunity to fully express your creativity and design skills. The ability to design and produce your own charms opens up a world of possibilities and allows you to showcase your individuality every time you slip on your Crocs.
Now that we’ve explored the benefits of using a 3D printer for making Jibbitz, let’s move on to the materials and equipment you’ll need to get started.
Materials and Equipment Needed
Before you can start creating your own Jibbitz with a 3D printer, there are a few essential materials and equipment that you’ll need to gather. Here’s a list of what you’ll need:
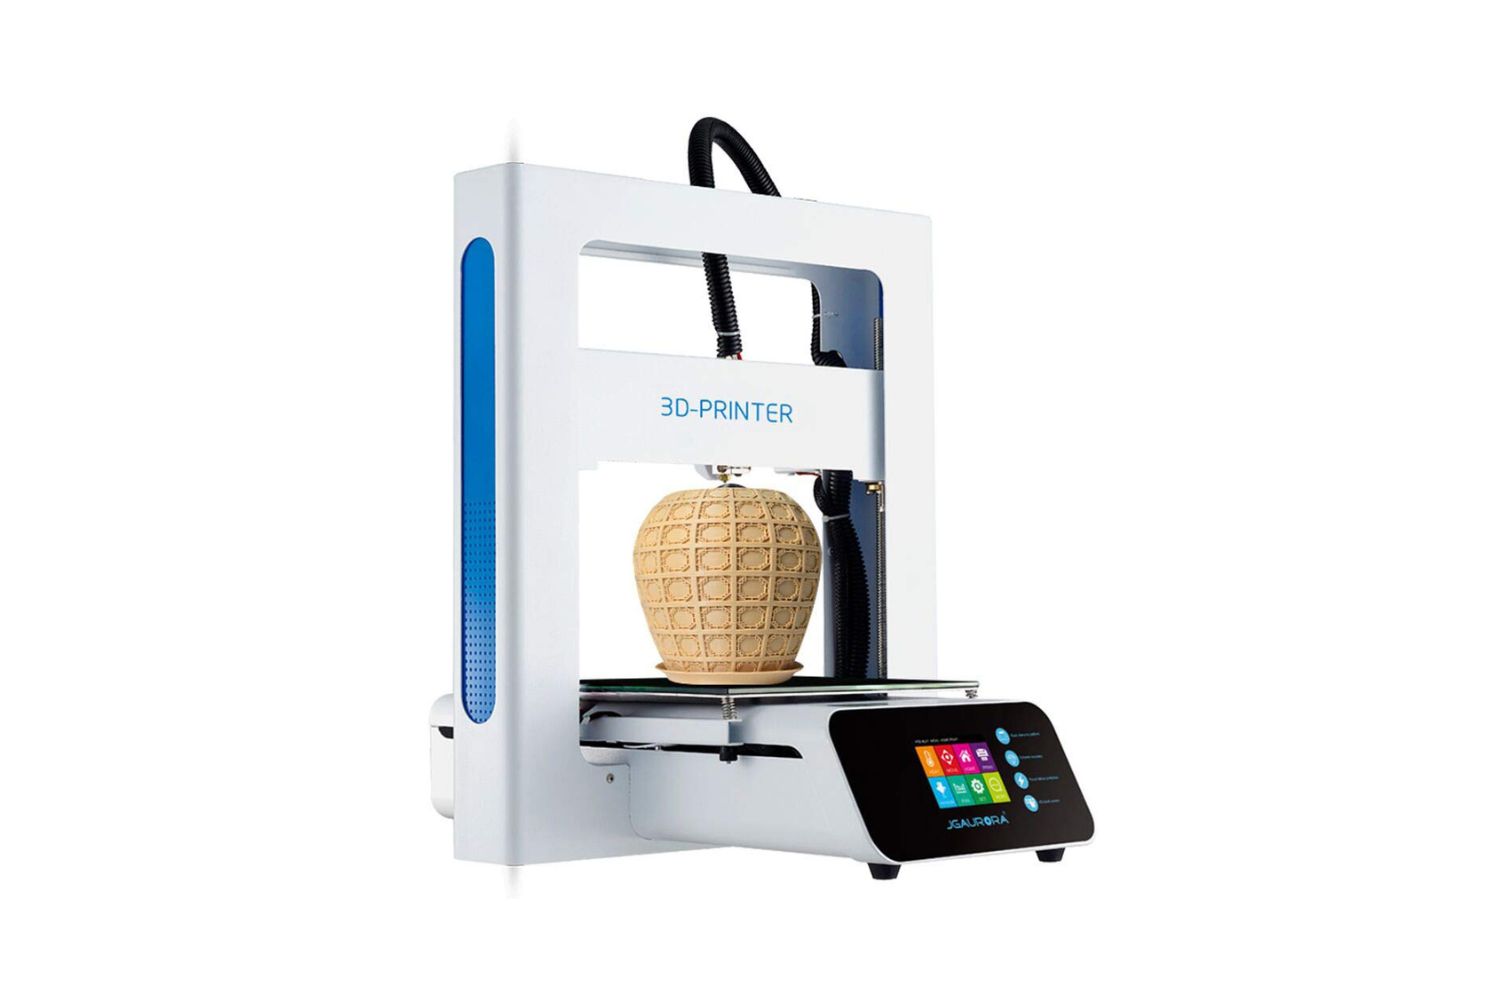
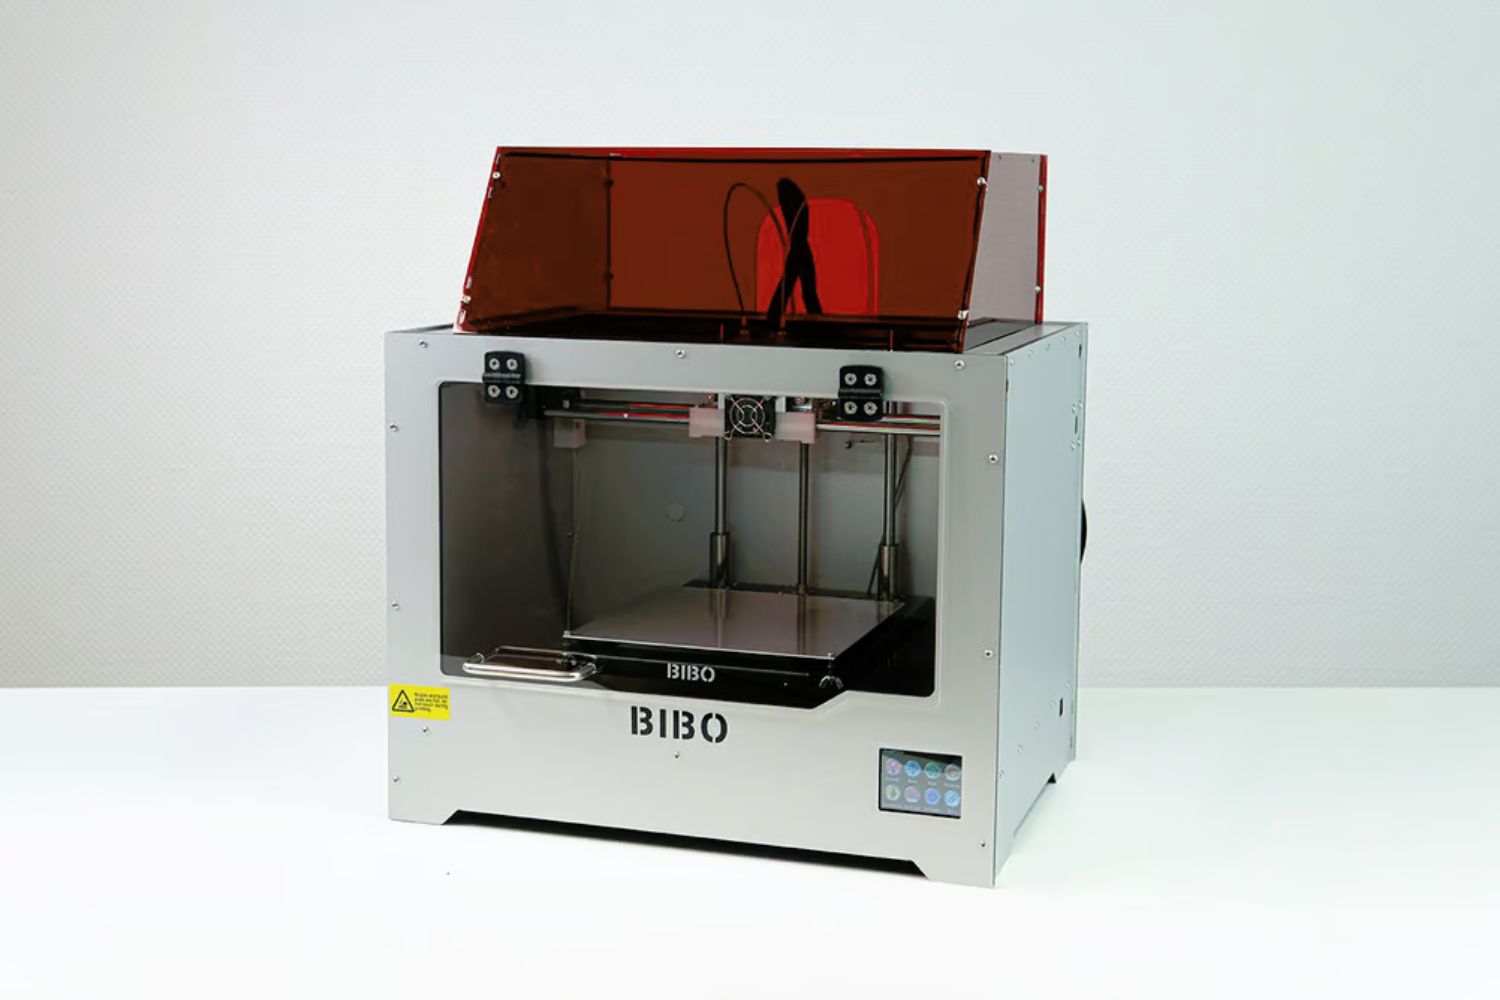
- 3D Printer: The heart of the operation is, of course, a 3D printer. There are various models available on the market, ranging from affordable entry-level printers to high-end professional ones. Choose a printer that suits your budget and printing needs. It’s recommended to select a printer with a minimum resolution of 0.1mm to ensure your Jibbitz have a high level of detail.
- Filament: Filament is the material that your 3D printer uses to create the objects. When creating Jibbitz, you’ll want to use a filament that is flexible, durable, and vibrant in color. TPU (Thermoplastic Polyurethane) filament is a popular choice for creating Jibbitz, as it provides the perfect balance of flexibility and strength.
- Design Software: To create your own custom Jibbitz designs, you’ll need design software. There are several options available, both free and paid. Popular choices include Tinkercad, Fusion 360, and Blender. These software programs allow you to digitally design and modify objects before sending them to your 3D printer for printing.
- Computer or Laptop: You’ll need a computer or laptop to run the design software, prepare the 3D models, and send the print commands to the 3D printer. Make sure your computer meets the software’s system requirements and has a stable internet connection for downloading designs and software updates.
- 3D Printing Bed Adhesive: To ensure your Jibbitz adhere well to the 3D printing bed during the printing process, you may need to use a bed adhesive. Different printers may require different types of adhesives, so consult your printer’s user manual or manufacturer recommendations to find the right adhesive for your specific printer.
- Optional: Support Removal Tools: Depending on the complexity of your Jibbitz designs, you may need support structures during the printing process. Support structures help maintain the shape and stability of overhanging or intricate parts of your design. If your designs require support structures, you’ll need tools such as flush cutters or pliers to carefully remove the supports once the printing is complete.
Make sure to gather all the necessary materials and ensure your 3D printer is properly set up before proceeding with the printing process. Having everything ready and organized will help make the Jibbitz-making experience smooth and enjoyable.
Now that you’re familiar with the materials and equipment needed, let’s dive into the step-by-step guide on making Jibbitz with a 3D printer.
Step-by-Step Guide on Making Jibbitz with a 3D Printer
Creating your own Jibbitz using a 3D printer is a rewarding and fun process. Here is a step-by-step guide to help you bring your custom designs to life:
- Design Your Jibbitz: Start by creating or selecting the design for your Jibbitz. Use your preferred design software to design a 3D model that reflects your desired shape and style. Consider the size of the charm, the detailing, and any other customizations you want to add.
- Prepare the 3D Model: Once you have your design ready, prepare the 3D model for printing. This involves checking for any errors or issues in the design, such as overlapping elements or non-manifold geometry. Use your design software’s tools to repair any problems and ensure the model is ready for printing.
- Set Up the 3D Printer: Make sure your 3D printer is properly set up and calibrated. Check the printer’s bed leveling and ensure that the printer is clean and free from any obstructions. Load the filament of your choice into the printer according to the manufacturer’s instructions, ensuring a smooth feed for printing.
- Slice and Configure: Slice the 3D model using slicing software, which converts the digital model into a format that the 3D printer can understand. Set the desired print settings, such as layer height, print speed, and infill density, to achieve the desired level of detail and strength for your Jibbitz.
- Start Printing: Send the sliced file to your 3D printer and start the printing process. Ensure that the printer is operating smoothly and monitor the progress periodically. Depending on the complexity of the design and the size of the Jibbitz, the printing process can take anywhere from a few minutes to several hours.
- Remove the Printed Jibbitz: Once the printing is complete, carefully remove the printed Jibbitz from the printer’s bed. If necessary, use a removal tool to detach the Jibbitz from any supports that were used during the printing process. Take care not to damage the charm during this step.
- Clean and Finish: Clean the Jibbitz by removing any excess filament or debris. You can use sandpaper or a small file to smooth any rough edges or imperfections on the charm. Clean the charm with a cloth or mild soap and water to remove any residual dust or contaminants.
- Attach to Your Crocs: Once the Jibbitz is clean and dry, it’s time to attach it to your Crocs shoes. Insert the charm into the holes on the strap of your Crocs, ensuring a secure fit. You can add multiple Jibbitz to customize and personalize your shoes even further.
Now that you’ve successfully created your own Jibbitz, you’re ready to showcase your unique style and creativity with every step you take!
Next, we’ll explore the exciting opportunity of designing your own Jibbitz from scratch.
Designing Your Own Jibbitz
Designing your own Jibbitz is where the real fun begins. With a 3D printer, you have the freedom to unleash your creativity and bring your unique ideas to life. Here are some tips and steps to help you design your own custom Jibbitz:
- Brainstorm Ideas: Start by brainstorming different concepts and themes for your Jibbitz. Consider your interests, hobbies, favorite characters, or anything that inspires you. Think about shapes, patterns, and symbols that reflect your personality and style.
- Choose Your Design Software: Select a design software that suits your level of expertise and allows you to create 3D models. Tinkercad, Fusion 360, and Blender are popular choices that offer a range of tools and features for designing 3D objects.
- Create the 3D Model: Using your chosen design software, begin creating the 3D model for your Jibbitz. Start with basic shapes or import existing objects and modify them to achieve your desired design. Explore the software’s tools to add details, textures, and colors to your creation.
- Consider Size and Compatibility: Keep in mind the size and compatibility of your design with your Crocs. Ensure that the dimensions of your Jibbitz are suitable for the holes on the shoe strap and that they will not obstruct comfort or usability.
- Test and Iterate: Before finalizing your design, it’s a good idea to print a test or prototype version to check for any issues or adjustments that need to be made. This allows you to assess the size, fit, and overall appearance before committing to the final print.
- Experiment with Colors and Materials: Don’t be afraid to explore different color schemes and materials for your Jibbitz. Try printing your designs in various filament colors to see how they enhance or transform the overall look. Experiment with different materials, such as translucent or glow-in-the-dark filaments, to create exciting effects.
- Gather Feedback: Once you have a few designs that you’re happy with, seek feedback from friends, family, or online communities. Their opinions and suggestions may inspire you to make further improvements or give you new ideas for your designs.
- Refine and Finalize: Based on the feedback and your own preferences, refine your designs and make any necessary adjustments. Pay attention to details, smoothness, and ergonomics to ensure that the Jibbitz are not only visually appealing but also comfortable to wear.
- Save and Organize: Save your finalized designs in a suitable file format, such as STL or OBJ, and create a well-organized folder or library for your Jibbitz designs. This ensures easy access and management of your creations for future printing.
Designing your own Jibbitz is a creative journey that allows you to express your style and individuality. Enjoy the process of exploring different designs, experimenting with colors and materials, and creating custom charms that will make a statement with every step.
Now that you’re equipped with the knowledge of designing your own Jibbitz, let’s move on to some tips and tricks for successful printing.
Tips and Tricks for Successful Printing
When it comes to 3D printing Jibbitz, there are a few tips and tricks that can help ensure successful outcomes and enhance the overall quality of your prints. Here are some tips to keep in mind:
- Calibrate Your 3D Printer: Properly calibrating your 3D printer is crucial for achieving accurate and precise prints. Take the time to calibrate your printer’s bed leveling, extruder temperature, and filament flow rate. This will help prevent issues such as warped prints or inconsistent layer adhesion.
- Choose the Right Print Settings: Experiment with different print settings to find the optimal balance between print quality and speed. Consider adjusting parameters such as layer height, print speed, and infill density to achieve the desired strength and level of detail for your Jibbitz.
- Use Supports Only When Necessary: Supports can be helpful for complex or overhanging parts of your design, but they can also be challenging to remove without damaging the charm. Try to design your Jibbitz in a way that minimizes the need for supports, or use software features that generate easily removable supports.
- Optimize Print Bed Adhesion: To ensure proper adhesion and prevent warping or shifting during printing, ensure that your print bed is clean and properly prepared. Use bed adhesives or other techniques, such as using a heated bed or applying a thin layer of glue, to improve adhesion and keep your Jibbitz securely in place.
- Consider Layer Cooling: If your printer has a cooling fan, enable it to improve print quality, especially for small or intricate details. Proper layer cooling minimizes the risk of overheating and helps maintain accurate dimensions and sharp edges in your Jibbitz.
- Post-Processing and Finishing: After printing, take the time to clean and finish your Jibbitz. Remove any supports carefully, using pliers or flush cutters, and sand down any rough edges or imperfections. Finishing touches, such as painting or applying a clear protective coating, can enhance the appearance and durability of your Jibbitz.
- Experiment with Different Filaments: Don’t limit yourself to just one type of filament. Explore different materials, such as TPU, PLA, or PETG, to achieve different textures, colors, or properties for your Jibbitz. Each filament type has its own unique characteristics, so don’t be afraid to experiment with different options.
- Keep an Eye on Print Quality: Regularly monitor the quality of your prints. Check for layer adhesion, stringing, or any other potential issues that may affect the overall finish. Make adjustments to print settings or troubleshoot any mechanical issues to ensure consistently high-quality Jibbitz.
- Document and Learn from Each Print: Keep a log or notes to document the settings and parameters used for each successful print. This will help you replicate or improve upon past successes and learn from any failures. With each print, you’ll gain valuable experience and knowledge to enhance your future Jibbitz creations.
By following these tips and utilizing best practices, you’ll be able to achieve excellent results with your 3D printed Jibbitz. Now that you’re familiar with these tips, let’s move on to the next step: removing supports and adding the finishing touches to your Jibbitz creations.
Removing Supports and Finishing Touches
Once you’ve successfully printed your Jibbitz, the next step is to remove any supports and add the finishing touches to ensure a polished final result. Here are some steps to guide you through the process:
- Carefully Inspect the Jibbitz: Examine your printed Jibbitz and identify any support structures that were used during printing. Look for areas where the supports are still attached or any residue left from the support material.
- Gently Remove Supports: Use appropriate tools such as flush cutters or pliers to carefully remove the support structures. Take your time and be cautious not to damage the Jibbitz or apply excessive force that could cause it to break.
- Sand or File Rough Edges: After removing the supports, check the Jibbitz for any rough edges or imperfections. Use sandpaper or a small file to smooth out these areas, ensuring a clean and polished finish. Be careful not to overdo it and maintain the integrity of the charm.
- Clean the Jibbitz: Once any unwanted material or rough edges are resolved, clean the Jibbitz to remove any remaining dust or debris. Use a soft cloth or rinse with mild soap and water to ensure they are free from any contaminants that may have accumulated during the printing and finishing process.
- Optional: Paint or Apply a Protective Coating: If desired, you can further enhance the appearance and durability of your Jibbitz by painting them or applying a protective coating. Acrylic paints or spray sealants can be used to add vibrant colors or a glossy finish to your Jibbitz. Allow adequate drying time before handling or attaching them to your Crocs.
- Ensure Proper Fit: Before attaching the Jibbitz to your Crocs, double-check that they fit well into the holes on the shoe strap. Test the fit and make any necessary adjustments to ensure a snug and secure attachment.
- Showcase your Jibbitz: With the supports removed and any finishing touches complete, it’s time to proudly attach your custom Jibbitz to your Crocs. Insert them into the desired holes on the shoe strap, mix and match different charms, and let your creativity and personal style shine with every step you take.
By following these steps, you’ll be able to remove supports and add the finishing touches to your 3D printed Jibbitz. Remember to take your time, be gentle in the removal process, and pay attention to the details to achieve the desired final result.
Now that your Jibbitz are ready to be showcased, let’s move on to the exciting final step: applying the Jibbitz to your Crocs.
Applying Jibbitz to Crocs
Now that you have your custom Jibbitz ready, it’s time to attach them to your Crocs and show off your unique style. Here’s how to apply Jibbitz to your Crocs:
- Prepare Your Crocs: Ensure that your Crocs are clean and dry before adding the Jibbitz. Wipe down the areas where you plan to attach the charms to remove any dirt or debris that may affect the adhesion.
- Choose the Placement: Decide where you want to place your Jibbitz on the shoe strap. You can opt for a single charm in the center of the strap or arrange multiple charms for a more eclectic look. Get creative and experiment with different combinations!
- Insert the Jibbitz: Take your Jibbitz charm and align it with the chosen hole on the strap. Gently push the charm into the hole, making sure it is securely in place. Apply slight pressure if needed to ensure a snug fit.
- Arrange Multiple Jibbitz: If you’re using multiple Jibbitz, continue inserting them into the remaining holes, following your desired arrangement. Feel free to mix and match different charms to create a unique and eye-catching combination.
- Customize and Rearrange: One of the great advantages of Jibbitz is their versatility. You can easily customize and rearrange your charms whenever you want to change up your look. Simply remove the charm from the hole, rearrange, and reinsert as desired.
- Secure Fit and Stability: Once all the Jibbitz are inserted, ensure that they are securely attached and not at risk of falling out. Give your Crocs a gentle shake or walk around to test the stability. If any charms feel loose, readjust them or consider reattaching them with a small dab of adhesive if necessary.
- Show off and Enjoy: Congratulations! You have successfully applied your custom Jibbitz to your Crocs. Now it’s time to show off your unique style and enjoy the personalized touch that these charming accessories bring to your footwear.
Remember to regularly check the Jibbitz attachment to ensure they remain secure and in place during use. If you decide to remove or change any charms, take care not to strain or damage the holes on the shoe strap.
With your Jibbitz attached, you’re ready to step out in style and showcase your creativity wherever you go!
Now that we’ve covered the process of applying Jibbitz to Crocs, let’s wrap up this guide and summarize what we’ve learned.
Conclusion
Congratulations! You have completed the journey of making Jibbitz with a 3D printer, transforming your Crocs into personalized works of art. By leveraging the power of 3D printing technology, you have unleashed your creativity and showcased your unique style through custom-made charms.
We started by exploring what Jibbitz are and why they have become such a popular accessory for Crocs enthusiasts. Then, we delved into the advantages of using a 3D printer for creating Jibbitz, including the endless design possibilities, cost-effectiveness, and customization options.
We discussed the essential materials and equipment you need for 3D printing Jibbitz, such as the 3D printer itself, filament, design software, and support removal tools. We also provided a detailed step-by-step guide to help you navigate the process of making your own Jibbitz.
Throughout the guide, we shared valuable tips and tricks for successful printing, such as calibrating your printer, choosing the right print settings, and experimenting with different filaments. We emphasized the importance of removing supports and adding finishing touches to achieve a polished final result.
Finally, we covered the process of applying your custom Jibbitz to your Crocs, allowing you to proudly display your unique style and creativity with every step you take.
Now that you have the knowledge and skills to create Jibbitz, the possibilities are endless. Let your imagination run wild as you design and print an array of Jibbitz to suit your mood, outfit, or any occasion.
Whether you’re a seasoned 3D printing enthusiast or a beginner, making Jibbitz with a 3D printer is a fun and rewarding activity that allows you to express yourself and add a personal touch to your beloved Crocs.
So, grab your 3D printer, gather your materials, and let the journey of creating unique Jibbitz begin. Unleash your creativity, showcase your individuality, and step out in style with your one-of-a-kind 3D printed Jibbitz.
Happy printing and enjoy your custom charm-adorned Crocs!