Introduction
Are you looking to connect your HDMI devices to an AV input? Perhaps you want to connect your modern gaming console to an older television or DVD player? Fortunately, with a little bit of know-how and some basic tools, you can easily make your own HDMI to AV cable. In this guide, we will walk you through the steps to create a functional HDMI to AV cable, allowing you to enjoy your favorite media on older devices.
Before we dive into the process, it’s important to mention that this DIY method is not endorsed by manufacturers or guaranteed to work with all devices. Some modern HDMI devices may not be compatible with traditional AV inputs due to differences in signal formats. It is always advisable to check your device’s compatibility and consult the manufacturer’s guidelines before attempting any modifications.
That being said, making your own HDMI to AV cable can be a cost-effective alternative to purchasing expensive adapters or converters. Plus, it’s a rewarding DIY project that allows you to learn more about the inner workings of your devices.
In this guide, we will outline the materials needed and the step-by-step process to create your HDMI to AV cable. So, let’s gather our tools and get started!
Materials Needed
Before you begin making your own HDMI to AV cable, make sure you have the following materials and tools on hand:
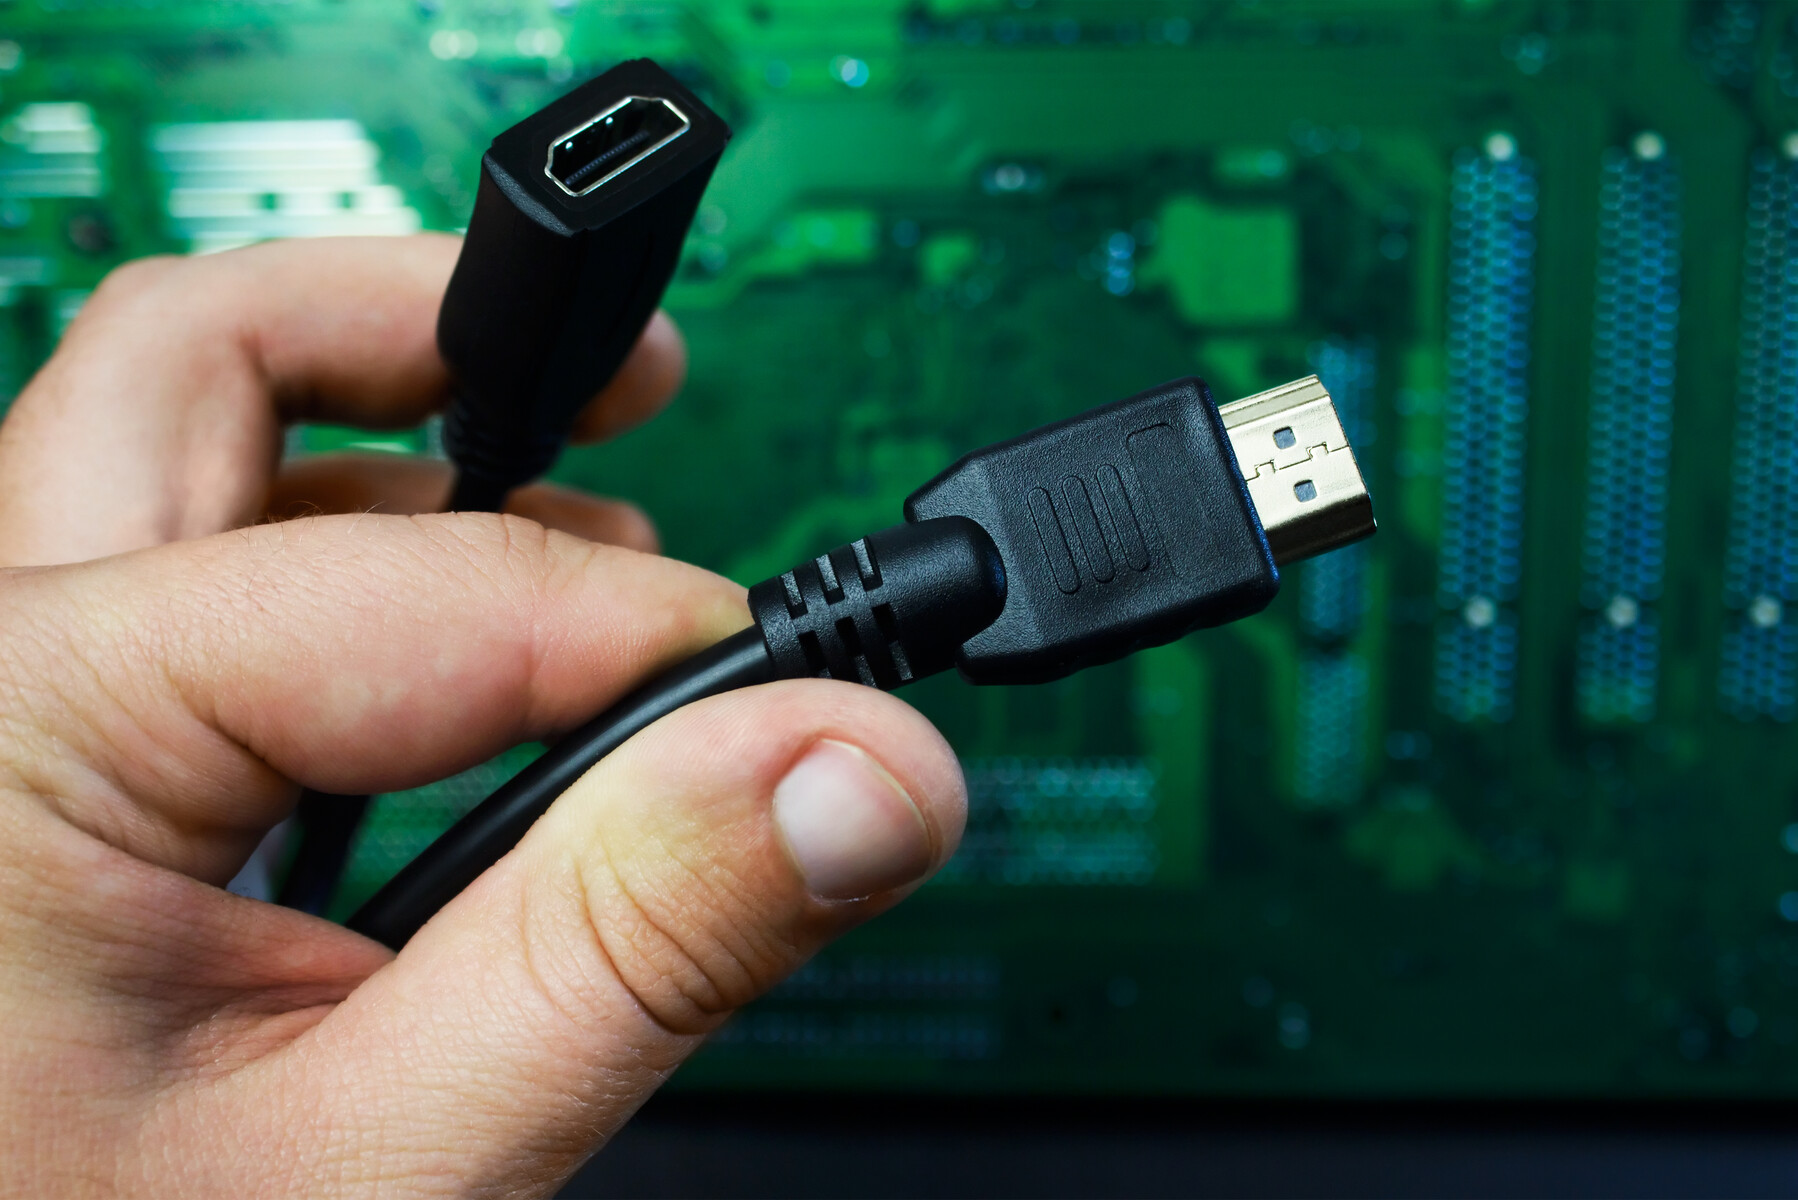
- HDMI male-to-male cable
- AV composite video cable (with RCA connectors)
- Wire cutters/strippers
- Soldering iron
- Solder
- Heat shrink tubing
- Electrical tape
These materials are essential for the cable-making process, ensuring a secure and reliable connection between your HDMI and AV devices.
When selecting your HDMI cable, it’s important to choose a high-quality cable that meets your specific needs. Opt for a long enough cable to connect your devices while allowing for flexibility in placement. Additionally, ensure that the AV composite video cable has the appropriate RCA connectors for your AV device. These cables are typically color-coded: yellow for video, and red and white for audio.
Wire cutters/strippers are necessary for cutting and stripping the wires in the HDMI and AV cables, making the necessary connections. A soldering iron and solder are used to create secure connections between the wires, ensuring optimal signal transmission. Heat shrink tubing provides insulation and protection for the connections, while electrical tape can also be used as an alternative.
Once you have these materials ready, you’re all set to move on to the next step.
Step 1: Gather Necessary Tools and Equipment
Before diving into the process of making your HDMI to AV cable, it is crucial to gather all the necessary tools and equipment. Having everything readily available will make the process smoother and more efficient.
Here’s what you’ll need:
- HDMI male-to-male cable
- AV composite video cable (with RCA connectors)
- Wire cutters/strippers
- Soldering iron
- Solder
- Heat shrink tubing
- Electrical tape
The HDMI male-to-male cable is essential for connecting the HDMI output of your source device to the AV input of the destination device. Ensure that the cable is of good quality and suitable length for your needs.
Next, you’ll need an AV composite video cable with RCA connectors. This cable will transmit the audio and video signals from the destination AV device. Make sure the RCA connectors match the AV inputs of your device, with the yellow connector for video and red/white connectors for audio.
Wire cutters/strippers are necessary for cutting and stripping the wires in the HDMI and AV cables. This step allows for the proper connection of wires during the assembly process.
A soldering iron and solder are vital for creating secure connections between the wires. These tools ensure a strong and reliable connection, minimizing the risk of signal loss or interference.
Heat shrink tubing is used to insulate and protect the soldered connections. It provides a secure covering that prevents short-circuits and maintains the integrity of the cable. However, if heat shrink tubing is not available, electrical tape can be used as an alternative.
With all the tools and equipment gathered, you are now ready to proceed to the next steps of creating your own HDMI to AV cable.
Step 2: Cut the HDMI Cable and AV Cable
Once you have gathered all the necessary tools and equipment, it’s time to cut the HDMI and AV cables to prepare them for the connection process.
Follow these steps:
- Using your wire cutters/strippers, carefully cut the HDMI cable and the AV composite video cable to the desired length. Ensure that the length allows for easy connection between the devices while providing flexibility in placement.
- Once you have cut the cables, gently strip the outer insulation of both cables to expose the inner wires. Be cautious while stripping to avoid damaging the wires inside.
- Take a moment to inspect the exposed wires to ensure they are intact and not frayed or damaged. If any wires are damaged, it’s best to cut them off and strip the insulation again for a clean and reliable connection.
It’s important to note that the number of wires within the HDMI cable may vary depending on the specific model. However, you will typically find separate wires for video, audio, and other data signals.
When cutting the AV composite video cable, keep in mind that it usually consists of three wires: yellow for video and red/white for audio. Make sure to handle these wires with care to avoid altering their integrity.
By cutting and preparing both the HDMI and AV cables, you have now set the foundation for the next steps of creating your HDMI to AV cable. Let’s move on to the next step and start connecting the wires.
Step 3: Expose the Wires in the HDMI Cable
Now that you have cut the HDMI cable to the desired length, it’s time to expose the wires within. This step is crucial for identifying and connecting the necessary wires for the HDMI to AV conversion.
Follow these steps to expose the wires in the HDMI cable:
- Using your wire cutters/strippers, carefully strip the outer insulation of the HDMI cable. Take care not to cut into the inner wires while doing this.
- After stripping the outer insulation, you will find multiple smaller wires within the HDMI cable. These wires are color-coded according to their purpose.
- Inspect the exposed wires and identify the following colors:
- Red or pink: this wire carries the +5V power signal
- Green, blue, and red: these wires carry the video signals
- White and yellow: these wires transmit the audio signals
- Additional wires: there may be additional wires in the HDMI cable for other data signals or shielding purposes. While these wires are not necessary for the HDMI to AV conversion, it’s important to be aware of them.
- Take note of the specific colors and their corresponding functions, as you will need this information for the subsequent steps.
By exposing the wires in the HDMI cable and familiarizing yourself with their colors and functions, you are now ready to move on to the next steps of creating your HDMI to AV cable. In the next step, you will expose the wires in the AV composite video cable. Let’s continue the process!
Step 4: Expose the Wires in the AV Cable
After exposing the wires in the HDMI cable, the next step is to expose the wires in the AV composite video cable. This will allow you to connect the appropriate wires for the HDMI to AV conversion.
Follow these steps to expose the wires in the AV cable:
- Using your wire cutters/strippers, gently strip the outer insulation of the AV composite video cable, being careful not to damage the inner wires. Take your time to ensure a clean and precise strip.
- Once the outer insulation is stripped, you will find three wires inside the AV cable. These wires are color-coded and have specific functions:
- Yellow wire: carries the video signal
- Red wire: carries the right audio channel signal
- White wire: carries the left audio channel signal
- Inspect the exposed wires and verify that they are intact and not frayed or damaged. If any wires are damaged, it’s best to cut them off and strip the insulation again for a clean connection.
It’s important to note that the colors mentioned above are commonly used for AV composite video cables. However, depending on the specific cable you have, the wire colors may vary. Always double-check the color-coding of your AV cable to ensure accurate connections.
By exposing the wires in the AV cable and understanding their color-coded functions, you are now ready to proceed to the next step: connecting the wires to create your own HDMI to AV cable. Let’s move on!
Step 5: Connect the Wires
With the HDMI and AV cables prepared, it’s time to connect the wires and create the necessary connections for the HDMI to AV conversion.
Follow these steps to connect the wires:
- Refer to the color-coded wires in both the HDMI and AV cables:
- Connect the green wire from the HDMI cable to the yellow wire in the AV cable. This will transmit the video signal from the HDMI source to the AV device.
- Connect the red wire from the HDMI cable to the red wire in the AV cable. This will transmit the right audio channel signal.
- Connect the white wire from the HDMI cable to the white wire in the AV cable. This will transmit the left audio channel signal.
- Ensure a secure connection by soldering the wires together. We recommend applying a small amount of solder to each connection point while avoiding excessive heat that could damage the cables.
- After soldering, insulate each connection by sliding a suitable length of heat shrink tubing over the soldered area. Use a heat source, such as a heat gun or a lighter, to shrink the tubing and create a protective covering over the connections.
- If heat shrink tubing is not available, you can use electrical tape to insulate the connections. Wrap the tape tightly around each connection, ensuring that there are no exposed wires.
Remember to take your time and ensure clean and secure connections. Properly connecting the wires will guarantee optimal signal transmission between your HDMI and AV devices.
With the wires successfully connected and insulated, you are now one step closer to having your functional HDMI to AV cable. In the next step, we will discuss how to insulate the connections properly for long-term use. Let’s proceed!
Step 6: Insulate the Connections
After connecting the wires, it’s essential to properly insulate the connections to ensure long-term functionality and reliability of your DIY HDMI to AV cable.
Follow these steps to insulate the connections:
- If you haven’t already done so, slide a suitable length of heat shrink tubing over each soldered connection. The heat shrink tubing should be long enough to cover the entire soldered area.
- Apply heat to the tubing using a heat gun or a lighter. Be cautious not to apply excessive heat, which could damage the cables or melt the tubing. The heat will cause the tubing to shrink and tightly encase the soldered connections, providing insulation and protection against external elements.
- Ensure that the heat shrink tubing covers the entire soldered area and extends a bit beyond it. This will prevent any accidental contact with the exposed wires.
- If you do not have heat shrink tubing available, an alternative method is to use electrical tape to insulate the connections. Begin by wrapping electrical tape tightly around each soldered connection, making sure there are no exposed wires. Continue wrapping the tape a few inches beyond the soldered area to provide ample insulation.
- Press down firmly on the electrical tape to ensure a secure and tight seal. Make sure there are no gaps or loose ends that could potentially expose the connections.
Proper insulation is crucial for maintaining the integrity of the connections and preventing any signal loss or interference. Whether you use heat shrink tubing or electrical tape, the goal is to create a protective barrier that safeguards the connections from damage or external factors.
With the connections insulated, your DIY HDMI to AV cable is almost complete. In the final step, we will discuss how to test the cable to ensure its functionality. Let’s move on!
Step 7: Test the Cable
Now that you have completed the process of creating your DIY HDMI to AV cable, it’s time to test its functionality and ensure that the connection is working as intended.
Follow these steps to test the cable:
- Connect one end of your HDMI to AV cable to the HDMI output port of your source device, such as a gaming console or media player.
- Connect the other end of the cable to the AV input port of your destination device, typically an older television or DVD player.
- Power on both devices and ensure they are properly set up.
- Select the appropriate input source on your destination device. This may involve navigating through its menu options or using a designated input button on the remote control.
- If everything is connected correctly, you should now see and hear the content from your source device on the screen and speakers of your destination device.
During the testing phase, pay attention to the quality of the video and audio signals. Look for any distortions, color issues, or audio discrepancies. If you encounter any issues, double-check the connections and verify that the wires are securely attached and properly insulated.
It’s worth mentioning that not all HDMI devices are fully compatible with all AV inputs, and vice versa. Some devices may have specific requirements or limitations when it comes to signal formats or resolutions. If the test does not yield the desired results, consult the user manuals or contact the respective manufacturers for further guidance.
By testing the cable, you can ensure that it is functioning properly and delivering the expected audio and video signals to your AV device. If the test is successful, congratulations! You have successfully created your own HDMI to AV cable!
With the cable tested and working, you can now enjoy your favorite media on older AV devices that do not have HDMI inputs. Just sit back, relax, and immerse yourself in the content.
Conclusion
Creating your own HDMI to AV cable can be a rewarding and cost-effective solution for connecting modern HDMI devices to older AV inputs. By following the step-by-step process outlined in this guide, you have successfully made your DIY cable.
Throughout the process, you gathered the necessary tools and materials, cut and exposed the wires in both the HDMI and AV cables, connected the wires, insulated the connections, and tested the functionality of the cable. Now, you can enjoy the convenience of connecting your HDMI devices to AV devices and experience your favorite media on older screens or speakers.
It’s important to remember that this DIY method may not be endorsed by manufacturers and may not work with all devices. Always check the compatibility and guidelines of your specific devices before attempting any modifications.
By making your own HDMI to AV cable, you’ve gained insight into the inner workings of your devices and expanded your technical skills. Additionally, you’ve saved money by avoiding the need to purchase expensive adapters or converters.
As technology continues to evolve, it’s useful to have the ability to adapt and connect different devices. Creating your own cables enhances versatility and allows you to make the most of your existing devices, extending their lifespan and functionality.
Remember to share your newfound knowledge with others who may be interested in creating their own HDMI to AV cables. They too can enjoy the benefits of this DIY project.
Now that you have successfully completed your cable, go ahead and connect your HDMI and AV devices. Immerse yourself in the entertainment experience and enjoy the seamless connection between your devices!