Introduction
Welcome to this step-by-step guide on how to make an AC coil using a CPU cooler. If you’re looking for a cost-effective way to cool down your living space during those scorching summer days, this DIY project is perfect for you. By repurposing a CPU cooler, you’ll be able to create an effective and efficient cooling system that provides refreshing air circulation.
AC coils are an integral part of air conditioning systems as they help transfer heat and facilitate the cooling process. While professional AC coils can be expensive, we’ll show you how to create your own at a fraction of the cost using a CPU cooler.
Not only is this DIY project budget-friendly, but it also allows you to unleash your creativity and engineering skills. By following these step-by-step instructions, you’ll have your custom-made AC coil up and running in no time.
Before we dive into the details, it’s important to mention that safety should be your top priority throughout this process. Ensure you have the necessary safety gear, such as gloves and goggles, and exercise caution when handling any electrical components.
So, if you’re ready to tackle this exciting DIY project, let’s gather the materials needed for creating your very own AC coil using a CPU cooler.
Materials Needed
Before you start building your AC coil using a CPU cooler, make sure you have the following materials on hand:
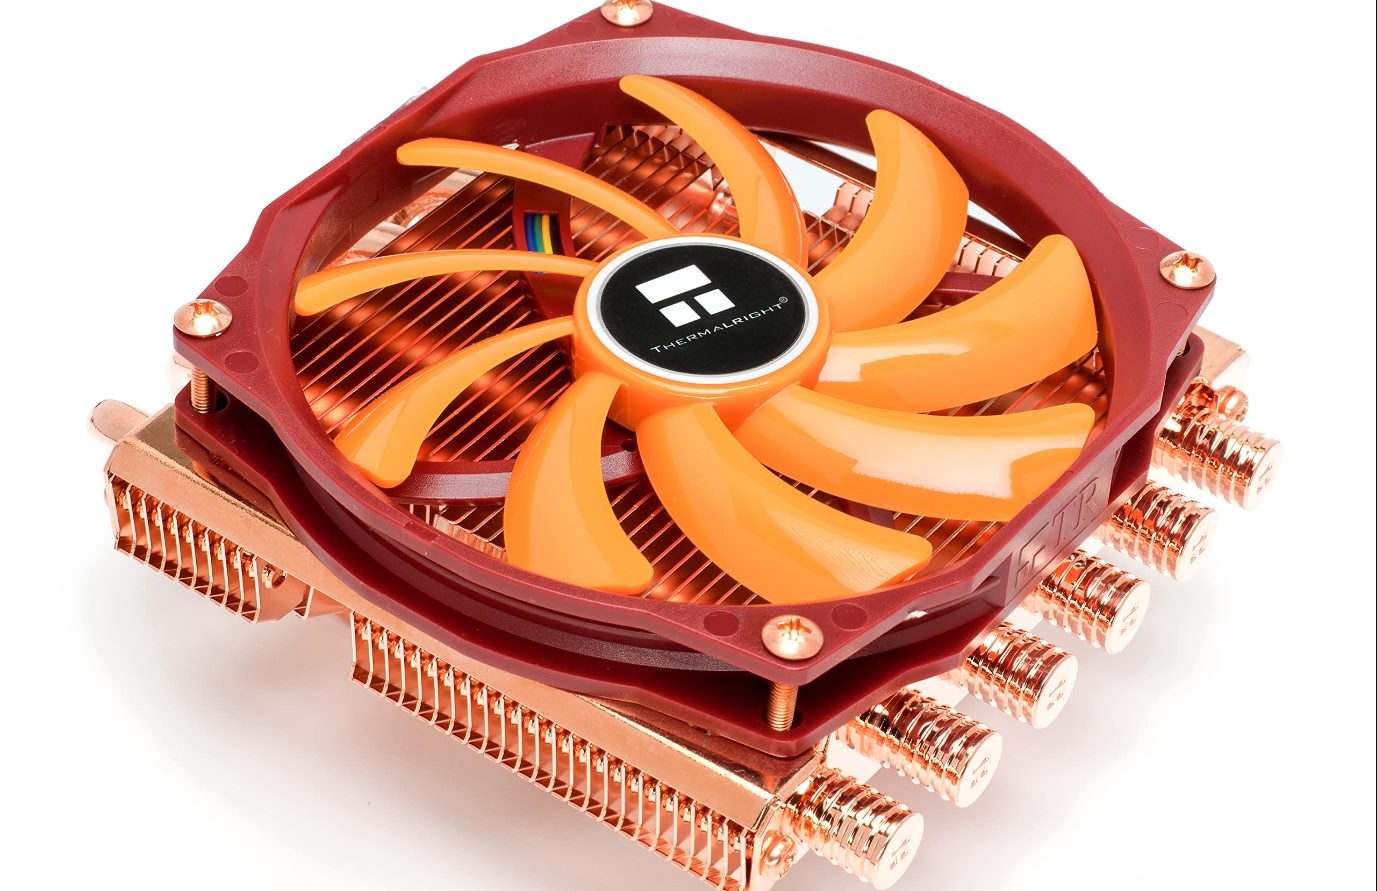
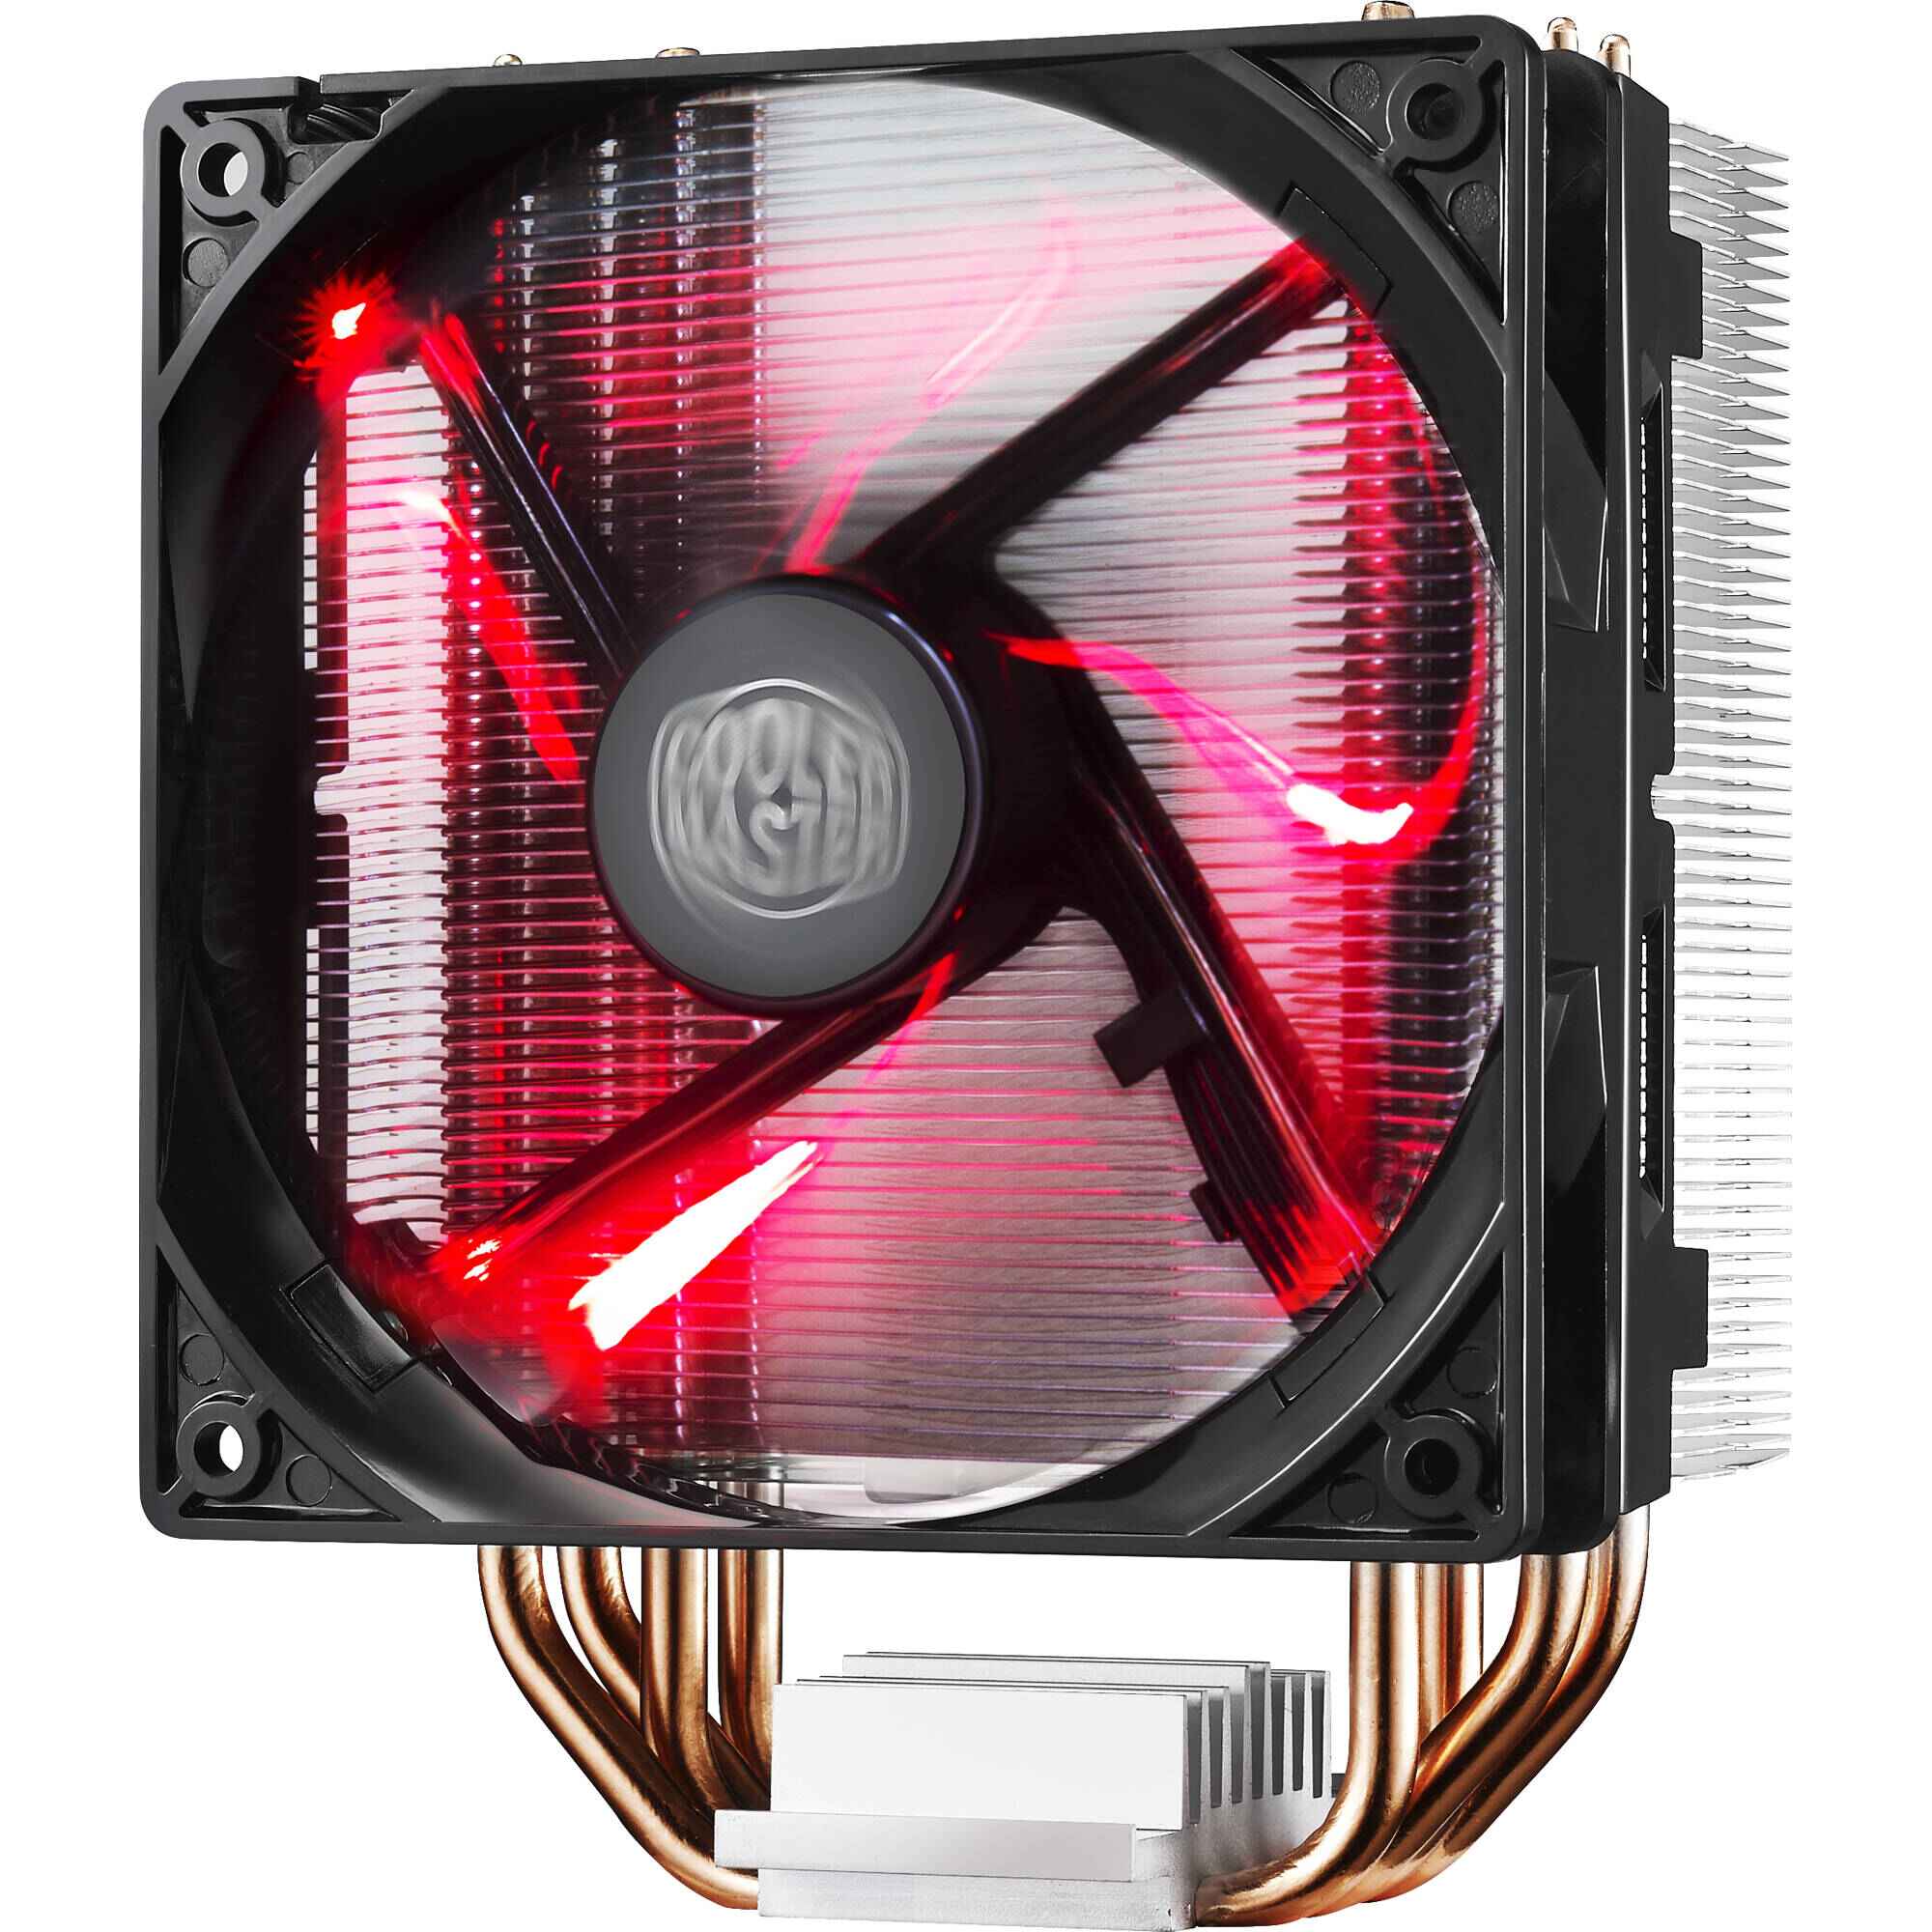
- A CPU Cooler: Look for a cooler with a copper base, as it offers better heat conduction. You can find one at your local computer hardware store or online.
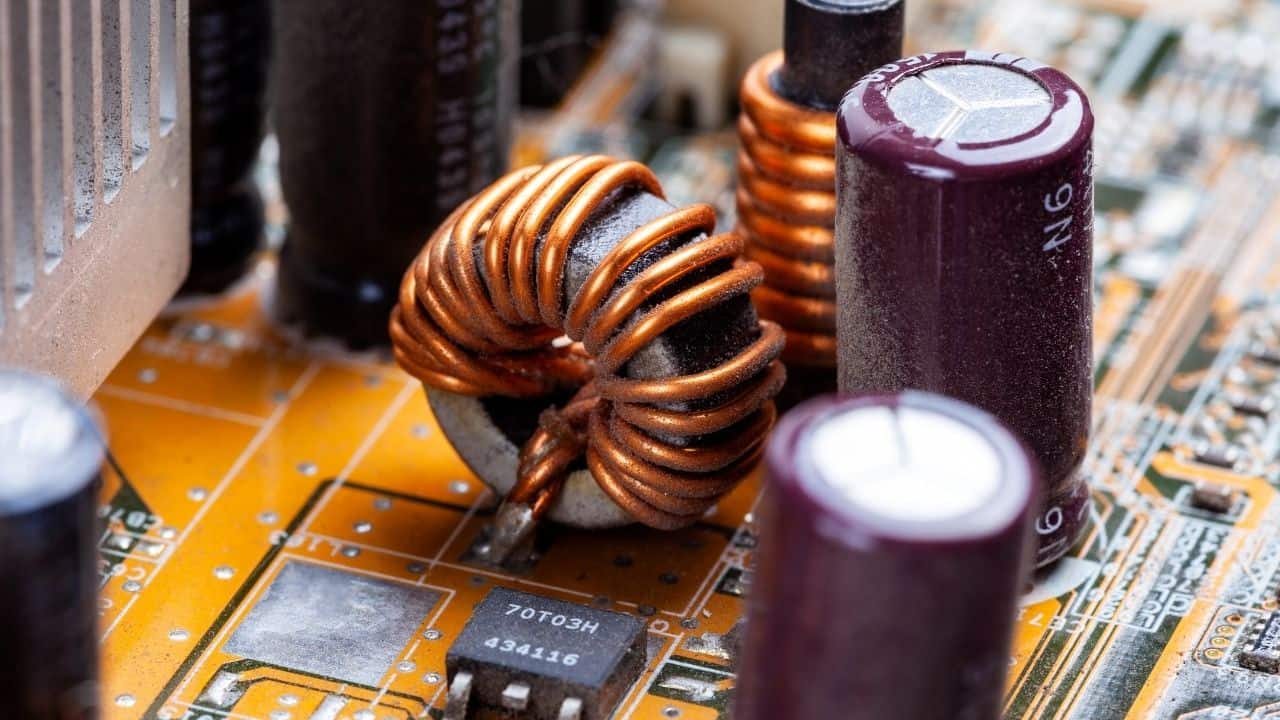
- An Aluminum Coil: This will act as the cooling surface of your AC coil. The size of the coil should be compatible with the dimensions of the CPU cooler.
- Thermal Paste: You’ll need this to ensure proper heat transfer between the CPU cooler and the aluminum coil.
- Electrical Wires: Choose wires that are suitable for carrying current and have the appropriate gauge for your setup.
- A Power Source: You’ll need a power supply to connect your AC coil. This can be an outlet or a battery pack, depending on your preference and setup.
- Insulating Tape: This will be used to secure the wires and provide insulation.
- Safety Gear: Protect yourself by wearing gloves and goggles throughout the project.
Now that you have gathered the necessary materials, it’s time to dive into the step-by-step process of assembling your AC coil using a CPU cooler. Follow along carefully to ensure a successful outcome.
Step 1: Gather the Components
Before you begin the assembly process, it’s important to gather all the necessary components for building your AC coil. Ensure that you have the following items on hand:
- CPU Cooler: Start by selecting a CPU cooler with a copper base. This is essential for efficient heat conduction. You can find CPU coolers at computer hardware stores or online.
- Aluminum Coil: Choose an aluminum coil that matches the dimensions of your CPU cooler. This will serve as the cooling surface for your AC coil.
- Thermal Paste: This paste is crucial for ensuring optimal heat transfer between the CPU cooler and the aluminum coil. Make sure you have enough to apply a thin layer.
- Electrical Wires: Select high-quality wires that are capable of carrying current. Consider the gauge of the wires to ensure they can handle the necessary load.
- Power Source: Decide on the power source for your AC coil. This can be an outlet or a battery pack, depending on your preference and the intended use of the cooling system.
- Insulating Tape: Secure the wires in place and provide insulation using insulating tape. This will help prevent any electrical mishaps and ensure safety.
- Safety Gear: As always, prioritize safety by wearing gloves and goggles to protect yourself during the assembly process.
Having all these components ready will streamline the assembly process and ensure a smooth construction of your AC coil. Once you have everything gathered, you’re ready to proceed to the next step: disassembling the CPU cooler.
Step 2: Disassemble the CPU Cooler
Now that you have all the necessary components, it’s time to disassemble the CPU cooler. Follow these step-by-step instructions to ensure a smooth disassembly:
- Power Off: Before you begin, make sure your computer is powered off and unplugged from the power source. This will ensure your safety throughout the disassembly process.
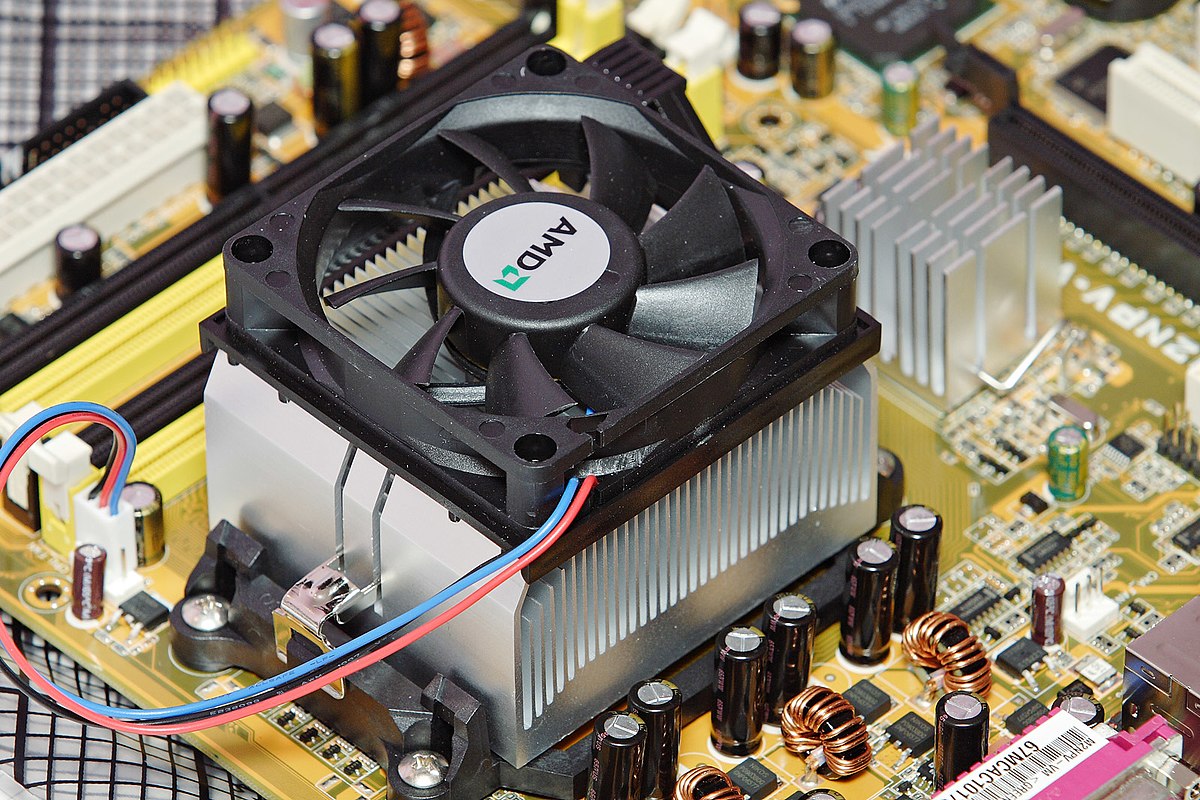
- Remove the Cooler: Start by locating the CPU cooler in your computer. It is usually found on top of the CPU. Carefully unscrew the cooler from the motherboard using a screwdriver.
- Detach the Fan: Once the CPU cooler is removed, locate the fan attached to it. Gently unplug the fan connector from the motherboard to detach it from the cooler.
- Separate the Heatsink: The CPU cooler consists of a heatsink and a fan. Use a screwdriver to remove any screws or clips holding the heatsink in place. Carefully detach the heatsink from the CPU cooler.
- Clean the Cooler: Take this opportunity to clean the CPU cooler. Remove any dust or debris using compressed air or a soft cloth. Ensure that the cooler is completely clean before proceeding to the next step.
With the CPU cooler disassembled, you are now ready to move on to the next step: removing the fan. This will allow you to prepare the cooler for attaching the aluminum coil, which is essential for creating an efficient AC coil.
Step 3: Remove the Fan
Now that the CPU cooler is disassembled, it’s time to remove the fan. Follow these steps to effectively detach the fan from the cooler:
- Locate the Fan: Identify the fan attached to the CPU cooler. It is usually situated on top of the heatsink and connected to the motherboard via a fan connector. Take note of how it is secured in place.
- Unplug the Fan Connector: Carefully unplug the fan connector from the motherboard. Gently wiggle the connector back and forth, pulling it straight up to detach it from its socket.
- Remove the Fan Screws or Clips: Once the connector is detached, locate any screws or clips securing the fan to the heatsink or cooler body. Use a screwdriver or your fingers to remove these screws or unfasten the clips.
- Detach the Fan: With the screws or clips removed, carefully lift the fan away from the cooler. Be gentle to avoid damaging the fan blades or any other components.
- Clean the Fan: Take this opportunity to clean the fan by using compressed air or a soft brush to remove any dust or debris. Ensure that the fan is free from any obstructions before moving on to the next step.
By removing the fan, you have prepared the CPU cooler for the next crucial step – attaching the aluminum coil. This coil will serve as the cooling surface for your AC coil, facilitating efficient heat transfer. So, let’s move on to step 4 and get closer to completing your DIY AC coil!
Step 4: Attach the Aluminum Coil
With the fan removed, it’s time to attach the aluminum coil to the CPU cooler. Follow these steps to ensure a secure and effective connection:
- Prepare the Surface: Start by cleaning the copper base of the CPU cooler. Use a soft cloth or a cotton swab dipped in isopropyl alcohol to remove any dirt or residue. Ensure that the surface is smooth and free from any debris.
- Apply Thermal Paste: Apply a thin layer of thermal paste on the copper base of the CPU cooler. This paste helps enhance heat transfer between the cooler and the aluminum coil, ensuring efficient cooling.
- Position the Aluminum Coil: Take the aluminum coil and carefully position it on top of the CPU cooler. Adjust its placement to align properly with the cooler’s dimensions. Ensure that the coil’s surface makes full contact with the thermal paste on the copper base.
- Secure the Aluminum Coil: Use clips or screws (depending on the design of your CPU cooler) to firmly secure the aluminum coil in place. Ensure that the coil is tightly attached, without any gaps or loose ends.
- Inspect the Connection: Double-check the attachment of the aluminum coil to the CPU cooler. Ensure that it is securely fastened and that the thermal paste is evenly distributed between the coil and the copper base.
The aluminum coil serves as the cooling surface for your AC coil, enabling effective heat dissipation. Its close contact with the CPU cooler ensures efficient heat transfer, making it an integral part of your DIY AC coil. With the coil attached, you’re now ready to move on to the next step: reassembling the CPU cooler.
Step 5: Reassemble the Cooler
With the aluminum coil securely attached to the CPU cooler, it’s time to reassemble the cooler. Follow these steps to ensure a smooth and proper reassembly:
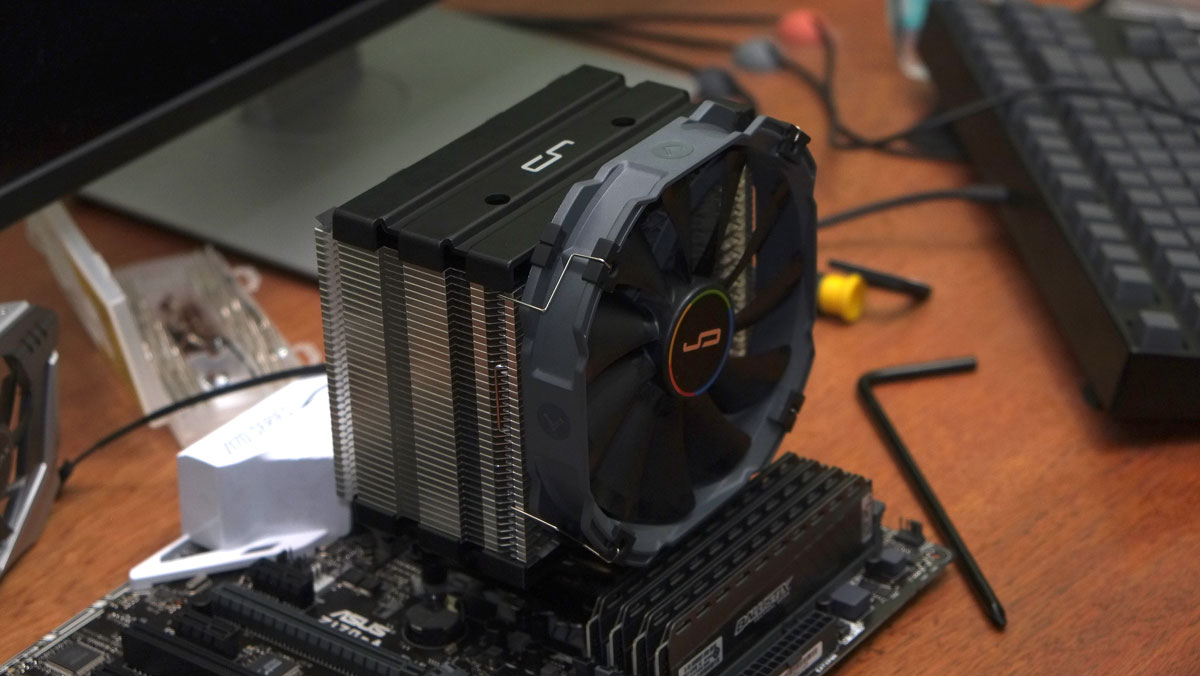
- Place the Heatsink: Take the heatsink that you previously detached and carefully position it back onto the CPU cooler. Ensure that it sits flush and aligns with the mounting holes or clips.
- Secure the Heatsink: Use a screwdriver or your fingers to fasten the screws or clips and secure the heatsink back onto the CPU cooler. Ensure that it is firmly attached and doesn’t wobble.
- Reattach the Fan: Now, it’s time to reattach the fan to the CPU cooler. Align the fan with the mounting holes or clips on the heatsink or cooler body. Use screws or clips (depending on the design) to securely fasten the fan in place.
- Connect the Fan: Plug the fan connector back into the appropriate motherboard socket. Make sure it is fully inserted and secure.
- Double-Check the Connections: Take a moment to double-check all the connections. Ensure that the heatsink, fan, and aluminum coil are securely attached and aligned.
By reassembling the cooler, you have restored its functionality and prepared it for efficient cooling. The fan will help circulate air over the aluminum coil, facilitating effective heat dissipation. Now that the cooler is reassembled, you’re one step closer to completing your homemade AC coil. Next, we’ll move on to connecting the coil to power.
Step 6: Connect the Coil to Power
With the cooler fully reassembled, it’s time to connect the aluminum coil to a power source. Follow these steps to safely and effectively power your AC coil:
- Select a Power Source: Determine whether you will be connecting your AC coil to an electrical outlet or a battery pack. Make sure the power source is appropriate for the voltage and current requirements of your setup.
- Prepare the Wires: Strip the ends of the electrical wires using wire strippers to expose a small length of bare wire. This will allow for proper electrical connections.
- Connect the Wires: Identify the positive (+) and negative (-) terminals of your power source. Connect one end of each wire to these terminals, ensuring a secure connection.
- Connect the Other Ends: Attach the other ends of the wires to the aluminum coil. One wire should be connected to a designated positive point, while the other goes to a negative point. Make sure the connections are tight and secure.
- Secure and Insulate: Use electrical tape to secure the wire connections and provide insulation. Wrap the tape around the exposed wire and the connection points to prevent any electrical mishaps.
- Ensure Safety: Before powering on your AC coil, double-check all the connections to ensure they are secure and insulated. Make sure there are no exposed wires or loose connections that could cause electrical hazards.
By correctly connecting the aluminum coil to a power source, you are one step away from enjoying the cooling benefits of your homemade AC coil. Next, we’ll move on to setting up the cooling system for optimal performance.
Step 7: Set Up the Cooling System
Setting up the cooling system is an essential step to ensure that your homemade AC coil operates efficiently. Follow these steps to create an optimal cooling setup:
- Placement: Choose an appropriate location to set up your AC coil. It should be positioned in an area where it can easily circulate cooled air throughout the space you want to cool.
- Airflow Direction: Ensure that the airflow from the fan directs towards the aluminum coil. This will allow the cool air to pass over the coil, absorbing heat and providing a refreshing breeze.
- Optimal Cooling Conditions: To enhance cooling efficiency, place the AC coil in an area with good air circulation and minimal obstruction. Avoid placing it near heat sources or in areas with high humidity.
- Supplementary Cooling: If desired, additional fans or ventilation systems can be used to enhance the cooling effect provided by the AC coil. Experiment with different configurations to find what works best for your specific needs.
- Temperature Regulation: Consider using a thermostat or a variable power supply to adjust the cooling intensity of your AC coil. This will allow you to maintain a comfortable temperature depending on the ambient conditions.
- Monitor and Adjust: Regularly monitor the performance of your AC coil and make any necessary adjustments to optimize its cooling capabilities. Check for any signs of overheating or insufficient cooling and modify the setup accordingly.
By properly setting up your cooling system, you can maximize the effectiveness of your homemade AC coil. Let’s move on to the final step: testing the AC coil.
Step 8: Test the AC Coil
After completing the setup of your DIY AC coil, it’s time to put it to the test. Follow these steps to evaluate the performance of your AC coil:
- Power On: Connect the power source to your AC coil and turn it on. Ensure that the power supply is functioning correctly.
- Observe Airflow: Pay attention to the airflow produced by the fan. The air should be cool and refreshing as it passes over the aluminum coil. If the airflow feels warm or inadequate, double-check the connections and alignment of the components.
- Monitor Temperature: Use a thermometer or temperature gauge to measure the temperature of the air exiting the AC coil. Compare it to the ambient temperature to assess the cooling effect. Keep in mind that the cooling efficiency may vary depending on the environmental conditions.
- Adjust Settings: If necessary, adjust the power supply or any additional cooling controls to fine-tune the cooling performance. Experiment with different settings to achieve the desired cooling effect.
- Observe for Adequate Cooling: Allow the AC coil to run for a sufficient amount of time and assess its ability to lower the temperature of the surrounding area. Take note of any improvements in comfort or noticeable reduction in temperature.
By testing your AC coil, you can gauge its effectiveness and make any necessary adjustments to optimize its cooling capabilities. Enjoy the refreshing air provided by your homemade AC coil and take pride in your DIY cooling solution!
Conclusion
Congratulations on successfully creating your own AC coil using a CPU cooler! This DIY project not only saves you money by utilizing readily available materials, but it also allows you to unleash your creativity and engineering skills. With your homemade AC coil, you can enjoy the refreshing coolness during those hot summer days.
Throughout this step-by-step guide, you have learned how to gather the necessary components, disassemble and reassemble the CPU cooler, attach the aluminum coil, connect the coil to power, set up the cooling system, and test the AC coil for its cooling performance.
Remember, safety should always be a top priority. Ensure that you take the necessary precautions when handling electrical components, wear safety gear, and double-check all connections and insulation.
By following these instructions and making adjustments as needed, you can customize your AC coil to provide optimal cooling for your specific needs. Whether you’re cooling a small workspace, a bedroom, or a larger area, your homemade AC coil offers a cost-effective and efficient cooling solution.
Enjoy the comfort and relief provided by your DIY AC coil, and feel free to share your creation with friends and family. You’ve accomplished an impressive feat by turning a CPU cooler into a functional AC coil!