Introduction
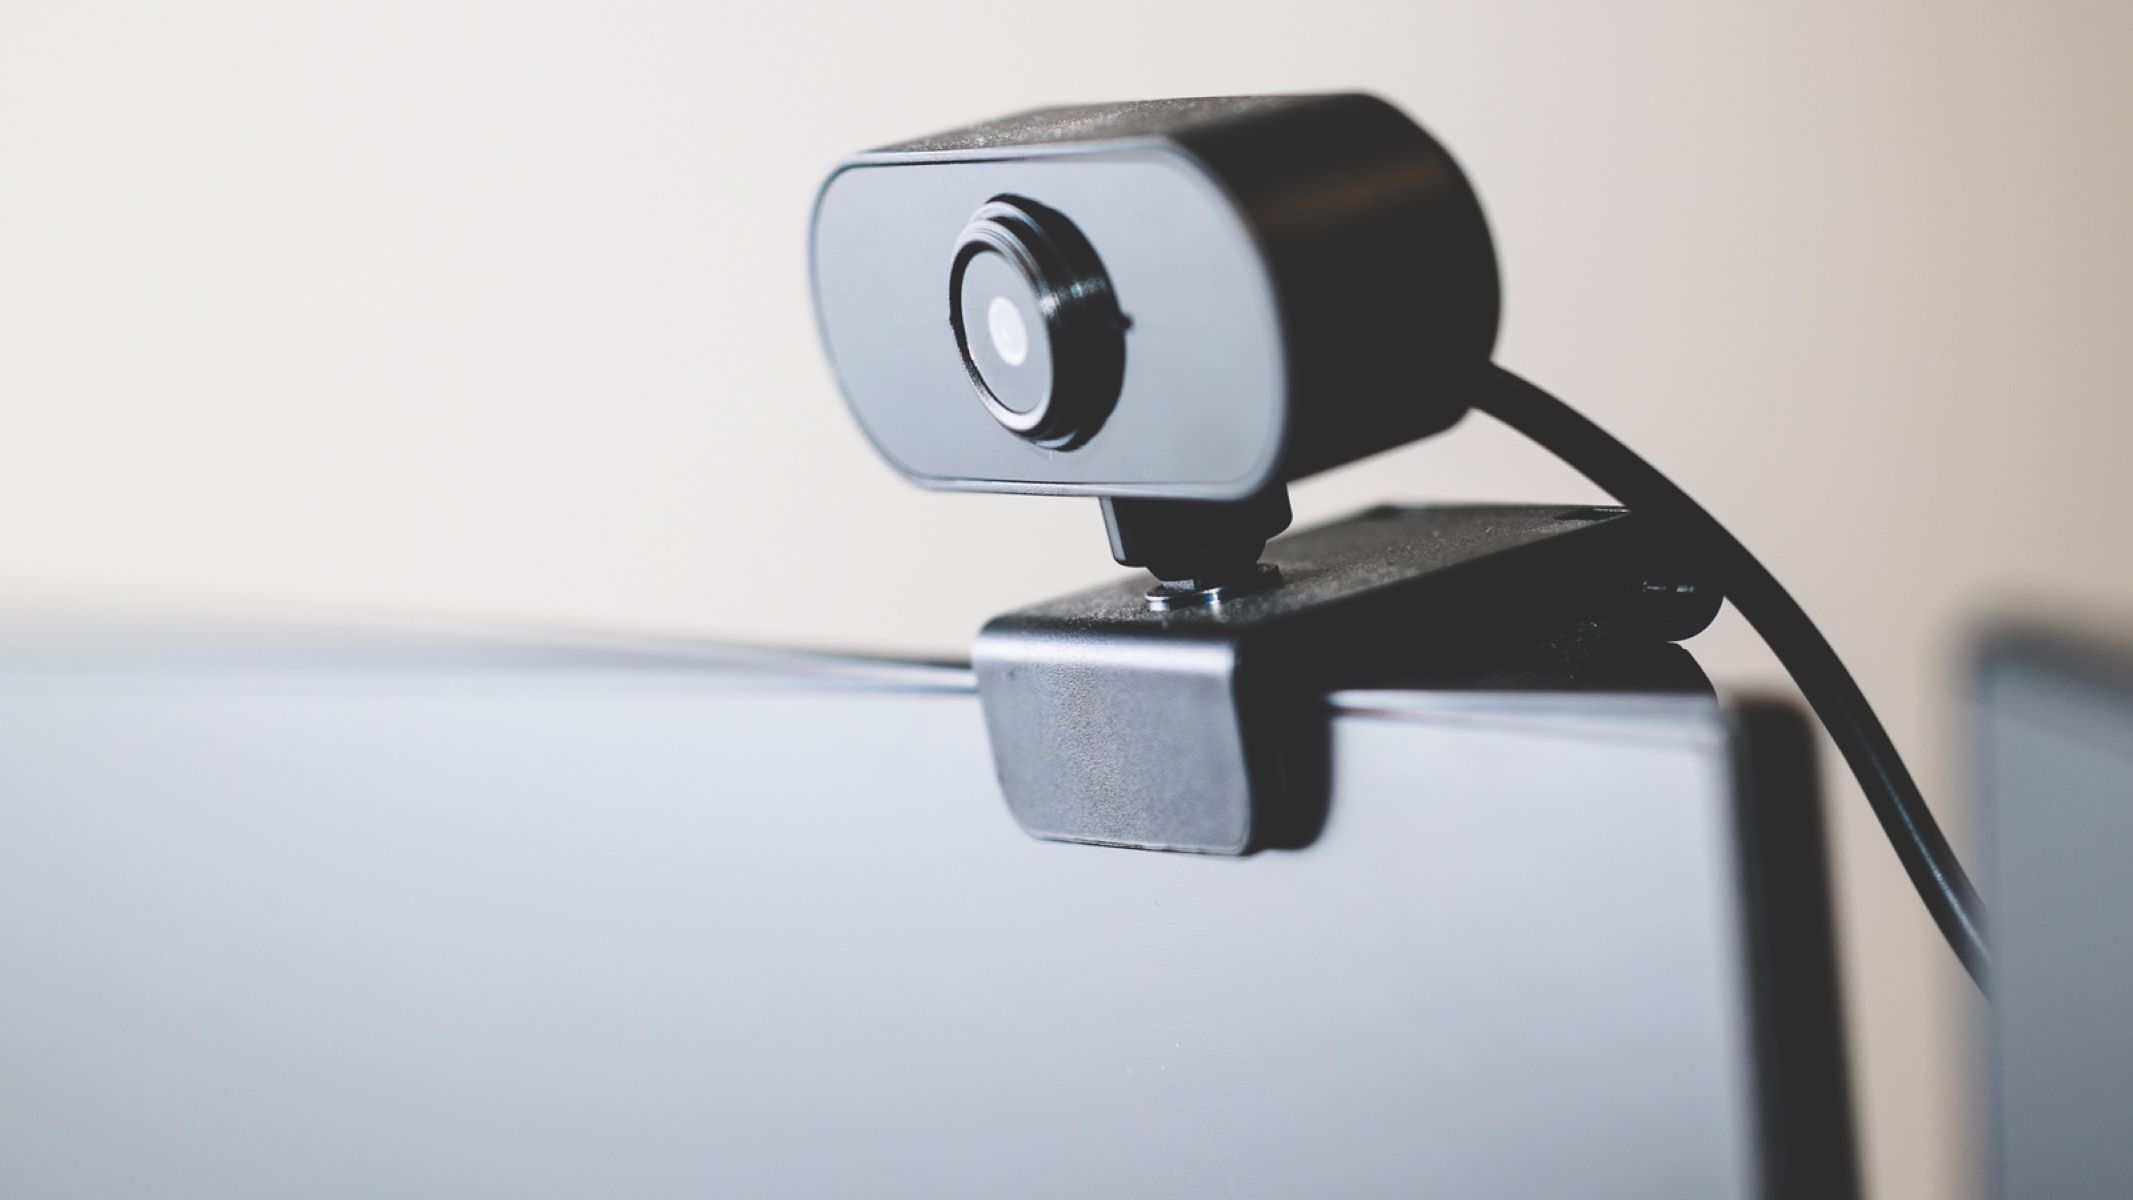
Welcome to the world of wireless webcams! Gone are the days when you had to deal with messy cables and limited mobility while using your webcam. With the advancements in technology, you can now make your webcam wireless, giving you the freedom to move around and capture moments from any angle.
Whether you’re a content creator, a remote worker, or simply someone who enjoys video chatting with loved ones, converting your webcam into a wireless device can greatly enhance your experience. In this guide, we will walk you through the steps to make your webcam wireless, allowing you to take full advantage of its capabilities.
By going wireless, you can position your webcam anywhere within the range of the wireless connection, eliminating the need to be tethered to your computer. This flexibility allows you to find the perfect angle, create dynamic shots, and easily switch between different setups without hassle.
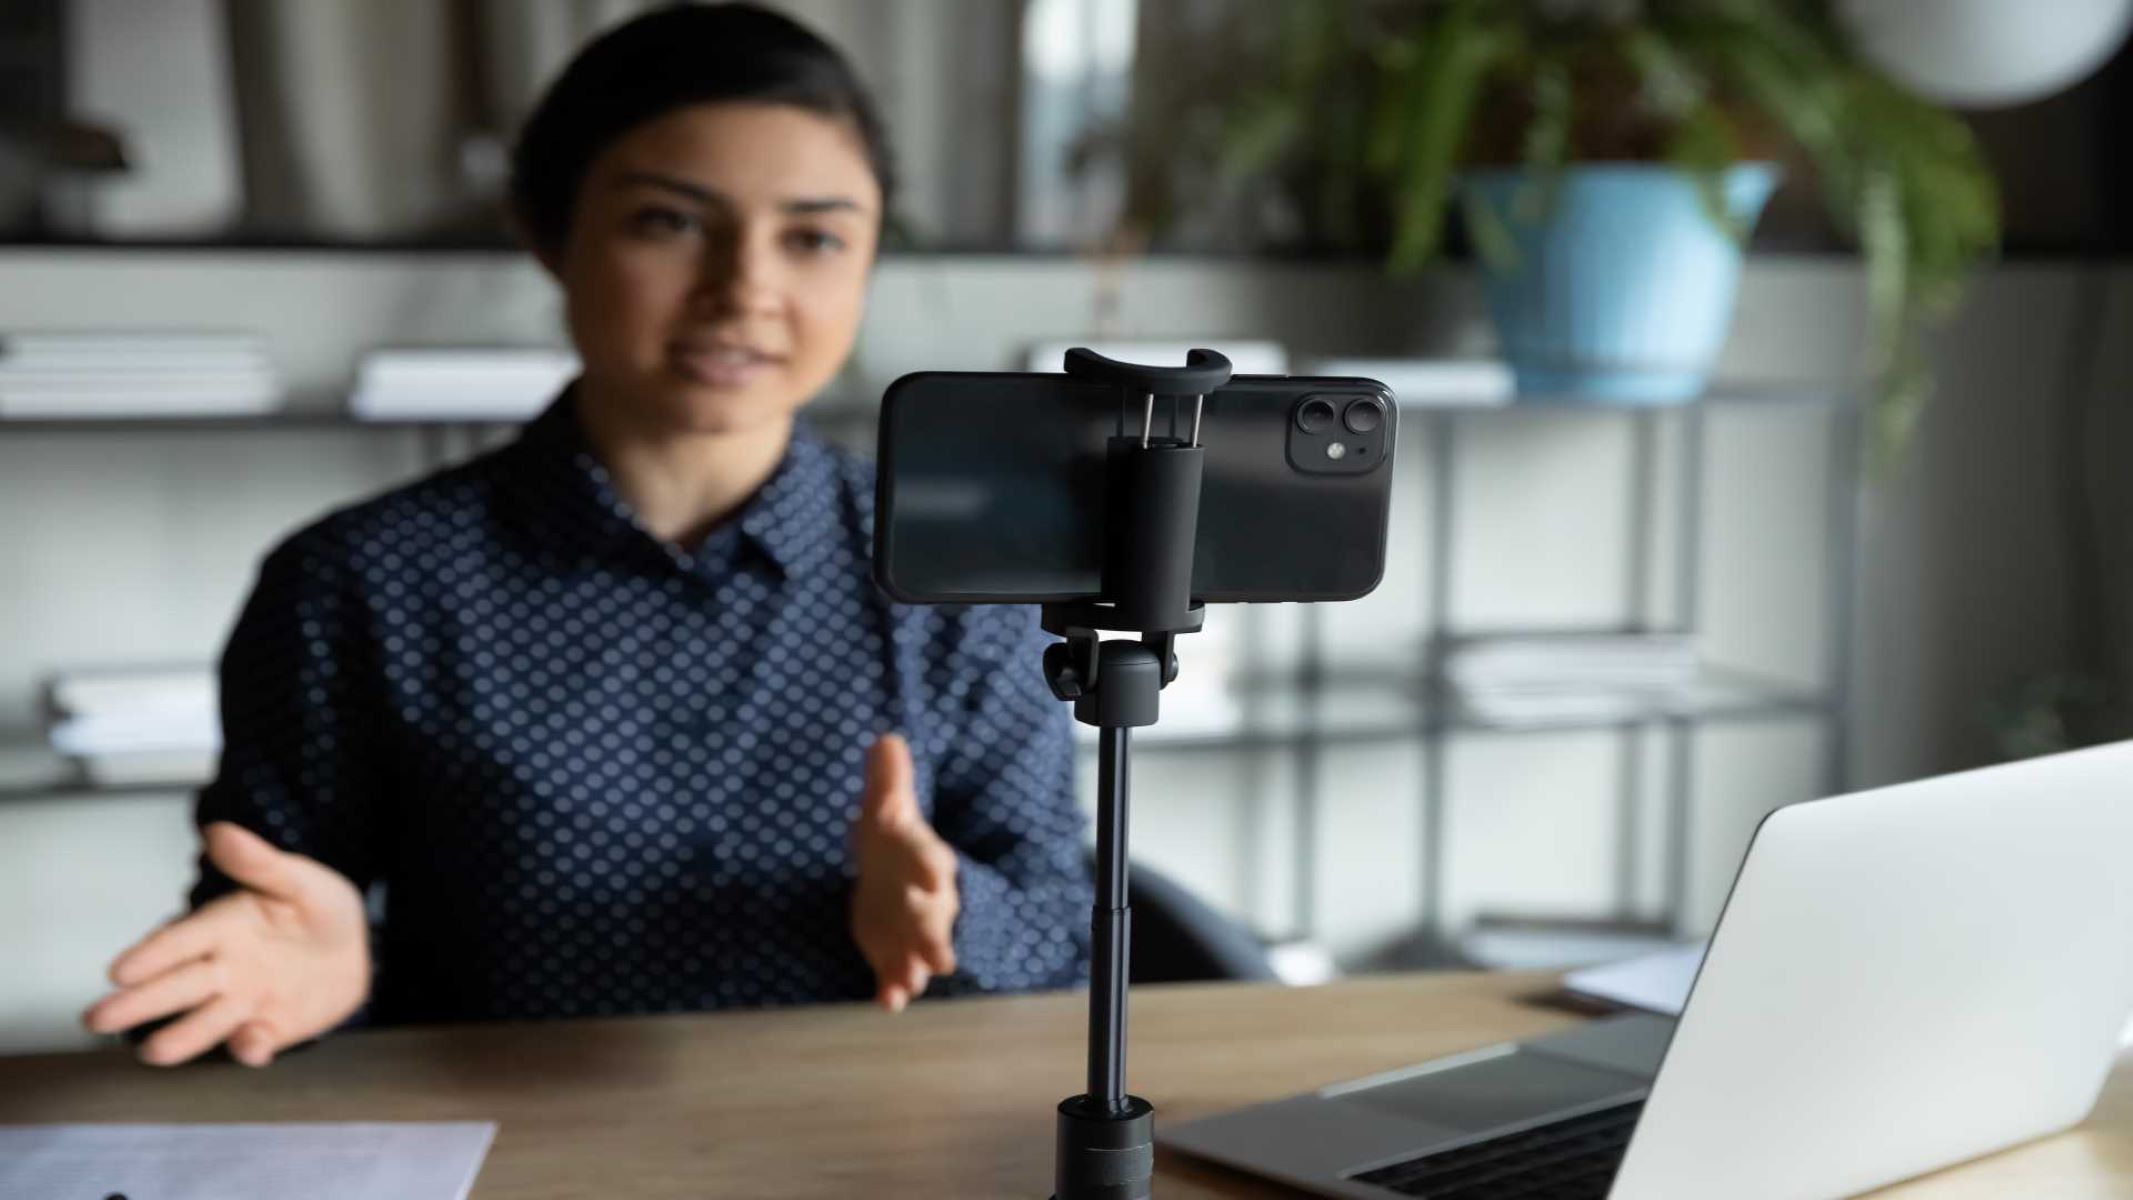
Before we delve into the technical aspects, let’s touch upon the benefits of turning your webcam wireless. Firstly, it enhances your mobility and flexibility, enabling you to record or stream from various locations within your wireless network range. Secondly, it reduces cable clutter and the need for long cable extensions, providing a clean and organized workspace. Lastly, it allows you to easily connect your webcam to multiple devices, such as laptops, tablets, or even smartphones, giving you more options for video conferencing or content creation.
While the process of making your webcam wireless may seem daunting at first, rest assured that it can be easily accomplished with the right tools and knowledge. In the following steps, we will guide you through the process, from understanding the basics to troubleshooting any issues that may arise.
So, if you’re ready to unleash the full potential of your webcam and enjoy the convenience of a wireless setup, let’s get started!
Step 1: Understand the Basics
Before diving into the process of making your webcam wireless, it’s important to familiarize yourself with the key components and concepts involved. This will give you a better understanding of how everything works together and help you make informed decisions throughout the setup process.
The first thing to understand is the difference between a wired and wireless webcam. A wired webcam is connected directly to your computer or device via a USB cable, while a wireless webcam uses a wireless connection to transmit video and audio data.
Wireless webcams typically consist of two main components: a wireless transmitter and a receiver. The transmitter is connected to the webcam, and it sends the video and audio signals wirelessly to the receiver. The receiver, in turn, is connected to your computer or device, allowing you to view and interact with the webcam’s feed.
When it comes to wireless webcams, there are a few different types available. One common option is a wireless webcam kit that includes both the transmitter and the receiver. These kits are designed to be easy to set up and provide a reliable wireless connection. Alternatively, you can also purchase separate wireless transmitters and receivers if you prefer a more customizable setup.
Before making a purchase, it’s essential to check the compatibility of the wireless webcam kit or individual components with your specific webcam and computer or device. Ensure that they support the necessary protocols and standards, such as USB connectivity and Wi-Fi compatibility.
Another important factor to consider is the wireless range of the webcam kit. The range determines the maximum distance between the transmitter and the receiver, within which the wireless connection remains stable and reliable. Consider the size of your workspace or the areas you plan to use your wireless webcam in, and choose a kit with an appropriate range.
Lastly, it’s worth noting that wireless webcams may have some limitations compared to their wired counterparts. The wireless connection introduces a slight delay between the camera capture and the display on your computer or device. Additionally, the video and audio quality may be slightly lower due to compression for wireless transmission. However, these differences are often minimal and do not significantly impact the overall performance.
Now that you have a solid understanding of the basics, you’re ready to move on to the next step: choosing the right wireless webcam kit for your needs.
Step 2: Choose the Right Wireless Webcam Kit
Now that you’re familiar with the basics of wireless webcams, it’s time to choose the right kit for your needs. Selecting the appropriate wireless webcam kit ensures that you have the necessary components to create a seamless and reliable wireless connection.
When shopping for a wireless webcam kit, there are a few key factors to consider. Firstly, check if the kit is compatible with your existing webcam model. Not all wireless webcam kits work with every webcam, so it’s crucial to ensure compatibility to avoid any compatibility issues.
Next, consider the range of the wireless webcam kit. The range determines the distance between the transmitter and the receiver within which the wireless connection remains stable. If you plan to use your webcam far away from your computer or in larger spaces, choose a kit with a longer range to ensure a reliable signal.
Another important aspect to consider is the video and audio quality of the wireless webcam kit. Look for kits that support high-definition video and clear audio transmission. You want your video conferences, live streams, or recordings to be of the highest possible quality, so investing in a kit that offers good video and audio capabilities is crucial.
Additionally, check if the wireless webcam kit includes any advanced features or functionalities that meet your requirements. Some kits may offer features like pan, tilt, and zoom functionality, motion detection, or night vision, which can enhance the versatility and performance of your wireless webcam.
Consider the ease of installation and setup of the wireless webcam kit. Look for kits that come with user-friendly instructions and software to make the setup process hassle-free. The last thing you want is to spend hours struggling with complicated installation procedures.
Budget is also an important consideration. Wireless webcam kits can vary in price, so it’s essential to determine your budget and find a kit that offers the right balance of features, quality, and affordability.
Lastly, read reviews and opinions from other users who have used the wireless webcam kit you’re interested in. Their experiences can provide valuable insights into the reliability and performance of the kit. Look for feedback regarding signal strength, compatibility, ease of use, and overall satisfaction.
By taking these factors into account, you can choose a wireless webcam kit that suits your needs and ensures a smooth and reliable wireless connection. Once you have selected the ideal kit, you are ready to move on to the next step: installing the wireless transmitter.
Step 3: Install the Wireless Transmitter
Now that you have chosen the right wireless webcam kit, it’s time to proceed with installing the wireless transmitter. This essential component connects to your webcam and transmits the video and audio signals wirelessly to the receiver.
Before starting the installation process, ensure that your computer or device is turned off and disconnected from any power sources. This precautionary measure will prevent any potential damage to your equipment during the installation.
Begin by locating the USB port on your webcam. This is where you will connect the wireless transmitter. Carefully insert the USB connector of the wireless transmitter into the USB port of your webcam. Ensure a secure connection to avoid any interruptions in the signal transmission.
Next, position the wireless transmitter in a suitable location near your webcam. The transmitter should have a clear line of sight to the receiver for optimal signal strength. Avoid placing the transmitter behind objects that could obstruct the signal, such as walls or furniture.
Once you have determined the ideal location, use adhesive strips or mounting hardware provided with the wireless webcam kit to attach the transmitter securely. Make sure it’s stable and won’t move or fall during operation.
After the transmitter is securely installed, connect the power adapter to the transmitter and plug it into a power outlet. This will provide the necessary power supply for the wireless transmitter to function.
Now, turn on your computer or device and wait for it to boot up. Ensure that the receiver is disconnected from your computer at this stage, as we will connect it in the next step.
Once your computer is fully powered on, you can move on to the next step of the installation process. It’s time to connect the receiver to your computer and configure the wireless webcam.
Now that you have successfully installed the wireless transmitter, you have made significant progress in transforming your webcam into a wireless device. The next step will focus on connecting the receiver to your computer and configuring the wireless webcam for optimal performance.
Step 4: Connect the Receiver to Your Computer
Now that the wireless transmitter is installed, it’s time to connect the receiver to your computer or device. The receiver acts as the bridge between your wireless webcam and your computer, allowing you to view and interact with the webcam’s feed.
Begin by locating an available USB port on your computer or device. This is where you will connect the receiver. Insert the USB connector of the receiver into the USB port, ensuring a secure connection.
Once the receiver is connected, your computer or device should recognize it and initiate the installation process. Follow any on-screen instructions that appear to complete the installation of the receiver’s drivers and software.
After the installation is complete, open the software that came with your wireless webcam kit or download the necessary software from the manufacturer’s website. This software will allow you to configure the settings of your wireless webcam and manage its functionality.
In the software, you may have the option to adjust the video quality, audio settings, and other specific parameters according to your preferences. Take some time to explore the software and familiarize yourself with its features.
Once you have configured the settings to your liking, you’re ready to test your wireless webcam. Open an application or software that supports video conferencing or webcam usage, such as Skype, Zoom, or your preferred video capture software.
In the video settings of your chosen application or software, select your wireless webcam as the default camera. This will ensure that the application uses the feed from your wireless webcam for video calls or recordings.
Now, make a test call or start recording to verify that your wireless webcam is working properly. Pay attention to the video and audio quality, and ensure that there are no delays or interruptions in the feed. Make any necessary adjustments to the settings if needed.
If you encounter any issues during the testing phase, refer to the troubleshooting section provided by the manufacturer or refer to online resources for assistance. Common issues may include signal interference, connection dropouts, or compatibility problems.
Once you are satisfied with the performance of your wireless webcam and everything is working as expected, congratulations! You have successfully connected the receiver to your computer and configured your wireless webcam.
Now that your wireless webcam is up and running, you can enjoy the freedom and flexibility of capturing moments and engaging in video communication without the restrictions of cables.
Step 5: Configure the Wireless Webcam
Now that you have connected the receiver to your computer, it’s time to configure your wireless webcam. Configuring the settings ensures that your webcam operates optimally and meets your specific requirements.
Start by launching the software that came with your wireless webcam kit or downloading the necessary software from the manufacturer’s website. This software provides you with access to various settings and customization options.
Within the software, you may find options to adjust the resolution of the video feed, choose the desired frame rate, and tweak the brightness, contrast, and color settings. Play around with these settings to achieve the best possible video quality.
Furthermore, you might have the option to set up motion detection or configure the webcam to automatically follow movement within its field of view. These features can be particularly useful for surveillance purposes or for recording videos with dynamic subjects.
Explore the software’s advanced settings, as well. You may find options for noise reduction, image stabilization, and even the ability to schedule recordings or livestreams at specific times. Take advantage of these features to enhance your overall webcam experience.
In addition to the software settings, ensure that the physical setup of your wireless webcam is optimized. Position the webcam in a location and angle that best suits your needs. Make any necessary adjustments to achieve the desired field of view and ensure that the lighting conditions are optimal for capturing clear and well-lit video.
After configuring both the software and the physical setup, it’s important to conduct a thorough test to ensure everything is functioning as expected. Open a video conferencing application or capture software and verify that the feed from your wireless webcam is clear, smooth, and properly aligned.
During the testing phase, also pay attention to the audio quality. Adjust the microphone settings if necessary to ensure that your voice is heard clearly during video calls or recordings.
If you encounter any issues or are unsure about specific settings, consult the user manual provided with your wireless webcam kit or visit the manufacturer’s website for additional support. Online forums and communities dedicated to webcam enthusiasts can also be a great source of tips and troubleshooting guidance.
By taking the time to configure your wireless webcam to suit your preferences, you can ensure that every video call, livestream, or recording captures the best possible quality and provides a seamless and enjoyable experience for both you and your audience.
Step 6: Test and Troubleshoot
After configuring your wireless webcam, it’s important to thoroughly test it to ensure that it is functioning properly and meeting your expectations. Additionally, being prepared to troubleshoot any potential issues will help you address them promptly and get the most out of your wireless webcam setup.
Start by conducting multiple test calls or recordings with your wireless webcam. During these tests, pay attention to the video and audio quality, ensuring that they are clear and without any noticeable delays or interruptions. Test the wireless range by moving around your workspace to make sure you have a consistent and reliable connection.
During the testing phase, take note of any issues or areas for improvement. If you notice video lag, audio distortion, or connectivity problems, troubleshoot these issues by considering the following steps:
- Check the wireless signal strength: Ensure that the transmitter and receiver are within the recommended range for optimal performance. If the signal strength is weak, reposition the components or eliminate any potential sources of interference, such as other electronic devices or physical obstacles.
- Update drivers and software: Check for any available updates for the drivers and software of both the wireless webcam kit and your computer. Outdated software can sometimes cause compatibility issues or performance problems.
- Restart your computer and devices: Sometimes, simply rebooting your computer and wireless webcam devices can resolve minor software glitches or connectivity issues.
- Reset the wireless webcam: If you’re still experiencing issues, consult the user manual or manufacturer’s website for instructions on how to reset your wireless webcam to its default settings.
- Seek technical support: If you’ve exhausted all troubleshooting options and are still experiencing problems, reach out to the manufacturer’s technical support team for assistance. They can provide further guidance and troubleshooting specific to your wireless webcam model.
Remember to document any troubleshooting steps you take and their results for future reference. This will come in handy if you encounter similar issues down the line or need to seek further assistance.
Testing and troubleshooting your wireless webcam on a regular basis is essential to maintain its performance and ensure a hassle-free experience. By addressing any issues promptly and staying up to date with software updates, you can maximize the longevity and reliability of your wireless webcam setup.
Conclusion
Congratulations on successfully transforming your webcam into a wireless device! By following the steps outlined in this guide, you have gained the freedom and flexibility to capture moments and engage in video communication without the limitations of cables.
Understanding the basics of wireless webcams, choosing the right wireless webcam kit, installing the wireless transmitter, connecting the receiver to your computer, configuring the wireless webcam, and conducting thorough testing and troubleshooting are all important steps in creating a seamless wireless webcam setup.
Throughout this process, you have learned about the different components of wireless webcams, such as the transmitter and receiver, and the importance of compatibility, range, and video/audio quality. You have also gained insight into configuring the settings, optimizing the physical setup, and conducting thorough testing to ensure optimal performance.
Remember that wireless webcams may have some limitations compared to their wired counterparts, such as slightly delayed video display or slightly lower video and audio quality. However, these differences are generally minimal and do not significantly impact the overall performance of your wireless webcam.
As technology continues to advance, wireless webcams are becoming increasingly popular for content creators, remote workers, and individuals who enjoy video communication. With their convenience, flexibility, and improved mobility, wireless webcams offer an enhanced user experience and the freedom to capture and share moments from any location within your wireless network range.
By troubleshooting any issues that may arise, staying up to date with software updates, and periodically testing your wireless webcam setup, you can ensure its longevity and reliable performance for years to come.
Now that you have successfully set up your wireless webcam, go ahead and enjoy the benefits of a wire-free video experience. Share and connect with others, create engaging content, and immerse yourself in the world of wireless communication.
Thank you for joining us on this journey towards making your webcam wireless. We hope you find this guide helpful and that your wireless webcam setup brings you endless possibilities and seamless video experiences.


