Introduction
Welcome to the world of water cooling! If you’re an avid PC enthusiast looking to overclock your CPU while keeping temperatures in check, a water CPU cooler might be just what you need. While air coolers are widely used and effective, water cooling offers superior heat dissipation and can help you achieve higher performance levels.
In this guide, we will walk you through the step-by-step process of setting up a water CPU cooler. From gathering the necessary components to testing and maintenance, we’ve got you covered. Whether you’re a seasoned DIY enthusiast or a beginner, this guide will provide you with all the information you need to get started.
Before we dive in, it’s important to note that setting up a water CPU cooler requires some technical knowledge and careful installation. Make sure to read through the entire guide and consult your manufacturer’s instructions before proceeding. Additionally, ensure that you have all the required components and tools readily available.
Now, let’s get started on the exciting journey of building your own water CPU cooler. By the end of this guide, you’ll have a high-performance cooling system that will keep your CPU running at optimal temperatures, even under heavy loads.
Step 1: Gathering the necessary components
Before you embark on the installation process, it’s important to gather all the necessary components for your water CPU cooler. Here is a list of the essential components you will need:
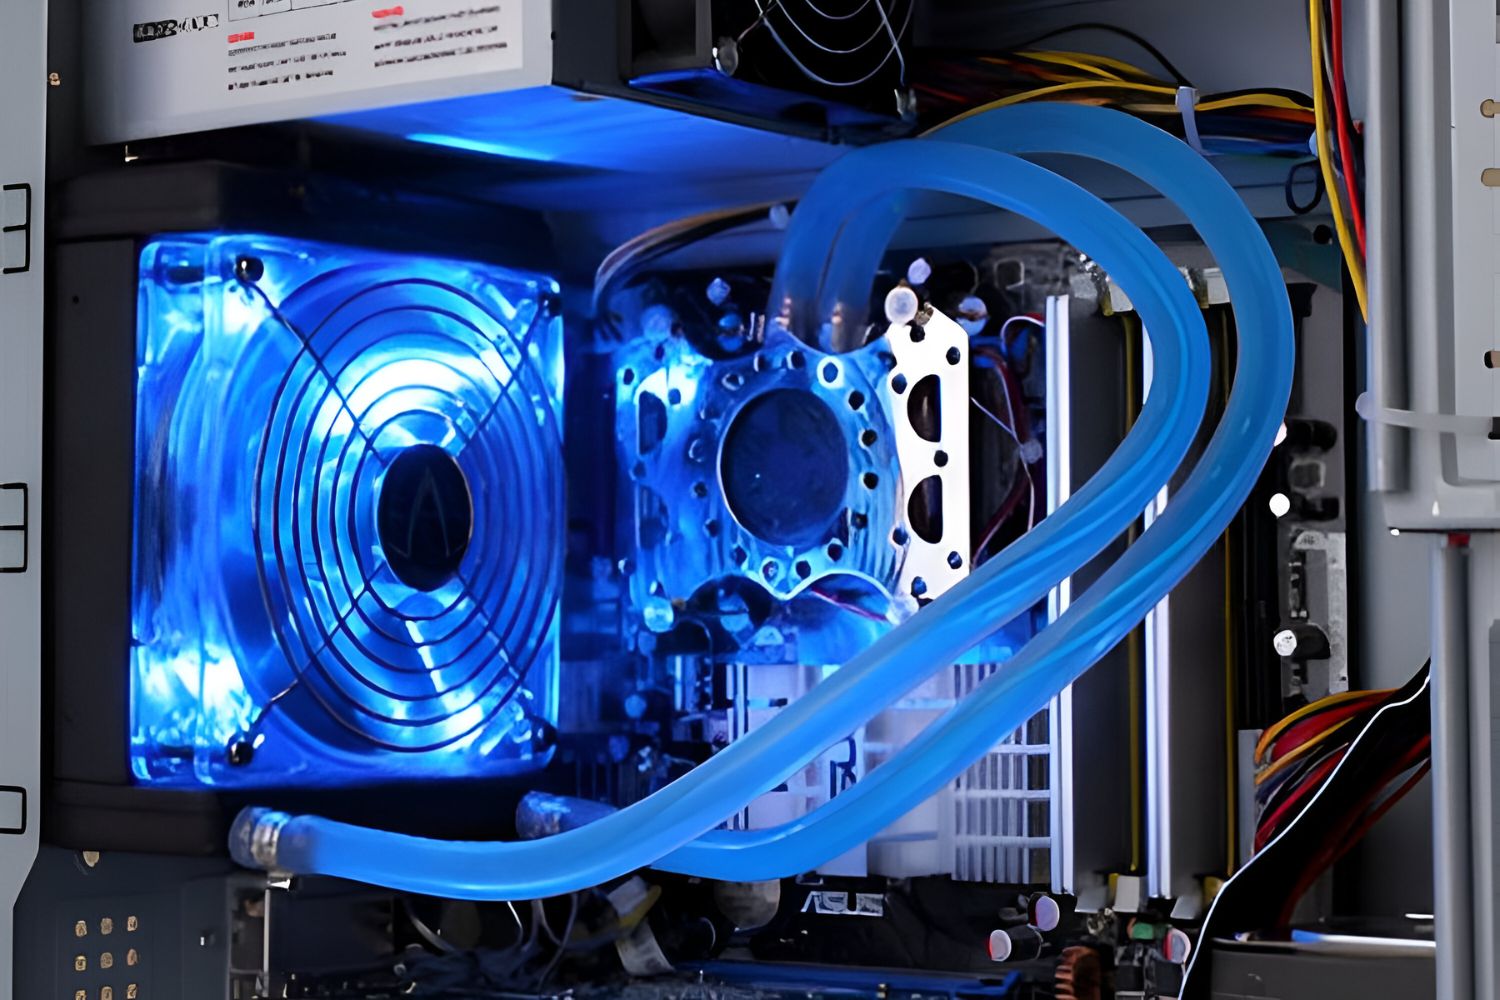
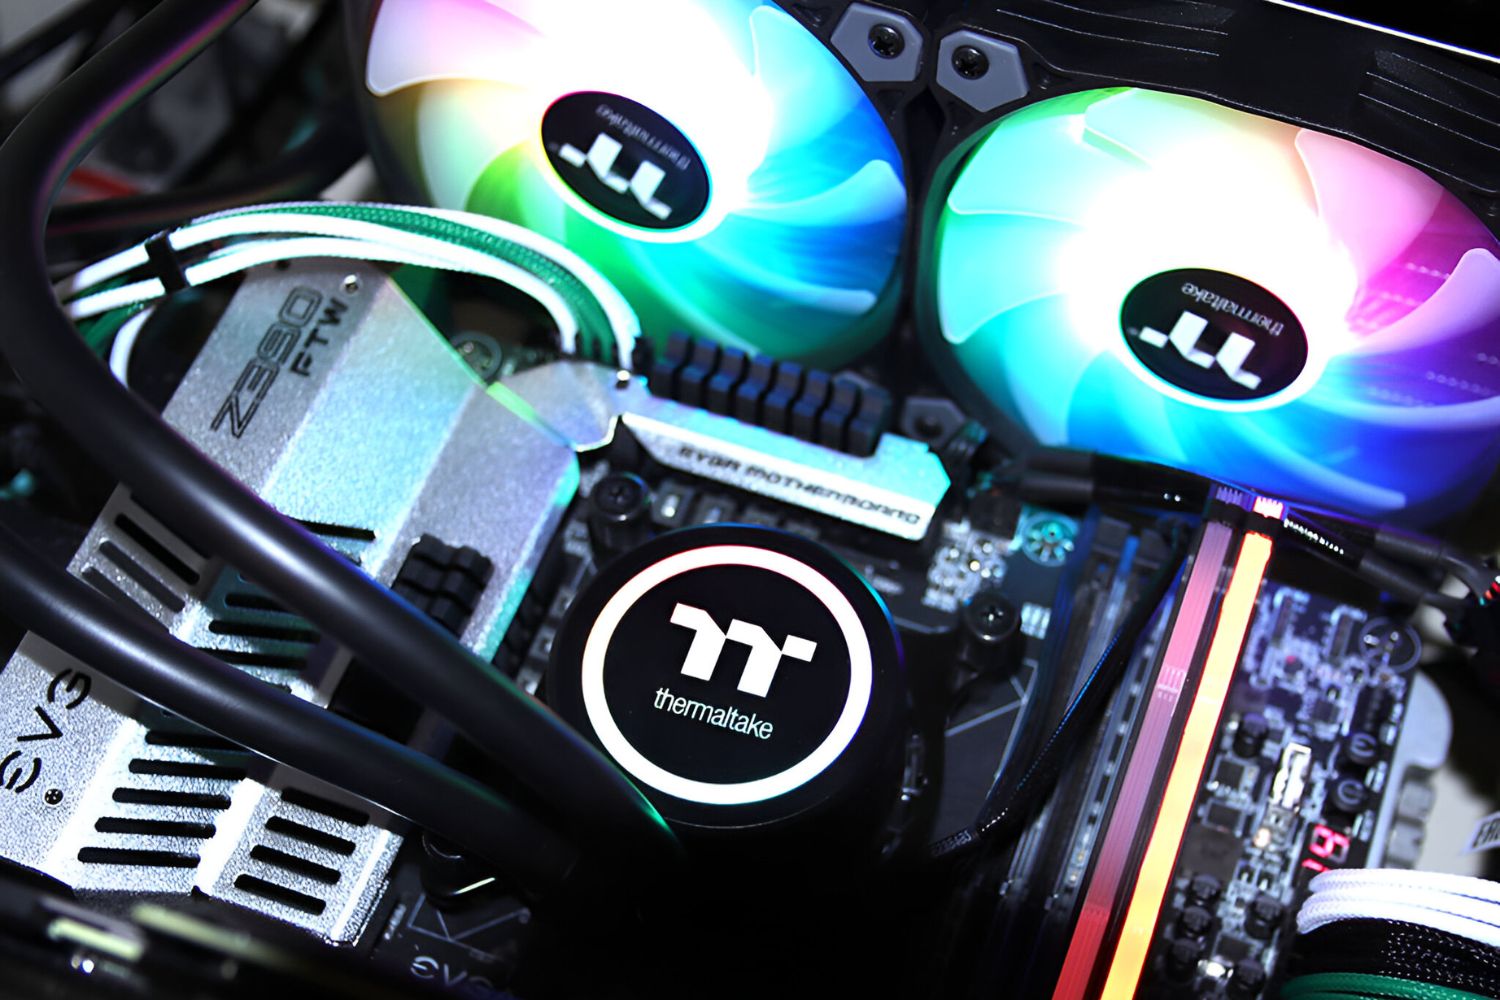
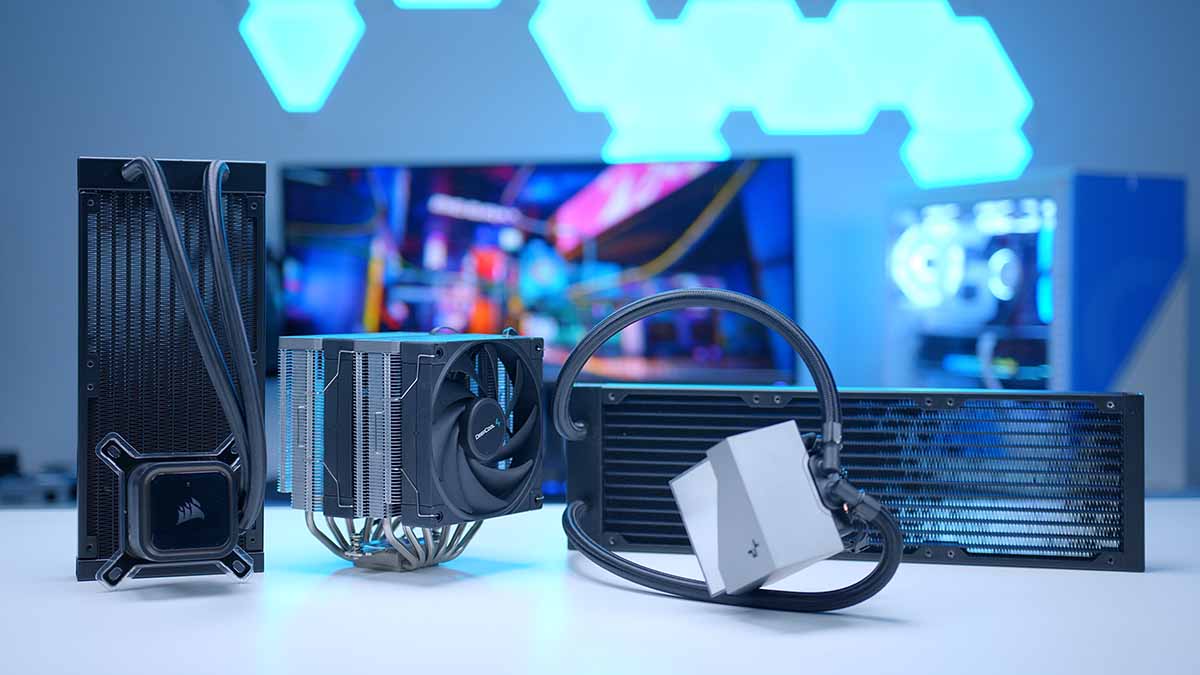
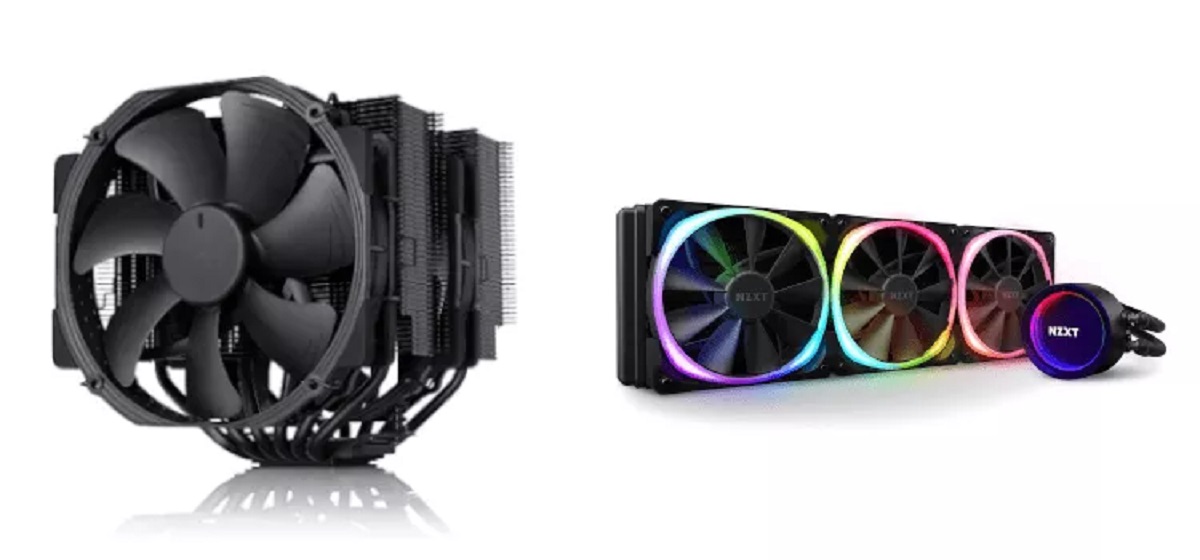
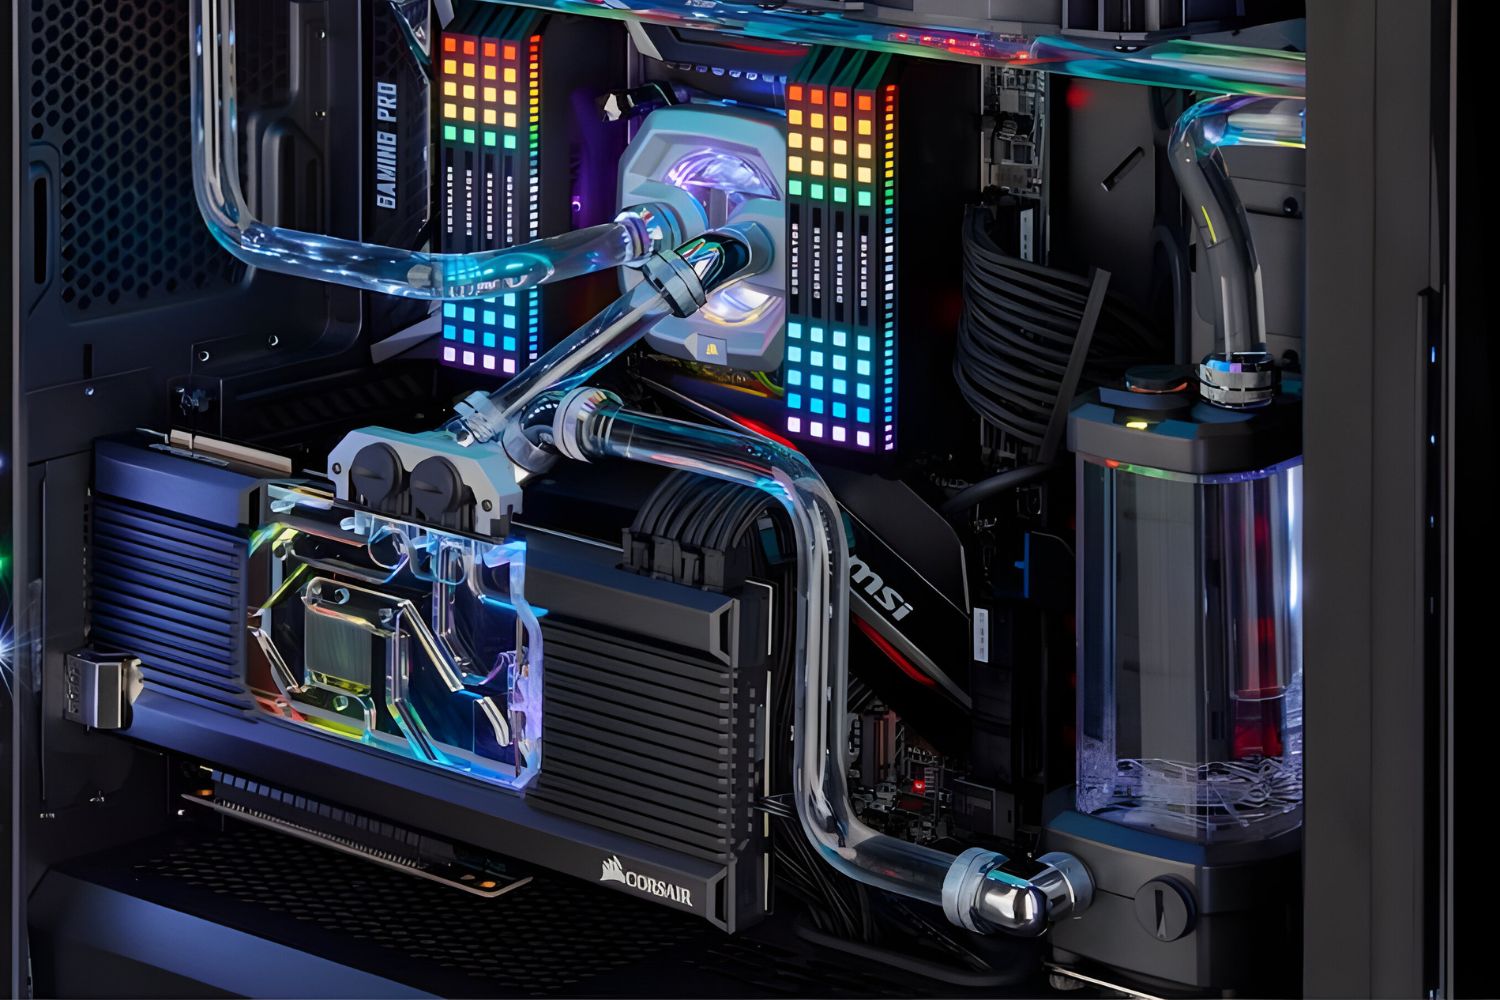
- CPU water block: This is the heart of your water cooling system, responsible for transferring heat from the CPU to the water.
- Radiator and fan assembly: The radiator dissipates heat from the water, and the fans help to cool it down.
- Water pump: The pump circulates the water through the system, ensuring a continuous flow.
- Reservoir: The reservoir is where the water is stored, allowing for easy filling and monitoring of the water level.
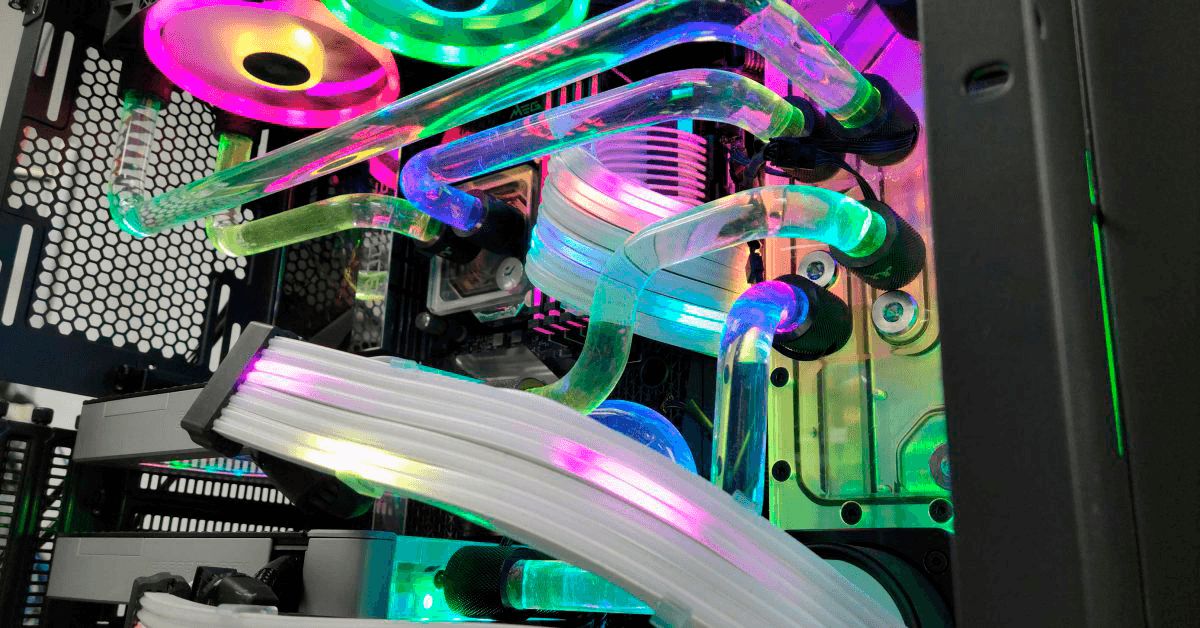
- Tubing: High-quality tubing is essential for transporting the water between the various components.
- Coolant: The coolant helps to prevent corrosion and maintain optimal thermal conductivity.
- Fittings and connectors: These are used to connect the various components together securely.
- Thermal compound: This is applied between the CPU and the water block for efficient heat transfer.
- Tools: Make sure you have the necessary tools, such as a screwdriver and thermal paste applicator.
It’s essential to select high-quality components from reputable brands in order to ensure optimal performance and durability. Research and read reviews to make informed decisions about the specific components that will best suit your needs and budget.
Once you have gathered all the necessary components, ensure that you have ample space in your computer case to accommodate the water cooler. Measure the available space and check the compatibility of the components with your case to ensure a seamless installation process.
With the components gathered and compatible with your system, you are now ready to move on to the next step: preparing the water block.
Step 2: Preparing the water block
Now that you have all the necessary components, it’s time to prepare the water block. The water block is responsible for transferring heat from the CPU to the water in your cooling system. Follow these steps to properly prepare the water block:
- Clean the water block: Before installing the water block, it’s crucial to clean it to ensure optimal thermal transfer. Use a lint-free cloth or cotton swabs and a mild cleaning solution to gently wipe away any dust or debris from the surface of the water block.
- Apply thermal compound: Thermal compound is a key element in establishing efficient heat transfer between the CPU and the water block. Apply a small amount of thermal compound to the center of the CPU. Use a credit card or a thermal paste applicator to spread it evenly in a thin layer.
- Mount the mounting brackets: The water block typically comes with mounting brackets that need to be attached to the block. Refer to the manufacturer’s instructions to determine the correct orientation and position of the brackets. Secure them tightly using the provided screws or fasteners.
- Attach the mounting plate: Place the water block onto the CPU, aligning the mounting holes on the block with the corresponding holes on the CPU socket. Gently press down on the water block to ensure it is securely and evenly seated on the CPU. Use the screws or fasteners provided to attach the mounting plate, ensuring that it is snugly fastened.
It’s important to follow the manufacturer’s instructions carefully during the preparation process, as specific steps may vary depending on the brand and model of your water block. Take your time and double-check that everything is properly secured to prevent any leaks or damage during operation. Once the water block is prepared and securely installed, you are ready to move on to the next step: mounting the water block onto the CPU.
Step 3: Mounting the water block onto the CPU
With the water block prepared, it’s time to mount it onto the CPU. The proper installation of the water block is crucial for efficient heat transfer and overall system performance. Follow these steps to ensure a successful installation:
- Remove the protective cover: Before mounting the water block onto the CPU, make sure to remove any protective covers or plastic films that may be on the contact surface of the water block.
- Align the water block: Carefully align the water block with the mounting plate already attached to the CPU socket. Ensure that the mounting holes on the water block align with the screws or fasteners on the mounting plate.
- Secure the water block: Once aligned, gently press down on the water block to make contact with the CPU. Use the provided screws or fasteners to secure the water block onto the mounting plate. Tighten the screws or fasteners in a diagonal pattern to evenly distribute pressure. Ensure that the water block is firmly and evenly seated on the CPU.
- Check for proper contact: After securing the water block, check for proper contact between the water block and the CPU. Ideally, there should be even pressure and complete coverage across the entire surface. If necessary, adjust the screws or fasteners to ensure optimal contact between the two surfaces.
It’s important to exercise caution when mounting the water block onto the CPU to avoid any damage. Take your time and follow the instructions provided by the manufacturer. Ensure that the water block is securely attached and properly aligned with the CPU. Keep in mind that overtightening the screws or fasteners can lead to damage, while insufficient tightening may result in poor heat transfer.
Once you have successfully mounted the water block onto the CPU, you can proceed to the next step: connecting the water pump and reservoir.
Step 4: Connecting the water pump and reservoir
Now that the water block is securely mounted onto the CPU, it’s time to connect the water pump and reservoir. These components work together to ensure a continuous flow of water through the cooling system. Here’s what you need to do:
- Locate the water pump: The water pump is typically a separate component that needs to be positioned near the reservoir for optimal functionality. Consult the manufacturer’s instructions to determine the best location for your specific setup.
- Connect the tubing: Using the high-quality tubing you gathered earlier, connect one end to the outlet of the water pump. Ensure a tight and secure fit by using the appropriate fittings and connectors. The other end of the tubing will be connected to the inlet of the reservoir.
- Attach the inlet and outlet fittings: The water pump and reservoir usually have designated inlet and outlet ports. Attach the appropriate fittings to these ports to facilitate the connection of the tubing. Make sure the fittings are properly tightened to avoid any leaks.
- Fill the reservoir: Before powering on the water cooling system, it’s important to fill the reservoir with the coolant of your choice. Consult the manufacturer’s instructions for specific guidelines on the amount of coolant to use. Slowly pour the coolant into the reservoir, taking care not to overfill it. Leave some space for any potential expansion due to temperature changes.
Take your time when connecting the water pump and reservoir, ensuring that all the fittings and tubing are securely attached. Double-check the connections for any leaks or loose fittings, and make adjustments if necessary. In addition, be cautious when handling the coolant to avoid spillage or contact with sensitive components.
Once the water pump and reservoir are connected, you can proceed to the next step: attaching the radiator and fan assembly.
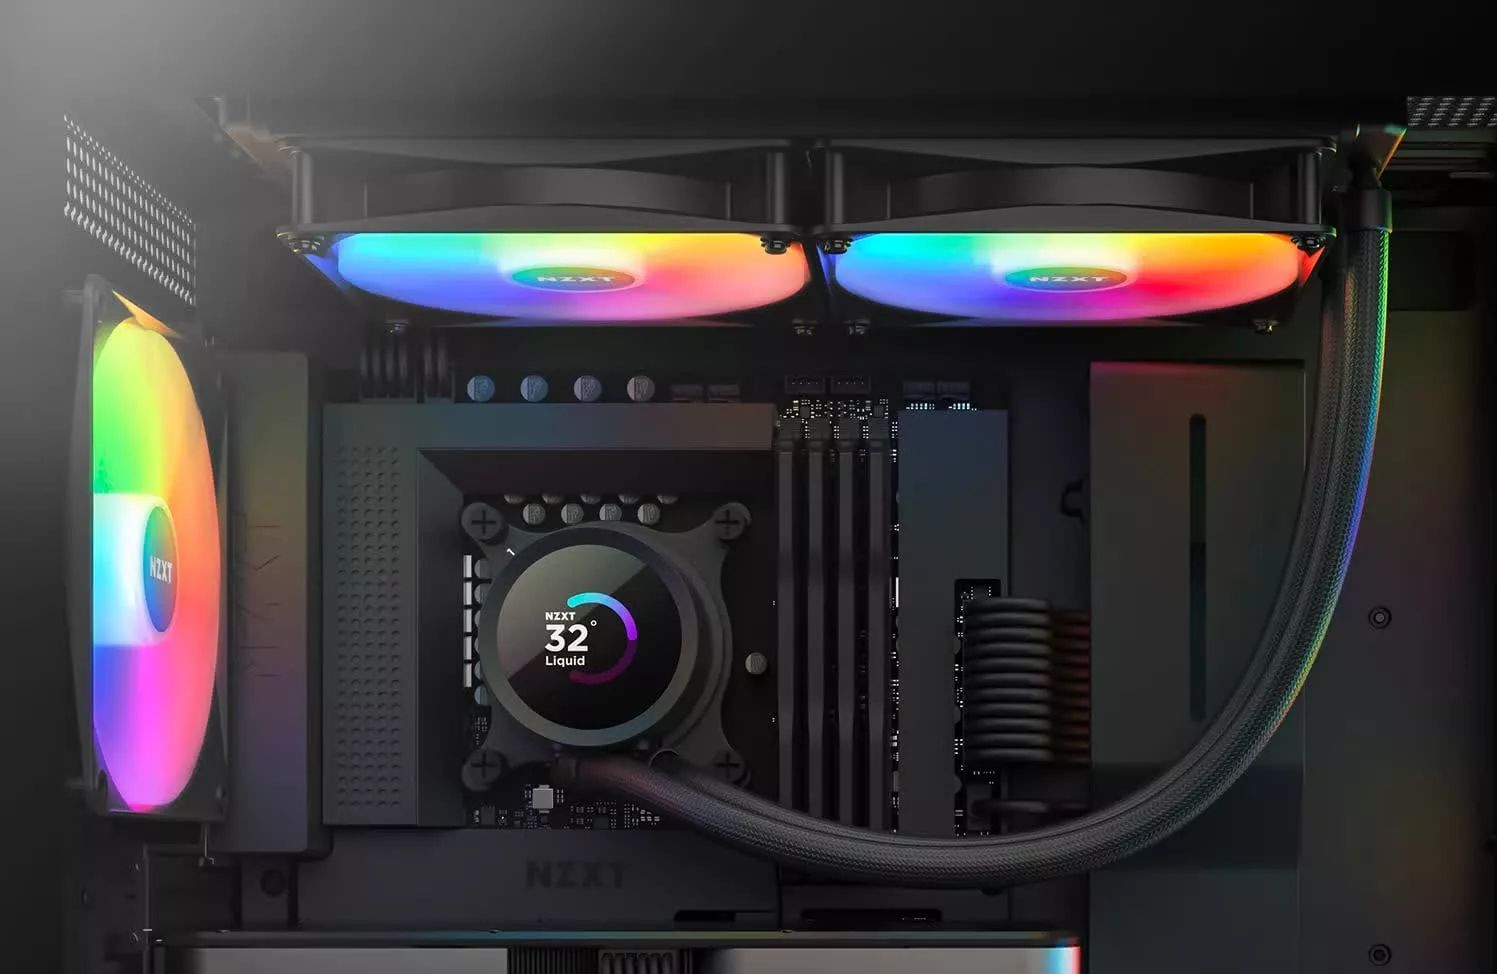
Step 5: Attaching the radiator and fan assembly
With the water pump and reservoir connected, it’s time to attach the radiator and fan assembly to your system. The radiator is responsible for dissipating heat from the water, while the fans help to cool it down. Follow these steps to properly install the radiator and fan assembly:
- Identify the mounting location: Determine the optimal position in your computer case to mount the radiator. This will depend on the available space and the design of your case. Common mounting locations include the rear, top, or front of the case.
- Prepare the radiator: Before mounting, ensure that the radiator is clean and free from any dust or debris. Use compressed air or a soft brush to gently remove any accumulated dirt.
- Mount the fans: Attach the fans to the radiator using the provided screws or fasteners. Follow the manufacturer’s instructions for the correct orientation of the fans. Usually, fans are installed on one side of the radiator to push air through it.
- Attach the radiator: Position the radiator in the chosen mounting location and align it with the mounting holes in the case. Use the appropriate screws or fasteners to secure the radiator in place. Ensure that the radiator is securely attached and does not obstruct any other components.
- Connect the fan cables: Connect the fan cables to the appropriate fan headers on your motherboard or fan controller. Make sure to connect them in the correct order and alignment. This will vary depending on the specific configuration of your system.
Proper installation of the radiator and fan assembly is crucial for optimal heat dissipation. Make sure that the fans are securely attached and positioned to effectively blow air through the radiator. It’s also important to consider the airflow direction and ensure that the fans are oriented accordingly.
After attaching the radiator and fan assembly, you are ready to move on to the next step: installing the tubing.
Step 6: Installing the tubing
With the radiator and fan assembly in place, it’s time to install the tubing that will carry the water between the various components of your water cooling system. Proper installation of the tubing is essential for maintaining a leak-free and efficient cooling system. Follow these steps to install the tubing:
- Measure and cut the tubing: Measure the required length of tubing for each connection, allowing for some flexibility and extra length to accommodate bends and turns. Use a sharp tubing cutter or sharp scissors to cut the tubing to the desired length.
- Attach the fittings: Depending on the connectors used in your system, securely attach the appropriate fittings to both ends of the tubing. It’s essential to ensure a tight and leak-free connection by properly tightening the fittings.
- Connect the tubing to the water block and other components: Starting with the water block, connect one end of the tubing to the inlet or outlet port, depending on the design of your water block. Proceed to connect the other end of the tubing to the corresponding ports on the radiator, pump, and reservoir, ensuring a secure fit.
- Secure the tubing in place: Use zip ties or tubing clamps to secure the tubing in place along its path, especially near the ends where it connects to the different components. This will help prevent any accidental disconnections or movements that could cause leaks or strain on the connections.
During the tubing installation process, it’s crucial to avoid any sharp bends or kinks that can impede the water flow. Smooth and gentle bends are preferred to ensure optimal performance and to prevent any blockages or restrictions in the tubing.
After installing the tubing, take a moment to inspect all the connections and fittings. Ensure that they are tightly secured and leak-free. Take necessary steps to adjust or reposition any components if needed.
With the tubing properly installed, you are now ready for the next step: filling and testing the water cooling system.
Step 7: Filling and testing the system
With the hardware components in place and the tubing installed, it’s time to fill and test your water cooling system. This step is crucial to ensure proper functionality and identify any potential issues. Follow these steps to fill and test the system:
- Prepare to fill the system: Ensure that your computer is powered off and disconnected from the power source. Have a dry cloth or towel ready to wipe away any spills or leaks.
- Locate the fill port: Locate the designated fill port on your reservoir. This is usually an opening or cap on the top of the reservoir. You may need to remove the top cover or access panel to access it.
- Fill the system with coolant: Slowly pour the coolant into the fill port, allowing it to fill the reservoir and flow into the tubing. Keep pouring until you see the coolant reach the optimal level as indicated by the manufacturer or fill line on the reservoir. Take care not to overfill it.
- Bleed the air from the system: Air pockets can affect the performance of your water cooling system. To remove any air, gently tilt and rotate your computer case, allowing the air bubbles to rise and escape through the reservoir or fill port. You can also gently tap the tubing or components to encourage the release of trapped air.
- Test for leaks: Power on your computer and closely monitor your water cooling system for any signs of leakage. Check all the connections, fittings, and tubing for potential leaks. If you notice any leaks, immediately power off your computer and identify and address the source of the leak before proceeding.
- Monitor temperatures and performance: Once you have confirmed that there are no leaks, monitor the temperatures of your CPU and other components while performing various tasks or running stress tests. Use monitoring software or BIOS settings to keep an eye on the temperatures. Ensure that the temperatures are stable and within safe limits.
It’s important to be patient and thorough during the filling and testing process. Take your time to ensure that there are no leaks and that the system is functioning properly. Perform necessary adjustments or troubleshooting if you encounter any issues during the testing phase.
If everything checks out and your system is running smoothly, you are ready to move on to the final step: monitoring and maintenance precautions.
Step 8: Monitoring and maintenance precautions
Now that your water cooling system is up and running, it’s important to monitor its performance and implement maintenance precautions to ensure its longevity and efficiency. Here are some key monitoring and maintenance tips:
- Regularly check for leaks: Periodically inspect all connections, fittings, and tubing for any signs of leakage. If you notice any leaks, address them immediately to prevent further damage to your system.
- Monitor temperatures: Keep an eye on the temperatures of your CPU and other components using monitoring software or BIOS settings. Abnormally high temperatures may indicate a problem with your cooling system or insufficient airflow. Take steps to rectify any issues to avoid potential damage to your hardware.
- Clean and maintain the system: Dust and debris can accumulate on the radiators, fans, and water blocks over time, hindering their performance. Regularly clean these components using compressed air or a soft brush to ensure optimal heat dissipation. Additionally, consider flushing and refilling the coolant at least once a year to maintain its effectiveness.
- Monitor coolant levels: Check the coolant levels in the reservoir periodically and top up if necessary. Low coolant levels can lead to poor heat transfer and potential damage to your components. Ensure that the coolant level is maintained within the recommended range.
- Monitor pump functionality: Keep an eye on the operation of the water pump. Unusual noises, vibrations, or a decrease in cooling performance may indicate a problem with the pump. If you notice any issues, consult the manufacturer’s instructions or seek professional assistance.
- Stay informed and updated: Keep yourself updated with the latest information, patches, and firmware updates related to your water cooling components and system. Manufacturers may release updates or optimizations that can enhance the performance and reliability of your system.
By regularly monitoring and maintaining your water cooling system, you can help prolong its lifespan and ensure optimal performance. Stay vigilant and address any issues promptly to prevent any potential damage to your components.
Congratulations on successfully setting up and maintaining your water CPU cooler! Enjoy the benefits of improved cooling performance and get ready to push your system to new limits.
Conclusion
Congratulations on completing the installation of your water CPU cooler! By following the steps outlined in this guide, you have successfully assembled a high-performance cooling system that will help keep your CPU temperatures in check, allowing for better stability, overclocking potential, and overall system performance.
Throughout the installation process, you learned how to gather the necessary components, prepare the water block, mount it onto the CPU, connect the water pump and reservoir, attach the radiator and fan assembly, install the tubing, fill and test the system, and implement monitoring and maintenance precautions. Each step is integral to the overall functionality and effectiveness of the cooling system.
It’s important to remember to regularly monitor the performance of your water cooling system, check for leaks, monitor temperatures, clean and maintain the components, and stay informed about updates and improvements. This will help ensure the longevity and efficiency of your system and prevent any potential issues from arising.
As you enjoy the benefits of your water CPU cooler, such as lower temperatures, quieter operation, and potentially enhanced overclocking capabilities, it’s essential to remain proactive in monitoring and maintaining the system. By doing so, you can maximize its performance and longevity, which in turn will contribute to the overall longevity and efficiency of your PC.
We hope this guide has empowered you with the knowledge and skills necessary to build and maintain a water CPU cooler. Experiment with different configurations, fine-tune your system, and unleash the full potential of your computer. Push the boundaries of performance and take your computing experience to new heights!