Introduction
Welcome to the era of smart technology, where almost everything is connected to the internet. While smart TVs have become the new norm, many people still own non-smart TVs that lack the built-in internet connectivity. If you find yourself in this situation, don’t worry! There are several ways you can still enjoy streaming services, browse the web, and access online content on your non-smart TV.
In this article, we will guide you through the different methods of connecting your non-smart TV to the internet, whether through a wired or wireless connection, or by using a streaming device. By the end, you’ll be equipped with the knowledge to turn your non-smart TV into a smart one and unlock a world of online entertainment.
But first, let’s understand what exactly a non-smart TV is.
A non-smart TV, also known as a traditional or standard TV, is a television that does not have internet connectivity built into its system. These TVs usually rely solely on traditional broadcasting signals, such as cable or satellite, to display content. While they may lack the advanced features of smart TVs, they can still provide excellent picture quality and audio performance.
However, with the rise of streaming services and online content, having internet connectivity has become essential for accessing a wide range of entertainment options. Thankfully, there are ways to connect your non-smart TV to the internet, allowing you to stream your favorite shows and movies, browse the web, and even use smart features like voice control.
In the following sections, we will explore the different methods you can use to connect your non-smart TV to the internet, whether through a wired or wireless connection, or by utilizing a streaming device. Let’s dive in and discover how to transform your non-smart TV into a connected entertainment hub.
Understanding Non Smart TVs
Before we delve into the various methods of connecting your non-smart TV to the internet, let’s take a closer look at what exactly defines a non-smart TV.
A non-smart TV, also known as a standard or traditional TV, is a television set that lacks built-in internet connectivity and smart features. These TVs typically rely on traditional broadcasting signals, such as cable or satellite, to receive and display content.
Unlike smart TVs, which have dedicated operating systems and app stores, non-smart TVs do not provide direct access to streaming services, online content, or other internet-based features. However, this doesn’t mean that you can’t enjoy the benefits of internet connectivity on your non-smart TV.
While non-smart TVs may not have the advanced functionality of their smart counterparts, they still offer excellent picture quality, audio performance, and compatibility with external devices. By connecting your non-smart TV to the internet, you can tap into the wealth of online entertainment and streaming services available today.
It’s important to note that not all non-smart TVs are the same. Some may have limited connectivity options, such as a single HDMI or USB port, while others may support additional connectivity options like component or composite inputs. Understanding your TV’s connectivity options will help you determine the best method for connecting it to the internet.
Additionally, it is worth mentioning that non-smart TVs are often more affordable than their smart counterparts, making them a popular choice for those on a budget. By utilizing the methods we will discuss in the upcoming sections, you can give your non-smart TV a smart upgrade without the need to invest in an expensive new television.
In the following sections, we will explore different methods to connect your non-smart TV to the internet. Whether you have a wired connection available or prefer a wireless setup, there is a solution that suits your needs.
Now that we understand what non-smart TVs are and their limitations, let’s proceed to the next section, where we will explore how to connect your non-smart TV to the internet using a wired connection.
Connecting Non Smart TVs to Wired Internet
If you have a non-smart TV and a stable internet connection, connecting your TV to the internet using a wired connection is a reliable and straightforward method. Follow these steps to get started:
- Check your TV’s connectivity options: Before proceeding, check if your non-smart TV has an Ethernet port. This is usually labeled as “LAN” or “Internet” on the TV’s back panel. If your TV does not have an Ethernet port, you may need to explore other wireless connection options.
- Connect the TV to the modem/router: Once you have identified the Ethernet port, connect one end of an Ethernet cable to the port and the other end to an available Ethernet port on your modem or router. This will establish a direct wired connection from your TV to the internet.
- Configure the connection on your TV: Using your TV’s remote control, navigate to the Settings or Network menu and select the option to configure a wired network connection. Follow the on-screen instructions to set up the connection. In most cases, the TV will automatically detect the network settings, but you may need to provide the necessary information manually.
- Test the connection: Once the configuration is complete, perform a connection test on your TV to ensure that it is successfully connected to the internet. You can use the TV’s built-in browser or launch a streaming app to check if the internet connection is working correctly.
Using a wired connection for your non-smart TV offers a stable and reliable internet connection, minimizing the possibility of buffering or lag during streaming. However, it does require the TV to be in close proximity to the modem or router, limiting flexibility in room placement.
If your TV is located far from the modem or router, you may need to use a longer Ethernet cable or explore wireless connection options, which we will discuss in the next section. Additionally, ensure that your internet connection speed is sufficient to support streaming services, as slow internet speeds can affect the quality of your viewing experience.
Now that you know how to connect your non-smart TV to the internet using a wired connection, let’s move on to the next section where we will explore wireless connection options.
Connecting Non Smart TVs to Wireless Internet
If your non-smart TV doesn’t have an Ethernet port or you prefer a wireless setup, you can still connect it to the internet using Wi-Fi. Follow these steps to connect your non-smart TV to wireless internet:
- Check your TV’s connectivity options: Ensure that your non-smart TV has built-in Wi-Fi capability. Look for labels like “Wi-Fi”, “Wireless”, or an antenna icon. If your TV doesn’t have Wi-Fi, you can use an external Wi-Fi adapter specifically designed for TVs.
- Access the TV’s network settings: Using your TV’s remote control, navigate to the Settings or Network menu. Select the option to set up a wireless network connection.
- Select your Wi-Fi network: From the list of available networks, choose your Wi-Fi network and enter the password when prompted. Ensure that you are within range of your Wi-Fi router for a stable connection.
- Configure the connection: Once connected to your Wi-Fi network, the TV will obtain the necessary network settings automatically. In some cases, you may need to manually enter additional information such as the IP address or DNS settings. Check your TV’s user manual for specific instructions.
- Test the connection: After configuring the wireless connection, perform a connection test by accessing the TV’s browser or launching a streaming app to ensure that the internet connection is working correctly.
Connecting your non-smart TV to wireless internet provides more flexibility in terms of room placement, as you can position your TV anywhere within the range of your Wi-Fi network. However, it is important to note that a wireless connection may be subject to signal interference or slower speeds compared to a wired connection. To minimize any issues, ensure that your TV is located within a reasonable distance from your Wi-Fi router.
Additionally, it’s crucial to have a stable and reliable internet connection with adequate bandwidth to support streaming services without buffering. If you experience connectivity or performance issues, you may need to troubleshoot your Wi-Fi network or consider upgrading your internet plan.
Now that you know how to connect your non-smart TV to wireless internet, let’s move on to the next section, where we will explore how to use a streaming device to connect your non-smart TV to the internet.
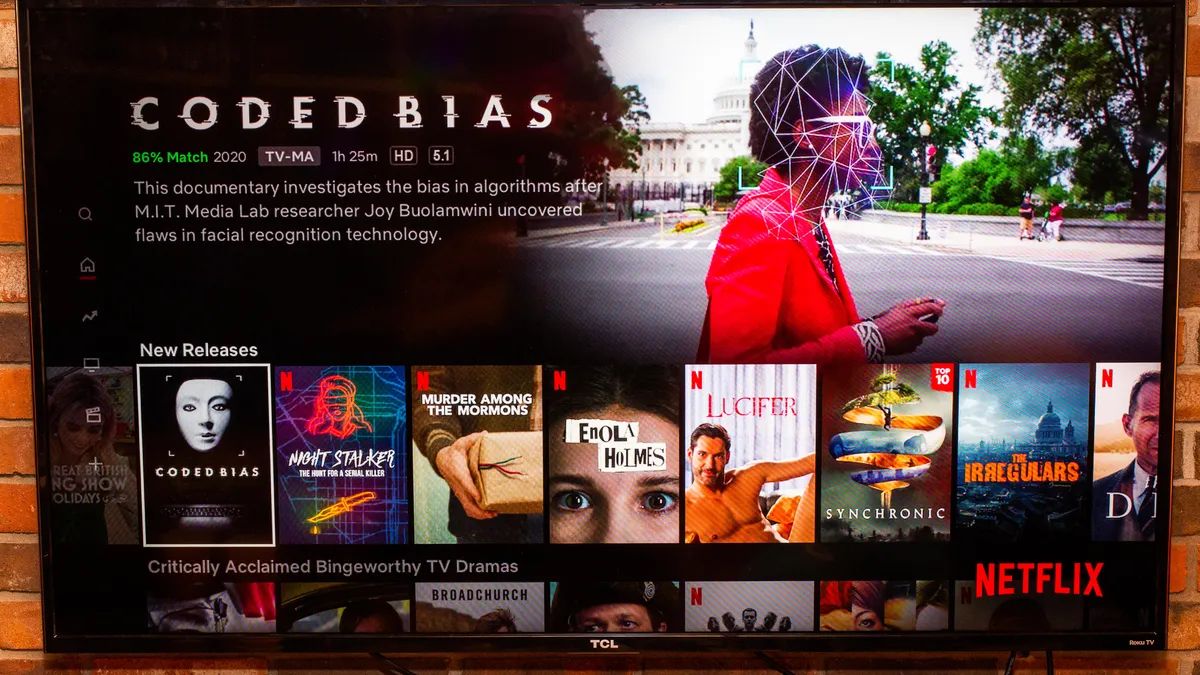
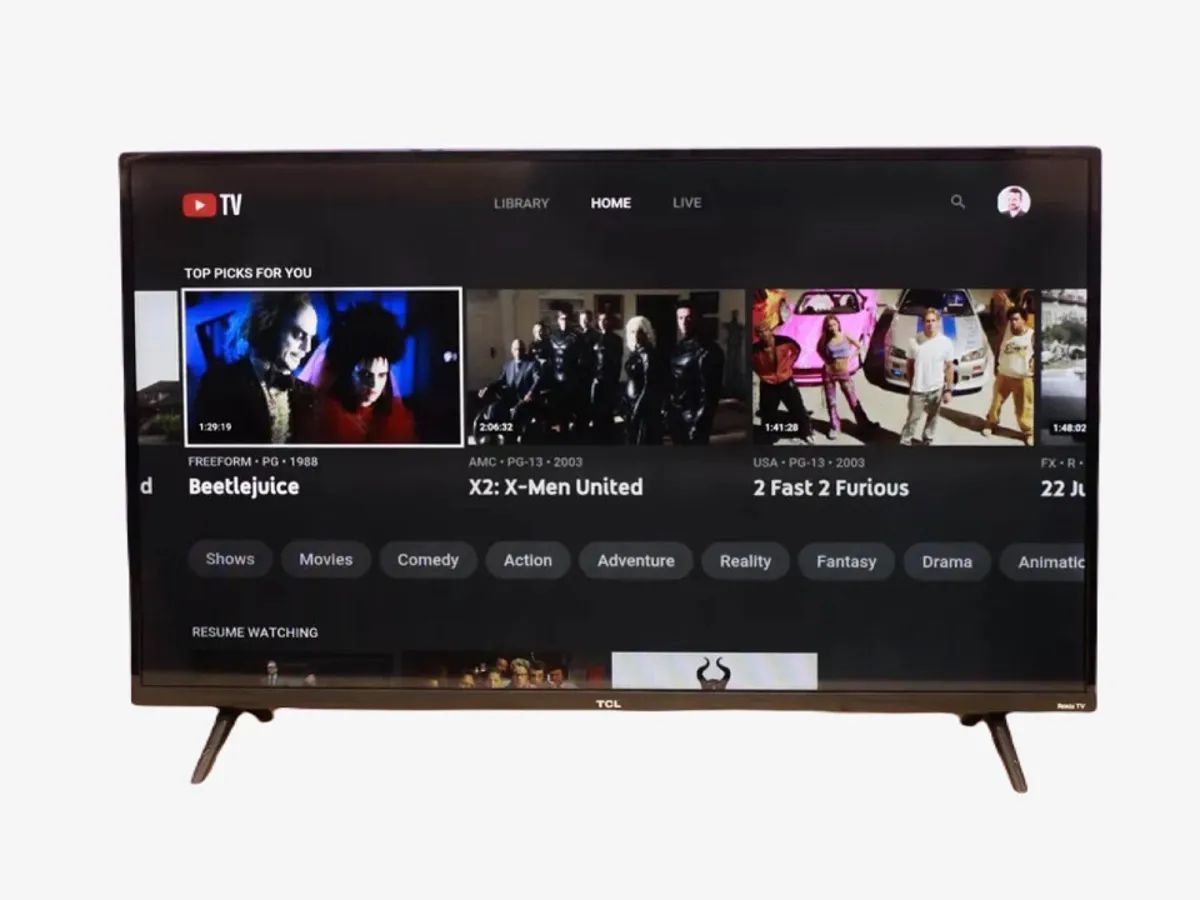
Using a Streaming Device to Connect Non Smart TVs to Internet
If you want to enjoy the benefits of a smart TV experience with your non-smart TV, using a streaming device is an excellent option. A streaming device acts as a bridge between your TV and the internet, allowing you to access various streaming services and online content. Here’s how you can connect your non-smart TV to the internet using a streaming device:
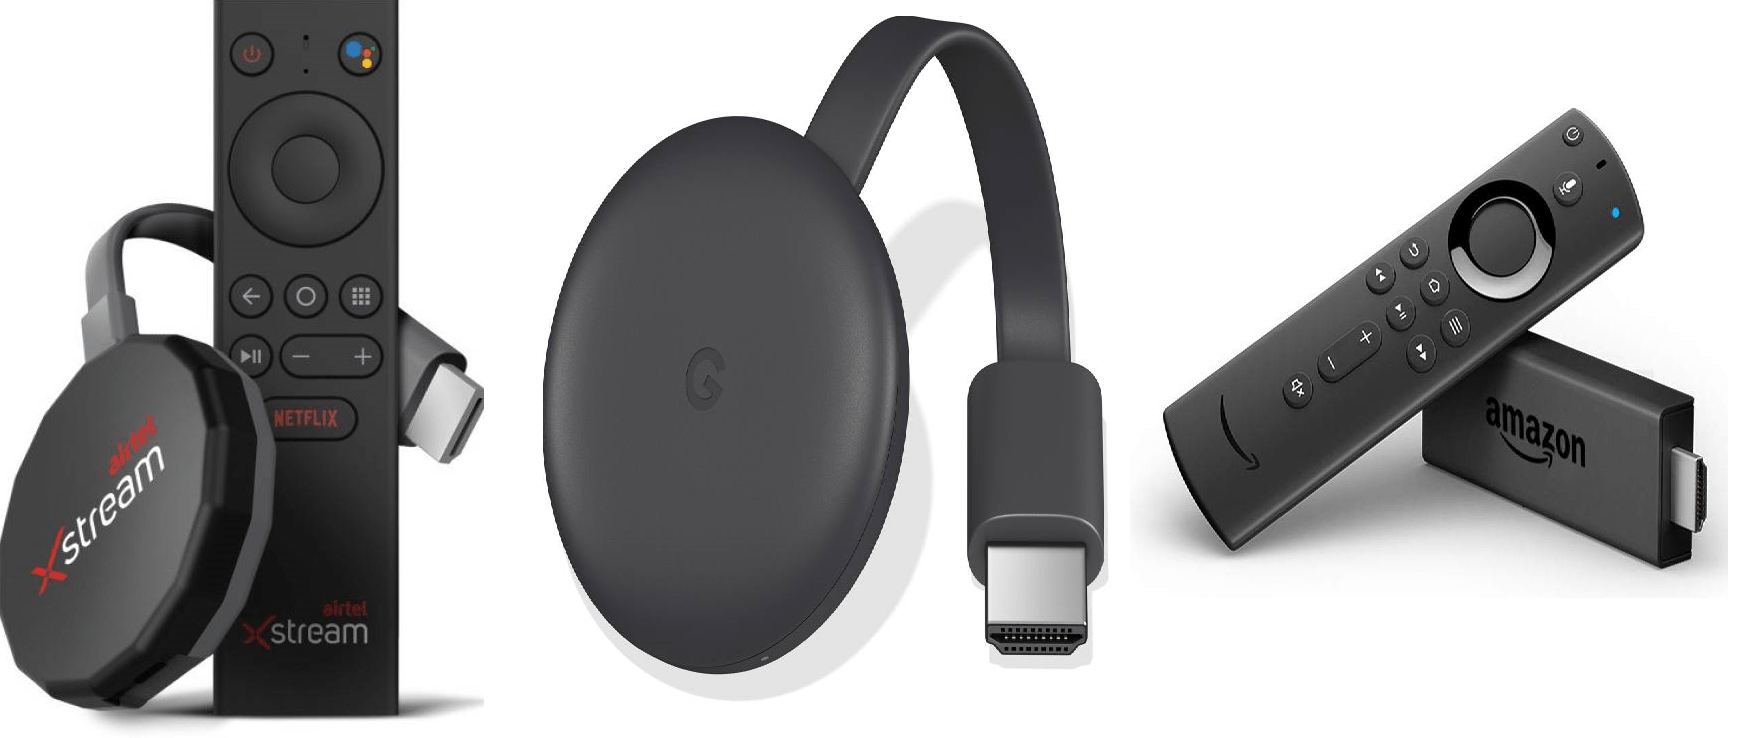
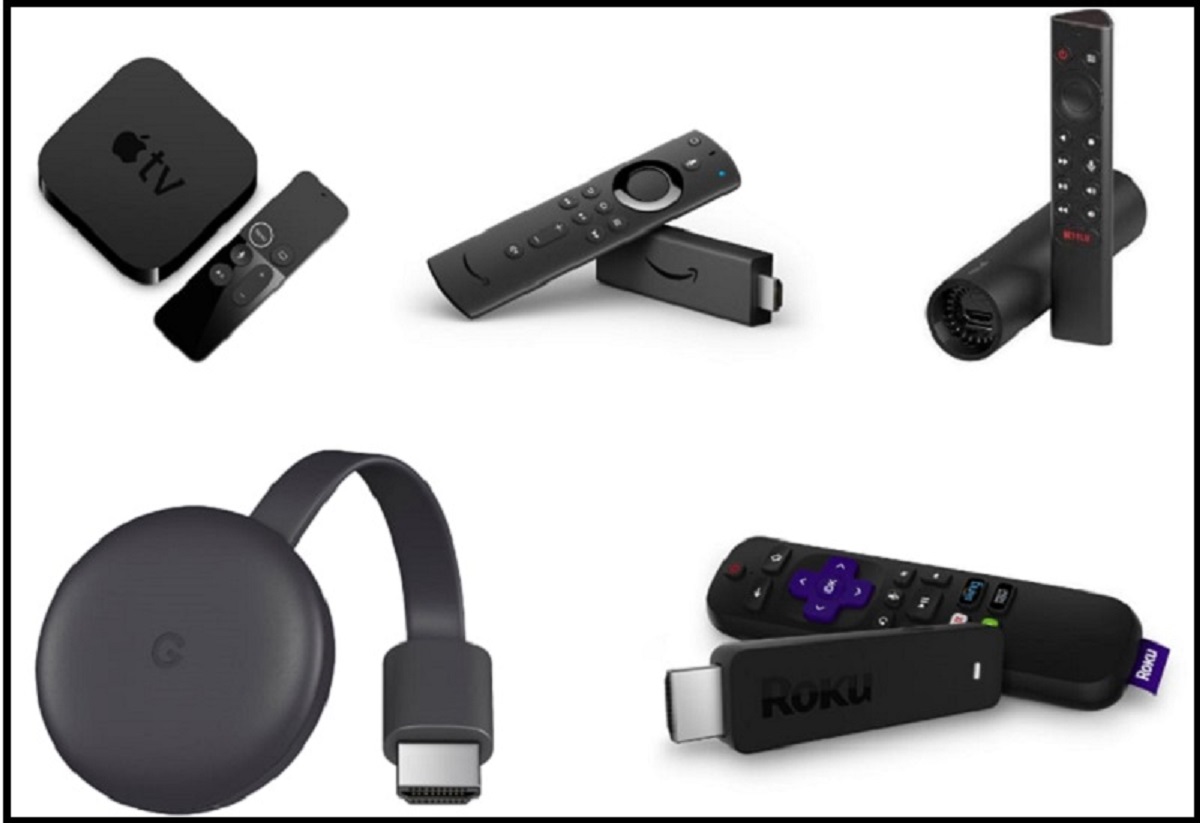
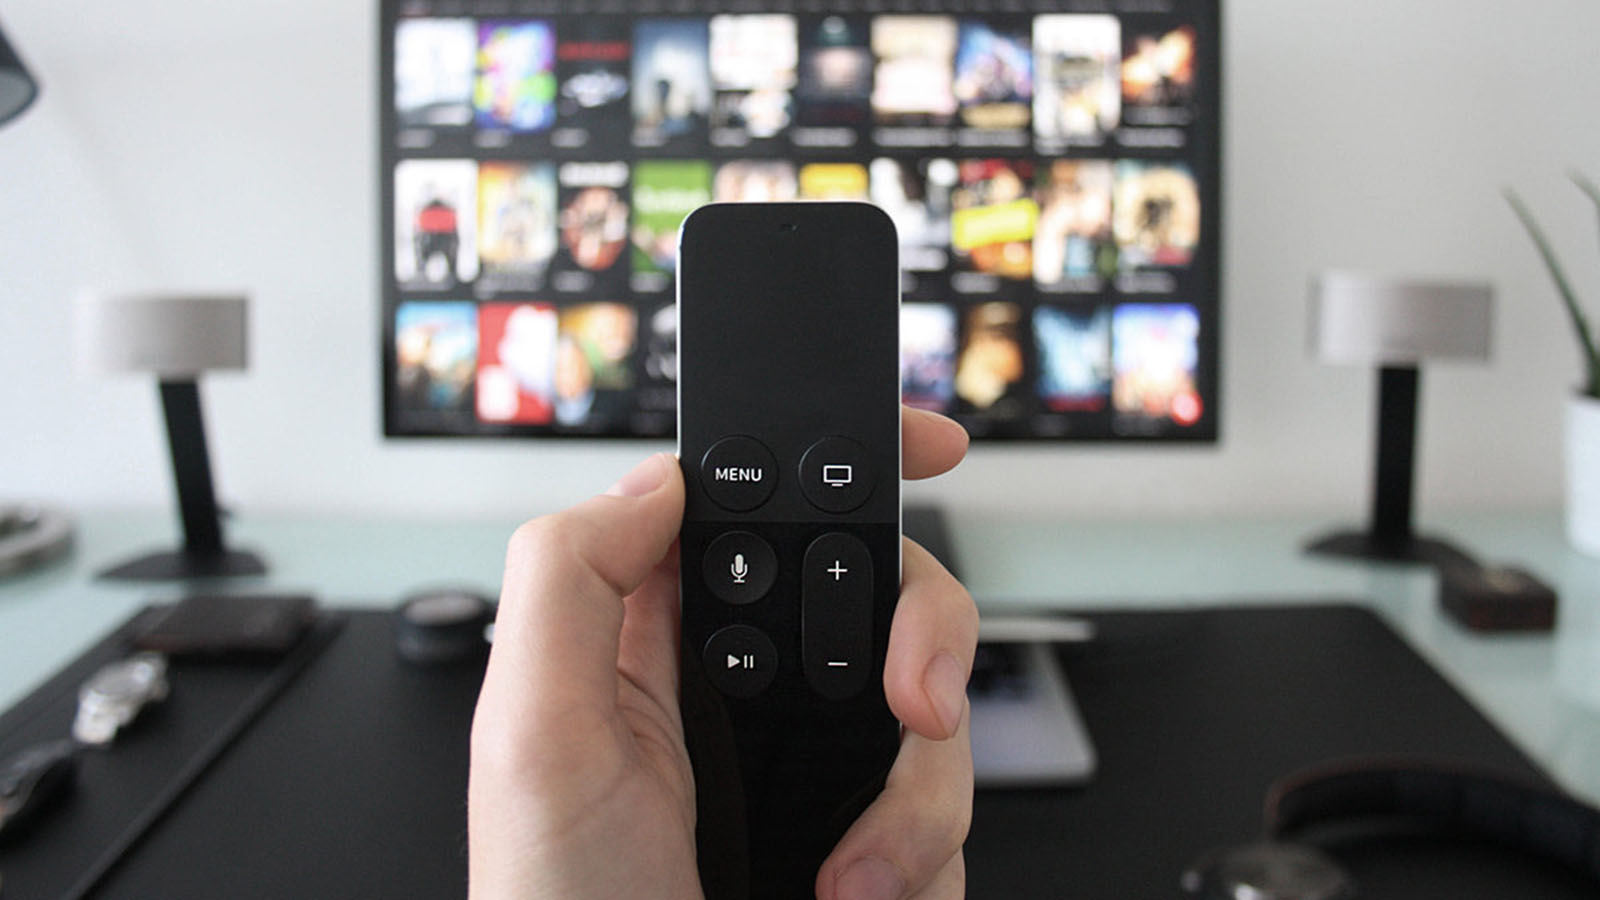
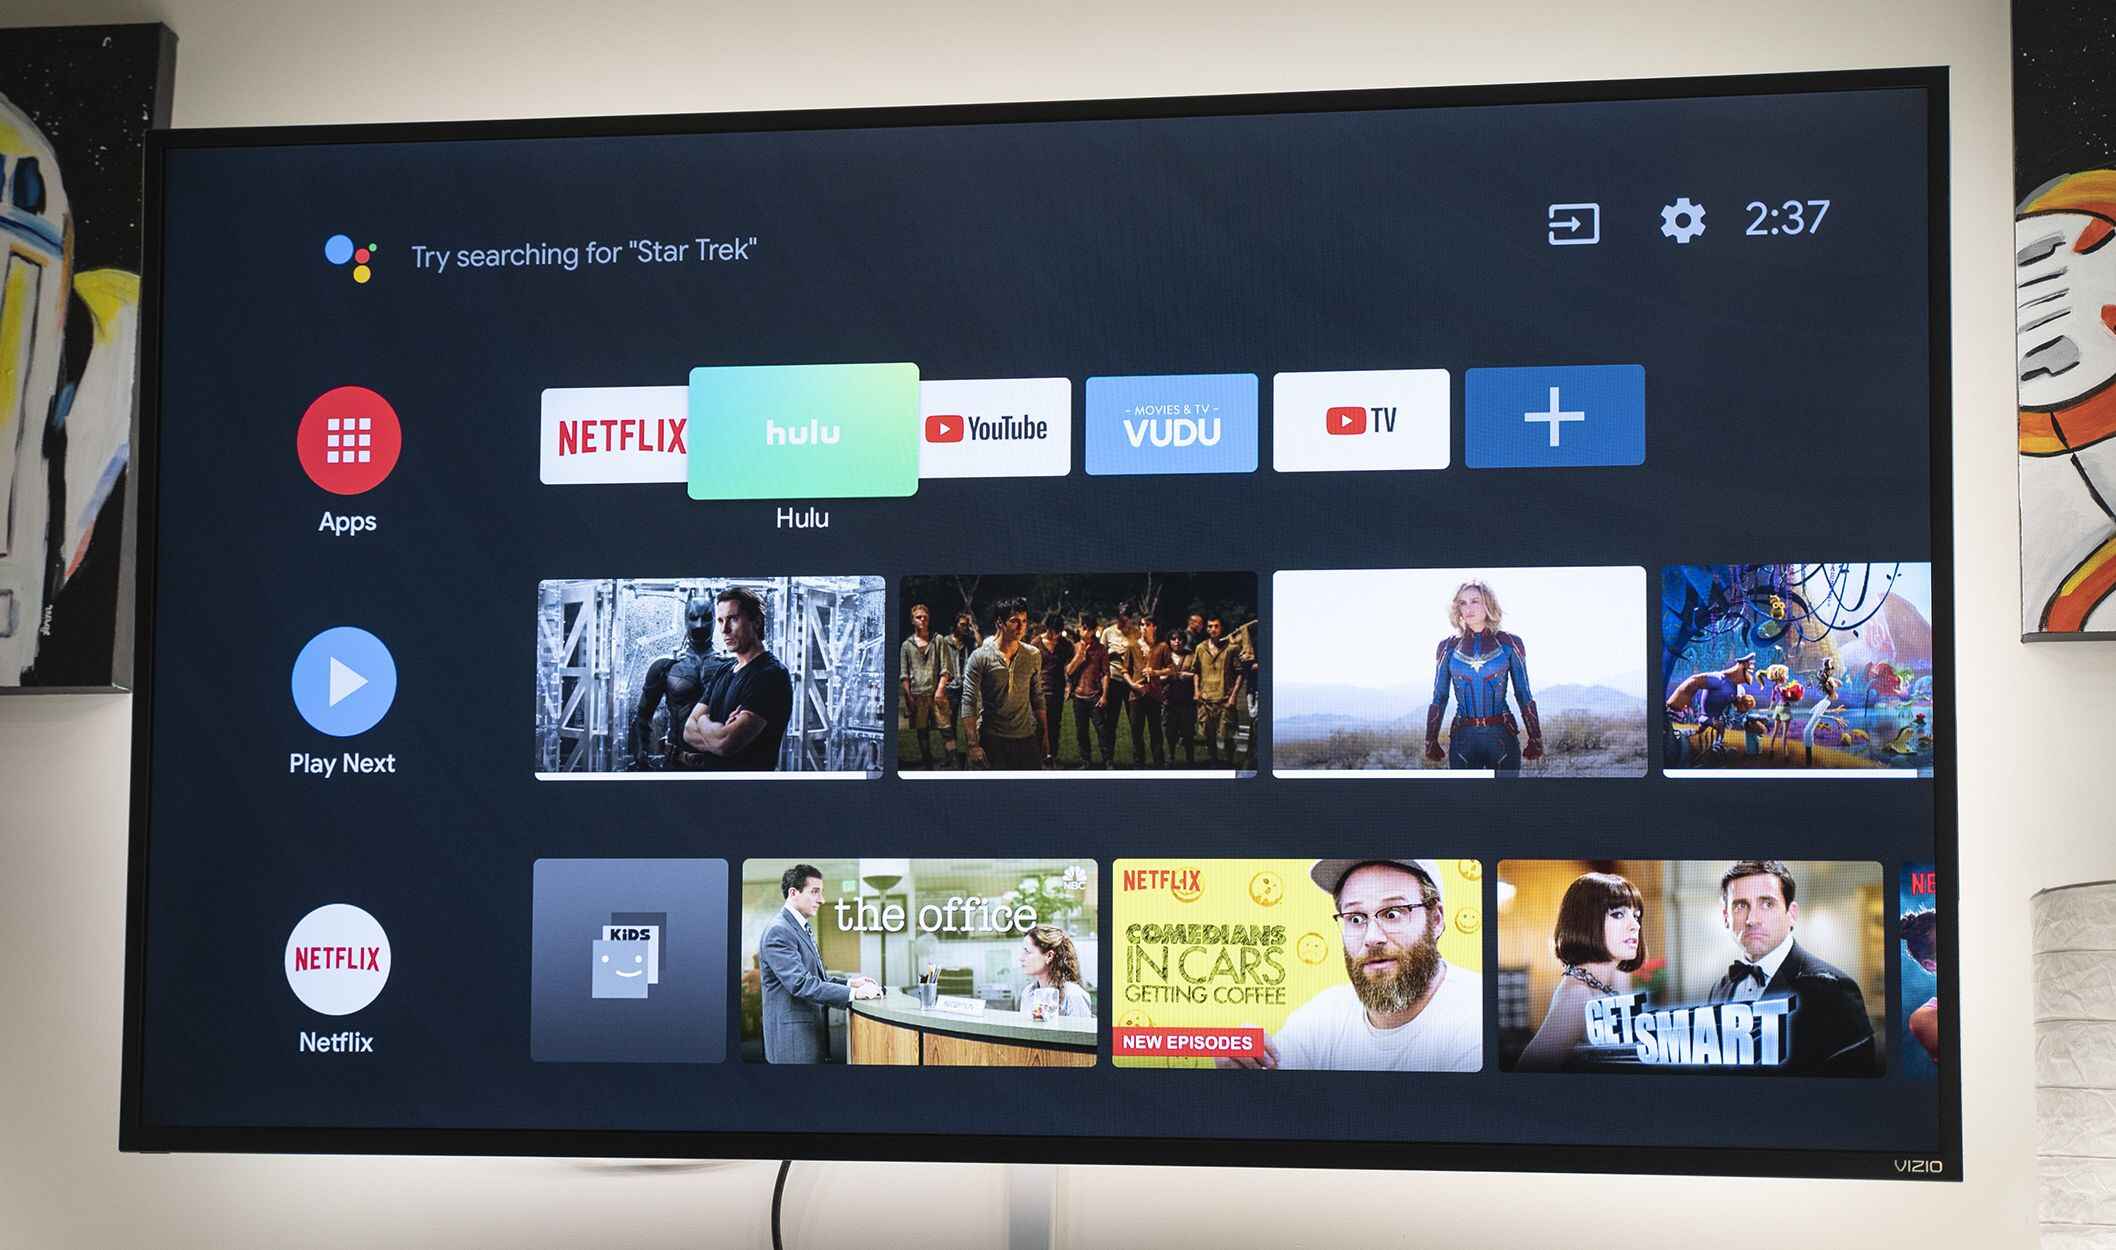
- Select a streaming device: There are several streaming devices available in the market, such as Roku, Amazon Fire TV Stick, Apple TV, and Chromecast. Choose a device based on your preferences and budget.
- Connect the streaming device to your TV: Most streaming devices connect to your TV via an HDMI port. Simply plug one end of the HDMI cable into the streaming device and the other end into an available HDMI port on your TV.
- Power up the streaming device: Connect the streaming device to a power outlet using the provided power adapter or cable. Follow the device-specific instructions to power it on.
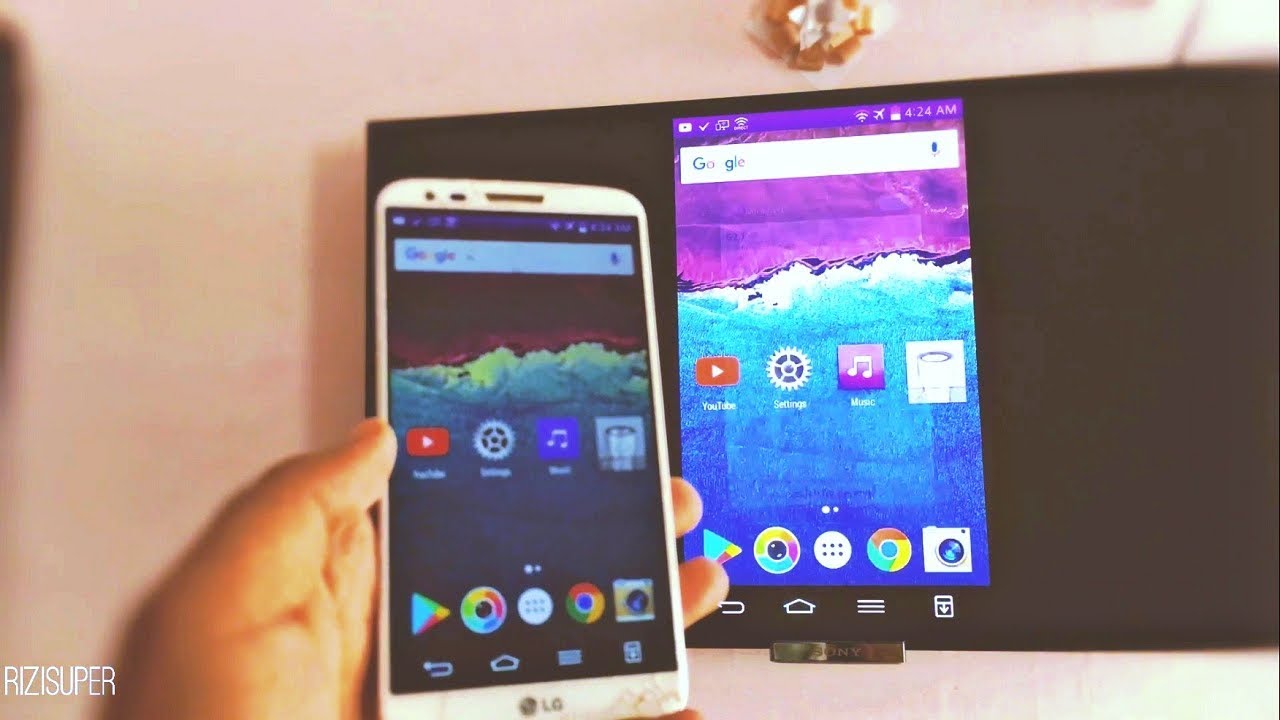
- Connect the streaming device to the internet: Using the device’s remote control or accompanying mobile app, connect the streaming device to your Wi-Fi network. Enter the necessary network information, such as your Wi-Fi network name and password, to establish the connection.
- Follow on-screen setup instructions: Once the streaming device is connected to the internet, you’ll be guided through the setup process on your TV screen. This usually involves signing in to your streaming accounts, such as Netflix or Hulu, and customizing your preferences.
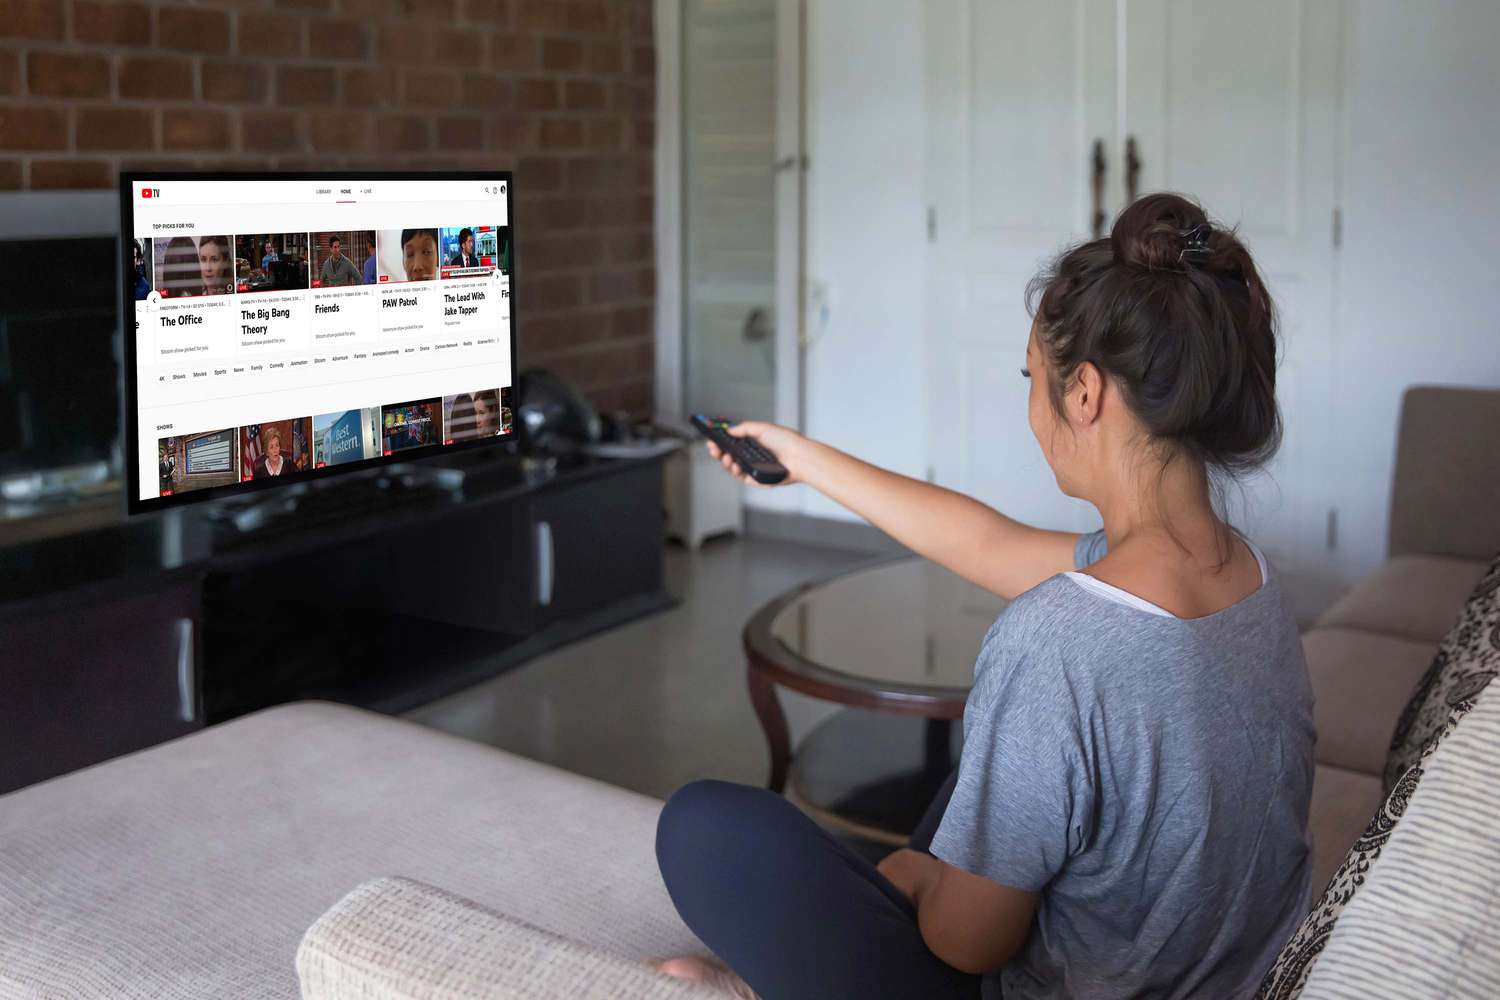
- Enjoy streaming on your non-smart TV: After completing the setup, you can start accessing the streaming services and apps available on your chosen streaming device. Use the device’s remote control or mobile app to navigate through the content and enjoy a wide range of entertainment options.
Using a streaming device provides you with the convenience of accessing popular streaming services, such as Netflix, Amazon Prime Video, and Hulu, on your non-smart TV. These devices often come with user-friendly interfaces and additional features like voice control, making it easier to browse and enjoy your favorite shows and movies.
It’s worth noting that the available streaming options may vary depending on the streaming device you choose. Research and compare different devices to find the one that best suits your needs and offers the streaming services you prefer.
Now that you understand how to use a streaming device to connect your non-smart TV to the internet, let’s proceed to the next section, where we’ll discuss troubleshooting tips for connection issues you may encounter.
Troubleshooting Connection Issues
While connecting your non-smart TV to the internet may seem straightforward, you may encounter occasional issues or connectivity problems. Here are some troubleshooting tips to help you resolve common connection issues:
- Check your network settings: Ensure that you have entered the correct Wi-Fi password or Ethernet configuration settings. Double-check the network name and password, and make any necessary adjustments in your TV’s network settings.
- Restart your devices: Sometimes, simply restarting your non-smart TV, modem, router, or streaming device can resolve connection issues. Power off each device, wait for a few seconds, then power them back on.
- Move closer to the Wi-Fi router: If you’re experiencing weak Wi-Fi signal or intermittent connectivity, try moving your TV closer to the router. Walls, furniture, and other electronic devices can interfere with the Wi-Fi signal, so finding a better location can help stabilize the connection.
- Update firmware and apps: Ensure that your non-smart TV and streaming device are running the latest firmware or operating system updates. Similarly, keep your streaming apps up to date to ensure optimal performance and compatibility with the latest streaming protocols.
- Reset network settings: If all else fails, you can try resetting your TV’s network settings to their default values. This will erase any saved network configurations, so you’ll need to set up the connection again from scratch. Refer to your TV’s manual for instructions on how to reset network settings.
- Contact customer support: If you have tried all the troubleshooting steps and are still experiencing connection issues, reach out to the customer support for your TV, streaming device, or internet service provider. They may be able to provide additional assistance or advice specific to your situation.
Remember, each situation may be unique, and the troubleshooting steps can vary based on your specific devices and network setup. It’s always a good idea to consult the user manuals or support forums for your devices if you encounter persistent connection issues.
Now that you have learned some troubleshooting tips for connection issues, you are well-equipped to address any potential problems that may arise during the process of connecting your non-smart TV to the internet.
Conclusion
In a world dominated by smart technology, owning a non-smart TV doesn’t mean you have to miss out on the benefits of internet connectivity and online entertainment. By following the methods outlined in this article, you can easily connect your non-smart TV to the internet and unlock a world of streaming services and online content.
We explored various options for connecting your non-smart TV to the internet, including using a wired connection, connecting to Wi-Fi, and utilizing a streaming device. Depending on your TV’s connectivity options and your preferences, you can choose the method that works best for you.
If your non-smart TV has an Ethernet port, you can connect it directly to your modem or router using an Ethernet cable for a stable and reliable wired connection. On the other hand, if you prefer a wireless setup, you can connect your TV to Wi-Fi, allowing for more flexibility in room placement.
Alternatively, using a streaming device can transform your non-smart TV into a smart entertainment hub, granting access to popular streaming services and apps.
Keep in mind that troubleshooting may be necessary at times, especially if you encounter connection issues. By following the troubleshooting tips provided in this article, you can resolve common connectivity problems and ensure a seamless streaming experience.
With the methods and troubleshooting steps outlined in this article, you now have the knowledge and tools to connect your non-smart TV to the internet and enjoy the benefits of online entertainment from the comfort of your own living room.
So go ahead, grab your remote control, set up your internet connection, and get ready to stream your favorite shows, movies, and online content on your non-smart TV!