Introduction
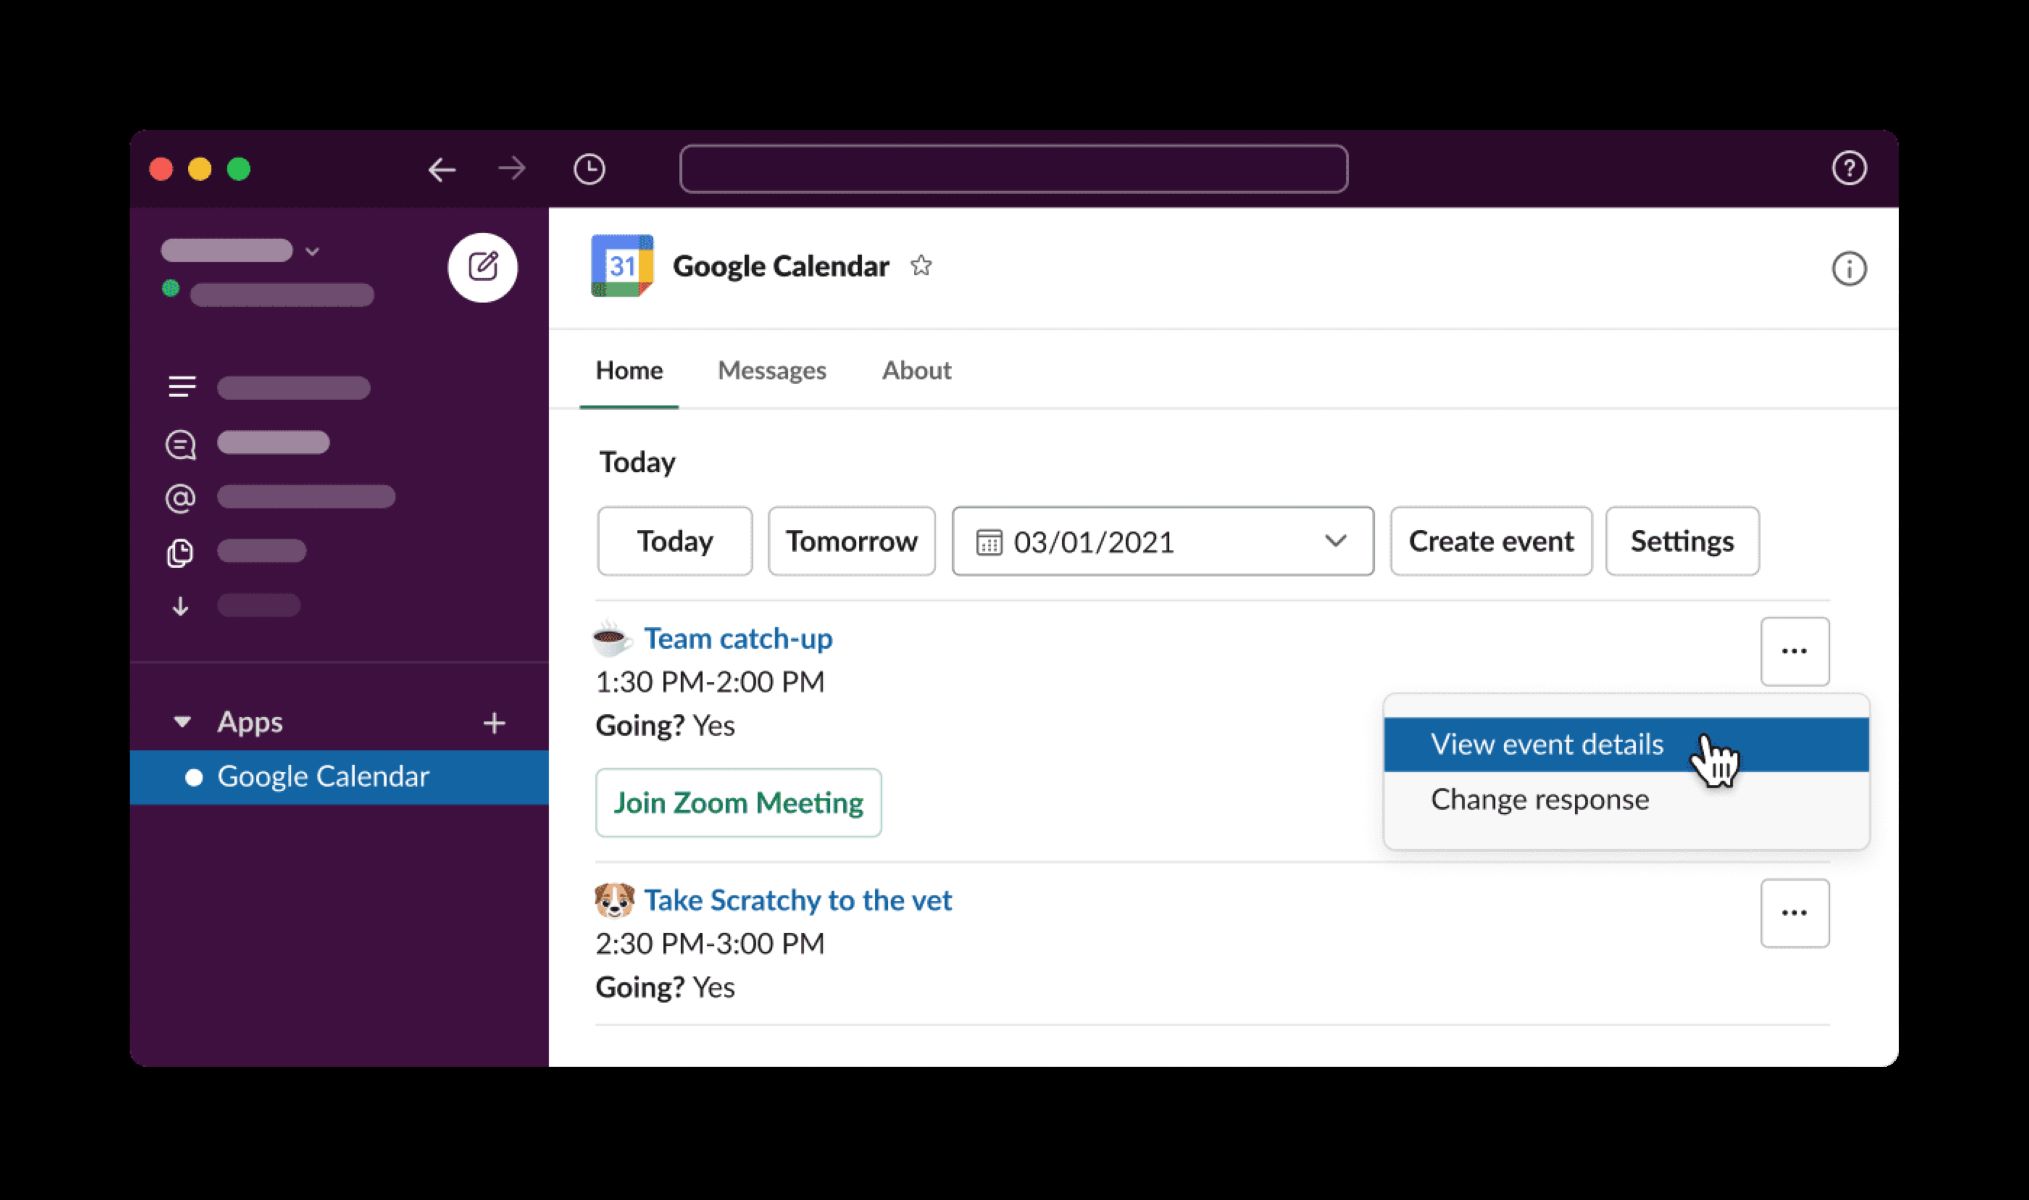
Linking Slack and Google Calendar can greatly improve your productivity by seamlessly integrating your communication and scheduling tools. By connecting them together, you can receive calendar event updates, set reminders, and even create events directly from Slack. This integration allows you to stay on top of your schedule and collaborate with your team more effectively.
Slack is a popular team communication platform that enables real-time collaboration and efficient workflows. On the other hand, Google Calendar is a widely used scheduling tool that helps you manage your appointments, events, and deadlines. By combining these two powerful tools, you can streamline your workflow and stay organized.
In this article, we will guide you through the process of linking Slack and Google Calendar, allowing you to effortlessly sync your schedule and receive timely notifications within the Slack platform.
Before we get started, please note that you will need administrative access to your Slack workspace and a Google account. Also, make sure you have the necessary permissions to create and configure apps in Slack.
Now, let’s dive into the step-by-step process of linking Slack and Google Calendar to enhance your productivity and streamline your workflow.
Step 1: Creating a Slack App
The first step to linking Slack and Google Calendar is to create a Slack app. To do this, you’ll need to access the Slack App Directory and follow these simple steps:
- Visit the Slack App Directory and click on the “Create New App” button.
- Enter a name for your app and choose the workspace where you want to install it. Click on the “Create App” button to proceed.
- On the next page, you can provide a description and icon for your app. Additionally, you can customize the appearance and functionality of your app by navigating through the various tabs.
- Once you’ve made the necessary modifications, click on the “Install App” button on the left-hand sidebar.
- Review and confirm the permissions required by your app. These permissions determine what your app can access and modify within your Slack workspace. Make sure to select the necessary permissions related to calendar integration.
- Click on the “Install App to Workspace” button to complete the installation process.
After completing these steps, you have successfully created a Slack app. This app will serve as the bridge between your Slack workspace and Google Calendar, enabling the integration of both platforms.
Next, we will move on to configuring the necessary permissions for the Slack app in order to establish a seamless connection between Slack and Google Calendar.
Step 2: Configuring Permissions for the Slack App
In order for your Slack app to interact with Google Calendar, you need to configure the necessary permissions. These permissions will allow the app to access and modify your Google Calendar events. Follow these steps to set up the required permissions:
- Go to the Slack API website and navigate to your app’s settings.
- Under the “OAuth & Permissions” tab, scroll down to the “Scopes” section.
- Add the following scopes to your app:
calendar:read,calendar:write, andcalendar:events:read. - Save the changes and head to the “Install App” tab.
- Click on the “Reinstall App to Workspace” button to update the permissions.
By adding these scopes, your Slack app will have the necessary permissions to read and write events from your Google Calendar.
Once you have configured the permissions for your Slack app, it’s time to obtain the credentials required to establish the connection between Slack and Google Calendar. We’ll cover this in the next step.
Step 3: Obtaining Slack App Credentials
In order to authorize your Slack app to access your Google Calendar, you will need to obtain the necessary credentials. Follow these steps to retrieve your Slack app’s credentials:
- Go to the Slack API website and navigate to your app’s settings.
- Under the “OAuth & Permissions” tab, you will find the “OAuth Tokens & Redirect URLs” section.
- Copy the “OAuth Access Token” provided by Slack. This token will be used to authenticate your app when making requests to the Slack API.
- Save the OAuth Access Token in a secure location, as you will need it later in the integration process.
Congratulations! You have successfully obtained the Slack app credentials necessary to authorize your app and establish a connection with Google Calendar.
In the next step, we will guide you through the process of authorizing your Slack app to access your Google Calendar, enabling the integration between the two platforms.
Step 4: Authorizing the Slack App with Google Calendar
Now that you have the necessary credentials for your Slack app, it’s time to authorize the app to access your Google Calendar. Follow these steps to establish the connection:
- Go to the Google Cloud Platform Console and create a new project.
- Enable the required APIs by navigating to the “APIs & Services” section and selecting “Library”. Search for the “Google Calendar API” and enable it for your project.
- Under the “Credentials” tab, click on the “Create Credentials” button and choose “OAuth client ID”.
- Configure the OAuth consent screen by providing a name for your application and adding any required scopes.
- After configuring the consent screen, you will be able to create an OAuth client ID. Select “Web application” as the application type and provide a name for the client ID.
- Add the authorized JavaScript origins and redirect URIs. The redirect URI should be set to the callback URL of your Slack app.
- Save the client ID and secret, as you will need them later.
Once you have obtained the client ID and secret from the Google Cloud Platform Console, you can proceed with authorizing your Slack app with Google Calendar.
- Go back to your Slack app’s settings page and navigate to the “OAuth & Permissions” tab.
- Scroll down to the “Redirect URLs” section and add the redirect URL you obtained from the Google Cloud Platform Console.
- Save the changes and click on the “Install App” tab.
- Click on the “Authorize” button to initiate the authorization process.
Follow the prompts to grant the necessary permissions and authorize your Slack app to access your Google Calendar. Once the authorization is complete, your Slack app will be able to retrieve and modify calendar events.
In the next step, we will configure webhooks in Slack to enable real-time event notifications and updates.
Step 5: Configuring Webhooks in Slack
Configuring webhooks in Slack is essential to receive real-time event notifications and updates from Google Calendar. Follow these steps to set up webhooks:
- Go to the Slack API website and navigate to your app’s settings.
- Under the “Features” section, click on “Incoming Webhooks” and activate the feature.
- Click on “Add New Webhook to Workspace” to create a new incoming webhook.
- Choose the channel where you want to receive the calendar event notifications.
- Copy the provided webhook URL, as you will need it in the next steps to configure the integration.
By setting up webhooks in Slack, you have established a connection that allows real-time communication between Google Calendar and Slack. Any updates or changes in your calendar events will be instantly reflected in the designated Slack channel.
In the final step, we will test the integration between Slack and Google Calendar to ensure everything is functioning correctly.
Step 6: Testing Integration Between Slack and Google Calendar
After completing all the previous steps, it’s time to test the integration between Slack and Google Calendar to ensure that everything is set up correctly. Follow these steps to perform a quick test:
- Create a new event in your Google Calendar.
- Wait for a few moments and check the designated Slack channel for any notifications.
- You should see a notification in Slack with the details of the new calendar event.
If the notification appears as expected in the Slack channel, congratulations! Your integration between Slack and Google Calendar is successfully working. You can now receive updates, reminders, and interact with your calendar directly from Slack.
If you do not receive the notification in Slack, make sure you have followed all the previous steps correctly and check the settings and permissions of your Slack app and Google Calendar integration.
Now that you have successfully tested the integration, you can explore and utilize the various features and capabilities provided by the Slack and Google Calendar integration. Take advantage of the seamless connection between these two powerful tools to enhance your productivity, stay organized, and collaborate effectively with your team.
Remember to regularly review and update the permissions and settings of your Slack app and comply with any changes or updates made by Slack or Google Calendar to ensure continued functionality and security.
With everything up and running smoothly, you can now fully enjoy the benefits of having your Slack and Google Calendar seamlessly connected.
Conclusion
Linking Slack and Google Calendar provides a powerful and efficient way to manage your schedule and communicate with your team. Through the integration of these two platforms, you can receive real-time notifications, set reminders, and even create events directly from Slack. This seamless connection enables you to stay organized, increase productivity, and collaborate effectively.
In this article, we have covered the step-by-step process of linking Slack and Google Calendar. We started by creating a Slack app and configuring the necessary permissions to access Google Calendar. Then, we obtained the Slack app credentials and authorized the app with Google Calendar. Next, we configured webhooks in Slack to enable real-time event notifications. Finally, we tested the integration to ensure everything was functioning correctly.
By following these steps, you now have a fully functional integration between Slack and Google Calendar. You can take advantage of the features provided by both platforms to enhance your workflow and streamline your communication.
Remember to regularly review and update your app’s permissions and settings to ensure continued functionality and security. Additionally, stay informed about the updates and changes made by Slack and Google Calendar to maximize the benefits of this integration.
Now that you have successfully linked Slack and Google Calendar, enjoy the convenience of managing your schedule and collaborating with your team seamlessly. Stay organized, never miss an important event, and increase your productivity with this powerful integration.





![20 Best Productivity Apps to Get Things Done [PC & Mac]](https://robots.net/wp-content/uploads/2020/05/write-593333_1920-300x177.jpg)
