Introduction
Welcome to the world of Slack, a popular communication and collaboration platform used by teams across the globe. Whether you’re a member of a large organization or part of a small team, Slack provides a convenient space for real-time messaging, file sharing, and much more. However, as teams evolve and projects come to an end, there may come a time when you need to leave a group or channel on Slack.
Leaving a group on Slack is a simple and straightforward process that allows you to streamline your workspace and focus on the relevant conversations and tasks. By leaving a group, you can declutter your Slack interface and ensure that you only receive updates from the groups that are essential to your work.
In this article, we will guide you through the steps to successfully leave a group on Slack. Whether you want to exit a group that no longer aligns with your current responsibilities or you simply want to minimize distractions, we’ve got you covered.
Before we dive into the step-by-step process, it’s worth noting that leaving a group on Slack will not delete any of your messages or files from the group’s history. You will still be able to access them if the need arises in the future.
So, if you’re ready to declutter your Slack and regain control over your communication channels, let’s get started with the process of leaving a group on Slack.
Step 1: Accessing the Slack Interface
To begin the process of leaving a group on Slack, you will first need to access the Slack interface. Here’s how you can do it:
- Open your preferred web browser and navigate to the Slack website (www.slack.com).
- If you already have a Slack account, sign in using your email address and password. If you don’t have an account, you can create one by clicking on the “Get Started for Free” button.
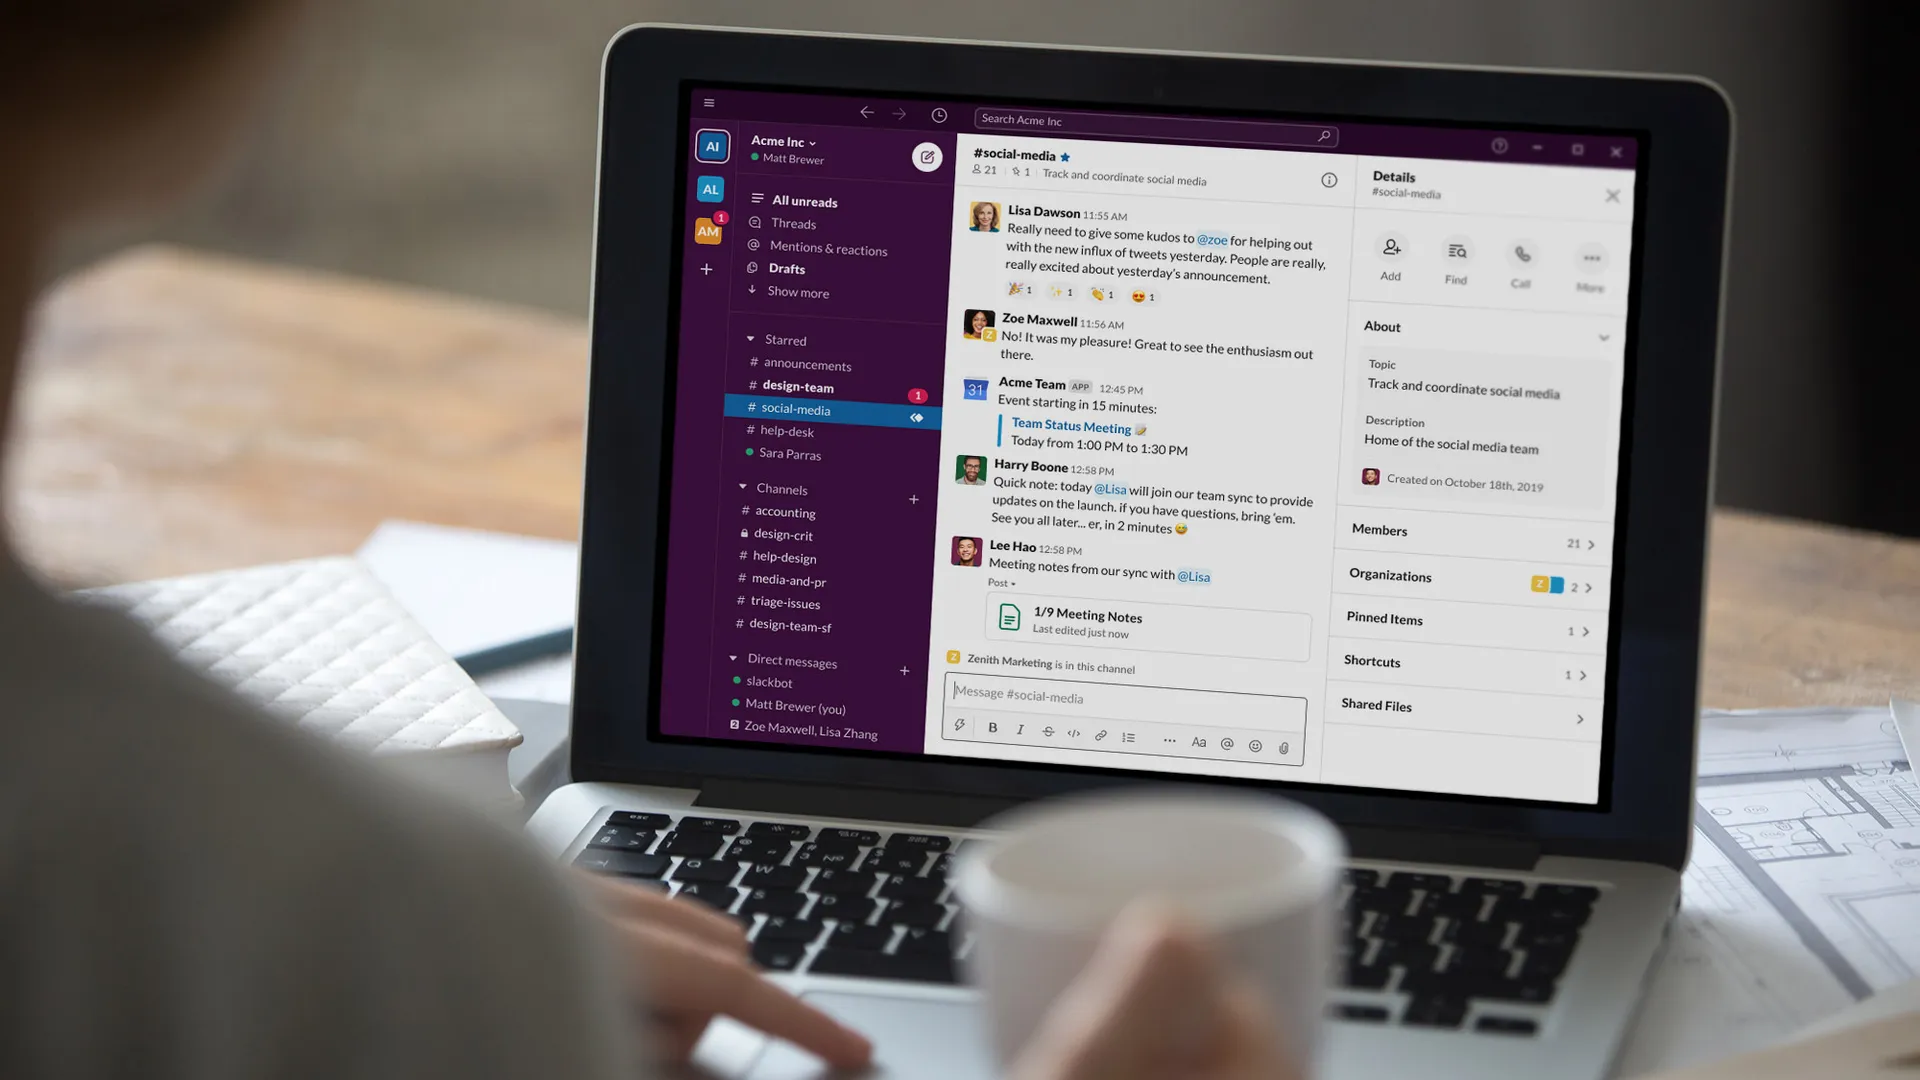
- Once you have successfully logged in, you will be directed to the Slack workspace. This is where you can view all the different groups and channels you are a part of.
- Take a moment to familiarize yourself with the Slack interface. The left-hand sidebar contains a list of all the groups and channels you have joined. The main workspace is where you can view the conversations, files, and other activities within the selected group.
- Now that you have accessed the Slack interface, you’re ready to move on to the next step: locating the group you wish to leave.
By following these steps, you will be able to access the Slack interface and prepare for the process of leaving a group. It’s important to note that Slack is not only accessible through the web version but also has desktop and mobile apps available for a seamless experience across different devices. So, whether you prefer working from your computer or on the go, Slack provides flexibility to meet your needs.
Step 2: Locating the Group You Wish to Leave
Once you have accessed the Slack interface, the next step is to locate the specific group or channel that you want to leave. Here’s how you can do it:
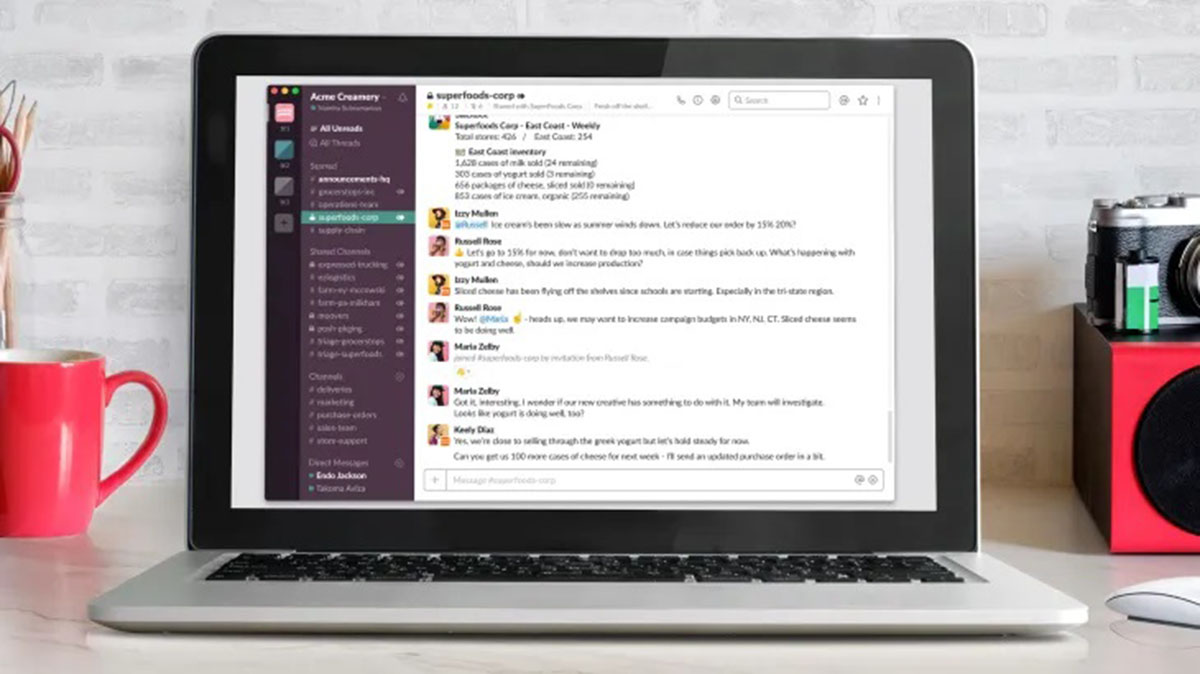
- Look at the left-hand sidebar of the Slack interface. This sidebar contains a list of all the groups and channels that you are a part of.
- Scan through the list and search for the name of the group that you want to leave. If you can’t find it immediately, you can use the search bar at the top of the sidebar to enter keywords related to the group.
- As you type in the search bar, Slack will filter and display the groups or channels that match your search criteria. This can help you quickly locate the specific group you wish to leave.
- Once you have located the group, click on its name to open it and view the conversations and files within.
It’s important to double-check and make sure that you have selected the correct group before proceeding to the next step. Leaving a group is irreversible, and once you’ve left, you will no longer have access to the conversations and files within that group.
If you’re unsure about leaving the group, you can take a moment to review the group’s activity, the relevance of the conversations, and your level of engagement. This can help you make an informed decision about whether leaving the group is the right choice for you.
With this step complete, you are now ready to move on to the next step: opening the group’s settings.
Step 3: Opening the Group’s Settings
After locating the group you wish to leave, the next step is to open the group’s settings. Here’s how you can do it:
- Within the selected group, look for the gear icon or the three-dot menu icon. This is usually located near the top-right corner of the Slack interface.
- Click on the gear icon or the three-dot menu icon to open the group’s settings.
- A dropdown menu will appear, displaying various options related to the group. These options may vary depending on your permissions within the group.
- Depending on the Slack version you are using, the options to leave the group might be labeled as “Leave Channel,” “Leave Group,” or “Leave Workspace.” Click on the appropriate option to proceed.
It’s worth noting that the process of leaving a group on Slack may differ slightly depending on whether you are leaving a public channel, a private channel, or a direct message group. However, regardless of the specific terminology used, the general steps to leave the group remain the same.
As you approach the next step of leaving the group, be sure to take a moment to consider your decision. Think about whether you’ll miss any important conversations or notifications from this group, and if necessary, make any necessary arrangements to stay informed after you’ve left.
Once you have opened the group’s settings, you’re ready to proceed to the next step: leaving the group itself.
Step 4: Leaving the Group
Now that you have opened the group’s settings, you are just a few clicks away from leaving the group on Slack. Follow these steps:
- Within the group settings, locate the “Leave” button or option. This option is typically found at the bottom or towards the end of the settings menu.
- Click on the “Leave” button to initiate the process of leaving the group.
- A confirmation prompt will appear, asking you to confirm whether you want to leave the group. This prompt is a final check to make sure you don’t accidentally leave the group.
- Carefully read the confirmation message to ensure that you are leaving the correct group, as leaving is irreversible and you may lose access to the group’s conversations and files.
- If you are certain about leaving the group, click on the “Leave” or “Confirm” button to finalize your departure.
After confirming your decision to leave the group, Slack will immediately remove you from the group’s membership. You will no longer be able to participate in conversations, access files, or receive notifications from this group.
It’s worth mentioning that leaving a group does not mean you are leaving the entire Slack workspace. You will still have access to other groups and channels within the workspace, allowing you to continue collaborating with other teams and individuals.
With this step completed, you have successfully left the group on Slack. However, before we conclude, there is one more important step to address: confirming your departure.
Step 5: Confirming the Departure
Once you have left the group on Slack, it’s essential to confirm your departure and ensure everything went smoothly. Here’s how you can do it:
- After clicking on the “Leave” or “Confirm” button, you will be redirected back to the Slack interface.
- Take a moment to review the sidebar on the left-hand side of the Slack interface to see if the group you left is no longer listed.
- If the group’s name is no longer visible in the sidebar, it indicates that you have successfully left the group.
- To further verify your departure, you can try accessing the group by clicking on its name in the sidebar. You should now see a message or notification stating that you are no longer a member of the group.
Confirming your departure is crucial to ensure that you have successfully left the group and cut ties with it in Slack. It provides peace of mind and prevents any confusion regarding your membership status.
Once you have confirmed your departure, you can now focus on your remaining groups and channels within Slack, allocating your time and attention to the conversations and tasks that matter most to you.
Congratulations! You have completed the process of leaving a group on Slack. You have taken control of your Slack space, decluttering it and streamlining your communications.
Remember, should the need arise in the future, you can always rejoin a group or channel on Slack following the appropriate steps.
Now that you are well-versed in leaving a group on Slack, you can confidently navigate your workspace and tailor it to suit your collaboration needs.
Conclusion
Leaving a group on Slack is a straightforward process that allows you to manage your workspace more effectively. By following the steps outlined in this article, you can declutter your Slack interface and focus on the groups and channels that are most relevant to your work.
Throughout this guide, we have walked you through the process of leaving a group on Slack, starting with accessing the Slack interface, locating the group you wish to leave, opening the group’s settings, leaving the group, and confirming your departure.
Remember, leaving a group on Slack does not mean you are leaving the entire workspace. You will still have access to other groups and channels where you can collaborate with your team members and stay connected.
As you navigate Slack, it’s essential to regularly evaluate the groups and channels you are a part of. If a group no longer aligns with your responsibilities or becomes a source of distraction, consider leaving it to create a more focused and streamlined workspace.
By taking control of your Slack experience and tailoring it to your needs, you can enhance productivity, improve communication, and maintain a clear and organized workflow.
So go ahead and apply these steps to leave any unnecessary groups on Slack, and enjoy a more streamlined and efficient communication platform for your work or personal projects.
Thank you for reading this guide, and we hope it has been helpful in your Slack journey. Happy collaborating!