Introduction
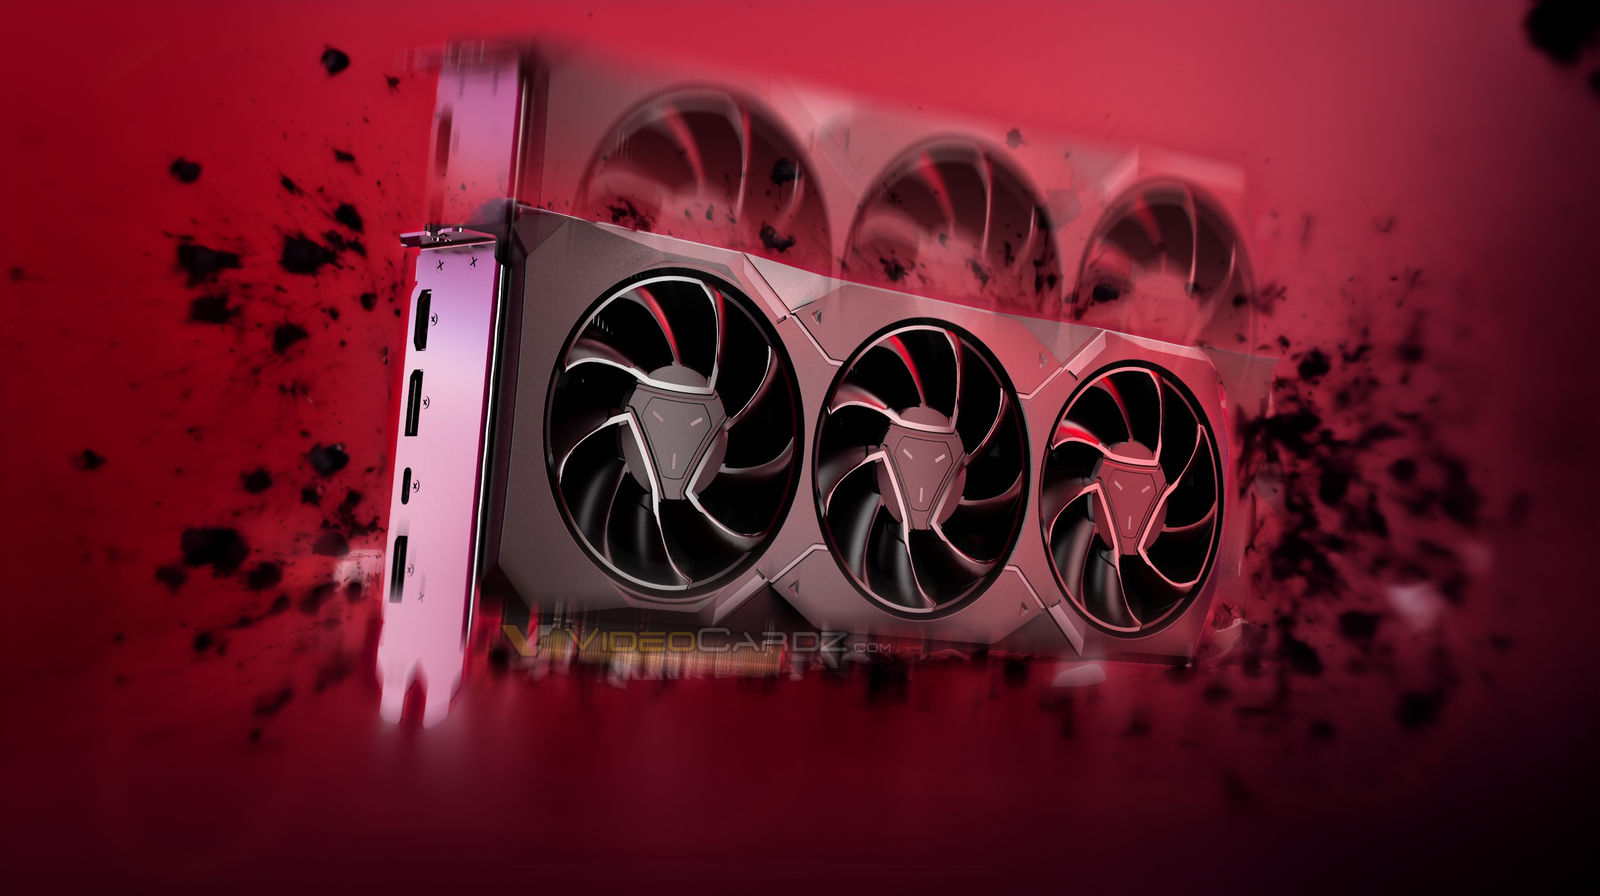
Welcome to the world of gaming and graphics processing units (GPUs). Whether you are a passionate gamer or a professional in the field of graphic design and video editing, you are likely familiar with the importance of keeping your GPU cool. A GPU is a powerhouse that handles complex calculations and generates stunning graphics, but it can also become a heat-producing machine that needs proper cooling to function optimally.
Although many GPUs come equipped with their own cooling solutions, such as built-in fans or heat sinks, these may not always be sufficient to combat the intense heat generated during heavy usage. Overheating can cause a wide range of issues, including reduced performance, system crashes, and in some extreme cases, permanent damage to the GPU itself.
In this article, we will explore the various reasons why keeping your GPU cool is essential and discuss some effective ways to achieve optimal temperatures for your graphics card. By the end, you will have a clear understanding of how to prevent overheating and ensure the longevity and performance of your GPU.
Importance of Keeping Your GPU Cool
Keeping your GPU cool is crucial for maintaining its performance, longevity, and overall stability. When a GPU operates at high temperatures, it can have a negative impact on its efficiency and functionality. Here are some key reasons why you should prioritize keeping your GPU cool:
- Improved Performance: Heat is the enemy of electronic components, and GPUs are no exception. When a GPU is subjected to excessive heat, it can lead to thermal throttling, a process in which the GPU automatically reduces its clock speed to prevent overheating. This means that your GPU will not be able to perform at its full potential, resulting in decreased gaming performance or slower rendering times for professionals. By keeping your GPU cool, you can ensure consistent and reliable performance.
- Extended Lifespan: Overheating can significantly decrease the lifespan of a GPU. Prolonged exposure to high temperatures can cause the GPU’s components to degrade faster, potentially leading to malfunctions or even complete failure. By actively cooling your GPU, you can protect it from overheating-induced wear and tear, thus extending its lifespan and saving you from the cost and hassle of replacing it prematurely.
- Stability and Reliability: Overheating can cause system instability and crashes. When a GPU reaches its temperature limits, it may not be able to process data accurately, leading to graphical glitches, artifacting, or sudden system shutdowns. These issues can be frustrating for gamers and detrimental to professionals who rely on their GPU for complex tasks. By maintaining optimal operating temperatures, you can ensure a stable and reliable computing experience.
- Protecting Other Components: Heat generated by an overheating GPU can affect neighboring components, such as the CPU, RAM, and motherboard. Excessive heat can increase the ambient temperature inside the case, potentially causing other parts to run hotter and reducing their lifespan as well. By cooling your GPU effectively, you can minimize the risk of heat-related damage to other vital components of your computer.
Now that you understand the importance of keeping your GPU cool, let’s explore some signs that indicate your GPU may be overheating and discuss effective cooling solutions to address the issue.
Signs of Overheating
To ensure that your GPU is running at optimal temperatures, it’s important to be aware of the warning signs that indicate overheating. Here are some common signs to watch out for:
- Increased Fan Noise: If you notice that the fans on your GPU are spinning faster and louder than usual, it could be a sign that your GPU is struggling to cool itself. The increased fan noise is an attempt to dissipate heat and prevent overheating. Pay attention to any sudden or consistent changes in fan speed and noise.
- Graphical Artifacts: Overheating can result in graphical artifacts or visual glitches during gaming or graphic-intensive tasks. You may experience screen flickering, distorted textures, or random lines appearing on your screen. These visual anomalies can indicate that your GPU is reaching its temperature limits and struggling to process graphics accurately.
- System Crashes and Freezes: When a GPU becomes too hot, it can lead to system crashes, freeze-ups, or automatic reboots. If you frequently experience these issues, especially during demanding tasks or prolonged gaming sessions, it’s a clear indication that the GPU is overheating and the system is shutting down to prevent further damage.
- Reduced Performance: Overheating can cause your GPU to throttle its clock speed, resulting in reduced performance. You may notice a decrease in frame rates, slower rendering times, or overall sluggishness in graphics-intensive applications. If your GPU is not maintaining its expected level of performance, overheating could be the culprit.
- Unusual Heat from the GPU: While it’s normal for a GPU to generate some heat during operation, excessive heat on the surface of the GPU could indicate a problem. If you notice that your GPU is unusually hot to the touch, it’s a strong indicator that it is running at higher temperatures than it should be.
If you observe any of these signs, it’s important to take immediate action to prevent further damage and maintain the health of your GPU. In the next sections, we will discuss effective strategies for keeping your GPU cool, ranging from simple maintenance tasks to upgrading cooling solutions.
Cleaning Dust and Debris
One of the simplest and most effective ways to keep your GPU cool is by regularly cleaning dust and debris that accumulates on its surface and inside your computer case. Over time, dust particles can block airflow and settle on heat sinks and fans, hindering their ability to dissipate heat efficiently. Here are some steps to follow when cleaning your GPU:
- Power Down and Unplug: Before you start cleaning, make sure to power down your computer and unplug it from the electrical outlet. This is crucial for your safety and to avoid any potential damage to the components.
- Open your Computer Case: Depending on your computer case, you may need to remove one or more side panels to access the internal components. Consult your computer’s documentation or check online resources for specific instructions on how to safely open your case.
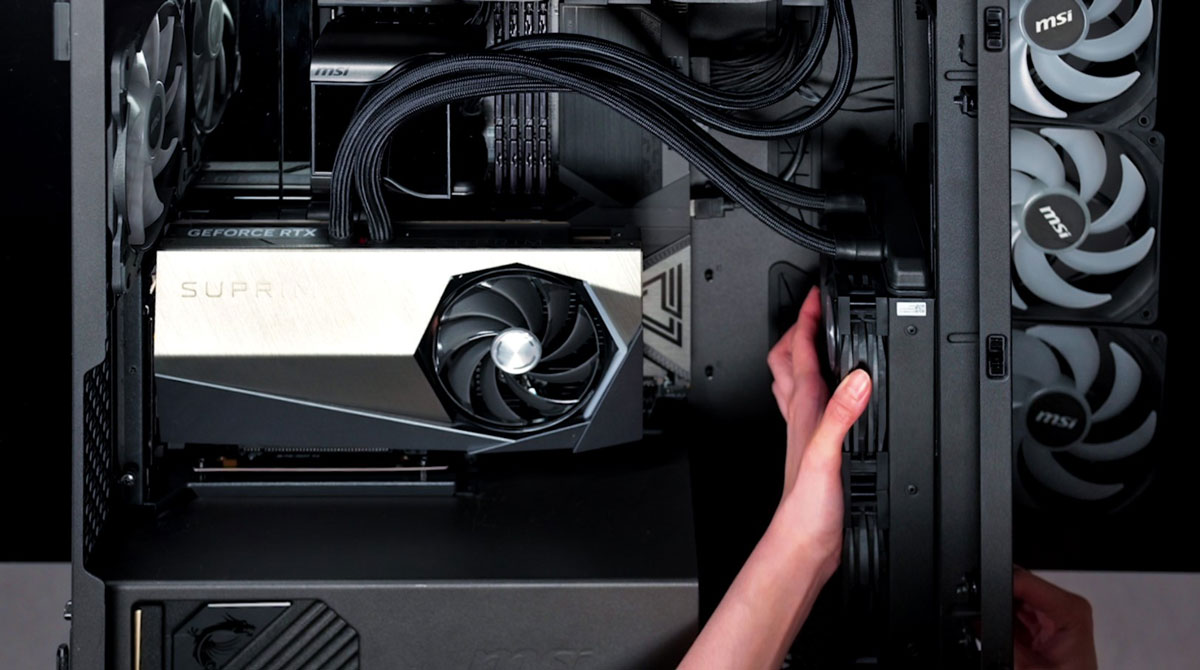
- Remove the GPU: In most cases, you can easily remove the GPU by gently pushing down on the release lever or screws that hold it in place. Carefully disconnect any power cables or connectors attached to the GPU and set it aside on a static-free surface.
- Clean the GPU: Use compressed air or a can of compressed air to blow away dust and debris from the surface of the GPU. Pay attention to the fan blades, heat sinks, and any visible areas where dust may have accumulated. Be gentle and avoid touching any components with your fingers.
- Clean the Computer Case: While you have the GPU removed, take the opportunity to clean the rest of your computer case. Use compressed air to blow away dust from the fans, vents, and any other areas where dust tends to accumulate. You can also use a soft brush or a microfiber cloth to gently wipe away any stubborn dust.
- Reinstall the GPU: Once you have thoroughly cleaned the GPU and the computer case, carefully reinsert the GPU into its slot and secure it in place with the release lever or screws. Make sure to reconnect any power cables or connectors that were disconnected earlier.
- Close the Computer Case: Put back any side panels that you removed to access the internal components. Ensure that they are properly aligned and securely fastened.
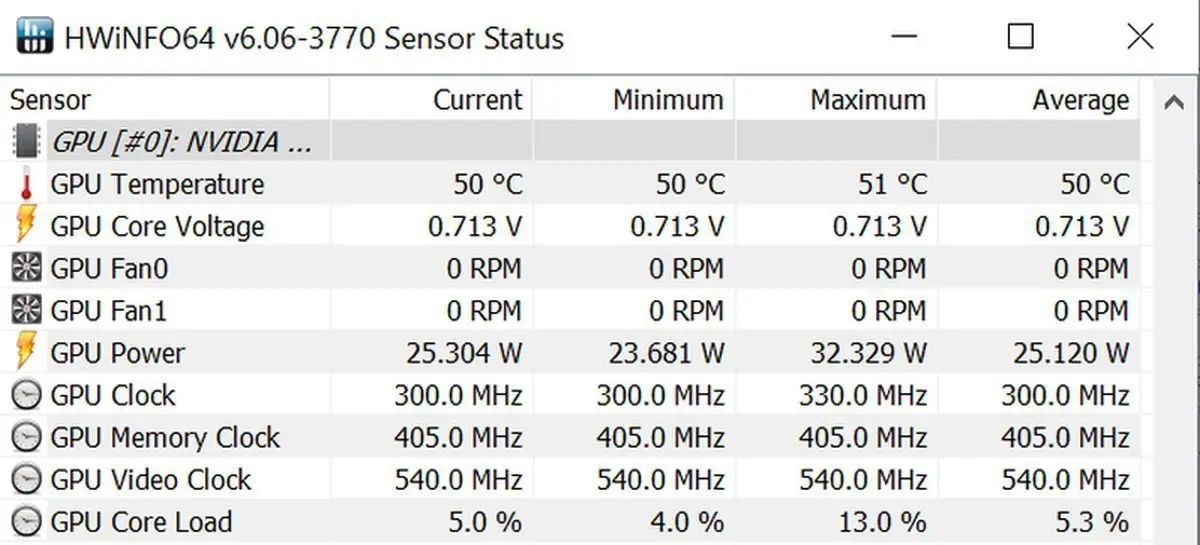
- Power On and Monitor: Finally, power on your computer and monitor the GPU temperatures using software such as MSI Afterburner or GPU-Z. Check for any improvements in temperature and overall performance.
Regularly performing this cleaning routine every few months (or more frequently if your environment is particularly dusty) can help maintain optimal airflow and prevent overheating issues caused by dust and debris accumulation.
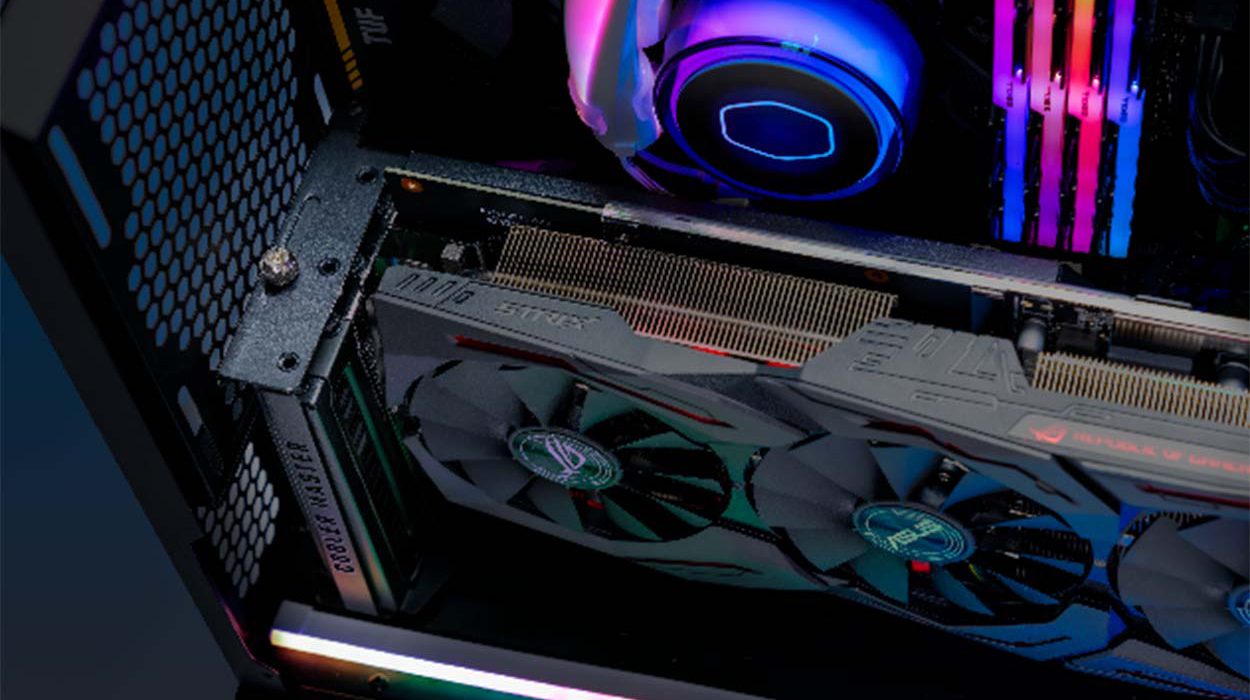
Improving Airflow in Your Case
Another effective way to keep your GPU cool is by improving airflow inside your computer case. Good airflow ensures that cool air is directed towards the GPU, while hot air is efficiently expelled from the case. Here are some tips to enhance airflow:
- Cable Management: Proper cable management helps to minimize cable clutter inside your case, allowing for better air circulation. Keep cables neat and organized by using cable ties, clips, or cable management channels to route them away from fans and components. This will help maintain a clear and unobstructed path for airflow.
- Optimal Fan Placement: Most computer cases come with built-in fans or have slots for additional fans. Ensure that your fans are correctly placed to maximize airflow. Consider adding fans to intake cool air from the front or side of the case and exhaust hot air from the rear or top. Keep in mind that having a balanced intake and exhaust setup promotes efficient heat dissipation.
- Fan Speed Control: Adjusting fan speeds can improve airflow and maintain a balance between noise level and cooling performance. Many motherboards or fan control software offer options to customize fan curves, allowing you to set fan speeds based on temperature thresholds. This helps to ensure that fans run at higher speeds when the GPU is under heavy load and require additional cooling.
- Remove Obstructions: Check inside and outside your case for any obstructions that may impede airflow. Remove any objects or debris blocking vents or obstructing fan blades. Additionally, ensure that the computer case is placed in a well-ventilated area with enough clearance from walls or other objects to allow for proper airflow.
- Consider Case Fans and Airflow Accessories: If your case allows, consider adding additional case fans or using airflow accessories such as fan brackets, fan grills, or dust filters to optimize airflow. These accessories can help direct and control airflow, keeping components, including the GPU, cool and free from dust.
- Monitor Temperatures: Use monitoring software to keep track of GPU temperatures. This will help identify any temperature spikes or fluctuations and allow you to adjust fan speeds or make necessary modifications to improve airflow if needed.
By implementing these tips, you can enhance airflow inside your computer case, which will significantly contribute to keeping your GPU cool. The next section will explore the possibility of upgrading your GPU cooler for even better cooling performance.
Upgrading Your GPU Cooler
If you are experiencing persistent overheating issues with your GPU or simply want to further improve its cooling performance, you may consider upgrading your GPU cooler. An upgraded cooler can provide better heat dissipation and allow your GPU to maintain lower temperatures even during demanding tasks. Here are some options to consider:
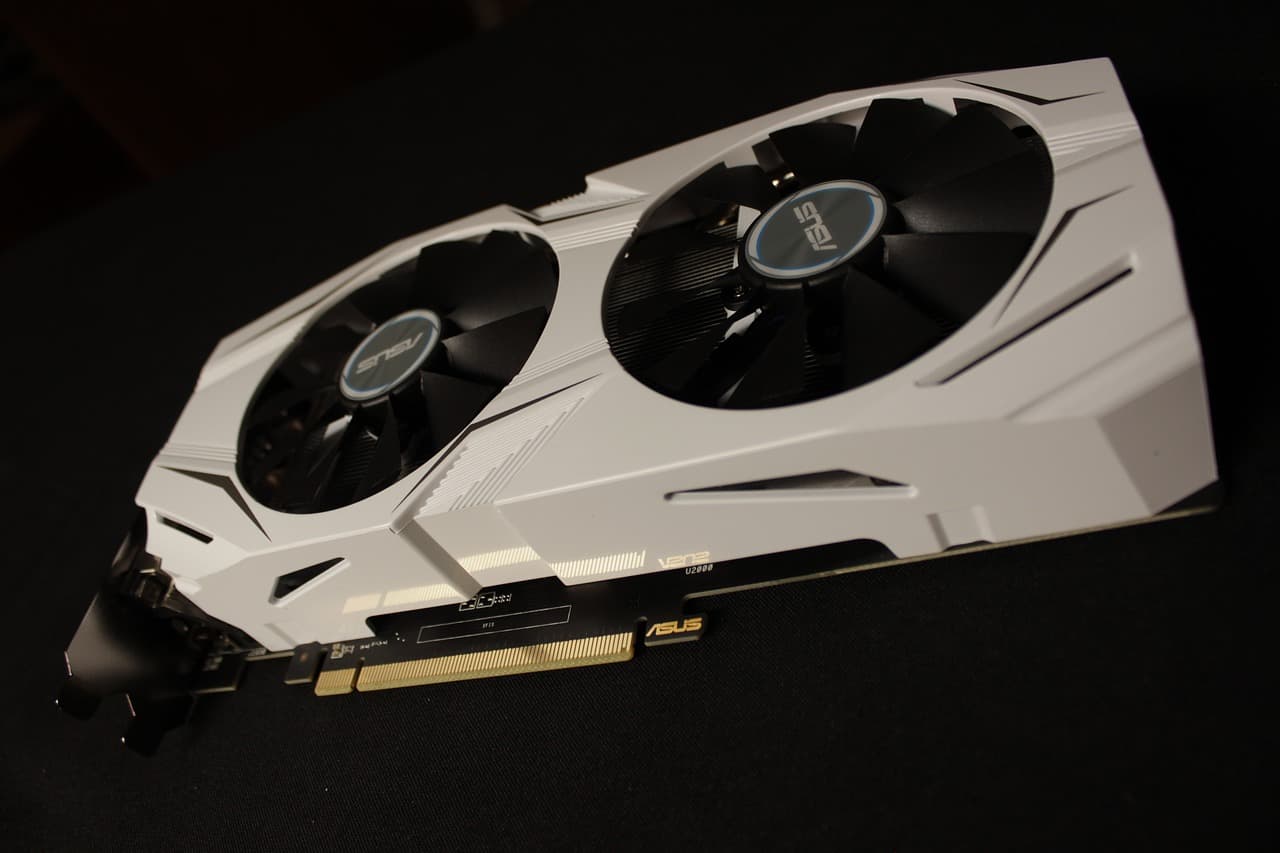
- Aftermarket GPU Cooler: There are various aftermarket cooling solutions available specifically designed to improve the cooling performance of GPUs. These coolers often feature larger heatsinks, heat pipes, and more efficient fans compared to stock coolers. They typically offer superior cooling performance and reduced noise levels. Make sure to verify compatibility with your specific GPU model before purchasing.
- Water Cooling: Water cooling, also known as liquid cooling, is another option for advanced cooling enthusiasts. It involves replacing the stock cooler with a water block or cooling plate that transfers heat away from the GPU. The heat is then dissipated by a radiator and fans, using liquid as the cooling medium. Water cooling systems can provide exceptional cooling performance, but they require additional components and careful installation.
- Hybrid Cooling Solutions: Some companies offer hybrid cooling solutions that combine the benefits of both air and liquid cooling. These solutions feature a self-contained liquid cooling loop combined with an air cooler. They are relatively easy to install and can often provide superior cooling performance compared to stock coolers.
- Custom Cooling Loops: For enthusiasts seeking the ultimate cooling performance, custom cooling loops provide the highest level of customization and cooling potential. This involves building a custom loop with water blocks, radiators, pumps, and reservoirs specifically designed for your GPU. Custom loops offer exceptional cooling performance but require advanced knowledge and careful planning for installation.
Before proceeding with any GPU cooler upgrade, it is essential to research and ensure compatibility with your GPU model, as well as consider factors such as budget, space inside your case, and your comfort level with the installation process. Additionally, always follow the manufacturer’s instructions and refer to online guides or tutorials for proper installation techniques.
Remember, upgrading your GPU cooler is not always necessary for every user. In many cases, cleaning the existing cooler and optimizing airflow can resolve overheating issues. However, for individuals seeking maximum cooling performance or dealing with persistent thermal problems, upgrading the GPU cooler can be a worthwhile investment.
In the next section, we will discuss how you can monitor the temperatures of your GPU and ensure that it is running within safe and optimal temperature ranges.
Monitoring Temperatures
Monitoring the temperatures of your GPU is essential to ensure that it is operating within safe limits and to identify any potential overheating issues. By keeping a close eye on the temperature readings, you can take appropriate measures to prevent damage and maintain optimal performance. Here are some ways to monitor GPU temperatures:
- GPU Monitoring Software: Many software applications are available that provide real-time temperature monitoring for your GPU. Popular options include MSI Afterburner, GPU-Z, and HWMonitor. These programs display various metrics, including GPU temperature, fan speed, and usage percentages. You can customize the monitoring window to keep an eye on temperatures while performing demanding tasks or gaming.
- On-Screen Display: Some GPU monitoring software allows you to display temperature information as an overlay while you are playing games or working on graphic-intensive tasks. This helps you keep track of temperatures without the need to switch between applications.
- GPU Manufacturer Software: Many GPU manufacturers provide their own software with temperature monitoring functionality. For example, AMD offers Radeon Software, while NVIDIA provides GeForce Experience. These programs not only monitor temperatures but also offer additional features such as driver updates and game optimization.
- Third-Party Hardware Monitoring Devices: If you prefer a physical device for temperature monitoring, there are various third-party hardware options available. These devices connect to your computer and provide a real-time display of GPU temperatures, fan speeds, and other vital information. Some examples include fan controllers, temperature probes, and monitoring displays.
When monitoring GPU temperatures, it’s important to be aware of the safe temperature range for your specific GPU model. Refer to the manufacturer’s documentation or website to determine the maximum operating temperature. Additionally, take note of any temperature spikes or consistent high temperatures that may indicate a cooling problem requiring attention.
Remember that ambient temperature, system configuration, and workload can also impact GPU temperatures. If you notice that your GPU consistently exceeds safe temperature limits or exhibits concerning temperature fluctuations, you may need to implement cooling solutions or adjust fan speeds to bring temperatures under control.
By regularly monitoring GPU temperatures, you can promptly detect any overheating issues and take appropriate action, ensuring that your GPU performs optimally and remains protected from potential damage.
In the next section, we will discuss the importance of applying thermal paste and provide guidance on how to do it properly.
Applying Thermal Paste
Thermal paste plays a crucial role in ensuring effective heat transfer between the GPU and the cooling solution, such as a heat sink or cooler. Over time, the thermal paste can dry out or become less efficient in conducting heat, leading to increased temperatures. Applying new thermal paste can help improve thermal conductivity and reduce GPU temperatures. Here’s a step-by-step guide on how to apply thermal paste:
- Gather the Necessary Tools: You’ll need isopropyl alcohol (higher than 70% concentration), lint-free cloths, thermal paste, and ideally, a small plastic spatula or a credit card for spreading the paste.
- Prepare the GPU and Cooler: Start by powering down your computer and removing the GPU. Gently clean any existing thermal paste from the GPU’s surface and the cooler’s base using isopropyl alcohol and a lint-free cloth. Ensure the surfaces are thoroughly clean and free from residue.
- Apply Thermal Paste: Apply a small amount of thermal paste, roughly the size of a grain of rice or a pea, to the center of the GPU. Avoid excessive amounts, as it can lead to over-spreading and potentially interfere with other components.
- Spread the Thermal Paste: Use the plastic spatula or credit card to spread the thermal paste evenly across the GPU surface. Gently apply pressure while spreading to ensure a thin and uniform layer. The goal is to cover the entire GPU surface without leaving gaps or excess paste.
- Reinstall the Cooler: Carefully place the cooler or heat sink back onto the GPU, aligning it with the screw holes or mounting brackets. Secure the cooler in place by tightening the screws or latches. Ensure that the cooler is properly seated and making good contact with the GPU surface.
- Power On and Monitor Temperatures: Reinstall the GPU into your computer, power it on, and monitor the GPU temperatures using monitoring software. Check for any improvements in temperature and overall performance. If temperatures remain high, ensure that the cooler is properly installed and consider reapplying thermal paste.
Remember to refer to the manufacturer’s guidelines and instructions for applying thermal paste, as the specific method may vary depending on the cooler design and GPU model.
It is generally recommended to reapply thermal paste every 1-2 years or if you notice a significant increase in GPU temperatures. Regularly replacing the thermal paste ensures optimal heat transfer and helps maintain lower temperatures for your GPU.
In the next section, we will discuss an important cautionary measure when it comes to overclocking your GPU.
Overclocking Caution
Overclocking your GPU can be an enticing way to extract additional performance, but it is important to exercise caution when pushing the limits of your graphics card. Overclocking involves increasing the clock speed and voltage of your GPU to achieve higher performance levels. However, this process generates more heat and can lead to potential risks if not done correctly. Here are some important points to consider:
- Increased Heat Generation: Overclocking increases the power and heat output of your GPU. This means that you must have adequate cooling solutions in place to dissipate the extra heat effectively. Failing to do so can result in high GPU temperatures, instability, and potential damage to the card.
- Gradual and Incremental Overclocking: It is crucial to take a gradual approach when overclocking. Start by making small adjustments to the GPU’s clock speeds and monitor the temperatures and stability using monitoring software. Incrementally increase the clock speeds while monitoring for any signs of instability or excessive heat buildup.
- Thermal Throttling and Voltage: As temperatures rise, many modern GPUs are designed to automatically reduce their clock speeds to prevent overheating. This feature, known as thermal throttling, is a safeguard mechanism that protects the GPU from damage. Be aware that pushing your GPU beyond safe temperatures may result in thermal throttling, causing decreased performance.
- Power Supply Considerations: Overclocking can increase the power draw of your GPU, which places additional demands on your power supply unit (PSU). Ensure that your PSU can handle the increased power requirements to prevent instability or potential damage to your system.
- Warranty Considerations: It is important to note that overclocking may void the warranty of your graphics card. Manufacturers typically do not provide warranty coverage for damages caused by overclocking as it is considered an unauthorized modification of the product. Be aware of the potential risks and consequences before proceeding.
- Stability Testing: After applying an overclock, it is crucial to stress-test the GPU to ensure stability. Run benchmarking tests or use stability-testing utilities to validate the stability of the overclocked settings. This helps identify any potential issues before subjecting the GPU to prolonged usage or heavy workloads.
Overclocking can offer significant performance gains, but it should be approached with caution and done responsibly. It is essential to have proper cooling solutions, monitor temperatures, and understand the risks involved. Always educate yourself on proper overclocking techniques and seek guidance from reputable sources or experienced overclockers before pushing the limits of your GPU.
In the next section, we will summarize the key points discussed in this article on how to keep your GPU cool.
Conclusion
Keeping your GPU cool is crucial for optimal performance, longevity, and stability. Overheating can lead to reduced performance, system crashes, and potential damage to the GPU itself. By implementing the strategies discussed in this article, you can effectively maintain lower temperatures for your GPU and ensure its overall health and functionality.
We began by emphasizing the importance of keeping your GPU cool and understanding the signs of overheating. We explored various methods to achieve this goal, such as cleaning dust and debris from your GPU and improving airflow within your computer case. Additionally, we discussed the option of upgrading your GPU cooler and highlighted the significance of monitoring temperatures using software or hardware solutions.
Applying thermal paste and ensuring optimal heat transfer between the GPU and cooler was addressed as a critical maintenance task. Finally, we cautioned against the potential risks of overclocking your GPU, emphasizing the need for precautionary measures and responsible overclocking practices.
Remember, each GPU and system configuration can differ, so it’s important to adapt these strategies to your specific setup. Regularly monitoring temperatures, maintaining proper airflow, and considering cooling upgrades when necessary will go a long way in keeping your GPU cool and maximizing its performance.
By following the guidelines in this article, you can mitigate the risks of overheating, maintain the stability and reliability of your GPU, and enjoy an optimal computing experience, whether you are a gamer or a professional in the field of graphic design or video editing.